简介
芝士蛋糕是我最最最爱的蛋糕~ 喜欢浓浓的奶酪味儿~ 入口即化的感觉太棒了(^O^)
原料
鸡蛋 3个, 奶油奶酪 200克, 糖 40克, 牛奶 60克, 低筋面粉 20克, 玉米淀粉 20克, 柠檬汁或者白醋 几滴
步骤
1先把奶油奶酪从冰箱提前拿出来软化切成小块,用的是澳大利亚进口塔图拉奶油奶酪~很纯正 ^_^ 你也可以用安佳~菲力都不错,当然普通的奶油奶酪也可以啊!

2准备一个烤盘放在烤箱中,里面倒入热水,
3接下来准备打发蛋白~把鸡蛋蛋白蛋黄分离~ 蛋白里加入柠檬汁或者白醋几滴,用电动搅拌机打发至鱼眼泡时加入20克糖,
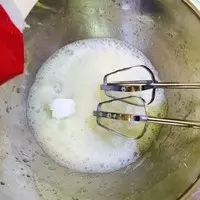
4继续打发至表面出现纹理,加入20克糖继续打发

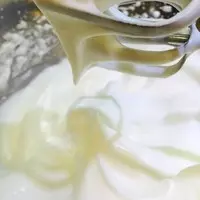
5打发成这样,提起搅拌机会有倒三角,或者稍弯曲就可以~打好的蛋白放在一边备用 蛋白打发好,这个时候烤箱要提前预热180度
6接下来打奶油奶酪,把奶油奶酪切成小块,放在盆里隔热水打至顺滑无颗粒

7加入蛋黄继续搅拌均匀

8加入牛奶搅拌均匀
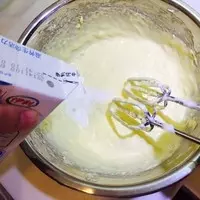
9筛入低筋面粉和玉米淀粉

10搅拌至无颗粒
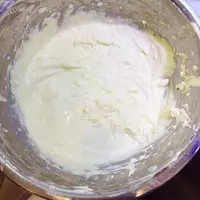
11蛋白分两次加入奶油奶酪糊中上下搅拌均匀

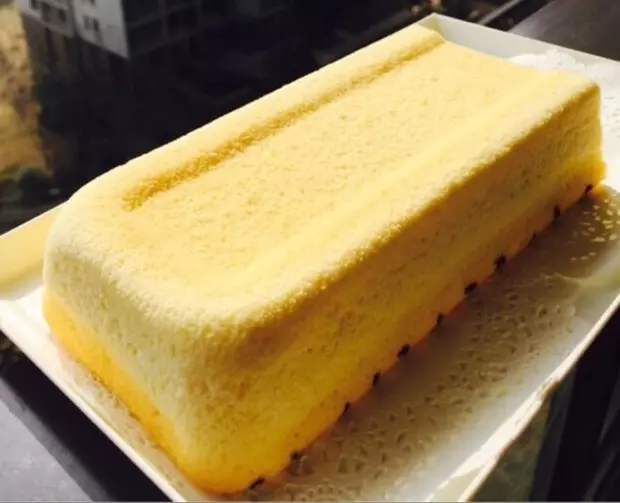
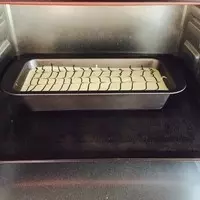
12倒入模中,我刚买的固体模,你也可以用圆形模,活底的话底部包锡纸就可以了! 我在表面用巧克力拉线膏画了千叶纹,也可以不画的~

13放在水中,烤盘要放在中下层,160度上下火烤60~70分钟左右 熄火后放在烤箱再焖20分钟左右
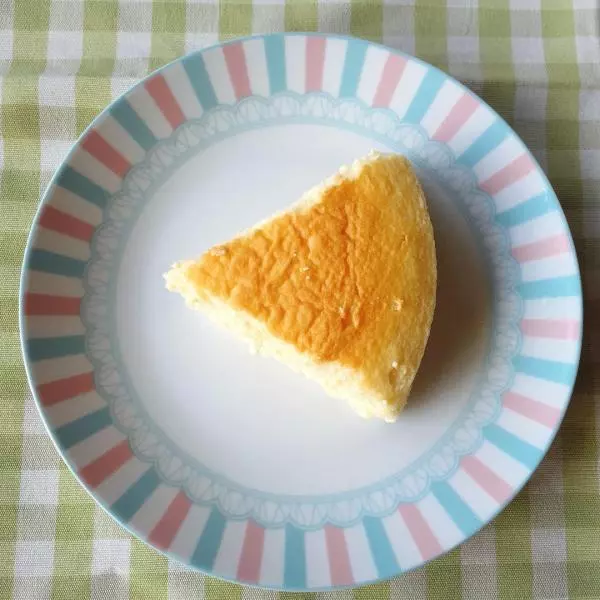
14拿出来脱模就好了! 新模具买了躺在家里两个月了,今天终于开光~