原料
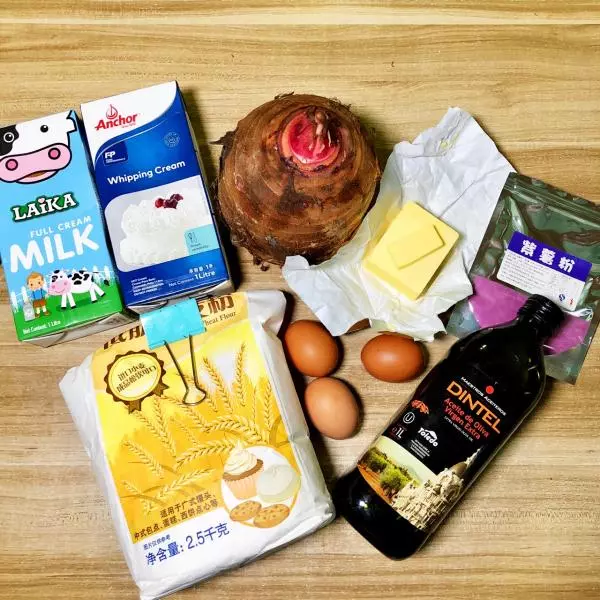
荔浦芋頭: 450g, 雞蛋: 3個, 低筋麵粉: 70g, 牛奶: 70g, 淡奶油: 70g, 砂糖(蛋糕胚): 80g(減了糖), 砂糖(芋泥餡): 60g, 黃油: 25g, 橄欖油: 25g, 紫薯粉: 5g, 奶粉(加奶粉更香濃): 25g
步驟
1準備材料~(材料沒展示齊,湊合看?)
2殺芋頭,醬肉都看懵了哈哈哈哈哈哈哈哈哈
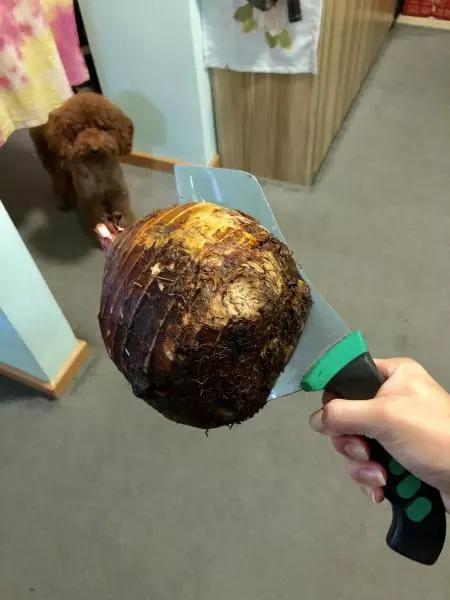
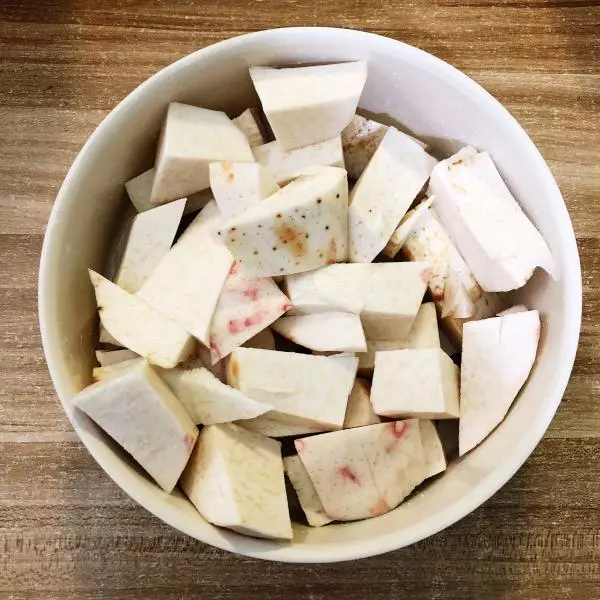
3荔浦芋頭削皮,切小塊,隔水蒸軟,備用
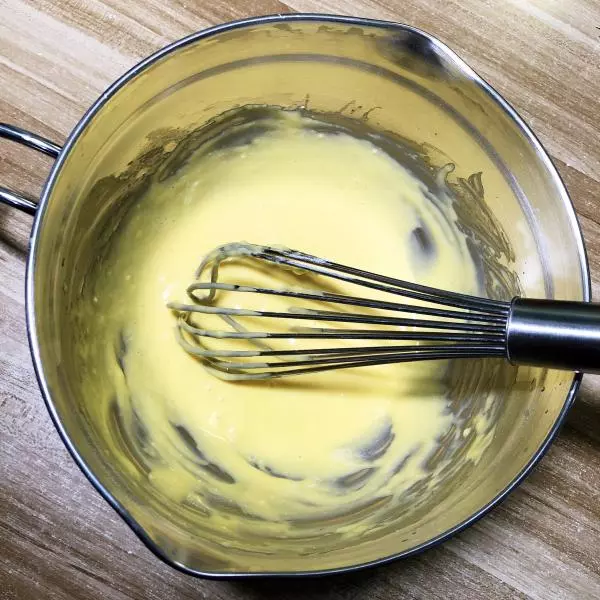
4蛋清蛋黃分離,蛋黃➕橄欖油➕牛奶,攪打均勻,邊攪拌邊加入奶粉,最後加入低粉
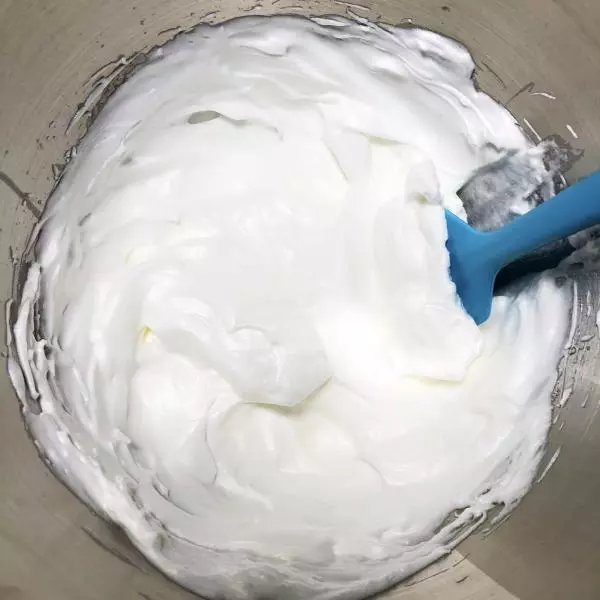
5打發蛋清,邊打發邊加糖,打發至硬性發泡
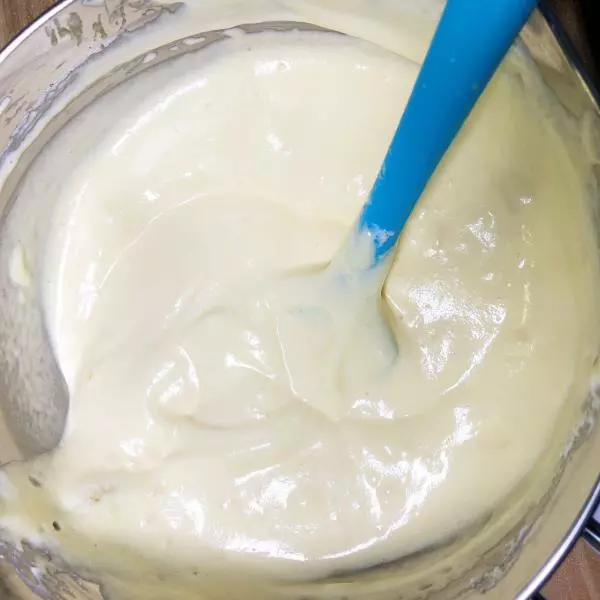
6分三次加入蛋黃麵糊中,切拌均勻
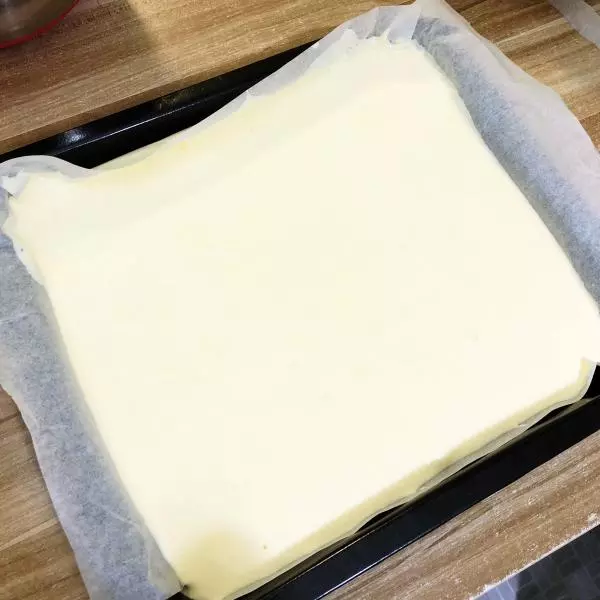
7烤盤中墊上烘焙用紙

8倒入麵糊,整理平整,震出氣泡,再預熱烤箱。 送入烤箱170度烤25分鐘左右
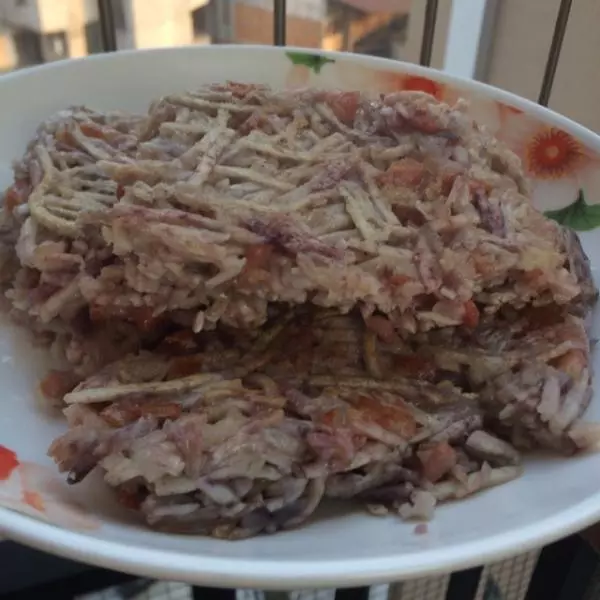
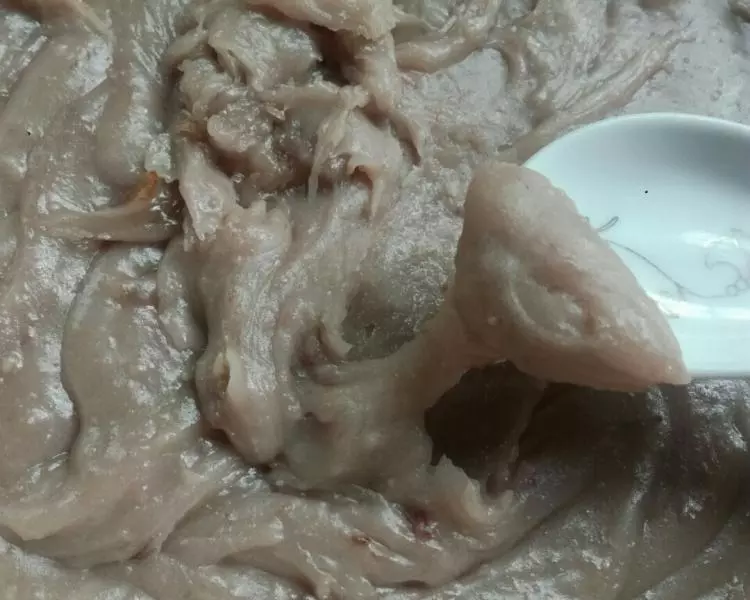
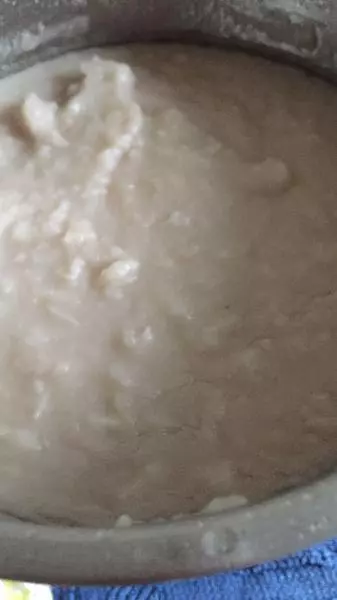
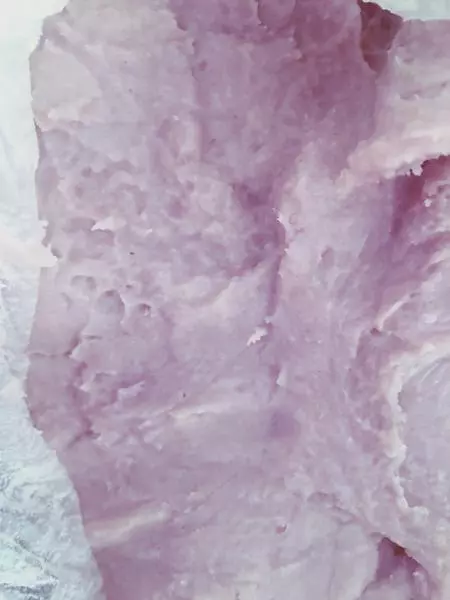
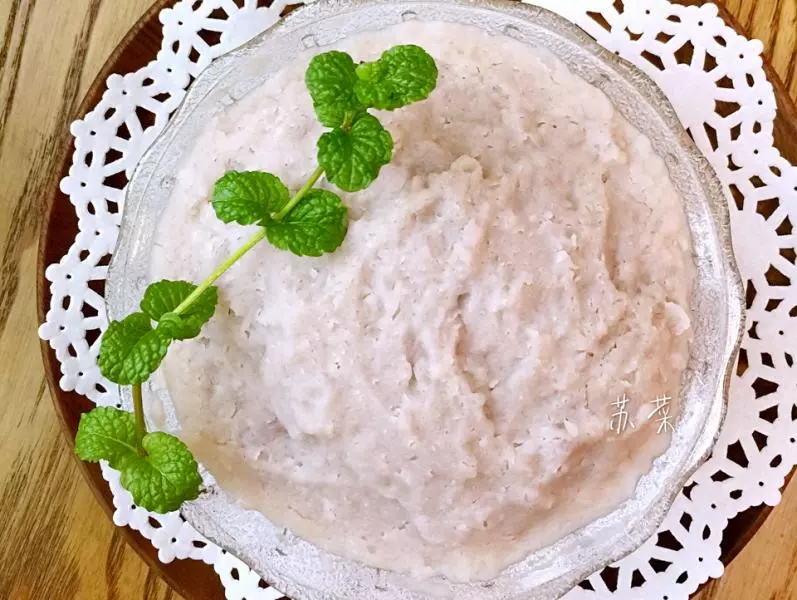
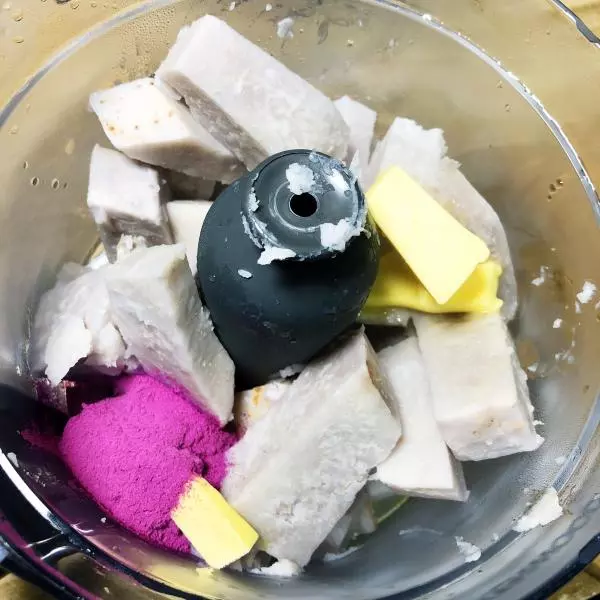
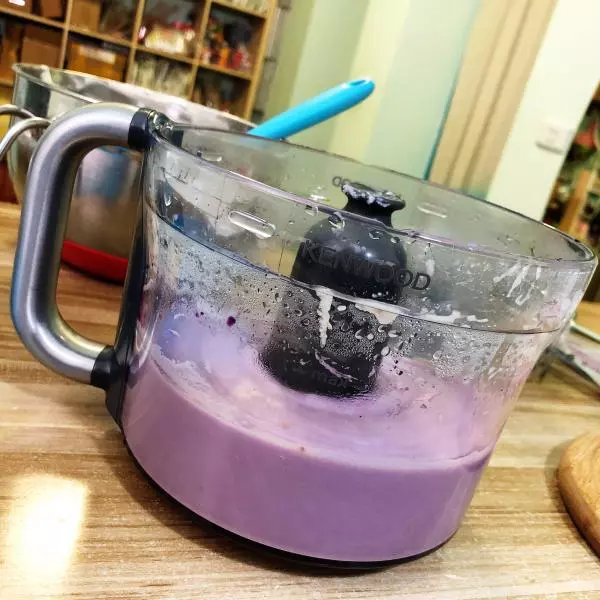
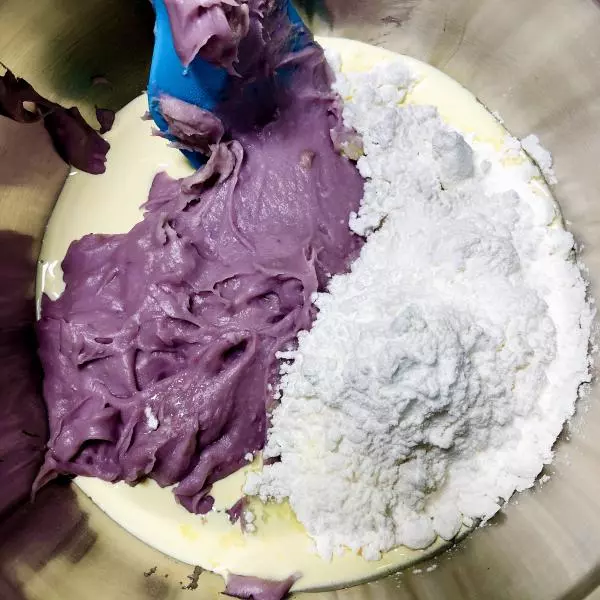
9然後用這段時間來準備芋泥餡啦~ 蒸熟的芋頭➕黃油➕紫薯粉,放入攪拌機,攪打成泥
10攪完顏色好好看哦
11紫薯粉主要就是用來調色的
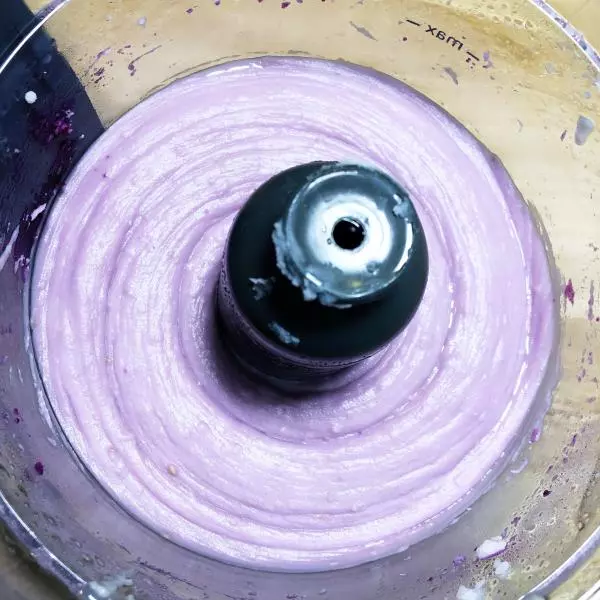
12淡奶油➕糖份➕芋泥,攪拌均勻,我們的芋泥餡就完成啦~
13這時蛋糕也烤好了,趕緊移出來
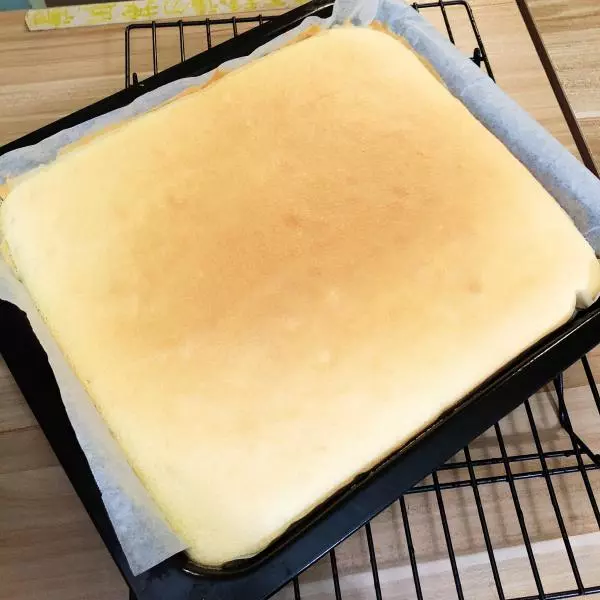
14撕開烘焙紙冷卻,避免收縮變形
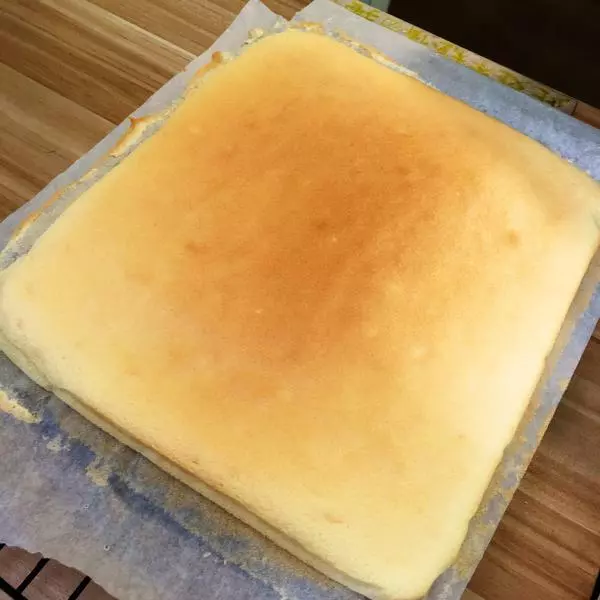
15換個角度看看,完美~哈哈哈
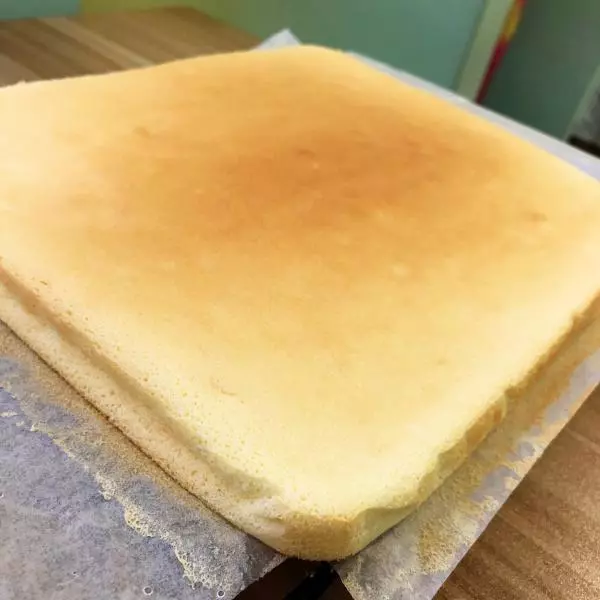
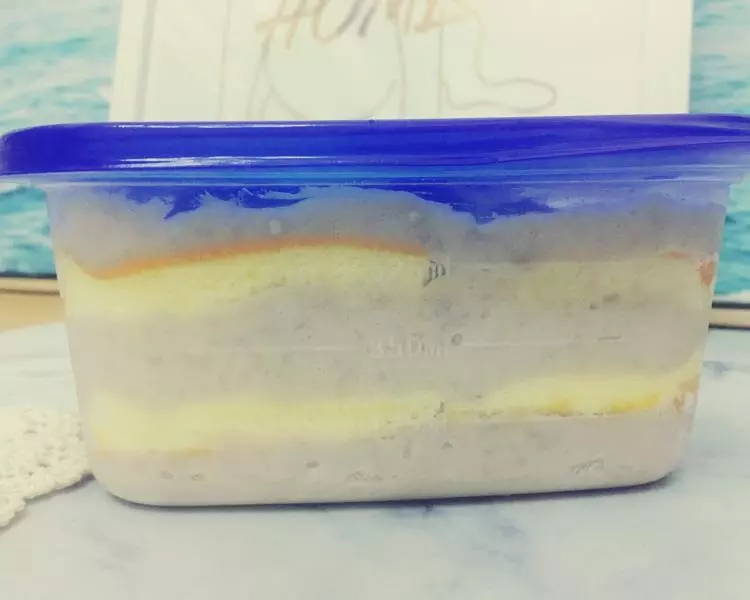
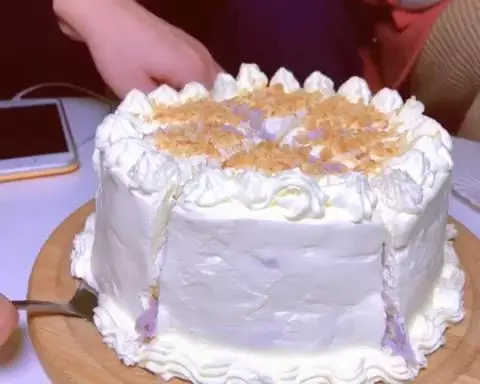
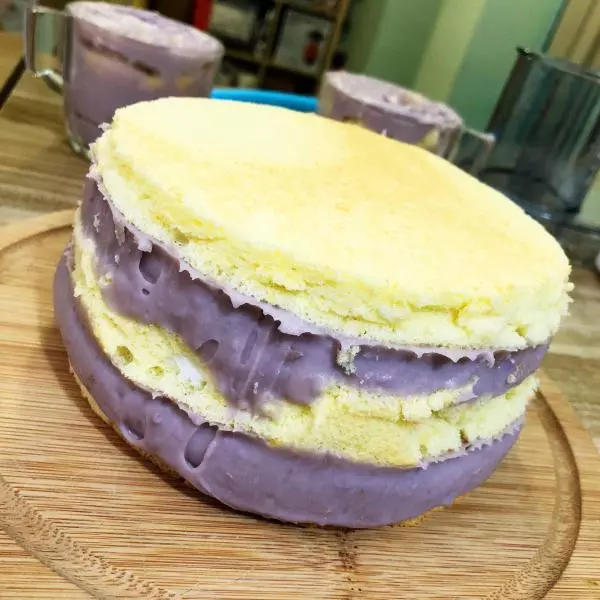
16接下來就是最讓人開心的組裝環節啦!
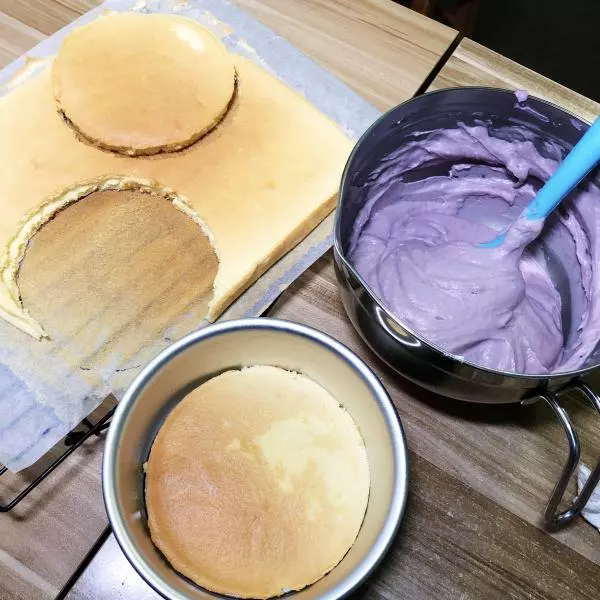
17一層蛋糕一層芋泥疊加組合就可以啦~ 由於我缺工具,只有用最土的辦法,用刀切??? 實在是太難看了,做裸蛋糕的願望就這樣破滅了,不得不再多來點奶油,抹個面再裝飾一下
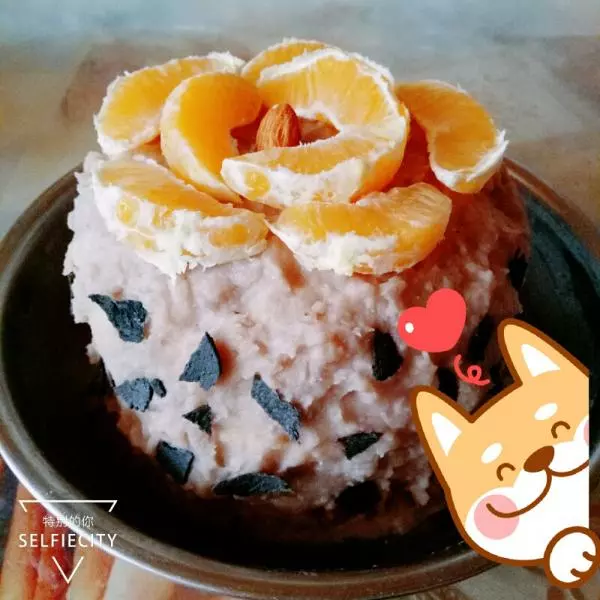
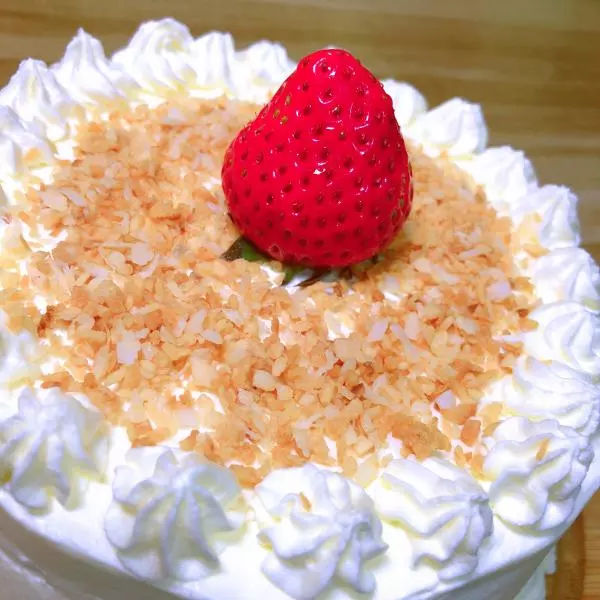
18第一次抹面,太拙劣了?哈哈哈哈,表面再撒上任意堅果碎裝飾
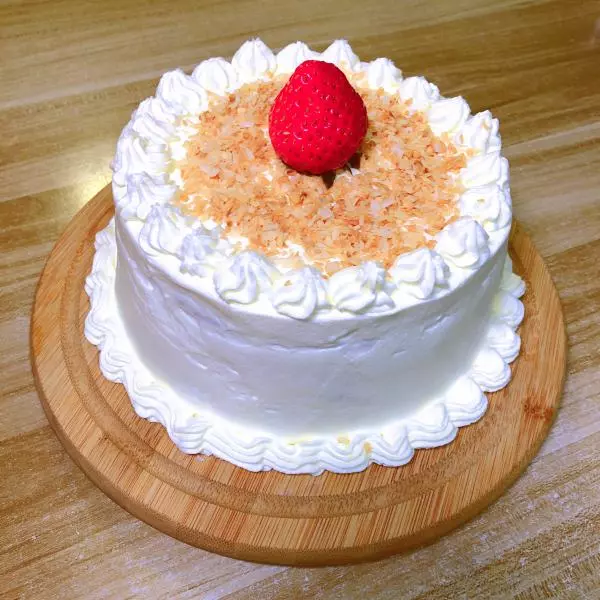
19點綴課草莓
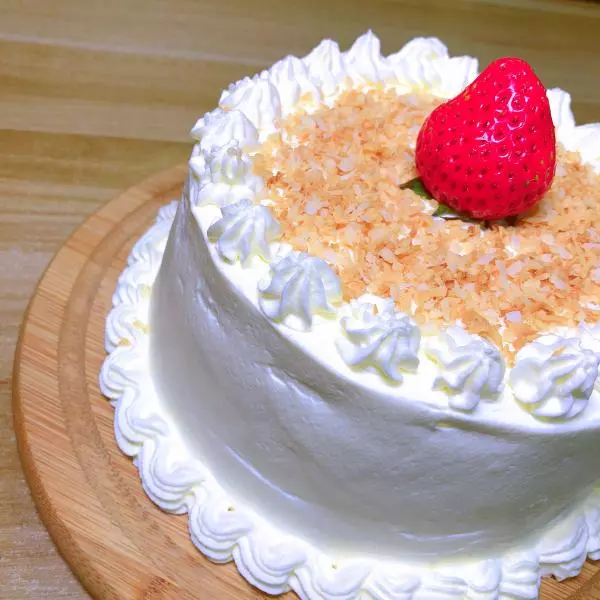
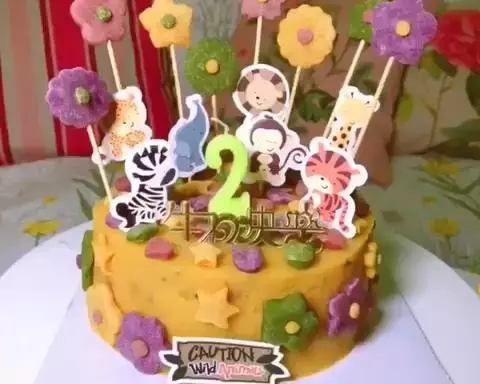
20噹噹噹噹~完成!
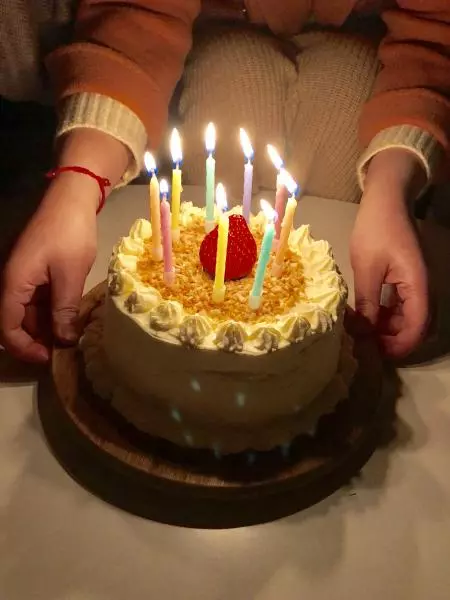
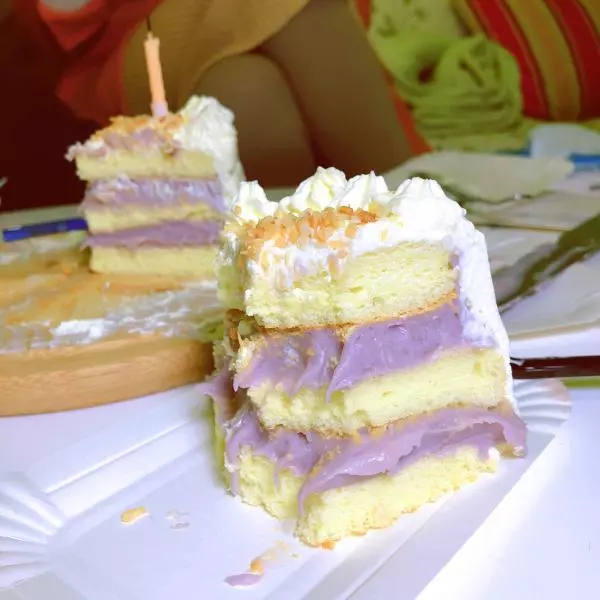
21點上蠟燭,許個願吧~ 祝你生日快樂?
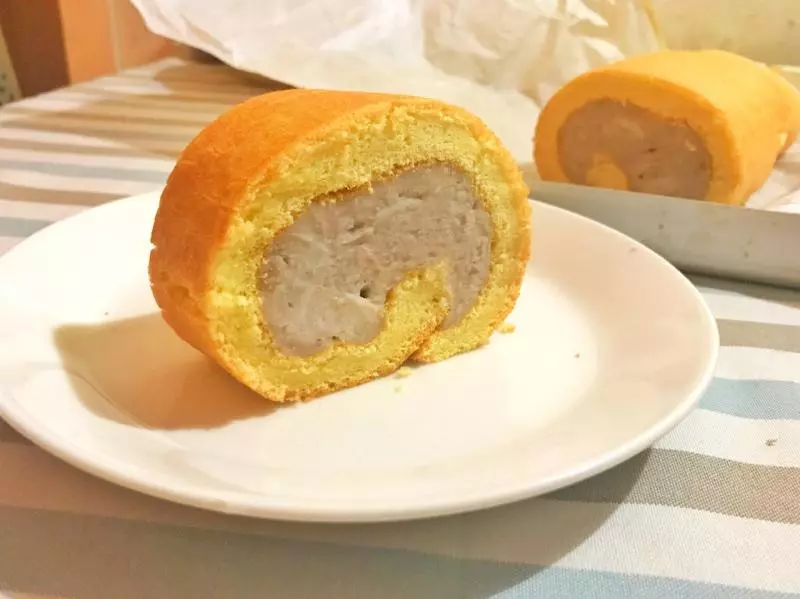
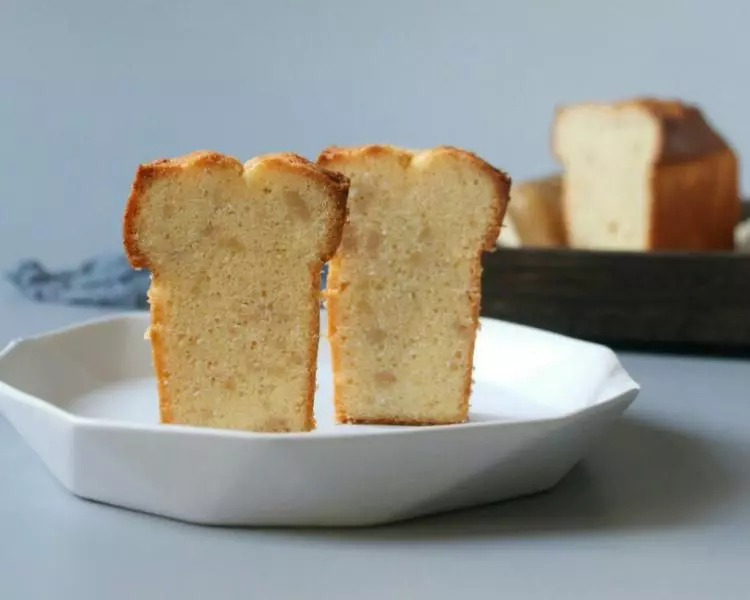
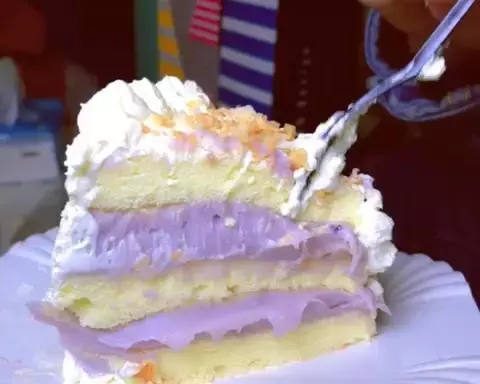
22切開手感軟軟糯糯,顏色粉紫,很美喔
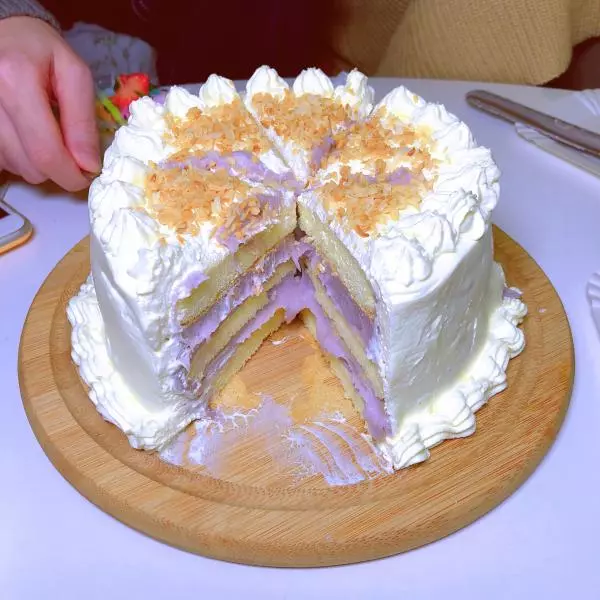
23切塊
24琳哥專屬試吃小白鼠,吃給你們看?
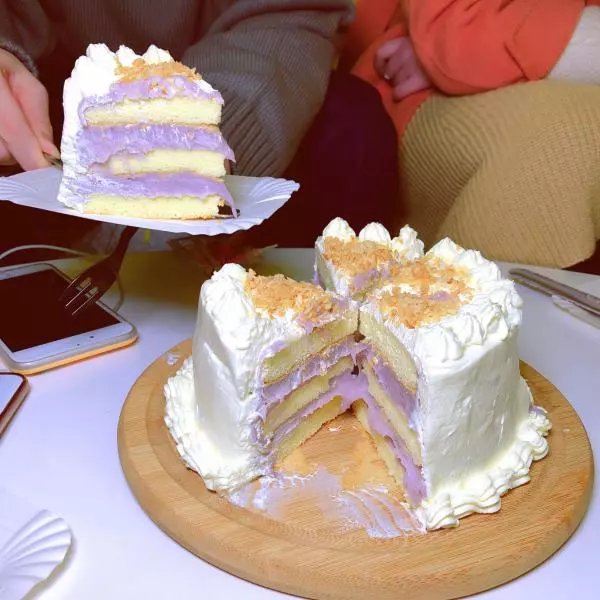
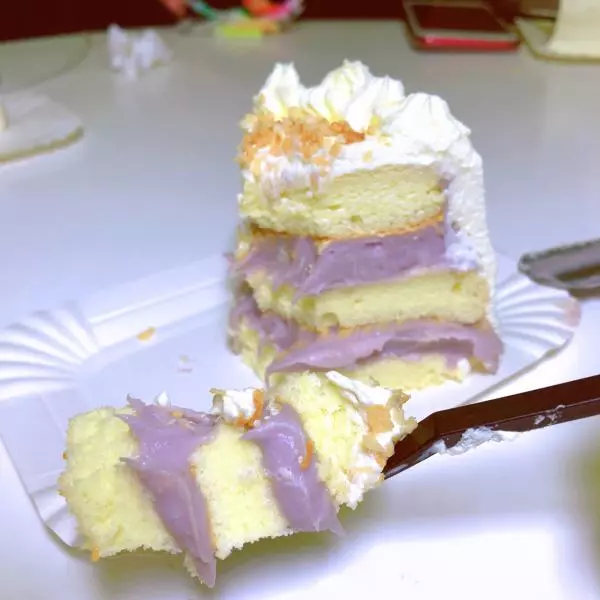
25切塊
26芋泥誘人?
小技巧
書書最愛~