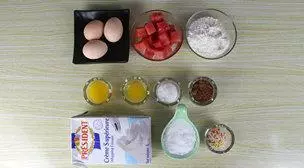
原料
雞蛋: 3個, 低筋麵粉: 85克, 可可粉: 15克, 細砂糖: 75克, 黃油: 25克, 黃油: 10克(刷模具內), 淡奶油: 100克, 煉乳: 10克, 裝飾糖: 適量, 水果: 適量
步驟
1準備好所需要的原料,黃油隔水加熱成為液態備用
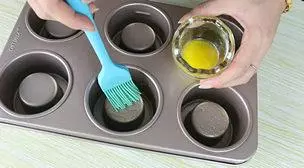
2模具內刷層黃油,放在一旁備用
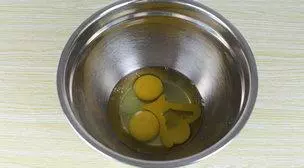
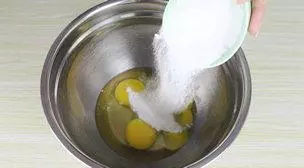
3雞蛋打入盆中(蛋清蛋黃不用分開)
4細砂糖全部倒入雞蛋中
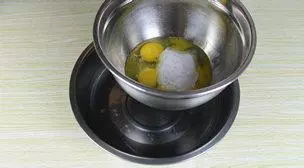
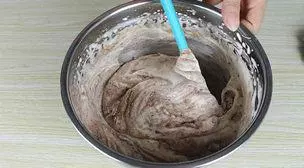
5準備一盆熱水,打蛋盆放入熱水盆里,用電動打蛋器將雞蛋打發
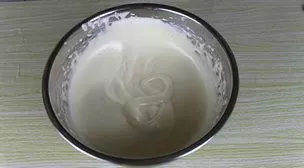
6雞蛋打發到提起打蛋器,低落下來的蛋糊不會馬上消失,寫8字不很快消失即可
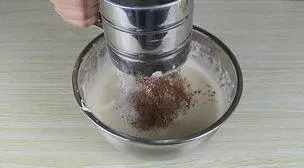
7低筋麵粉和可可粉混合均勻,過篩到6中
8用刮刀從底部往上輕輕翻拌均勻,使蛋糊和麵粉混合均勻,不要畫圈攪拌,以免蛋白消泡
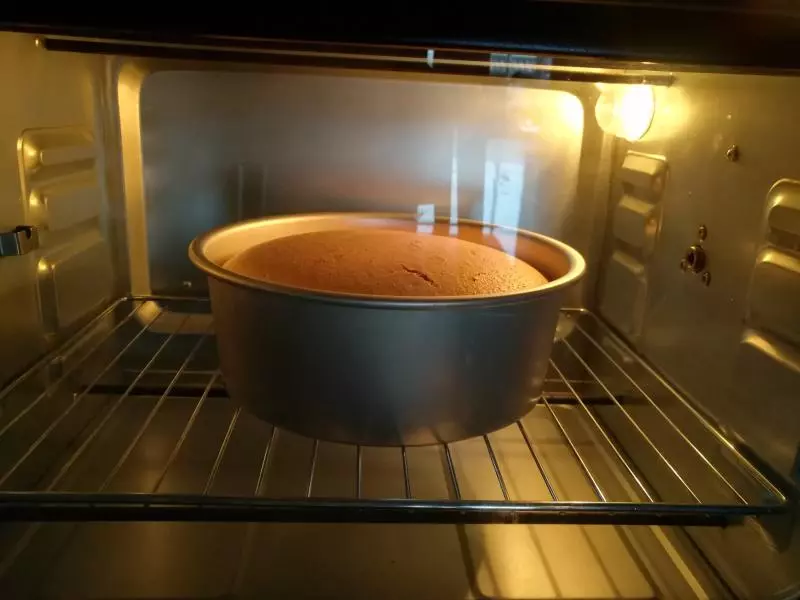
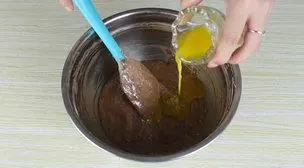
9倒入25克黃油,快速翻拌均勻。烤箱預熱上下火180度
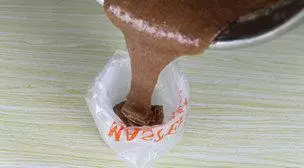
10做好的蛋糕糊裝入裱花袋中
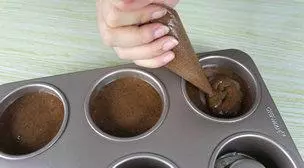
11擠入蛋糕模具至劃線或者往上一點就可以,擠的太滿烤好的蛋糕底部不平整,擠好後放入預熱好的烤箱中層上下火180度,烘烤20分鐘左右。(時間到了用牙籤插入蛋糕內部,拔出來後牙籤上沒有粘上蛋糕,就表示熟了。)
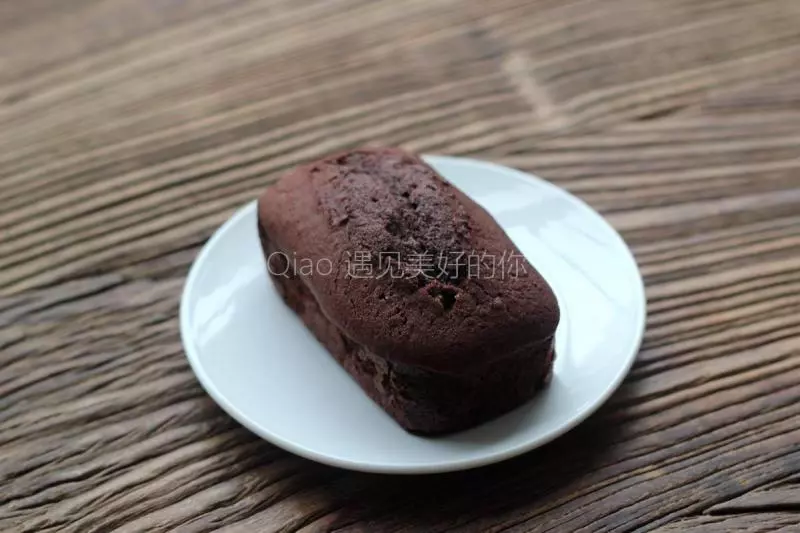
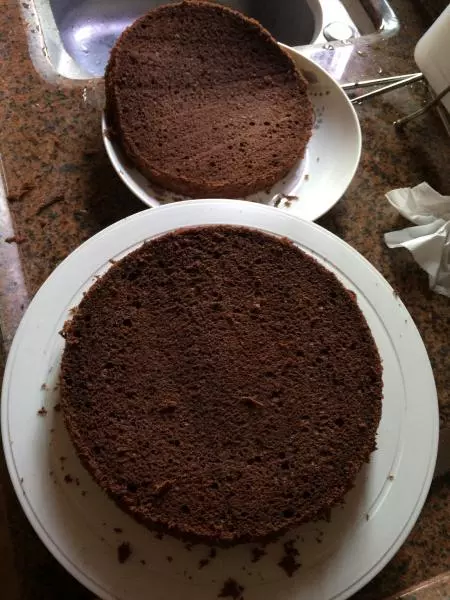
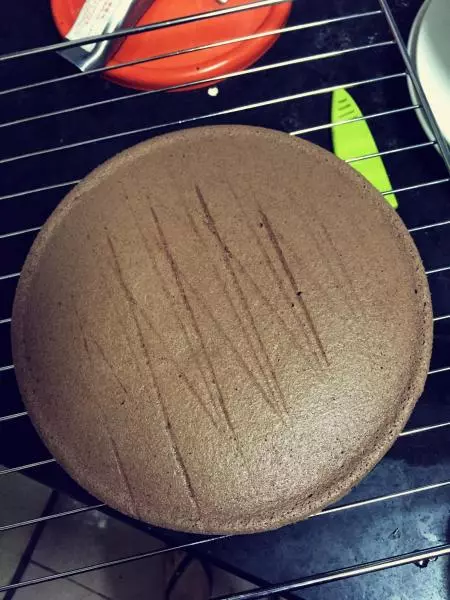
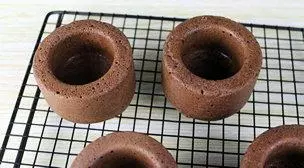
12烤好後的蛋糕,震模若干次,蛋糕會自動脫落,放在烤網上倒扣晾涼
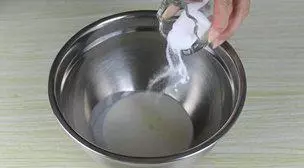
13蛋糕涼透後開始打發淡奶油,冷藏過的淡奶油加入細砂糖,用電動打蛋器打發
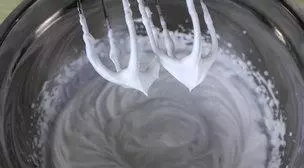
14打發到提起打蛋器能拉出堅挺的角,這時候奶油非常細膩,打發完成
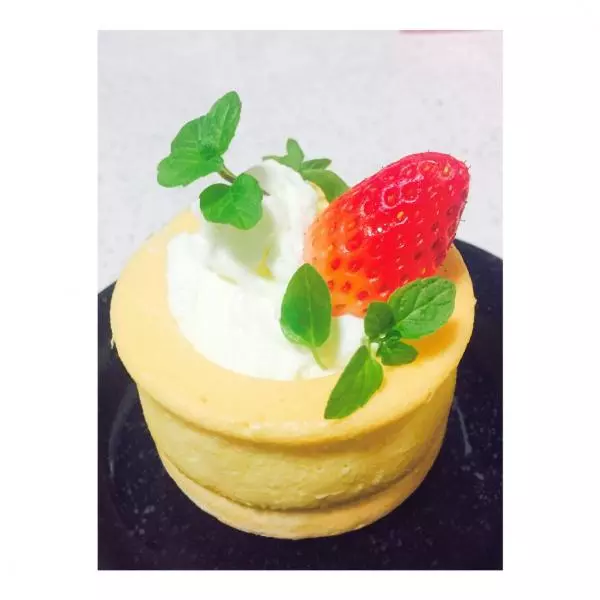
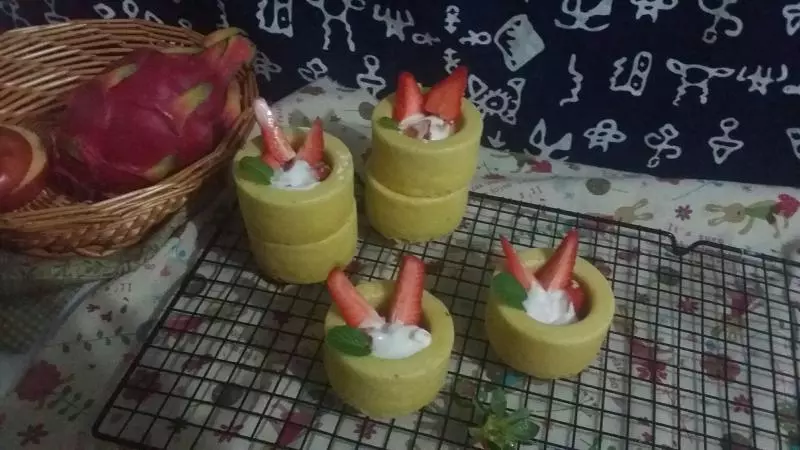
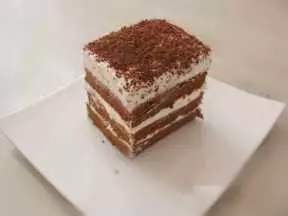
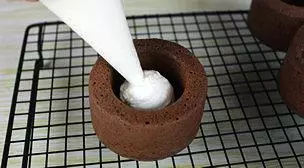
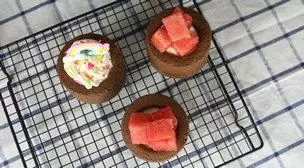
15打發好的奶油裝入裱花袋中,擠入蛋糕杯中
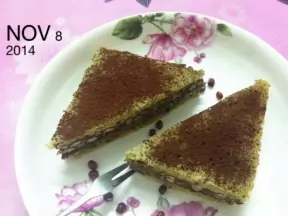
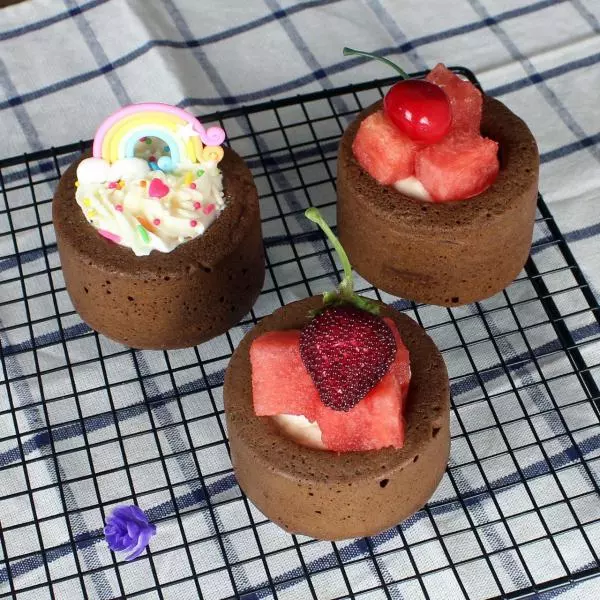
16放上自己喜歡的水果,或者彩糖進行裝飾,就可以了啦
小技巧
1 淡奶油打發之前需要冷藏12小時以上,100克淡奶油+10克細砂糖進行打發,打蛋器打蛋盆必須是無水無油 2 模具內部要記得刷黃油,不然烤好後不易脫模哦 3 蛋糕糊倒入模具不易太滿,剛過模具線就可以,若太滿烤好後的杯底太厚就不平整了 4 如果不喜歡淡奶油可以在杯子裡面放酸奶或者是自己喜歡的各種水果 5 各家烤箱溫度不同,烘焙溫度與時間要根據自家烤箱脾氣適當調整 煉乳: 淡奶油: 黃油: 細砂糖: 可可粉: 低筋麵粉: 蛋糕模: