原料
無鹽黃油: 200g, 糖粉: 100g, 蛋液: 25~30g(不用太精確), 淡奶油: 50g, 杏仁粉(用馬卡龍超細粉不用過篩): 40g, 鹽: 2g, 低筋粉: 250g, 抹茶粉: 10g
步驟
1黃油室溫軟化後,打至順滑。再加入糖粉打至發白鬆軟。

2蛋液分3次加入,便之完全溶合。

3再把淡奶油分次加入,打至順滑。

4加入杏仁粉與鹽,用低速檔拌勻就行。

5最後篩入低筋粉、抹茶粉,用刮刀拌勻,再用電動打蛋器中速打10秒,使之完全溶合。

6拌好的抹茶麵糊。

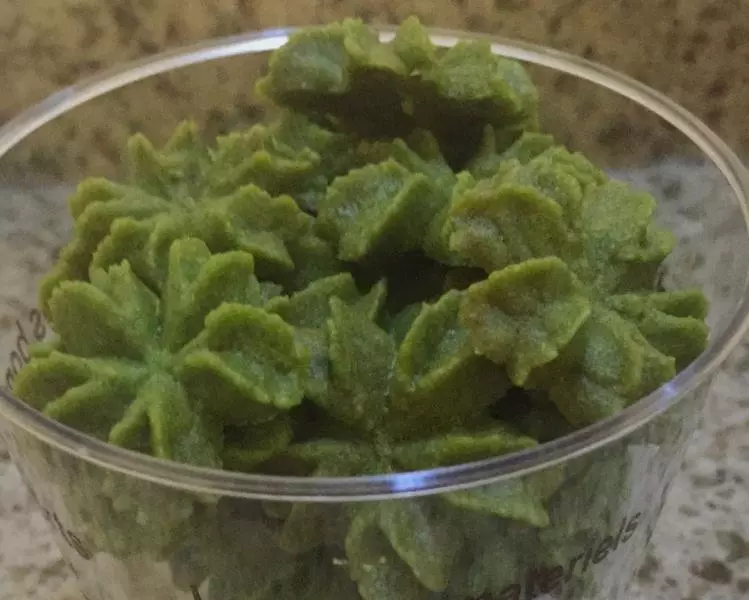
7裱花袋裝入花嘴,再套在高身杯上,然後裝抹茶麵糊。

8用刮板把麵糊推至花嘴。

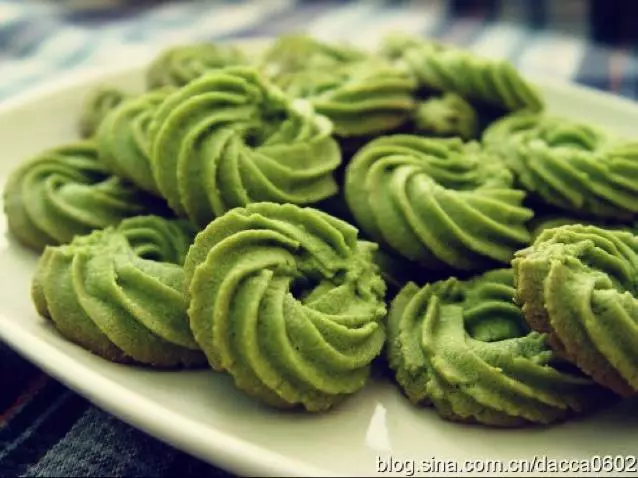
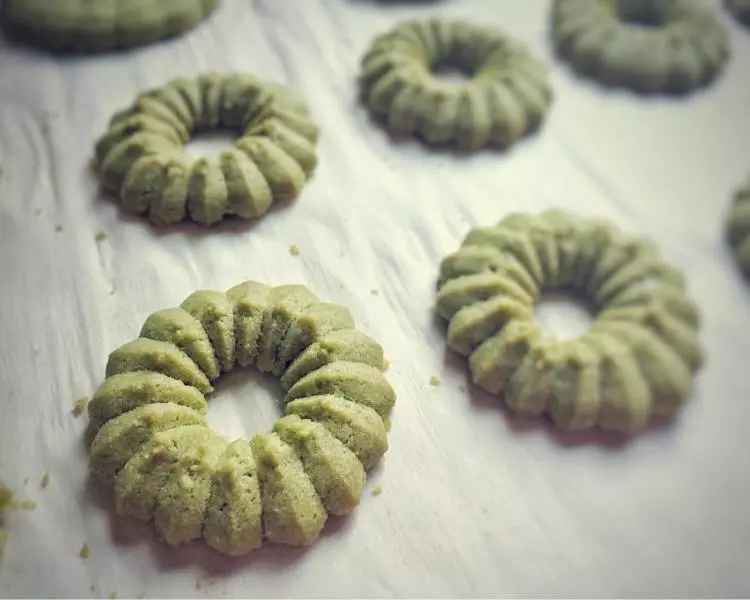
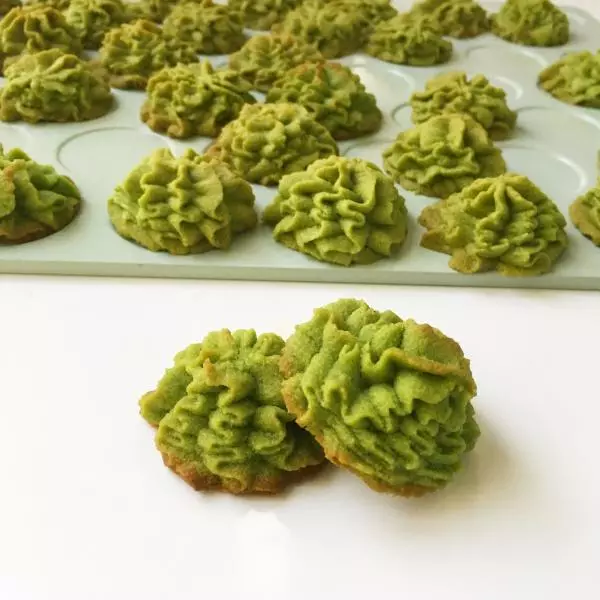
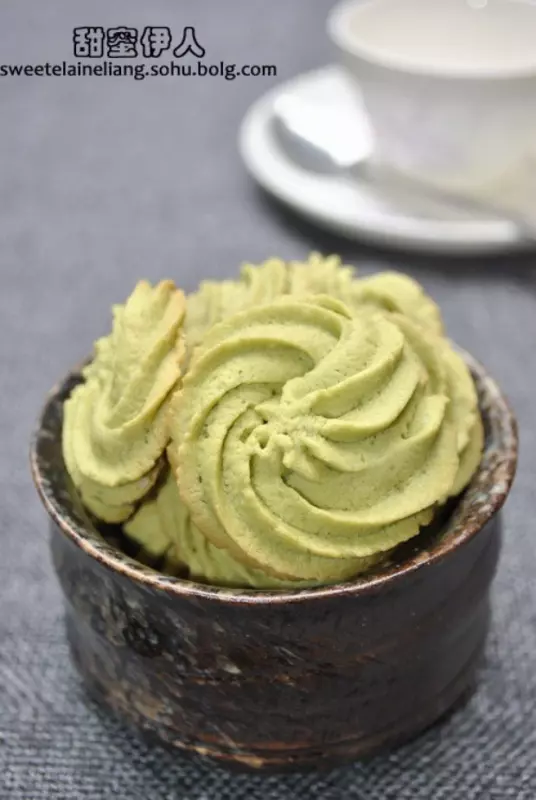
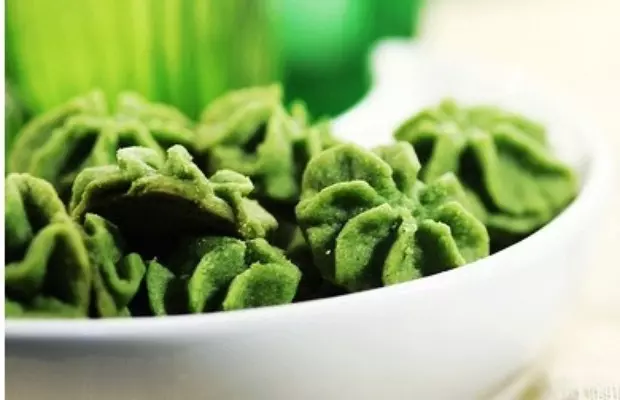
9十八齒花嘴擠的,共擠2盤。

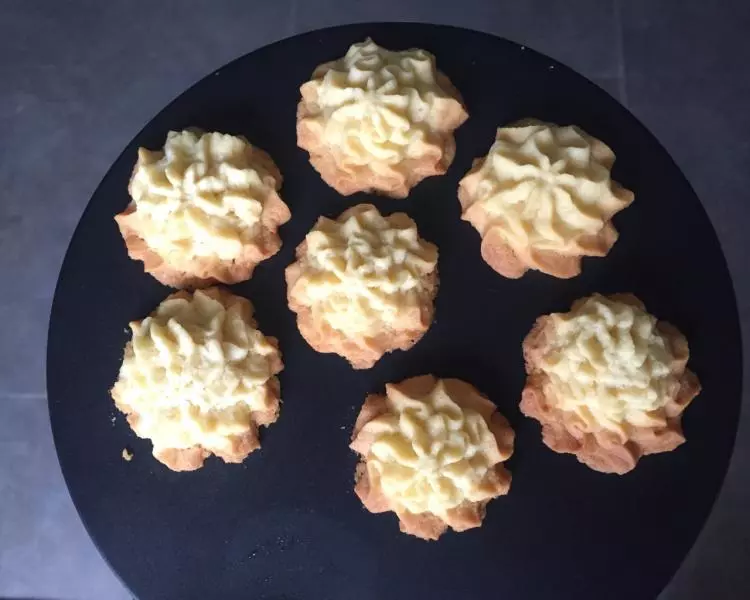
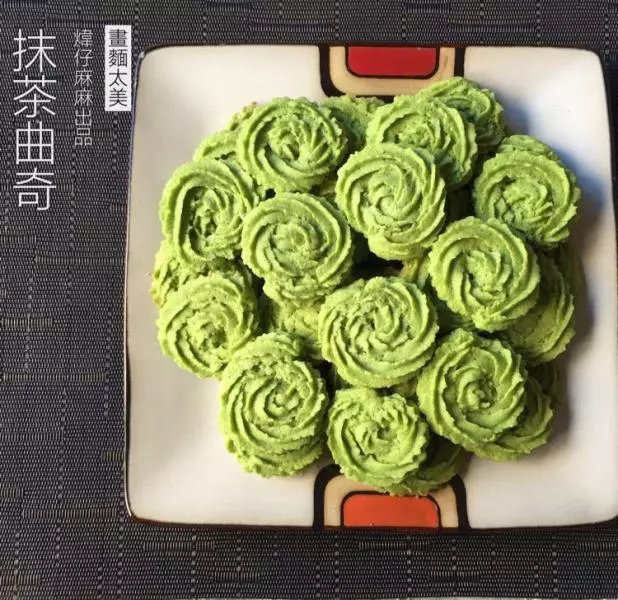
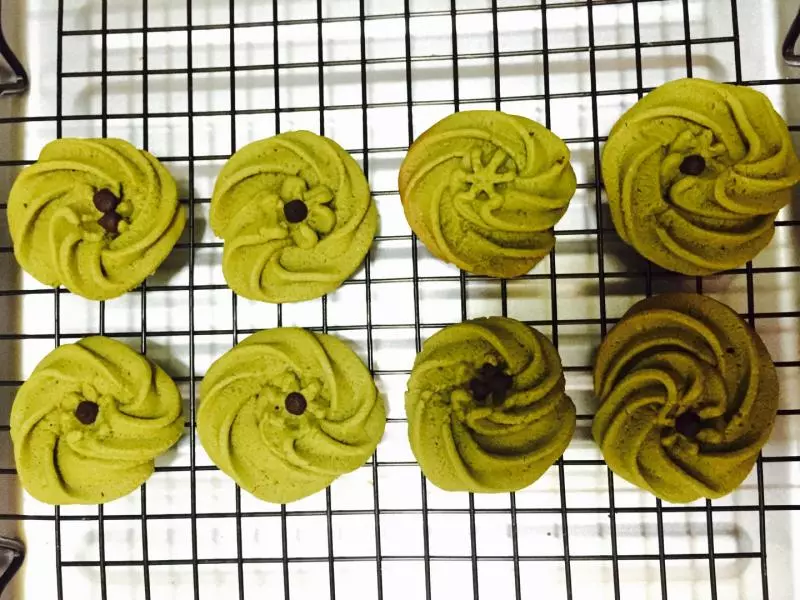
10櫻花花嘴擠的,共擠2盤。

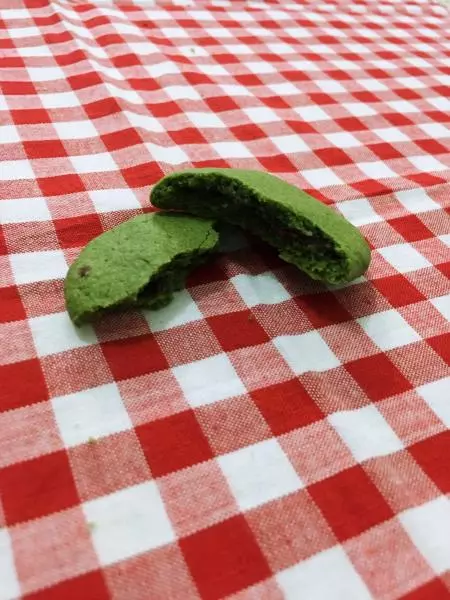
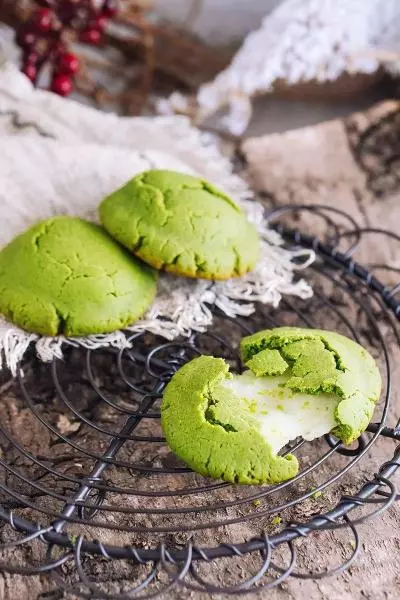
11烤箱上下火170度熱風模式預熱,放入中層烤網上,烤13~15分鐘,(烤至約10分鐘要注意觀察以防上色)。烤好出爐放涼架上放涼。

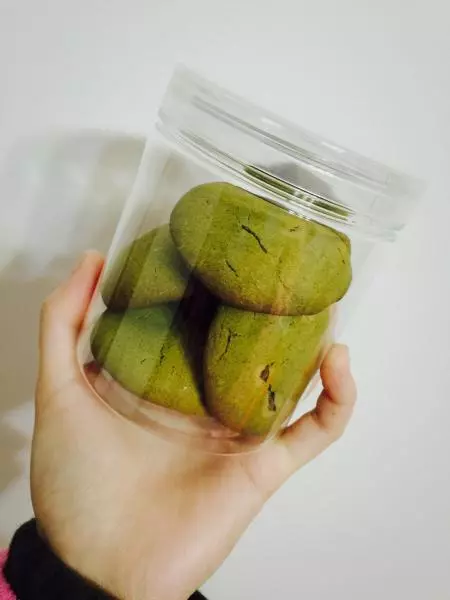
12放涼後要儘快入盒密封保存,以防受潮。