原料
高筋麵粉: 250克, 車打奶酪(也可以用芝士奶酪片代替): 60克, 溫水(40度左右): 190克, 白沙糖: 20克, 鹽: 5克, 酵母: 3.5克
步驟
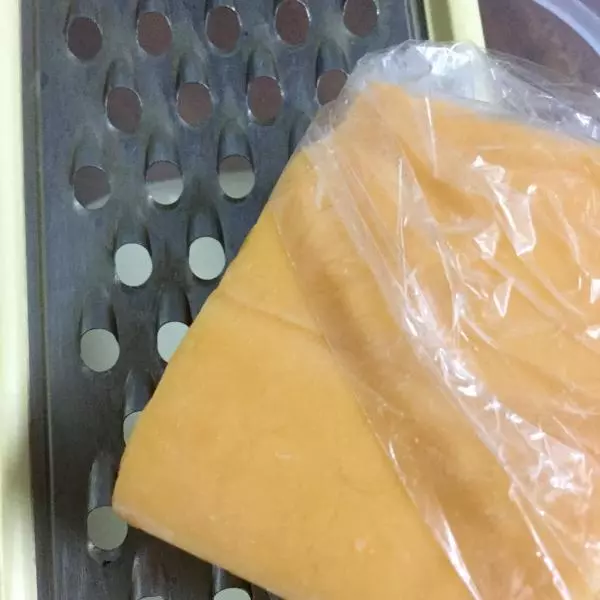
1用是這種車打奶酪,如果沒有也可以用奶酪片代替,但口感可能不差,只是味道沒有那麼香濃

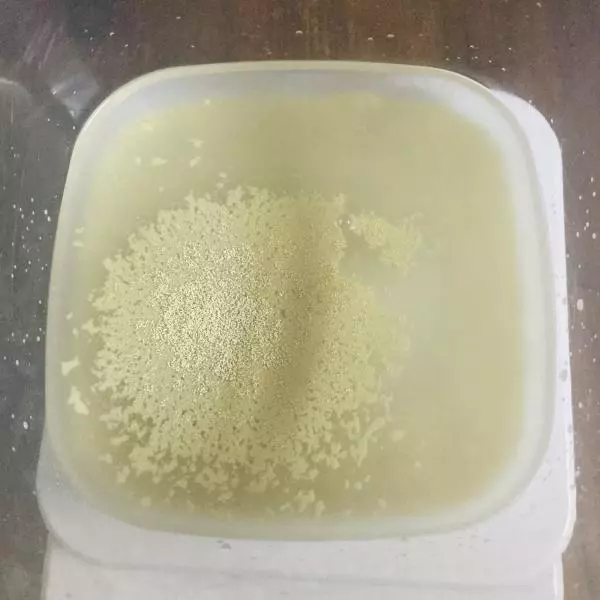
2將保鮮盒放入秤上,先放入溫水在保鮮盒裡,再加上白沙糖,鹽,酵母一起放入保鮮盒裡
3取出刨絲板,把哪個車打奶酪,刨成絲,放入保鮮盒裡
4將刨絲車打奶酪跟溫水一起攪拌均勻

5攪拌均勻,備用

6將高筋麵粉加入保鮮盒裡,
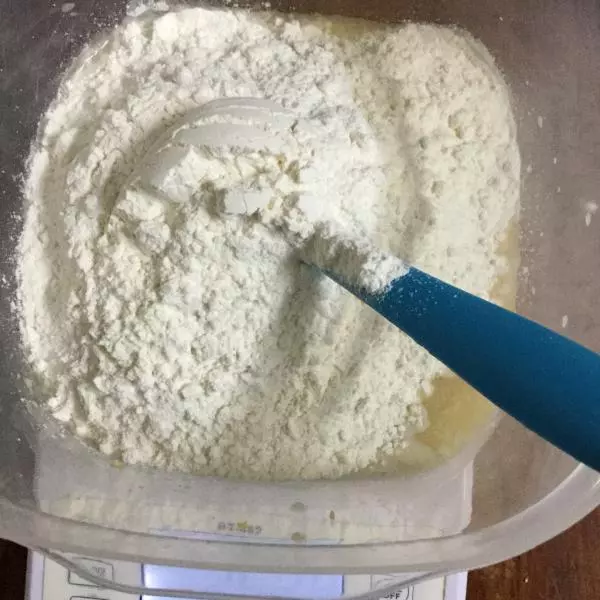
7用刮刀拌勻
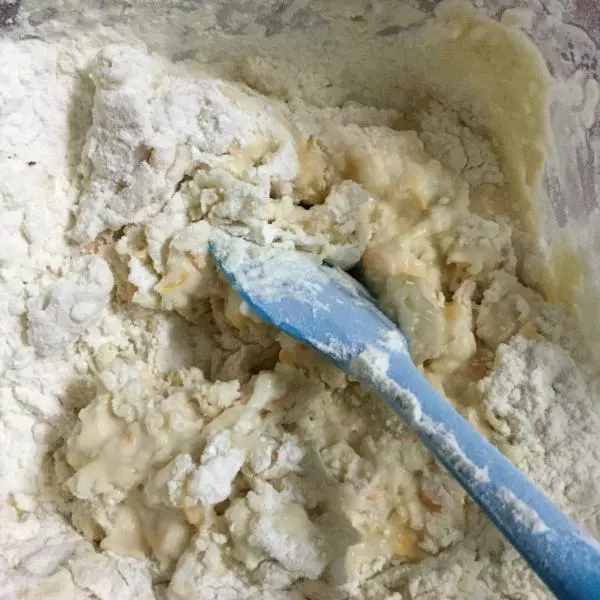
8至乾濕均勻、沒有乾粉即可。
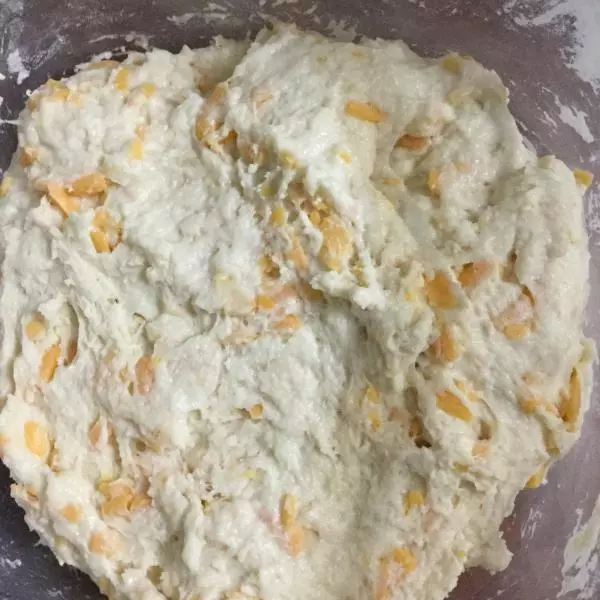
9蓋上蓋子(不需要密封),室溫發酵兩小時。
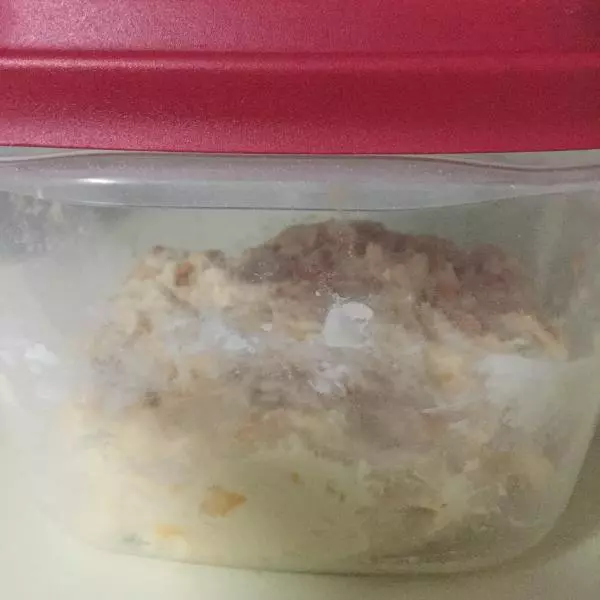
10發酵兩小時後就是這樣子,
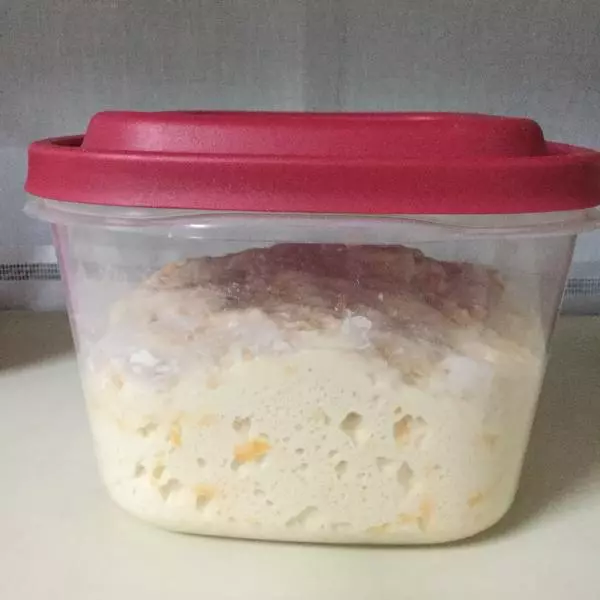
11溫室發酵兩小時後,掀開蓋看是這樣子,重新蓋上蓋子放入冰箱冷藏一夜。

12放入冰箱冷藏一夜後就是這樣子,開始做麵包前取出來。
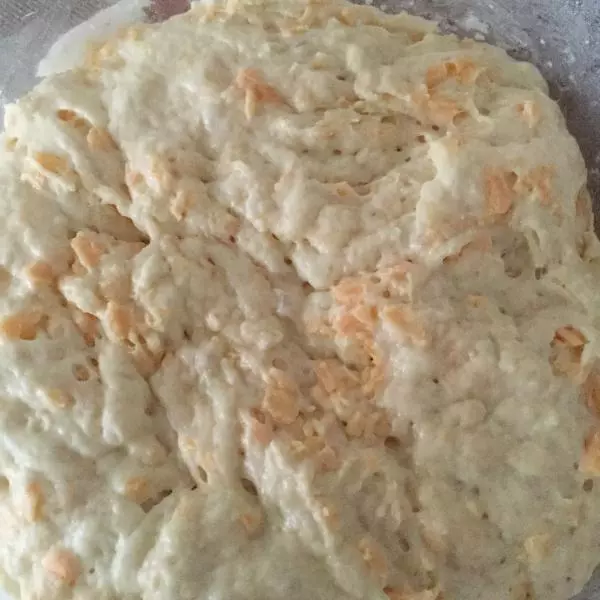
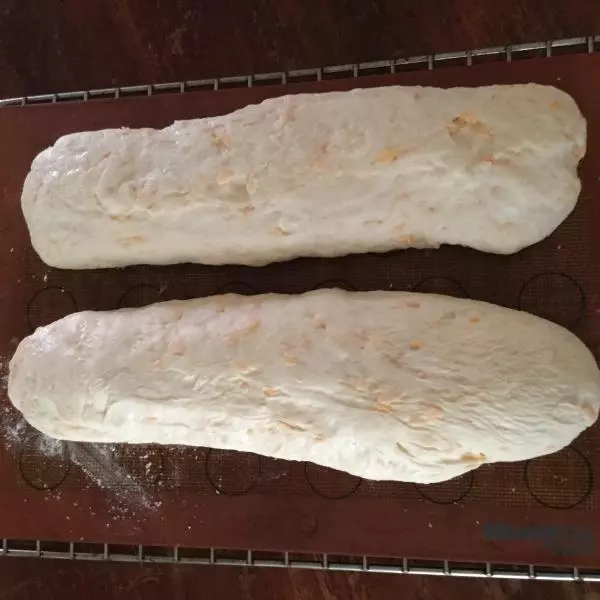
13 為了不粘手,先在麵糰上面撒一層薄薄的高粉,
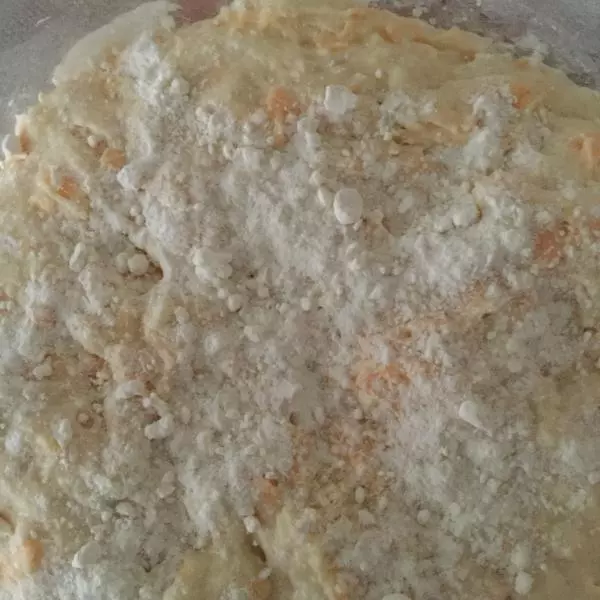
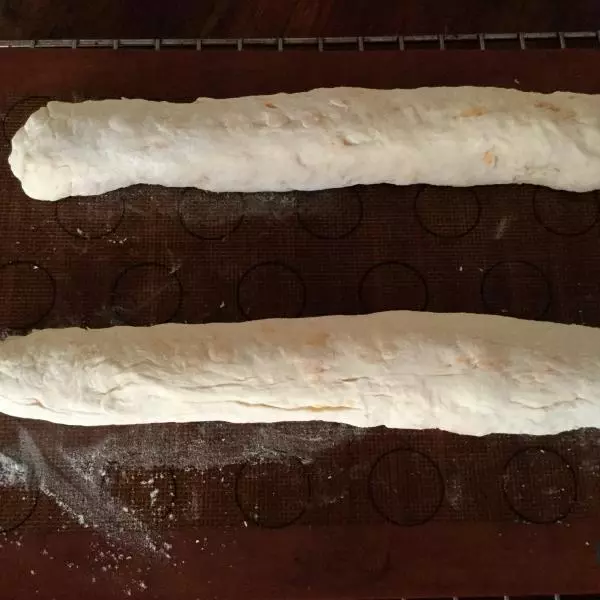
14然後迅速抓起麵糰,再次撒粉,輕輕拉扯麵團表層收緊到底部,

15 使其成為長形
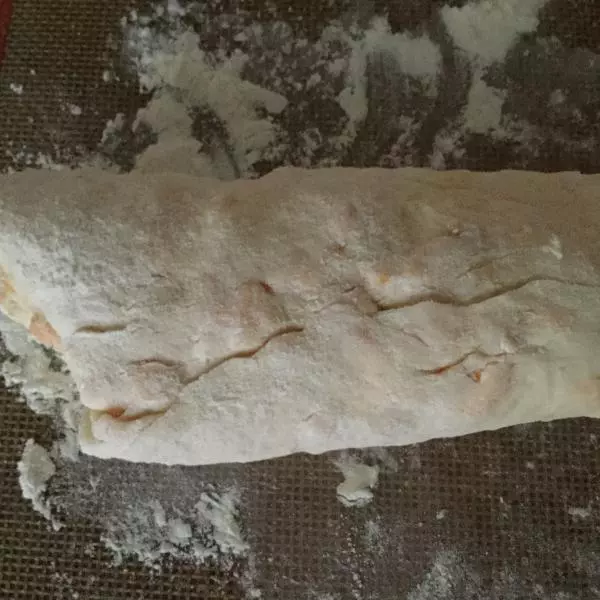
16然後放在鋪矽膠墊上,
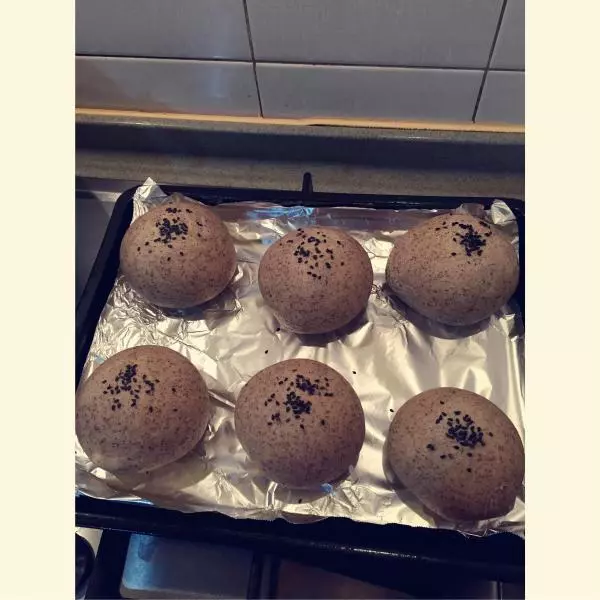
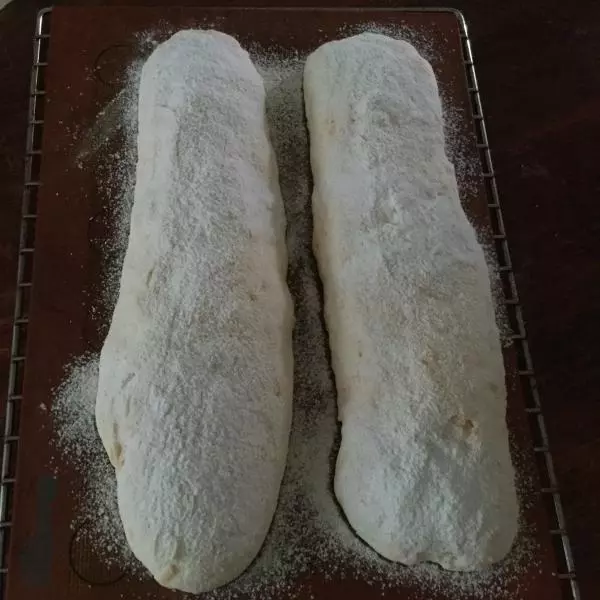
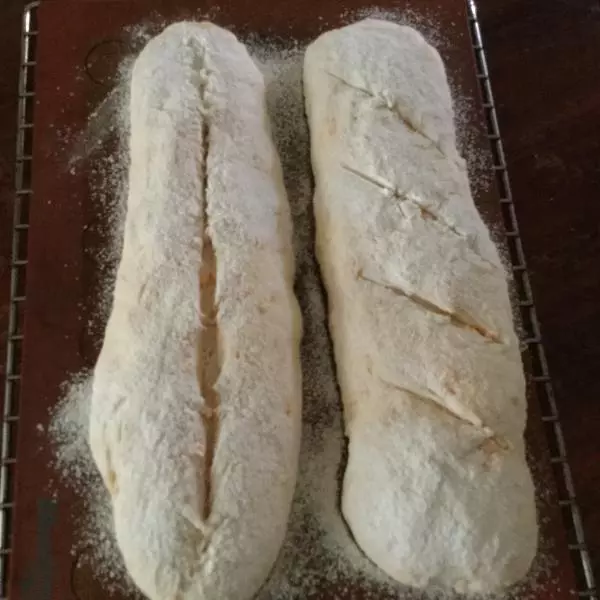
17夏天放鬆1小時,冬天2小時,(如果用的是剛攪拌好沒有冷藏過的麵糰,只需要放鬆發酵40分鐘)。
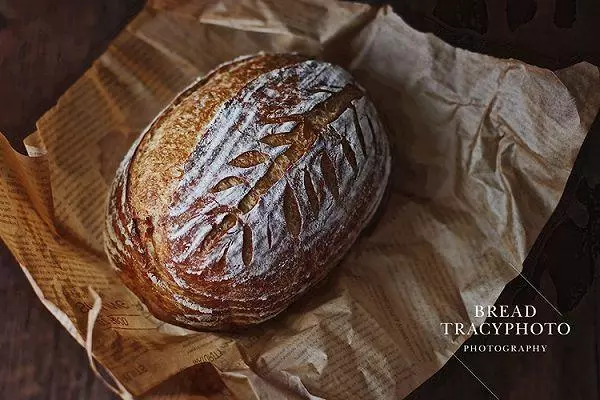
18經過1小時發酵好後
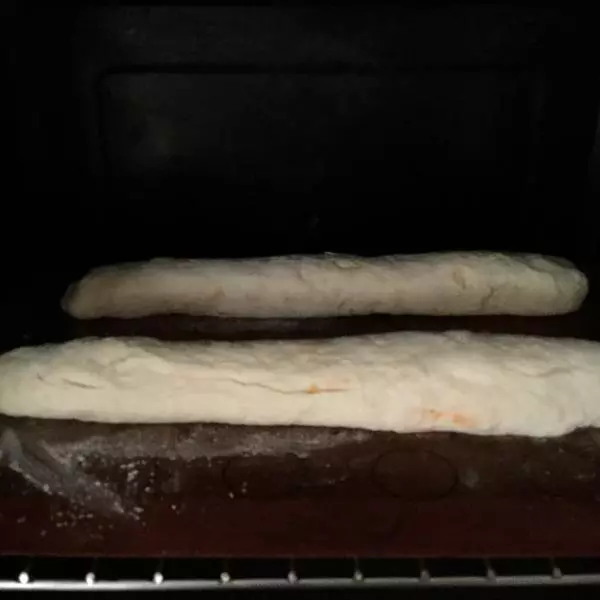
19烘烤前在麵糰表面撒足高筋麵粉,
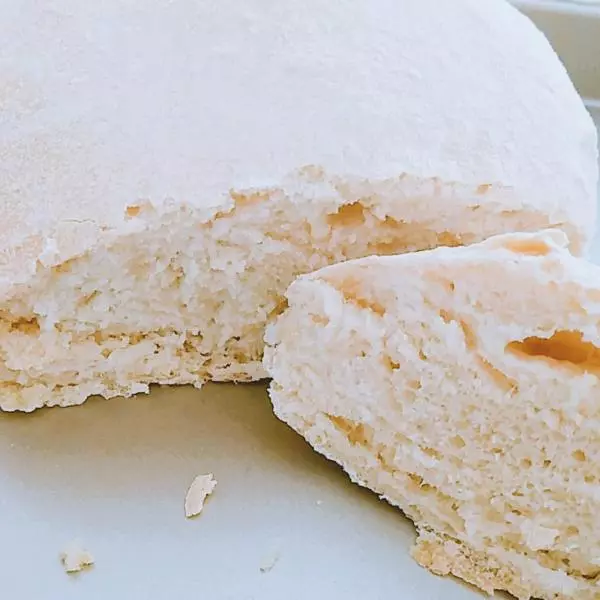
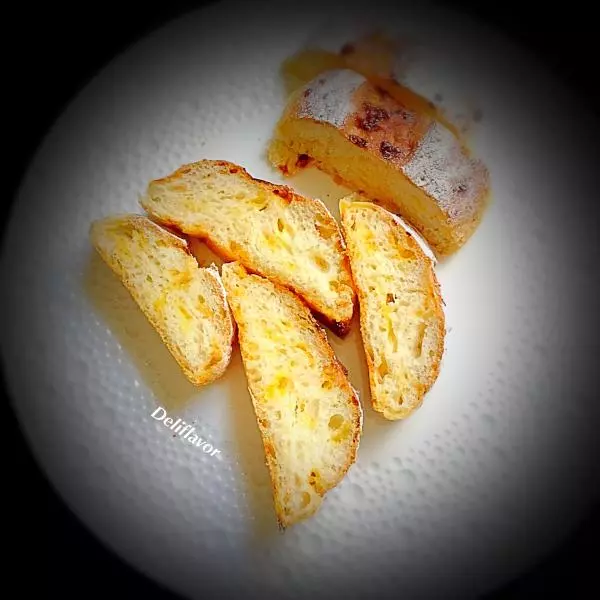
20割出喜歡紋路
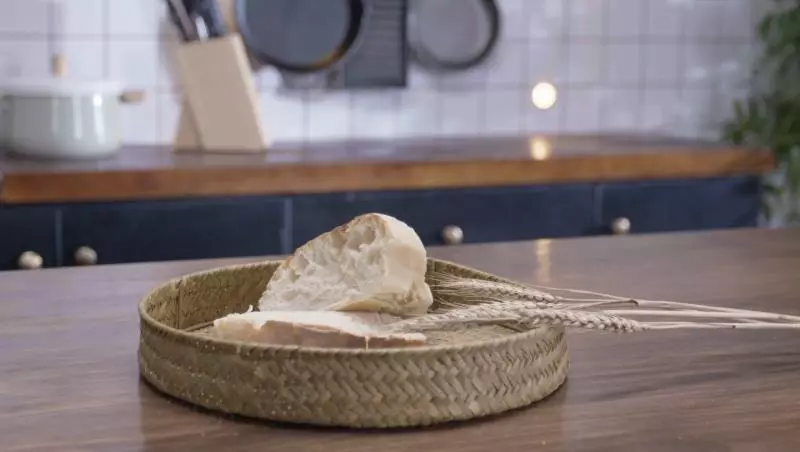
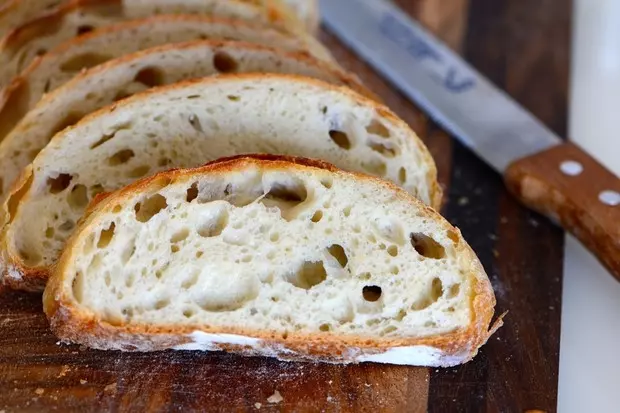
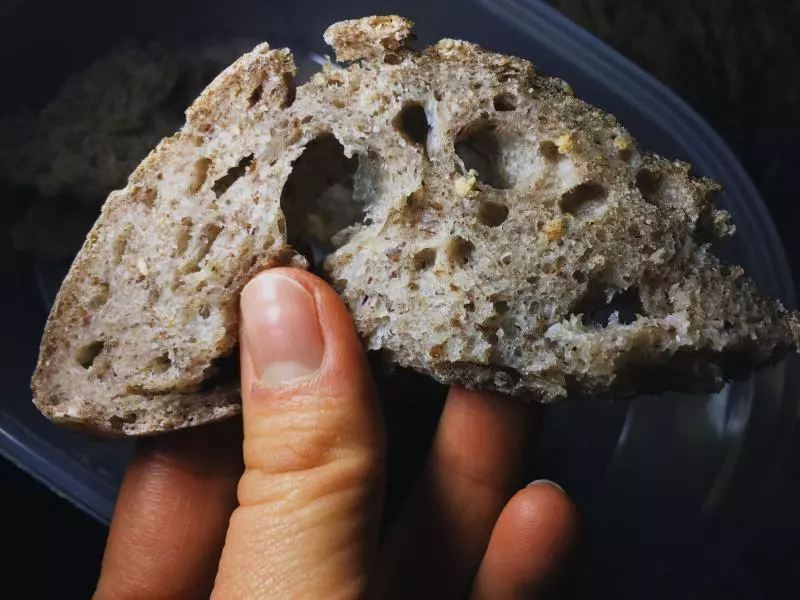
21預約烤箱上下火200度左右,中層35分鐘,想吃更脆皮可以加5分鐘左右
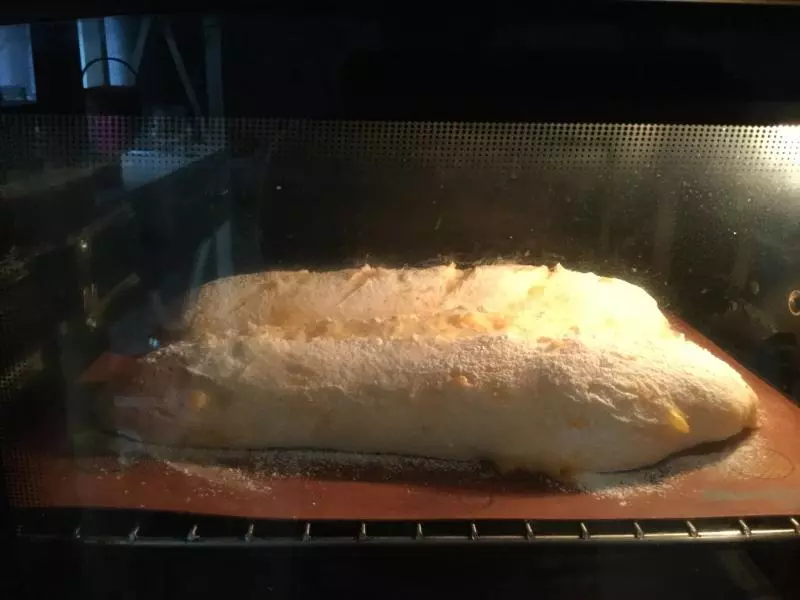
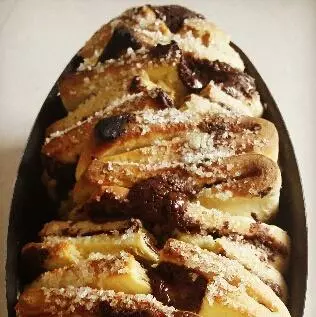
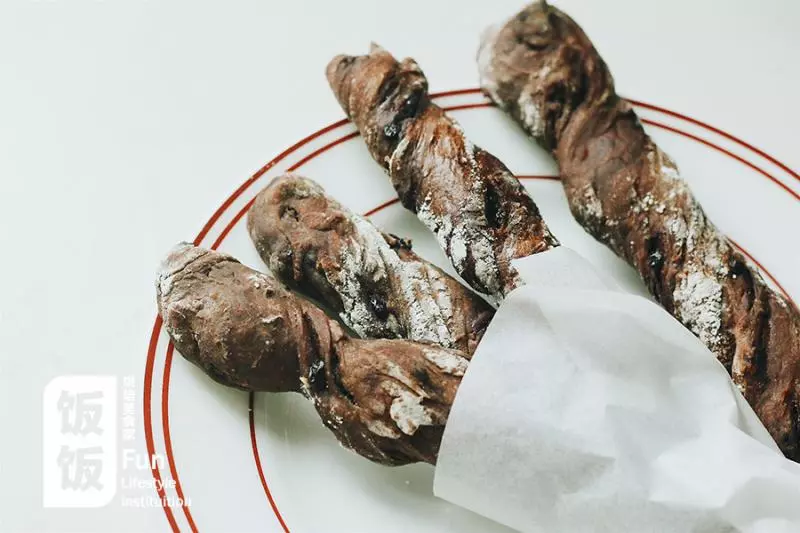
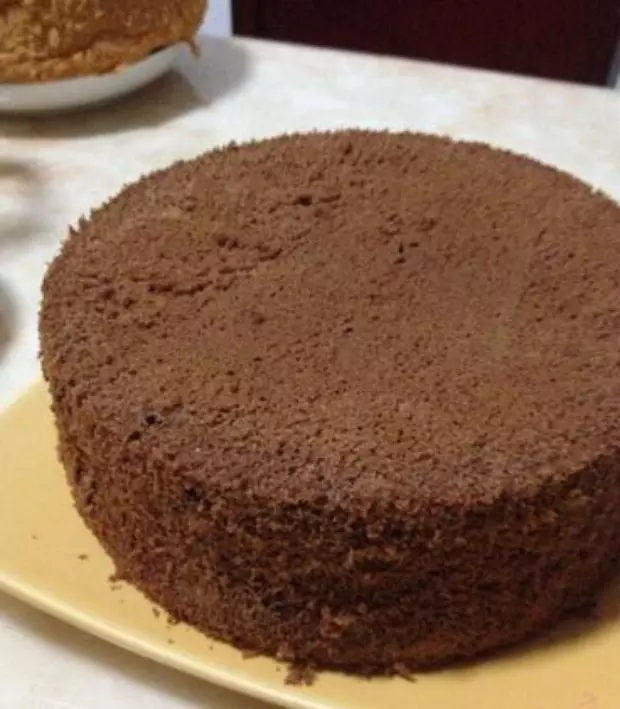
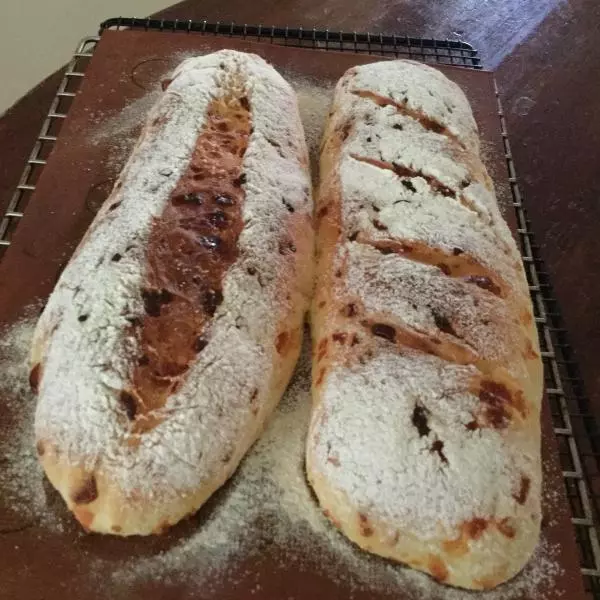
22大約40分鐘或至麵包表面變硬就行。更大或者更小的麵糰需要調整烘烤時間。取出麵包放在架子上放涼之後,切片即可。
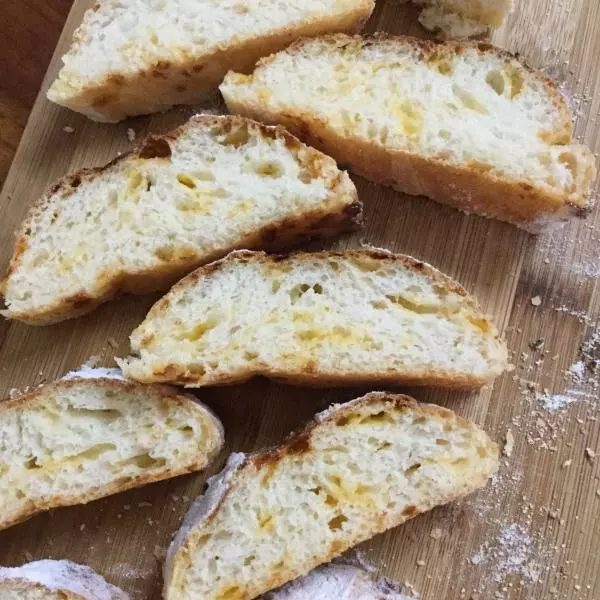
23裡面組織槓槓滴
24盛盤,拍照
25喜歡嗎

26真的好好吃

27微信掃一掃,下廚房才行,

小技巧
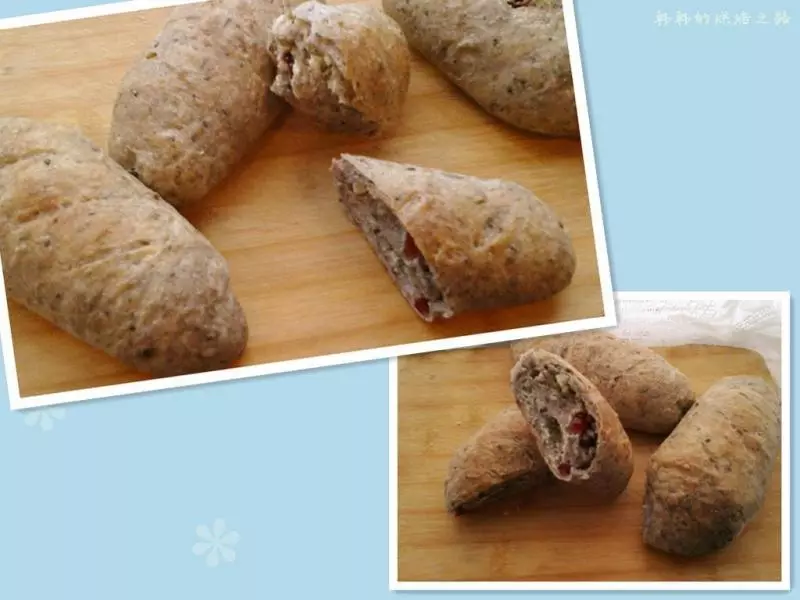
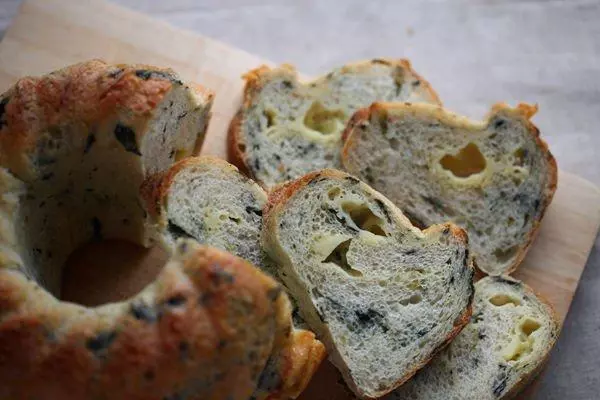
親愛的朋友們你好,我個人感覺非常好吃,但各人的口味不一樣,麵糰也可以放入其他原料,如蔥花,培根,等都很好,看各位喜歡