原料
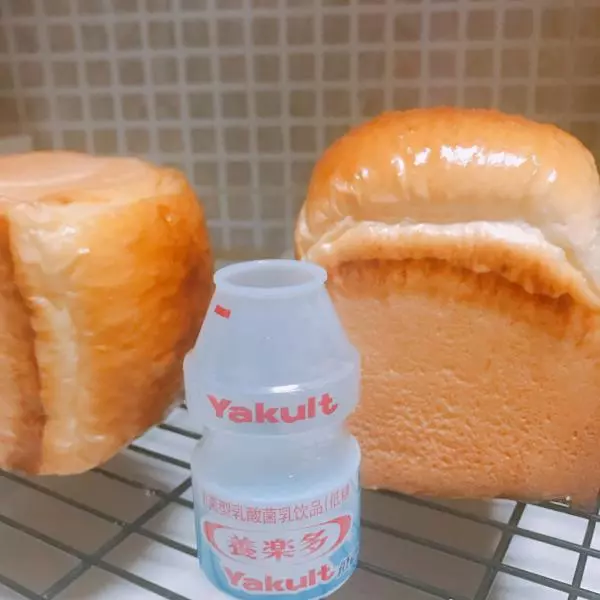
高筋粉: 500克 2, 奶粉: 10克 2, 鹽: 6克 2, 糖: 40克 2, 耐高糖酵母: 4克 2, 全蛋液: 60克 2, 低糖養樂多: 180克 2, 淡奶油: 100克 2, 水: 33克 2, 無鹽黃油: 28克 2
步驟
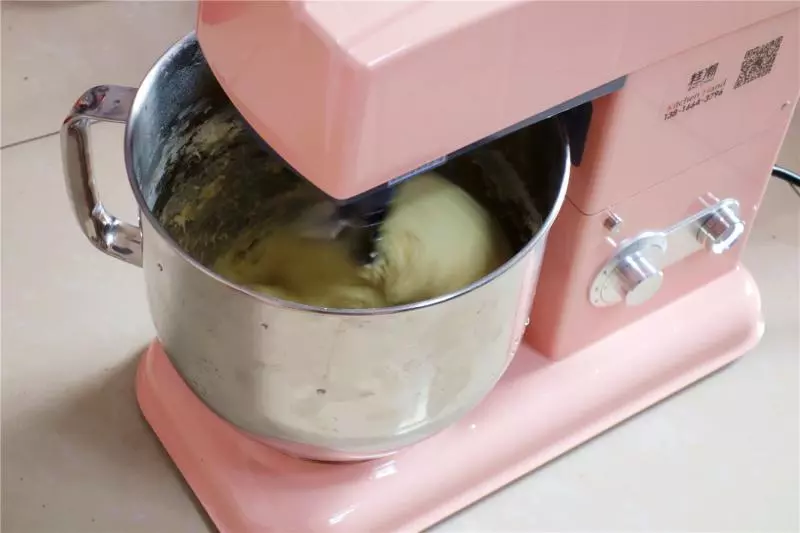
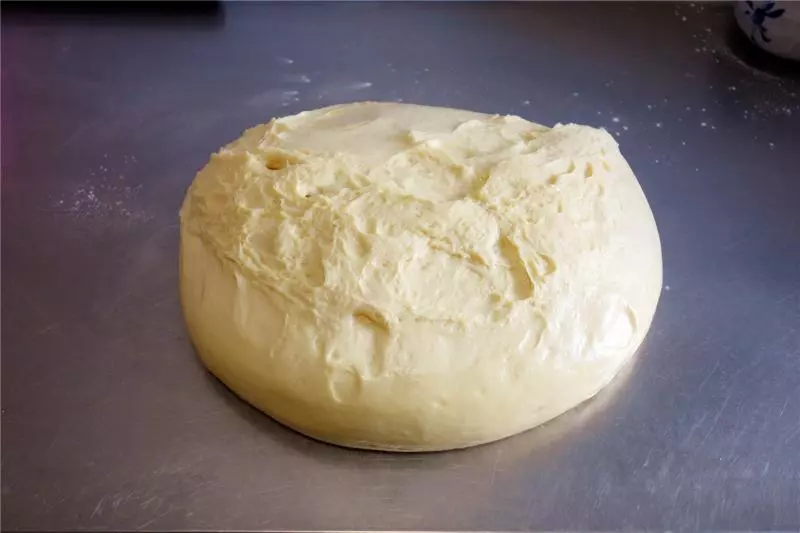
1麵糰材料中黃油以外的所有食材混合, 放入廚師機攪拌缸, 先用1檔低速將麵糰揉成團,轉2-3檔揉至麵糰呈光滑狀態
2加入軟化的黃油,。
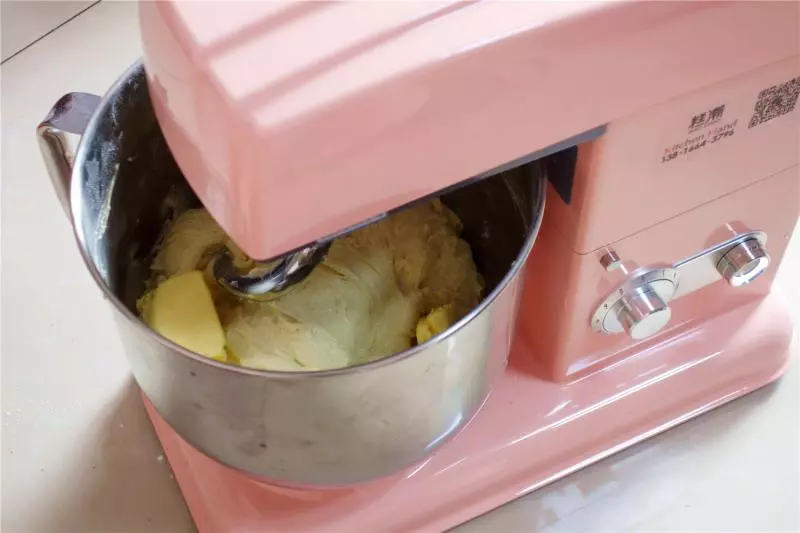
31檔將黃油逐漸揉入麵糰
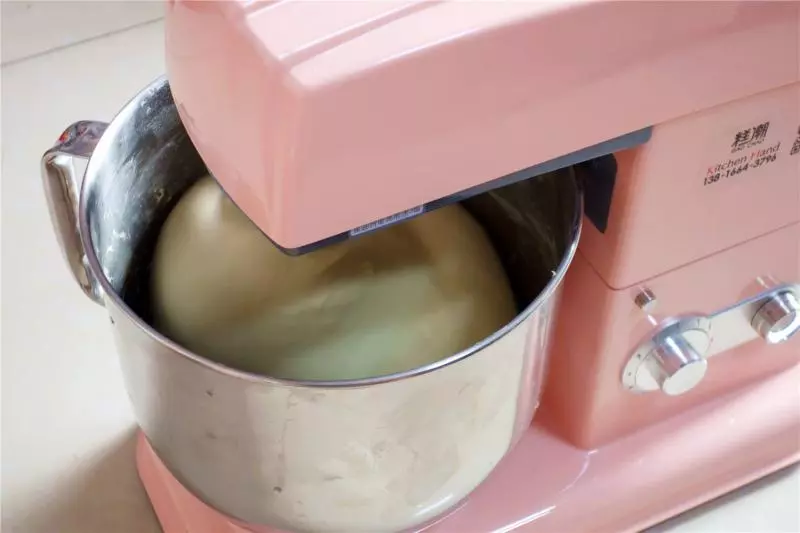
4轉3檔繼續揉至能拉出透明薄膜的階段

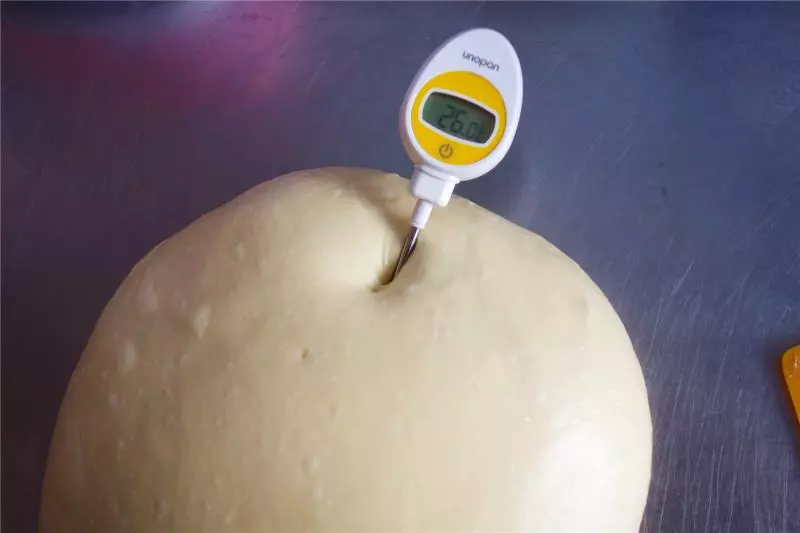
5放在25-28度的環境中進行基礎發酵
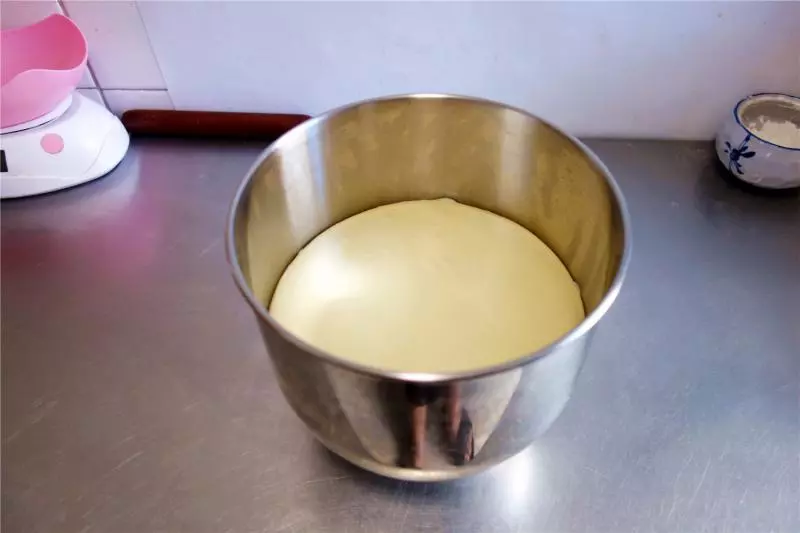
6放入容器蓋上保鮮膜

7發酵至2~2.5倍大,手指蘸粉戳孔不回彈不塌陷
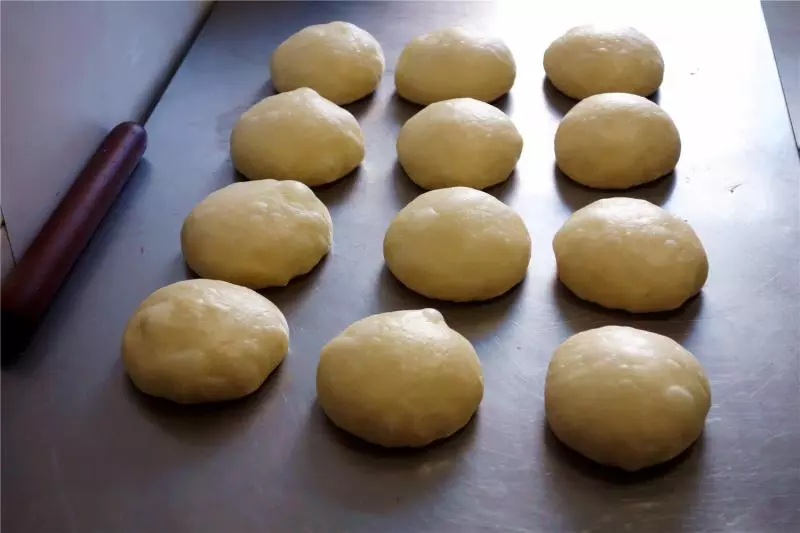
8將發酵好的麵糰取出,輕拍排氣
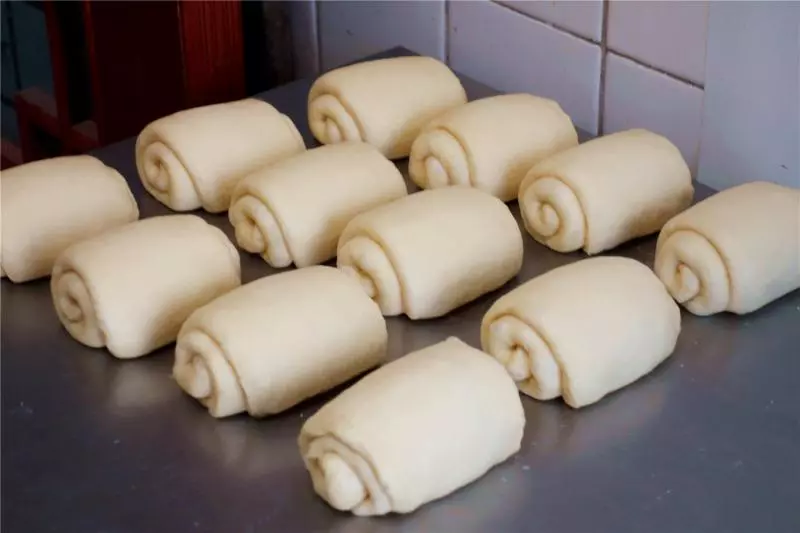
9稱重後等分為12個麵糰,160克左右/個
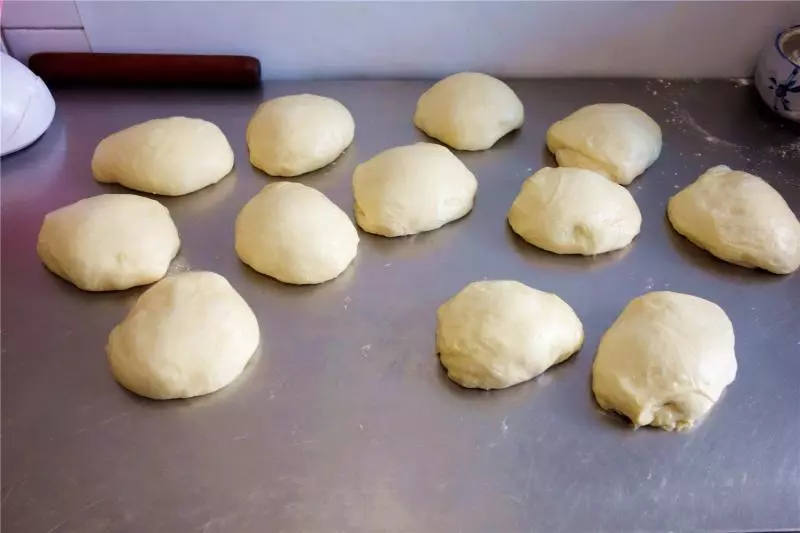
10滾圓後蓋保鮮膜醒發20分鐘
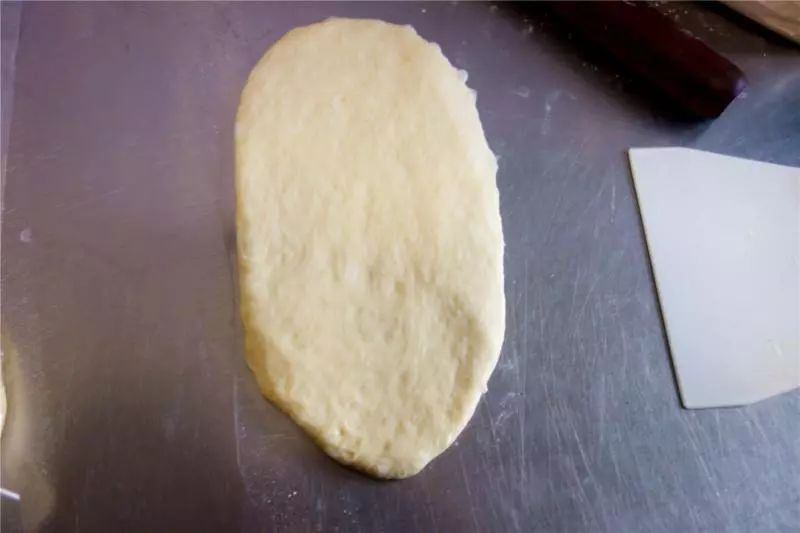
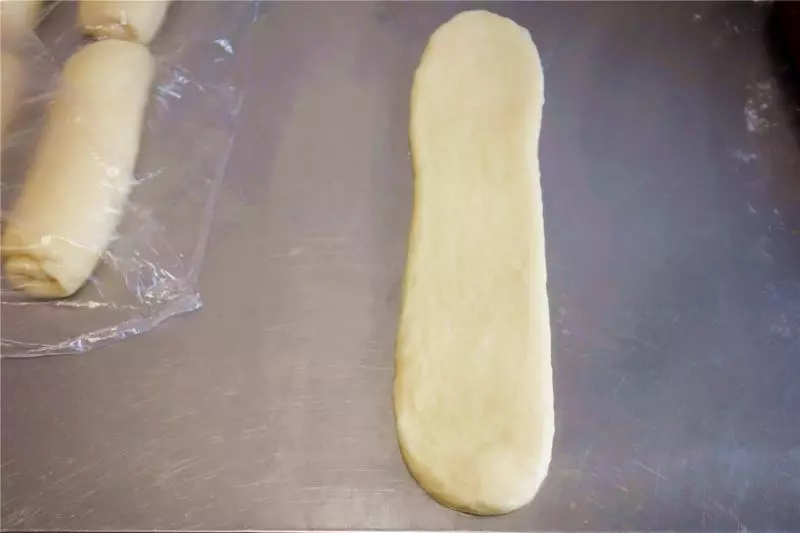
11取一個鬆弛好的麵糰,擀開 邊上氣泡拍掉
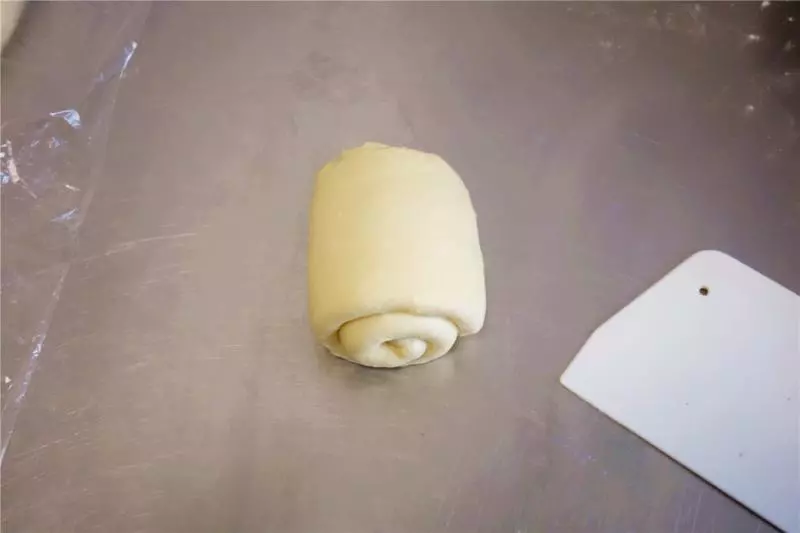
12翻面,自上而下捲起
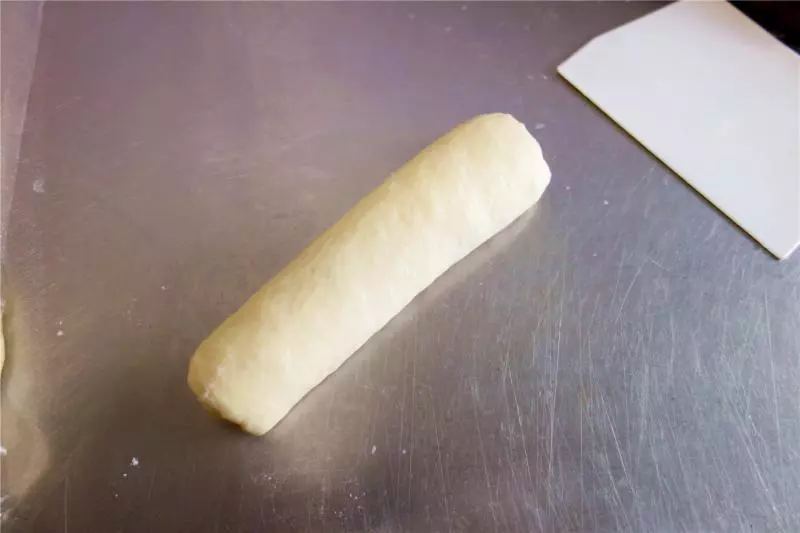
13蓋保鮮膜醒發20分鐘左右
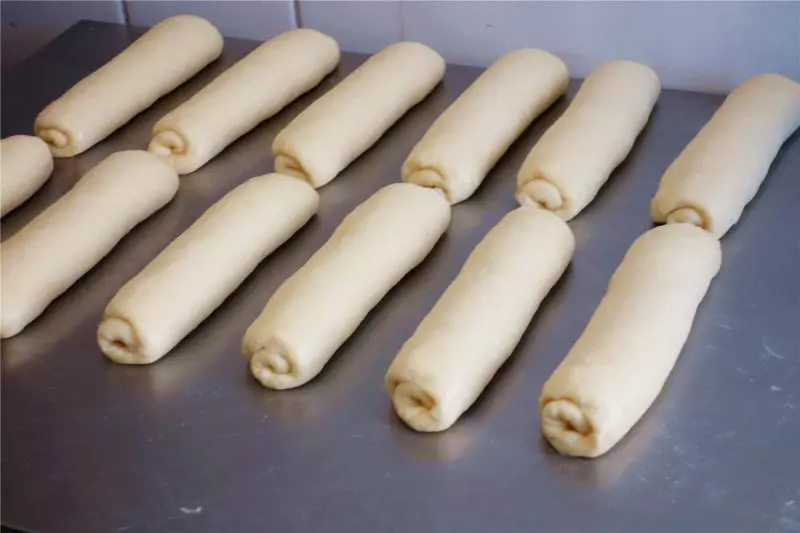
14再次擀開
15翻面 自上而下捲起
16依次做好
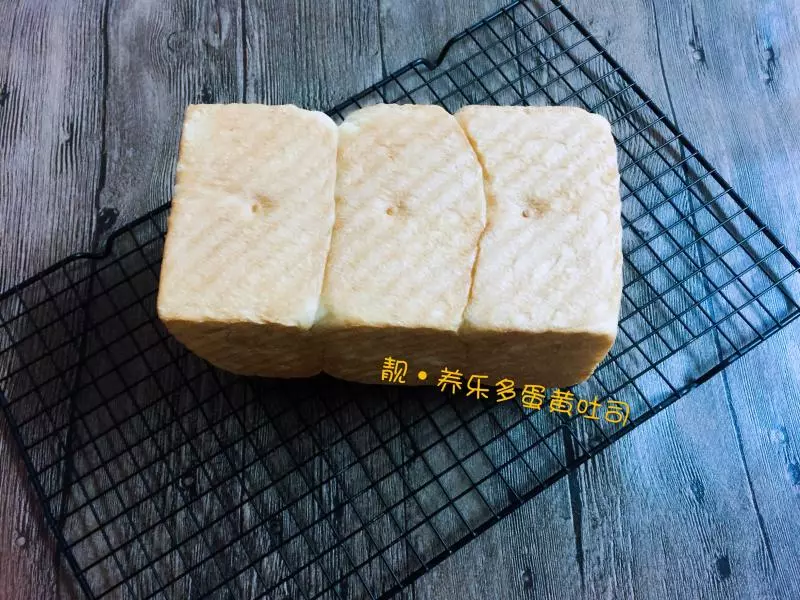
17三個一組放入吐司盒
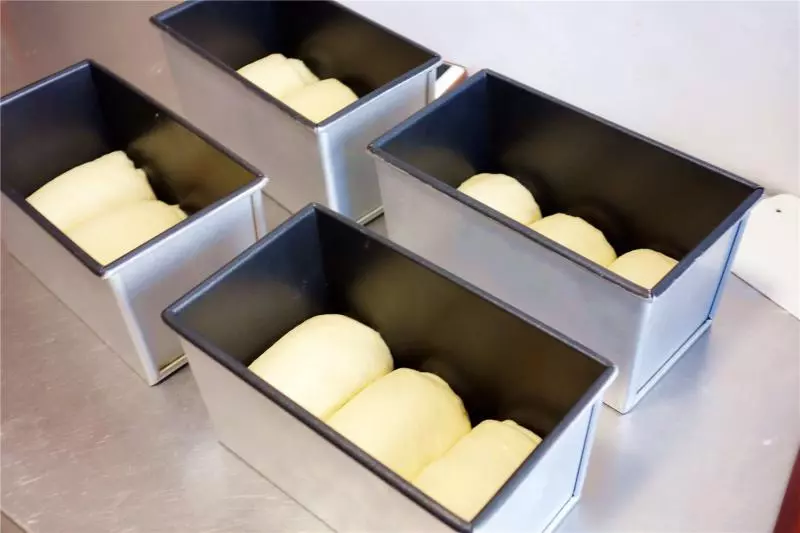
18放在溫度37度左右濕度75%的環境下
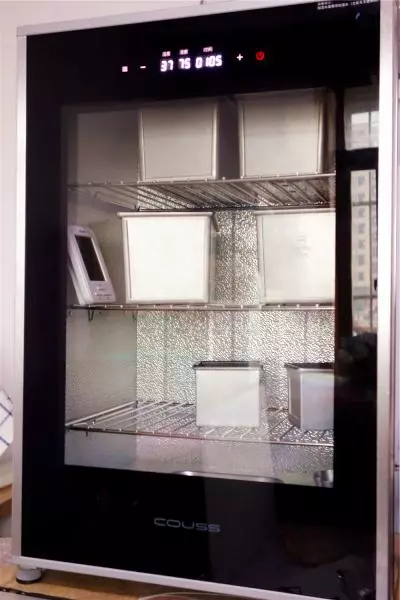
19發酵至9分滿 手指輕摁表面可以緩慢回彈

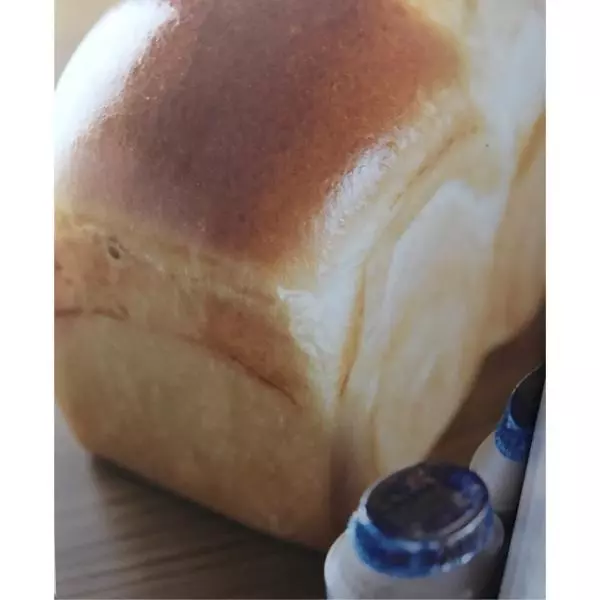
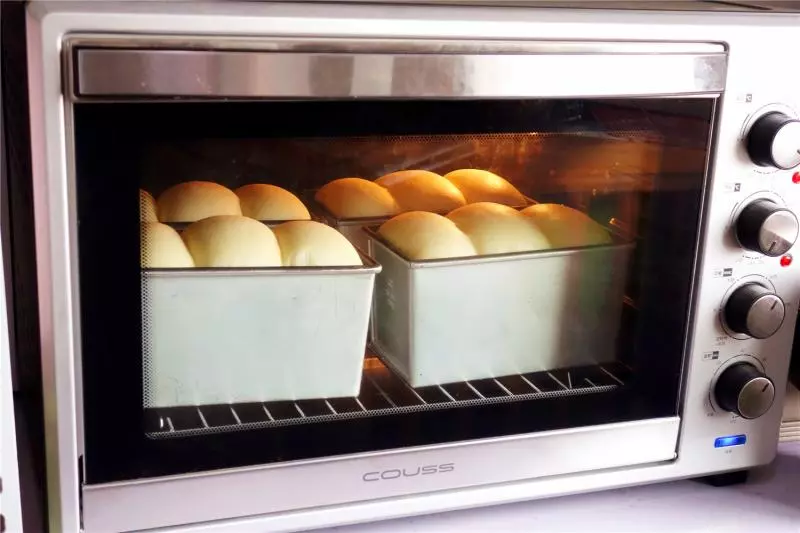
20放入預熱好的烤箱,下層 卡士60升烤箱上管170度下管190度烘烤43分鐘出爐,頂部上色要及時蓋錫紙
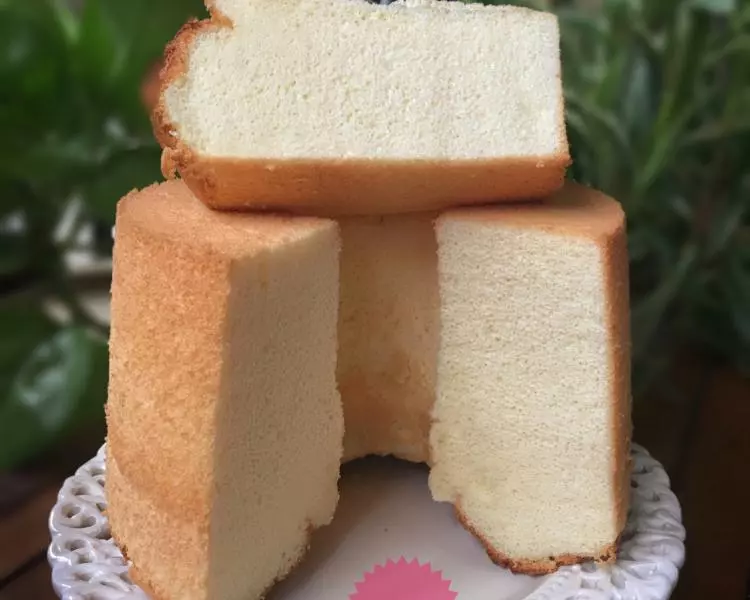
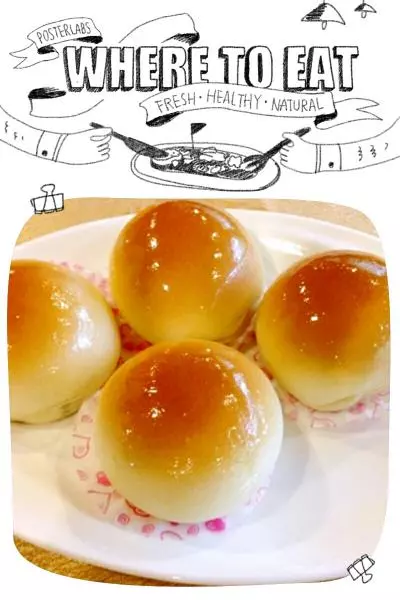
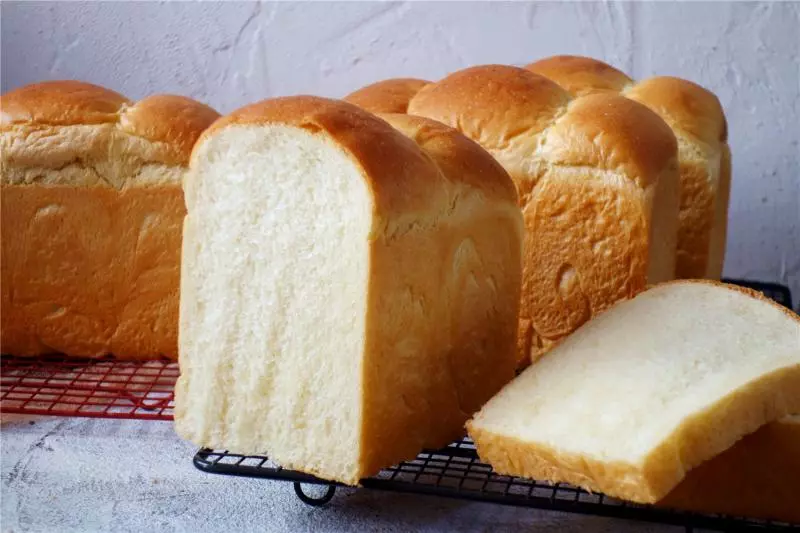
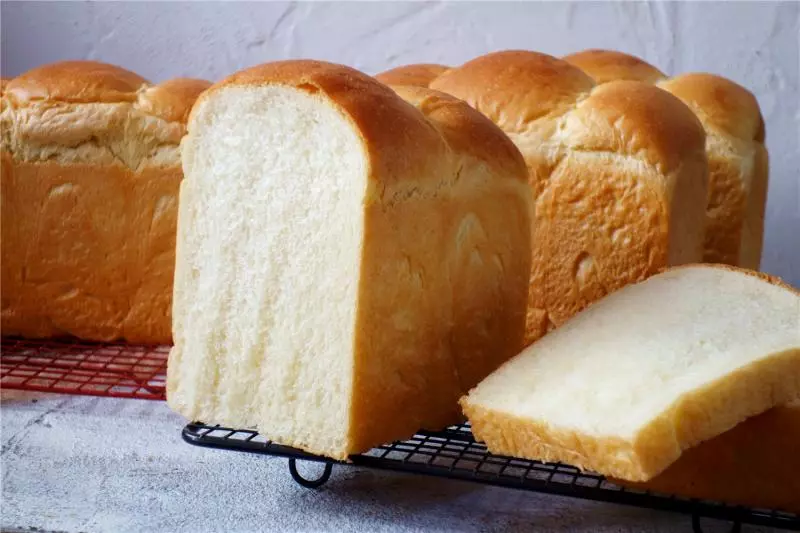
21脫模冷卻即可
小技巧
1、液體量請根據麵粉、環境濕度以及自己可掌握的程度調整 2、關於山形吐司的其他細節請查閱