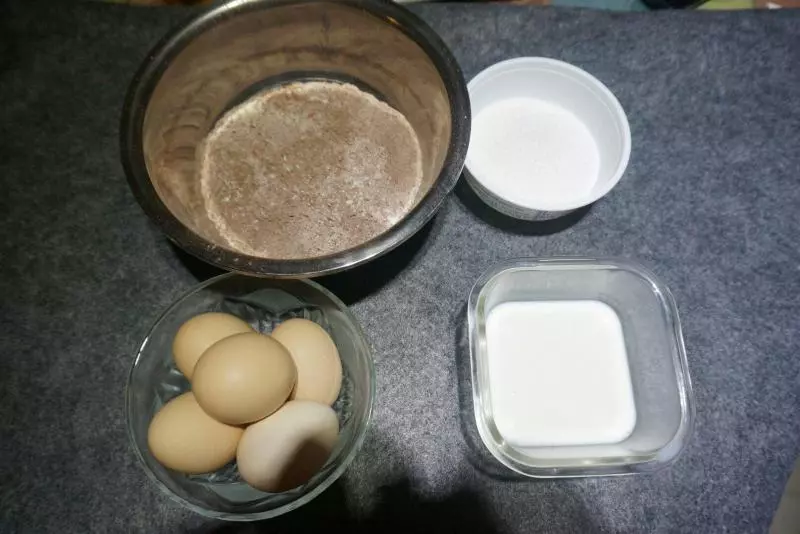
原料
雞蛋: 250克(50g菜雞蛋5隻), 低粉: 75克(可可卷用15克可可粉替換), 糖: 75克(原配方125克), 牛奶: 44克, 白醋或者檸檬汁: 數滴(沒有可以不放), 香草精: 數滴(沒有可以不放)
步驟
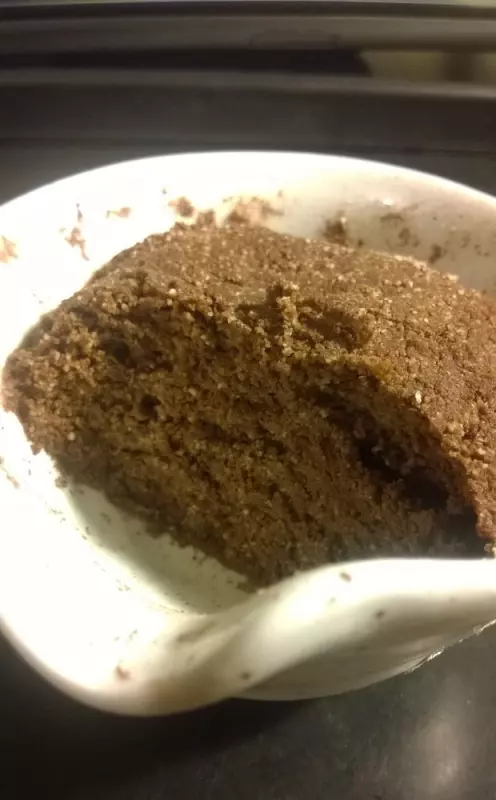
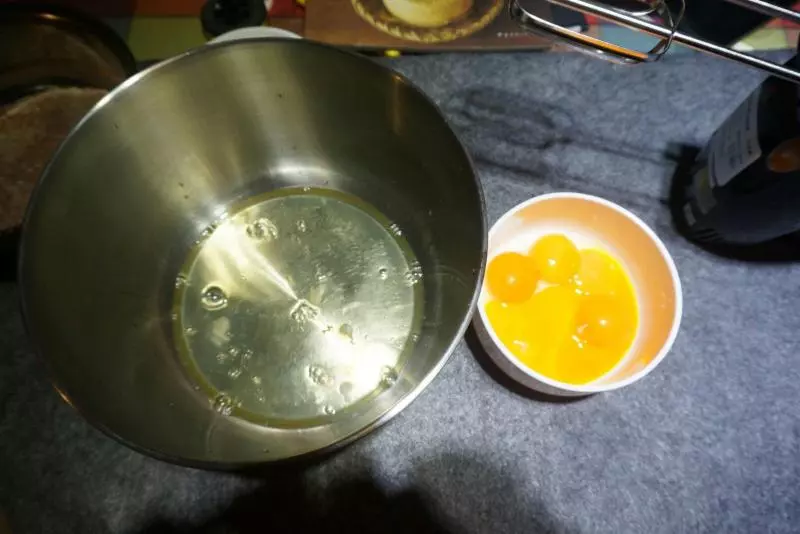
1準備材料,我喜歡用菜雞蛋,平均50克一隻。示範做可可卷。所以粉粉是咖啡色。。
2首先烤箱預熱170度。。分離蛋白和蛋黃。。。當然蛋白盆要無水無油,不用強調了吧,蛋白里加幾滴白醋。
3開打,先低速打到粗泡,加入20克糖。
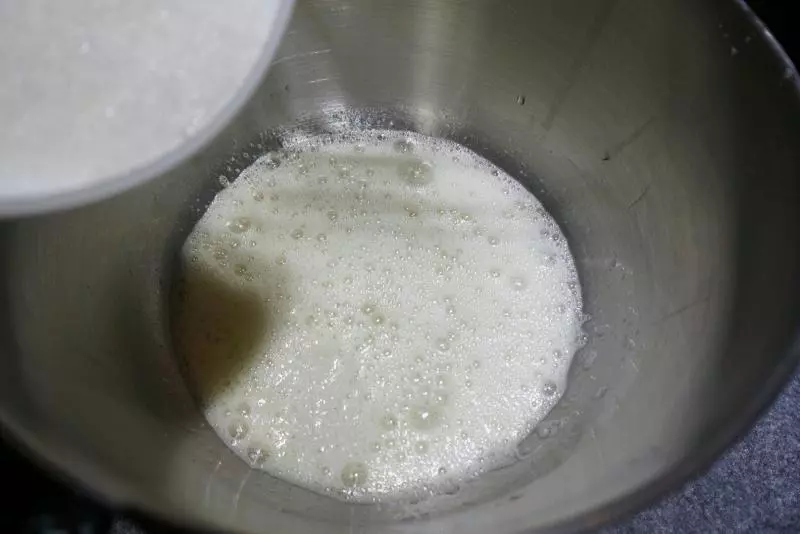
4高速,打到細泡,再加20克糖。。。。。繼續高速,打打打。。。
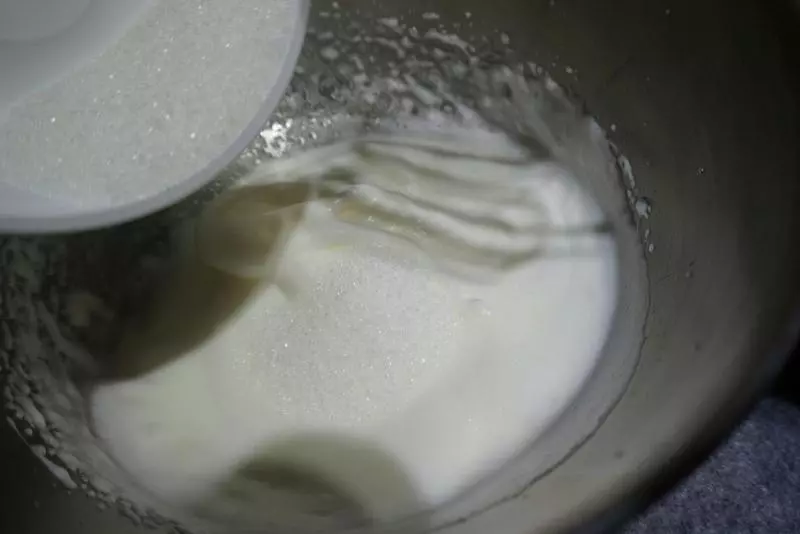
5出現紋路後再加20克糖,然後一直打到濕性發泡就好啦。。
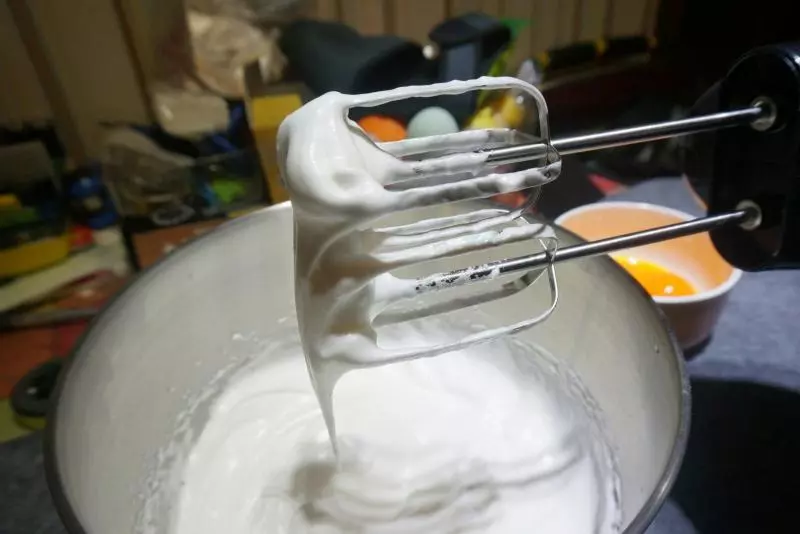
6然後依次加入蛋黃,把剩下的糖都倒進去,中速繼續打發,直到蛋黃和蛋白混勻。
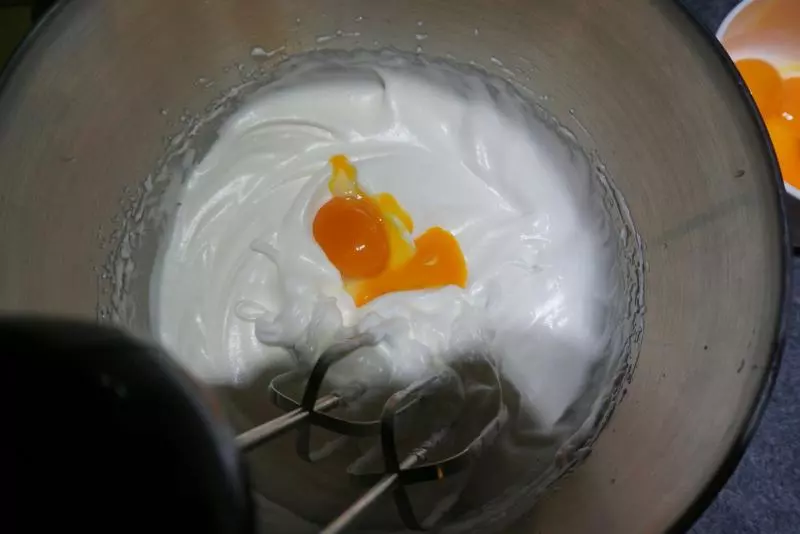
7蛋黃混進去以後,需要整理氣泡,用低速1檔,固定打蛋器不要動,一個位置10秒轉動一下打蛋盆30度,大概兩圈以後。大泡泡都被粉碎,蛋液細膩有光澤就可以了。
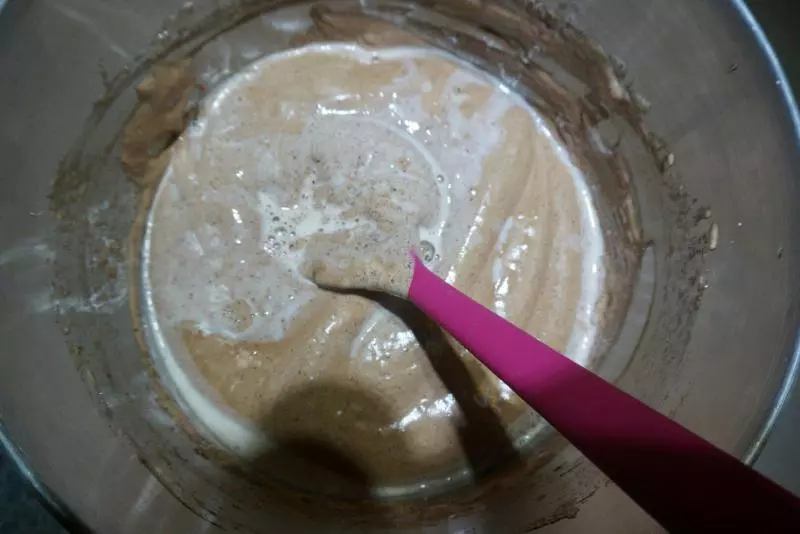
8麵粉全部倒進去,然後牛奶可以放微波叮20秒。
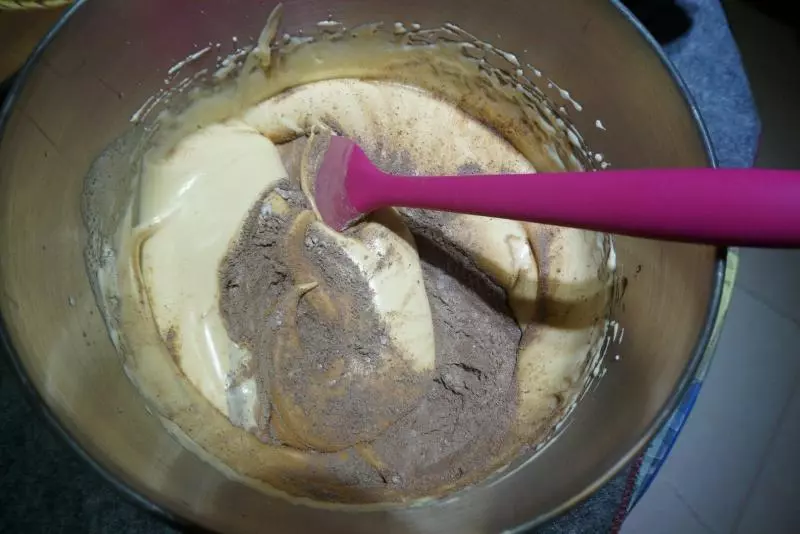
9大幅度抄底快速拌勻。
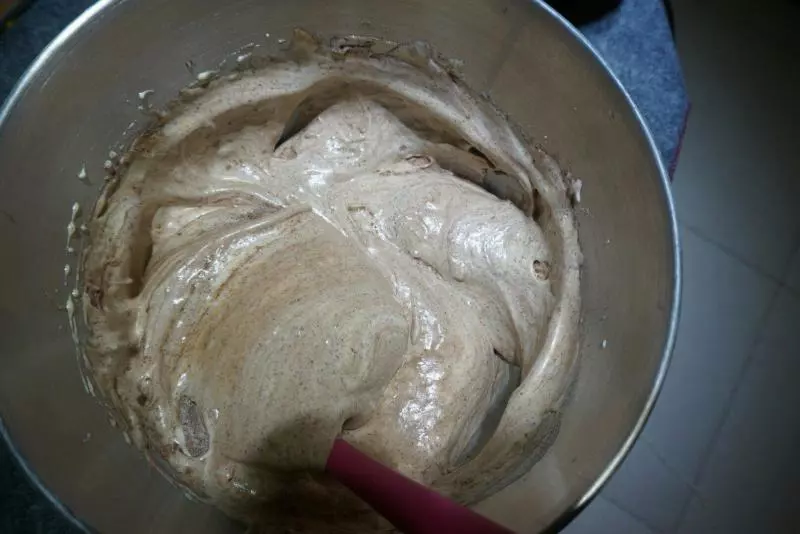
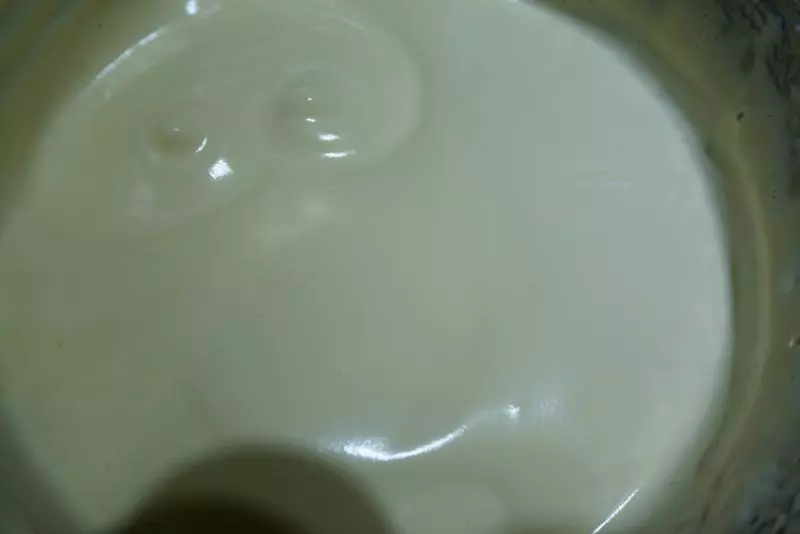
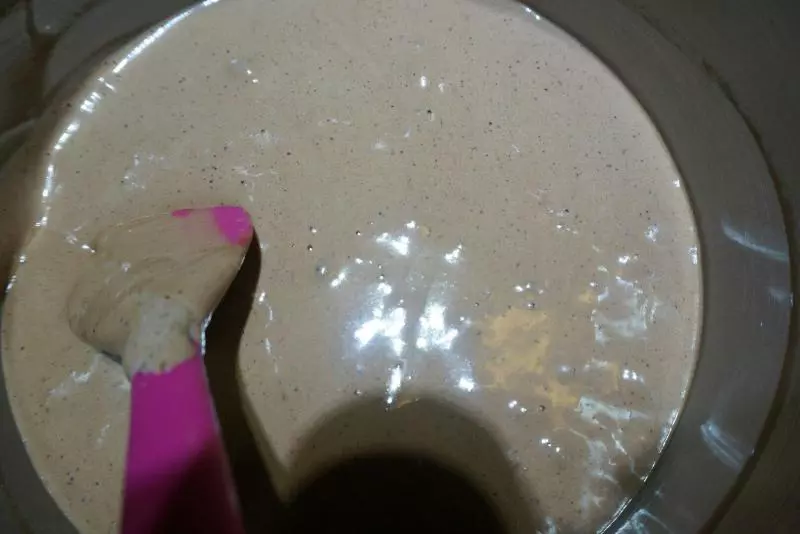
10粉都拌勻就可以了,把溫熱牛奶倒進去。注意牛奶的溫度,4-50度,牛奶涼的話會很快消泡。加入牛奶以後,快速抄底拌60次左右。
11這樣就大概可以了。
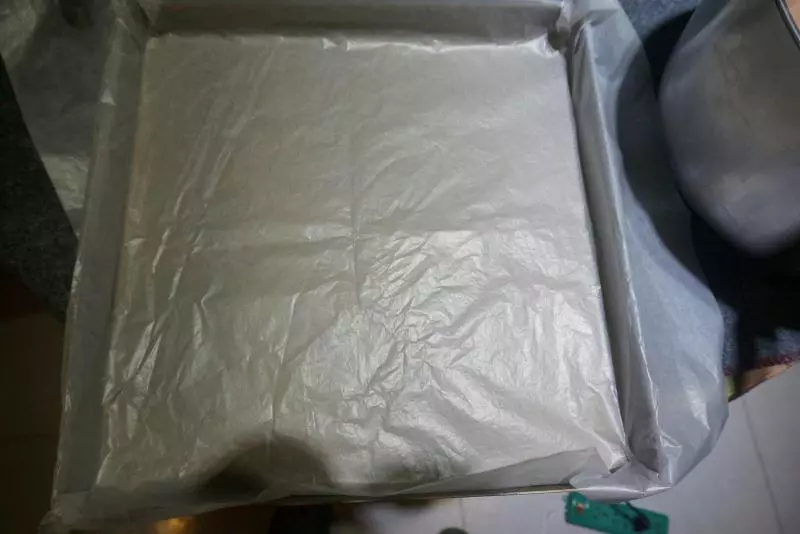
12烤盤鋪烤紙。
13高處倒入麵糊,晃平,20公分處丟兩次,震掉大氣泡。。

14進烤箱,170度上下火,14-16分鐘左右。
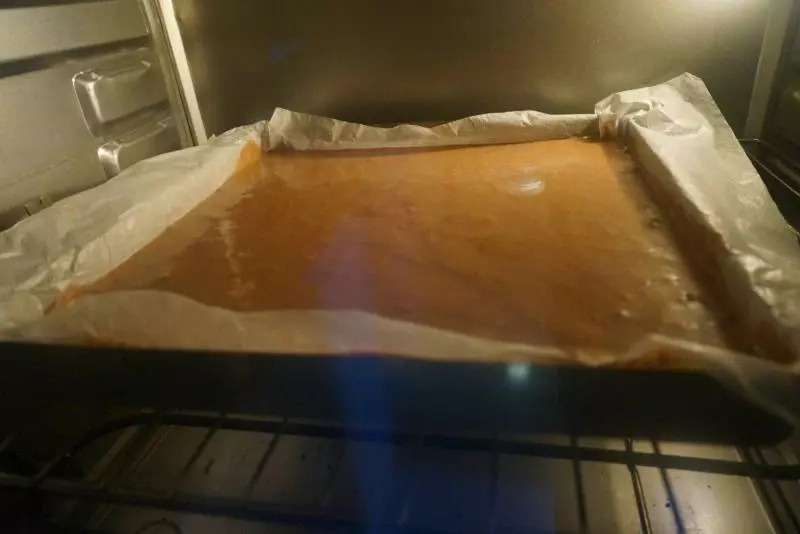
15大概5分鐘左右會漲高。。13分鐘左右最高,然後看到稍稍回落,就是烤熟了。大家可以參考自家烤箱溫度掌握時間溫度。

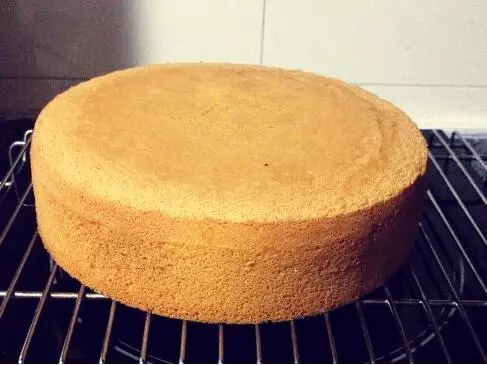
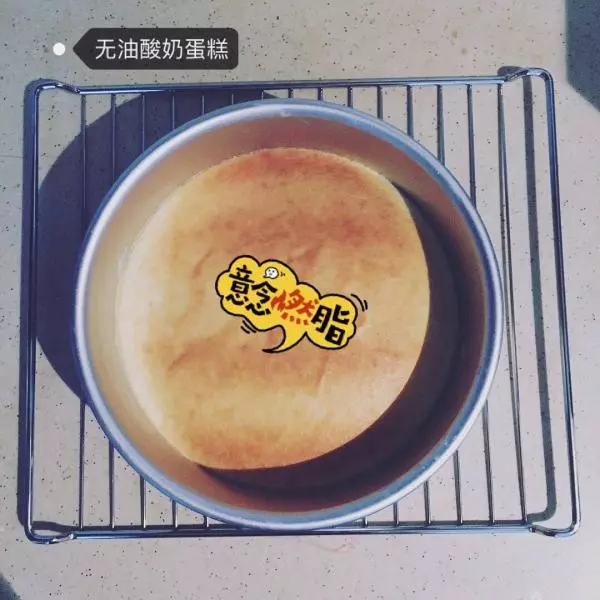
16出鍋。。。。丟兩下,震去熱氣,防止回縮。下面墊烤紙,反過來放烤架上涼涼。
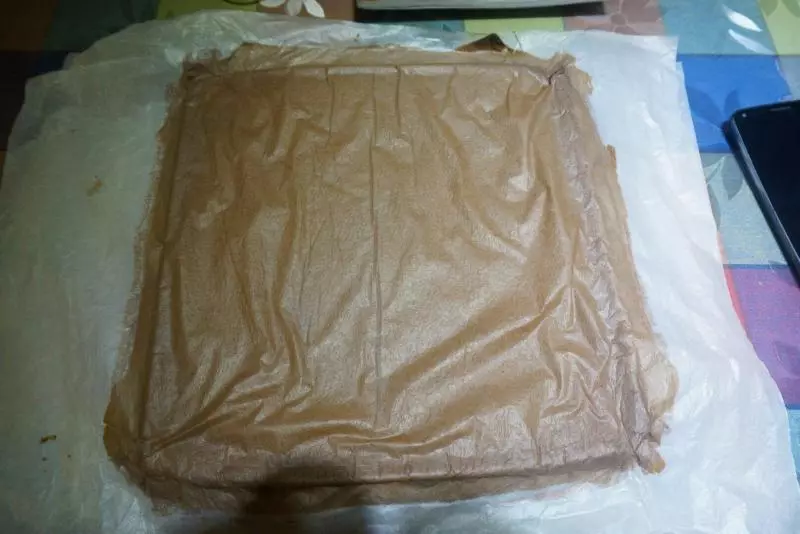
17溫度溫溫的時候,小心揭掉烤紙,很美麗的毛巾面就粗線啦。。

18反過來。。。
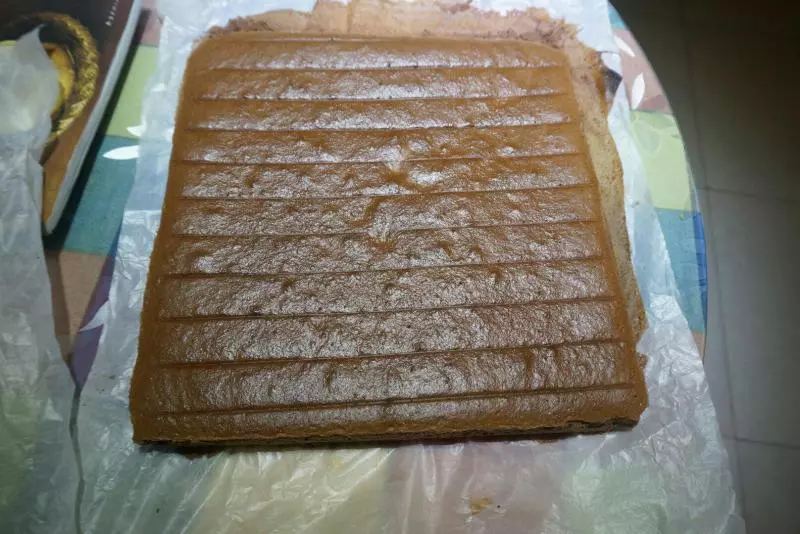
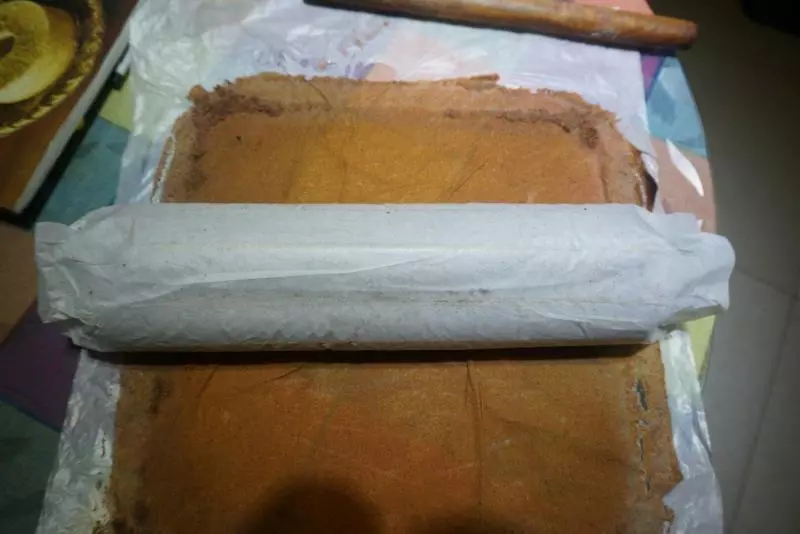
19上面蓋一張新紙,然後中間放一個擀麵棍捲起來定型幾分鐘。
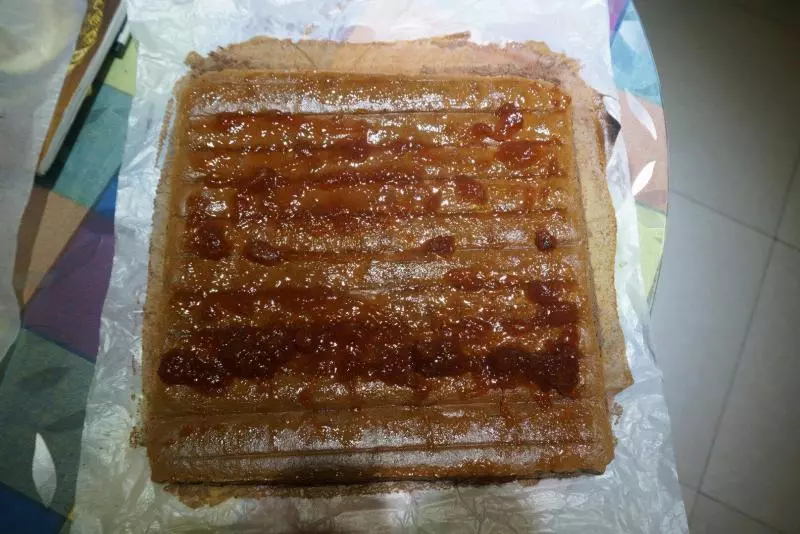
20整個過程都不會等到蛋糕卷很涼,最後還是微溫的時候打開抹你喜歡的醬醬。。。。或者你直接卷原味的也可以。。。。anyway ,as u like
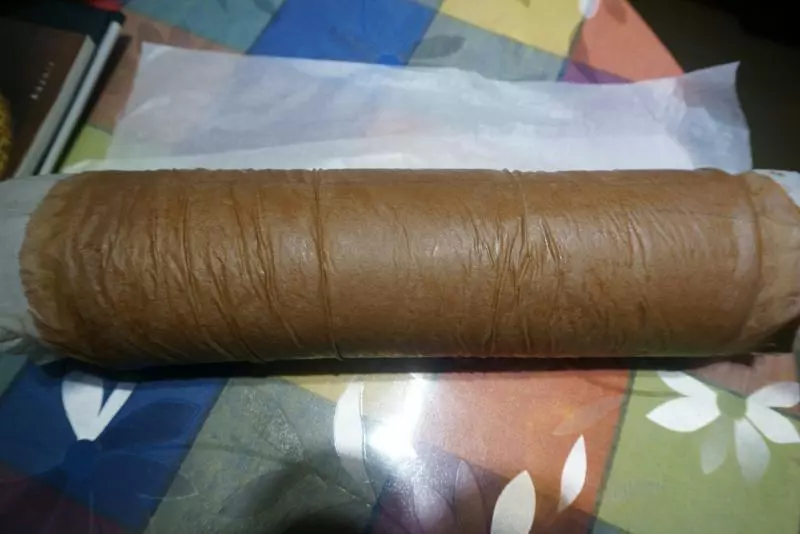
21捲起來。。。。

22用新紙捲起來,放冰箱就可以了。。。
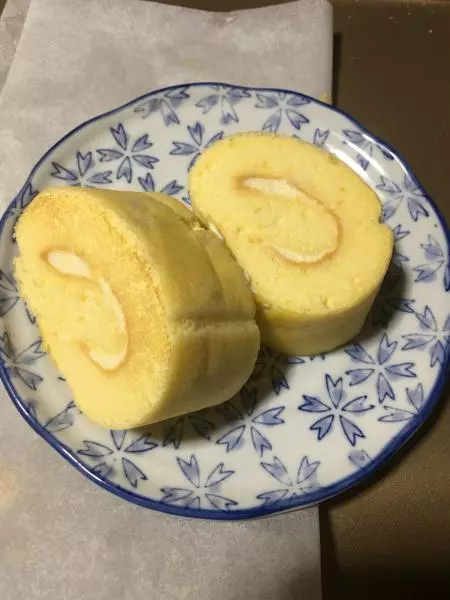
23放一會,冰箱拿出來就可以切啦。。。。當然冬天放外面也是可以的。
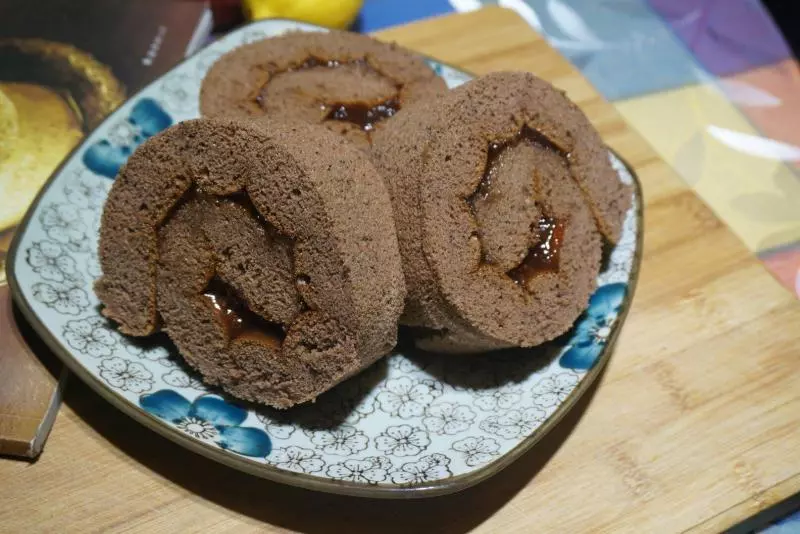
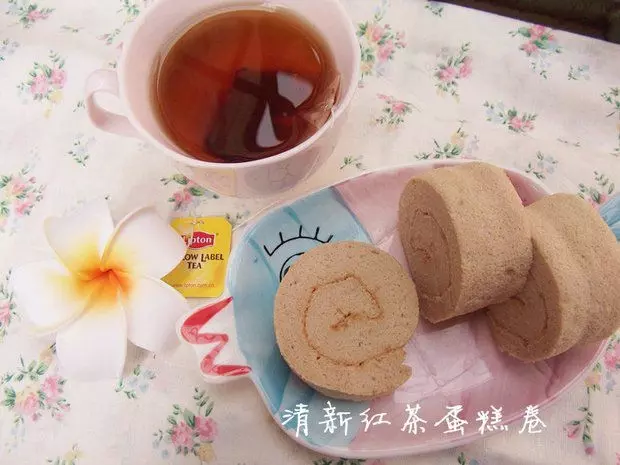
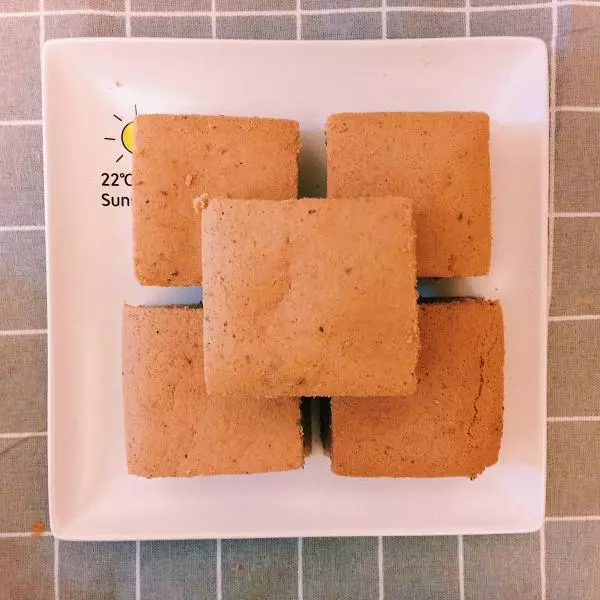
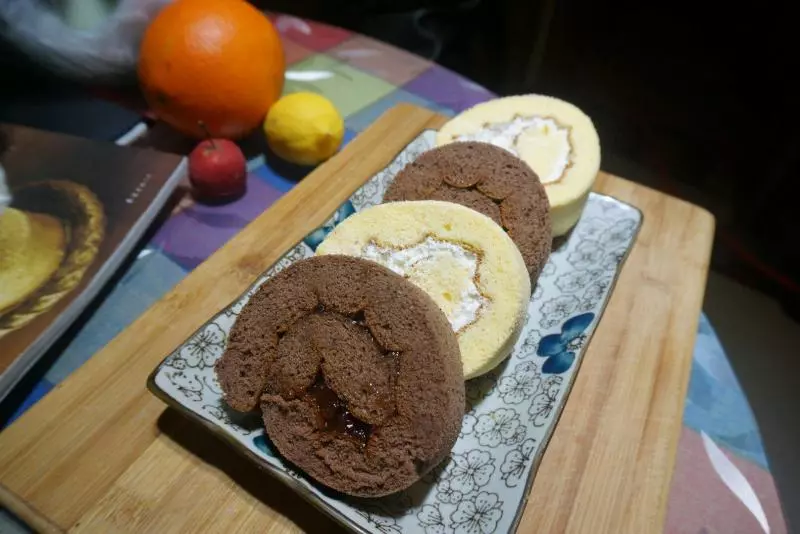
24等等等等。。。。。黑白配。。。。很成功吧。

小技巧
整個過程很快。最好安排好順序,一氣呵成。攪拌的手法我沒講太詳細,大家可以參考小嶋老師的手法介紹,還有視頻。祝大家成功,享受低卡美味吧。