簡介
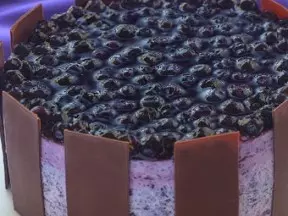
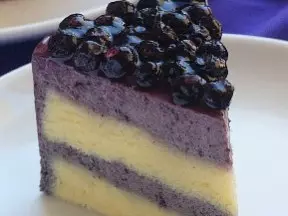
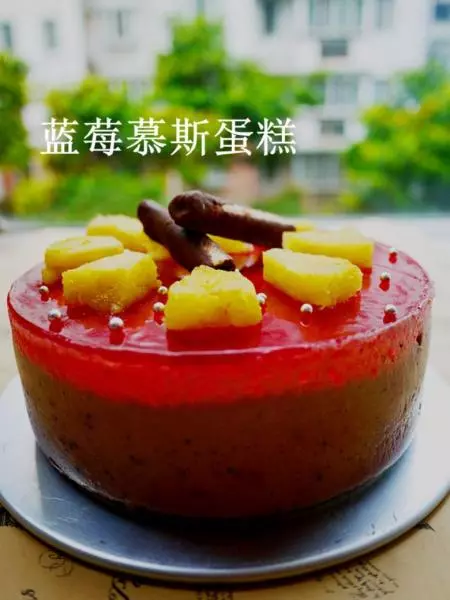
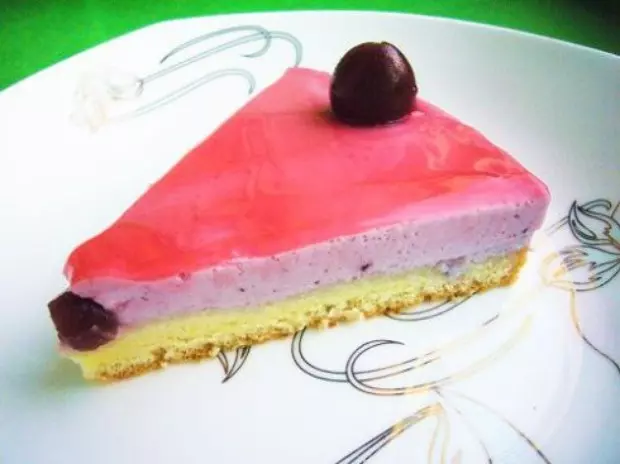
做這款蛋糕主要是根據上一次的芒果慕斯蛋糕的經驗,然後又參考了君之的芒果芝士蛋糕和美食天下里的一個藍莓凍芝士的配方,綜合而成的,分四個部分:餅乾底、藍莓慕斯蛋糕層、藍莓汁果凍層、頂部藍莓裝飾層。
過程並不難,也比較容易上手,有一點需要強調的是,慕斯蛋糕層主材料的分量一開始是按照美食天下里藍莓凍芝士的配方來的,他是用6寸模具,奶油奶酪和淡奶油都是寫的250g,結果我按照這個配量做的過程中發現多了,最後多出來了200g的慕斯蛋糕糊,所以我寫的這個是自己按比例減少的,應該是差不多6寸的量了,當然只是一個參考,沒有再試驗過。
還有我這個用糖量比較少,吃起來是酸甜的口感。然後整個蛋糕的藍莓部分(包括藍莓果肉和藍莓汁)是用了一個420g的藍莓罐頭。這也是我第一個開始自主創作的蛋糕了,過程中沒有現成的參考,是在以前的經驗和幾個配方的綜合參考下做出來的,有不對的地方還請烘焙愛好者們多多指教。
原料
主材, ①餅乾底層:, 無糖消化餅 120g, 黃油 60g, ②慕斯蛋糕層:, 奶油奶酪 150g, 細砂糖(加入奶油奶酪里的) 30g, 淡奶油 150g, 細砂糖(加入淡奶油里的) 15g, 藍莓果肉 100g, 吉利丁片 10g, 檸檬汁 5ml, ③果凍層:, 藍莓汁 200g, 吉利丁片 10g, ④頂層裝飾:, 藍莓 適量, 其他, 六寸活底圓模 1個, 黃油(融化的) 2g, 錫紙 適量, 比六寸蛋糕模具稍大一些的容器 1個(隔水加熱用)
步驟
1先進行準備工作,把各種材料準備齊全。 我用的無糖消化餅。黃油在室溫下軟化。

2奶油奶酪也在室溫下進行軟化,也可以切成小塊,這樣好攪拌。

3吉利丁片用涼水泡軟。

4頂層裝飾用的藍莓,可以先大概擺一下自己需要的形狀,估算用量。

52g黃油需要加熱到融化的狀態,將來刷在模具的內壁上,這樣更好脫模。

6可以先準備好熱水,80度左右的即可,放到容器里備用。

7把六寸蛋糕模具的活底取出,用錫紙包好。

8先把消化餅乾放到料理機的研磨杯打成粉末,沒有料理機的話,把餅乾放到保鮮袋裡用擀麵杖壓碎成粉末狀備用;

9將室溫軟化好的黃油加入到餅乾末里;

10用勺子拌勻;

11將拌好的消化餅乾糊鋪在六寸模具的底部;

12用勺子背壓平整。

13放入冰箱冷藏室至定型。

14將藍莓果肉放入到料理機里,攪拌成藍莓果肉泥;

15倒入碗里備用。

16容器里加入80度左右的熱水,把盛有奶油奶酪的碗放入裡面,然後加入30g的細砂糖;

17用電動打蛋器攪打至細膩無顆粒的糊狀,然後加入檸檬汁繼續攪打均勻;

18接著加入軟化的吉利丁片;

19用刮刀攪拌至吉利丁片完全融化的狀態(吉利丁片預熱就會融化,如果不太容易,就把外面容器里重新加上熱水,慢慢攪拌即可)。

20然後加入藍莓果肉;

21攪拌均勻成藍莓奶酪糊,撤去盛有熱水的容器,放涼備用。

22淡奶油里加入15g細砂糖;

23用電打攪打至七分發的狀態;

24全部加入到拌好的藍莓奶酪糊中。

25攪拌均勻成藍莓慕斯蛋糕糊。

26從冰箱裡拿出冷藏的模具,內壁刷上融化的黃油;

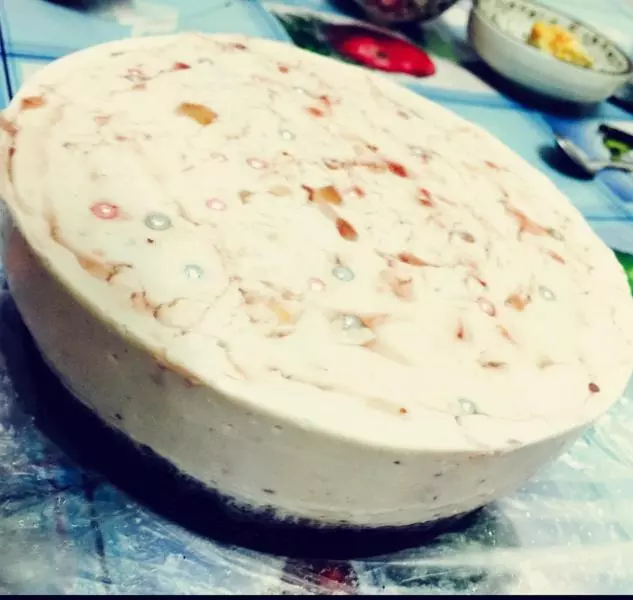
27然後把慕斯糊倒入模具里,放入冰箱冷凍半個小時;

28加熱藍莓汁;

29放入吉利丁片;

30攪拌至融化狀態,然後放涼備用。

31慕斯蛋糕糊冷卻定型後,拿出來;

32把藍莓汁倒入模具里,放入冰箱冷凍半個小時,至果凍層凝固的狀態。

33然後取出來裝飾上自己想要形狀,繼續放入冰箱冷藏數個小時。 *官方說法是4小時,其實不冷藏直接脫模食用也可,但是想要蛋糕切出來漂亮最好是多冷藏一會,我冷藏了大概1個小時吧,就拿出來切掉了。

34脫模的時候,放在比模具底部小的杯子上,用吹風機輕輕的吹模具外壁;

35模具自己就會滑落了,很容易的。

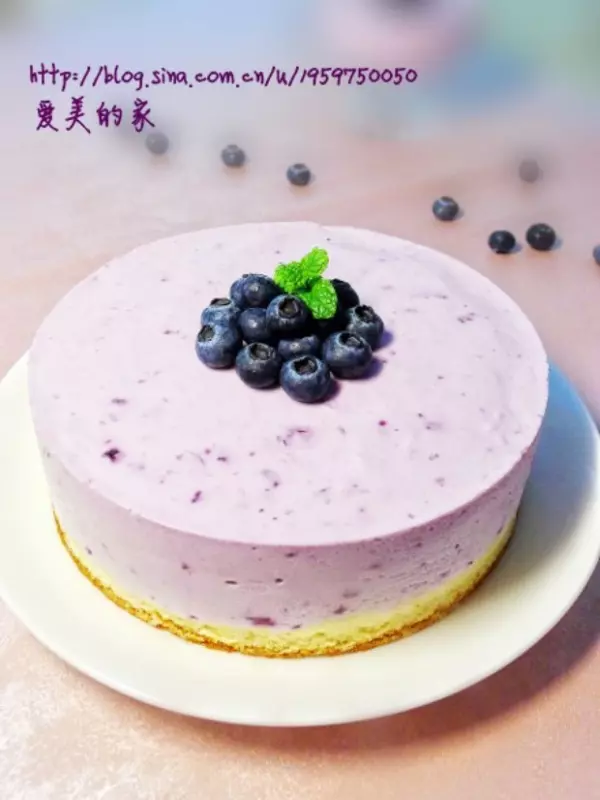
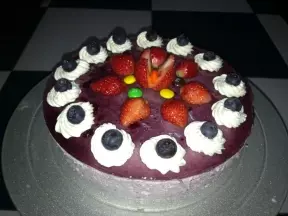
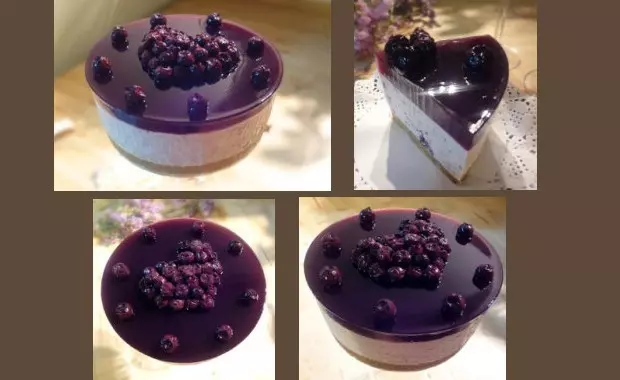
36美味的蛋糕就做好了。

37也可以用其他水果擺成自己喜歡的圖案。

38都有點捨不得吃了~

39切慕斯蛋糕用普通的刀具即可,可以先把刀放在火上烤熱,趁熱切蛋糕就不會粘刀了。記得每切一刀,用紙把刀擦乾淨,並重新烤熱再切下一刀。,如此重複就能切出漂亮的蛋糕了。