原料
麵包粉: 230克, 砂糖: 42克, 酵母: 3克, 鹽: 3克, 奶粉: 10克, 雞蛋: 55克, 牛奶: 80克, 黃油: 25克, 椰蓉餡: , 黃油: 30克, 砂糖: 35克, 奶粉: 5克, 椰蓉: 70克
步驟
1我用的小熊活面機A35型的,除了黃油,先放液體,再放面,活20分鐘,再放黃油,活面30分鐘

2醒面1小時,發起來有一倍大

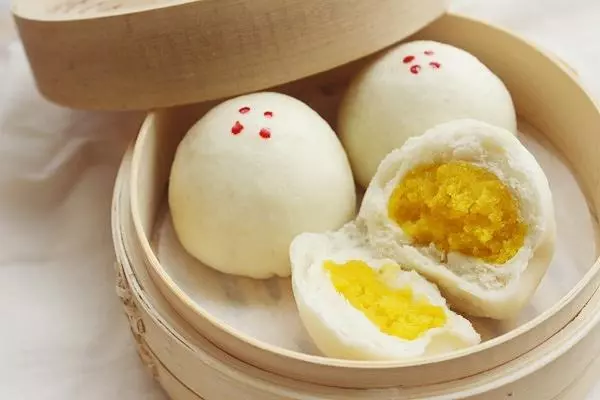
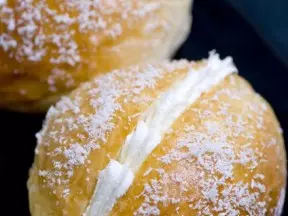
3醒面時間,可以做椰蓉餡,所有椰蓉餡的材料攪拌均勻就可以了,分了8份

4分成8份,整形,蓋上保鮮膜,醒15分鐘

5把每個用擀麵杖擀出圓形,包住椰蓉餡,就像包子

6醒面一小時

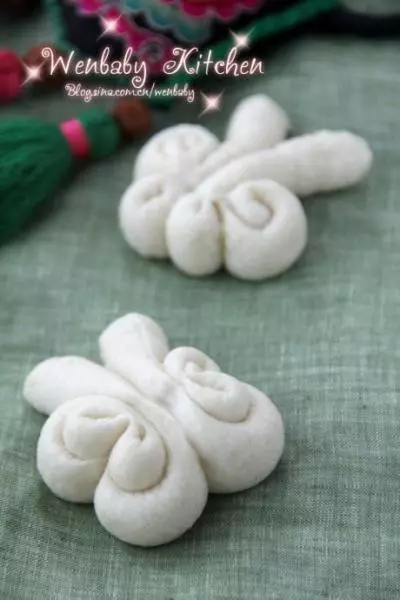
7壓出橢圓形

8對摺,再對摺,用刀切一下,別切斷

9翻一下

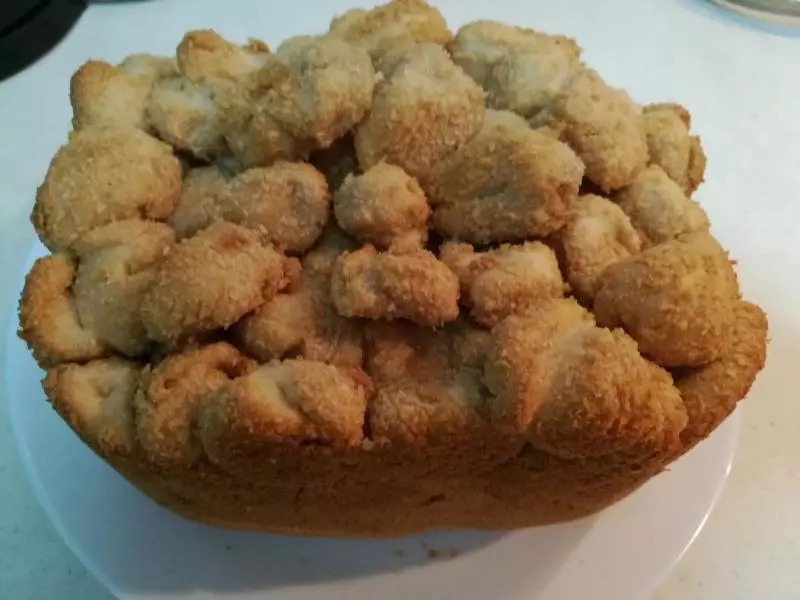
10烤箱發酵40分鐘,40度,水浴法

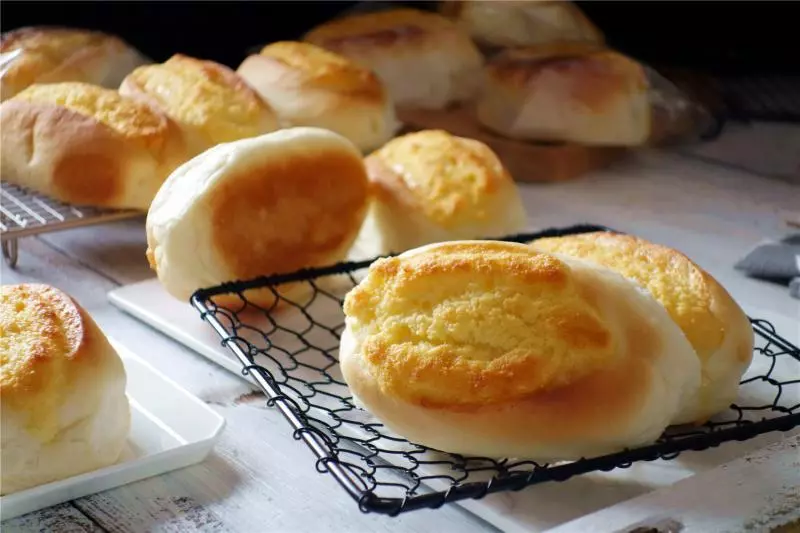
11雞蛋液

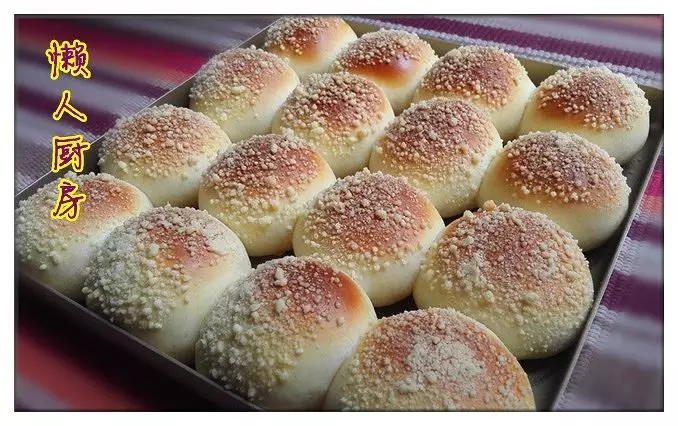
12抹上雞蛋液

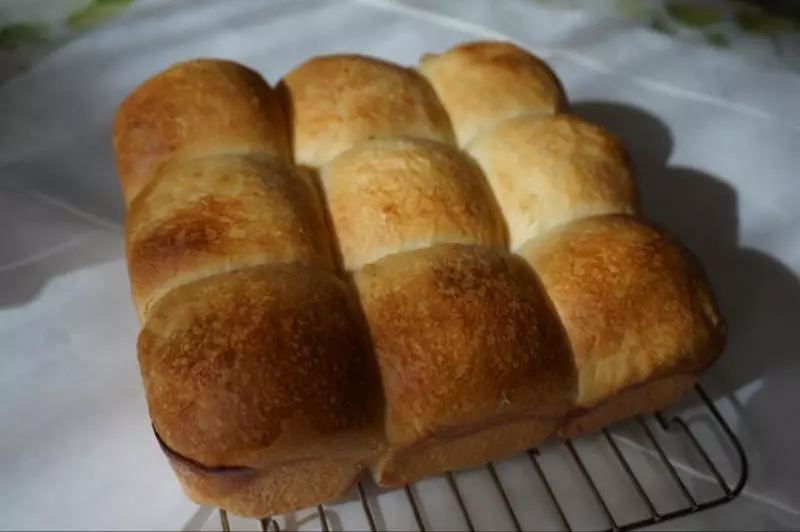
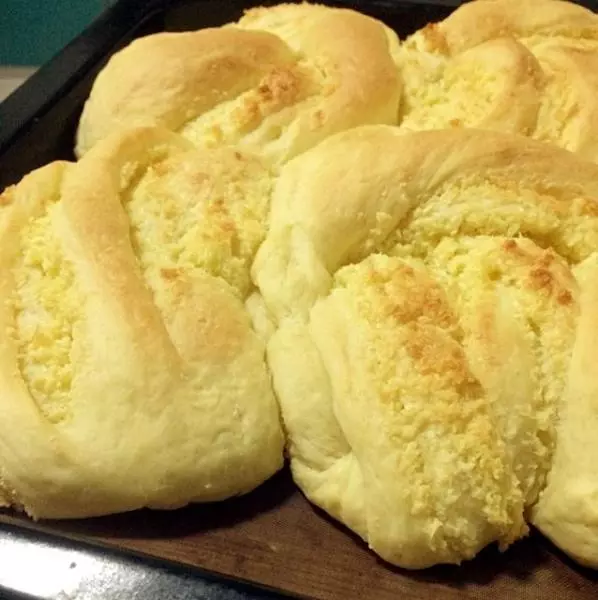
13烤箱預熱10分鐘,170度20分鐘