原料
奶油奶酪: 125g, 黃油: 30g, 雞蛋: 3個, 牛奶: 50g, 低粉: 30g, 玉米澱粉: 10g, 砂糖: 50g
步驟
1材料全部準備好 註:奶酪一定要準備奶油奶酪,其他奶酪攪和不開。

2分離蛋清蛋黃

3將奶油奶酪、黃油、牛奶一起倒入盆里,隔水快速攪拌。 參考方子裡說是隔水加熱攪拌,我直接倒的開水,這裡用的水不要倒,一會放入烤箱裡。

4隔水快速攪拌成糊狀

5分次將蛋黃倒入糊中攪拌均勻。

6篩入低粉、澱粉,攪拌均勻後蓋上濕布待用。

7接下來就是蛋清嘍~在蛋清中加幾滴醋或者檸檬汁。

8電動打蛋器低速將蛋清打出大泡沫

9加15g砂糖,將蛋清打至大泡沫消失,成細膩泡沫,打蛋器高速。

10再加入20g砂糖,蛋清打發出現紋理,打蛋器高速。

11加入剩餘15g砂糖,蛋清高速打發成如圖樣式,也就是挑出尖尖來不會塌,之後再低速打發2分鐘左右。

12蛋清打沒打好?來~倒過來檢驗一下?

13將1/3的蛋清倒入之前的麵糊中攪拌均勻,再將蛋清麵糊一起倒入剩餘蛋清中,攪拌均勻後倒入6寸蛋糕模具中。 將之前隔水用的熱水倒入烤盤中,140度,上下層,預熱烤箱。

14預熱烤箱的時候輕輕磕打蛋糕模具邊緣,排出大氣泡。

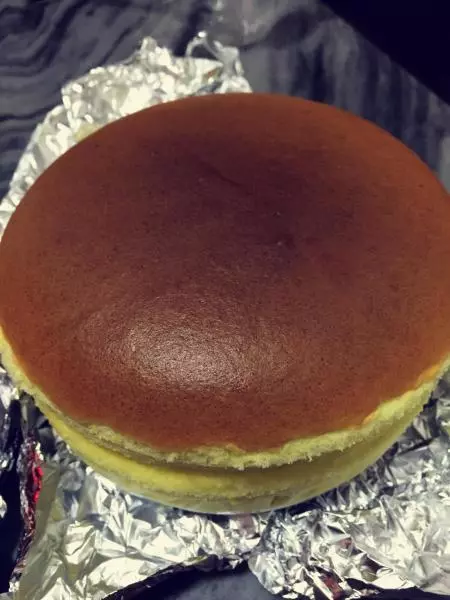
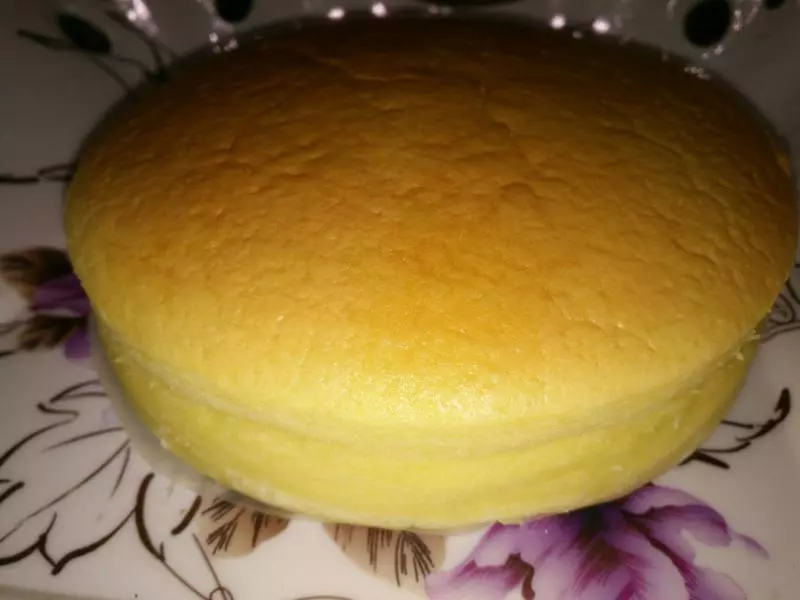
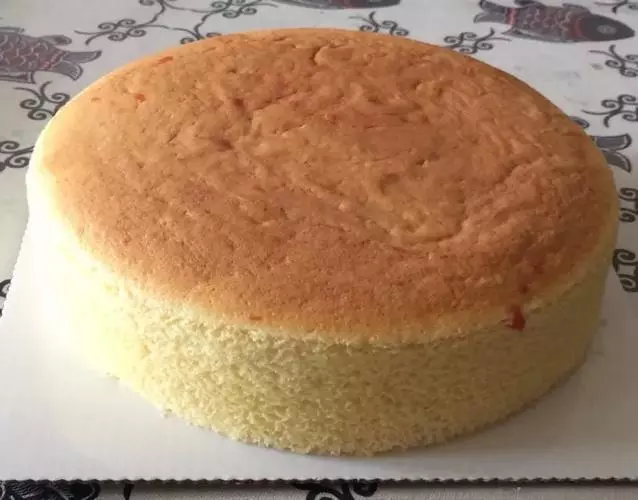
15放入烤箱中層,上下140度,先烤30分鐘。 個人喜歡吃瓷實一點的,之後110度再烤30分鐘。 如果想吃發一些的,之後140度再烤30分鐘,中間要注意燒色。

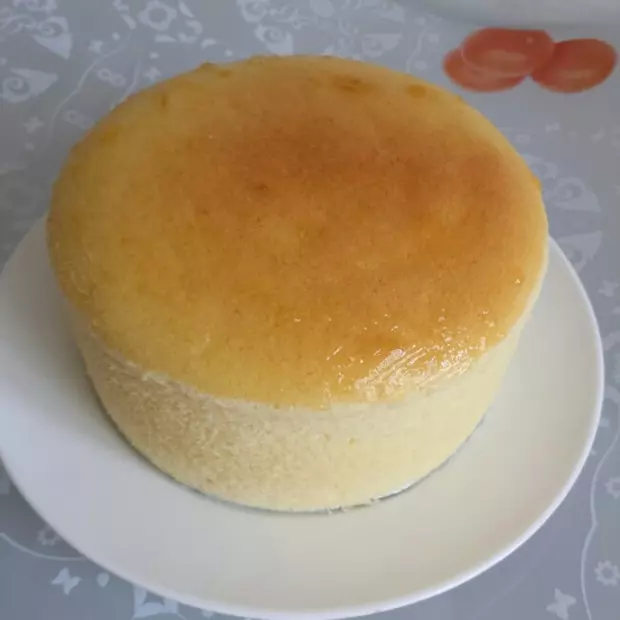
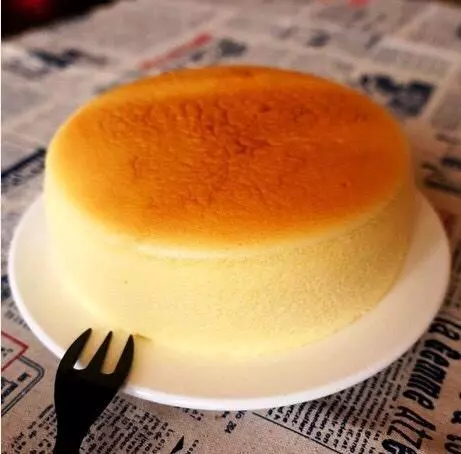
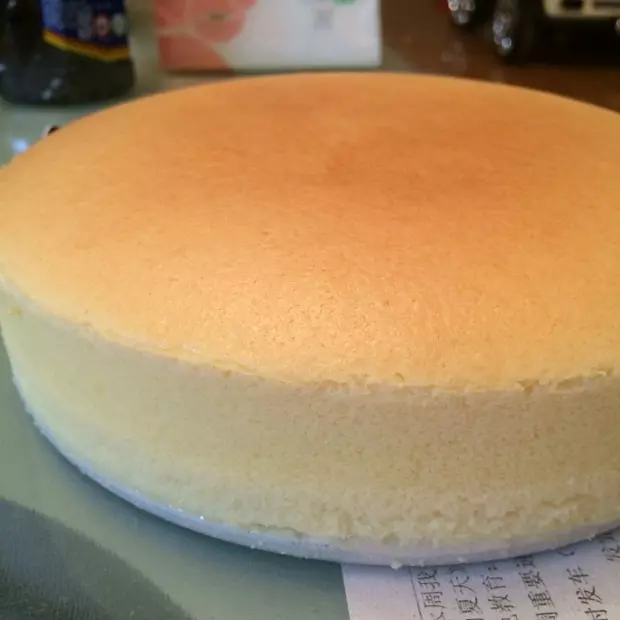
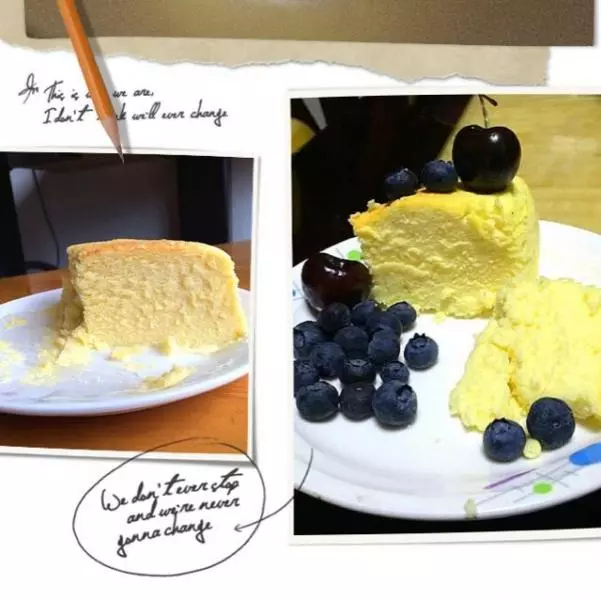
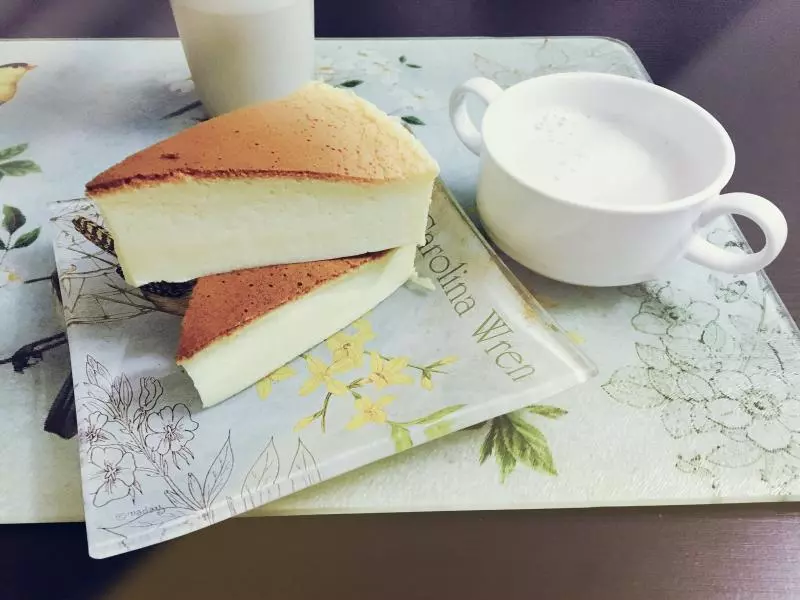
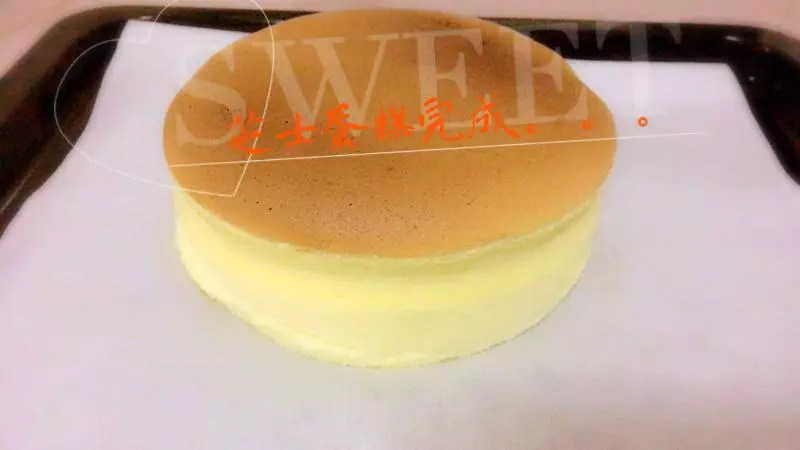
1660分鐘後出鍋嘍~放涼了吃口感更贊哦?