原料
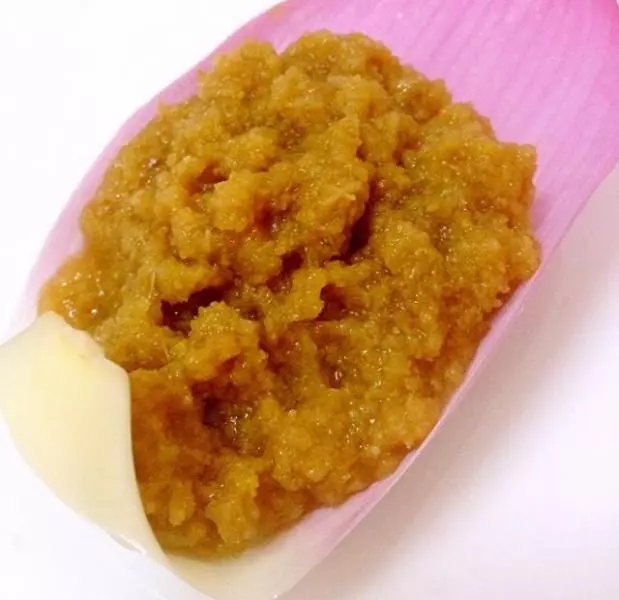
普通麵粉 120克, 水 62克, 豬油 20克, 白砂糖 18克, 低筋麵粉 200克, 豬油 100克, 綠豆沙 400克(豆沙餡平均分成十份)
步驟
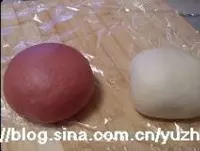
1水油皮配料放盆中,活成柔軟的麵糰,蓋保鮮膜醒30分鐘
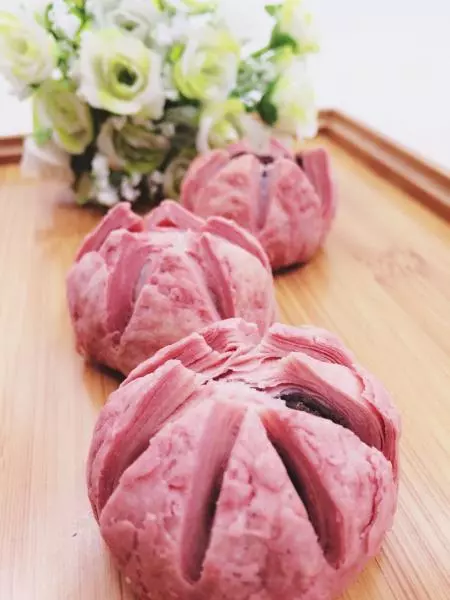
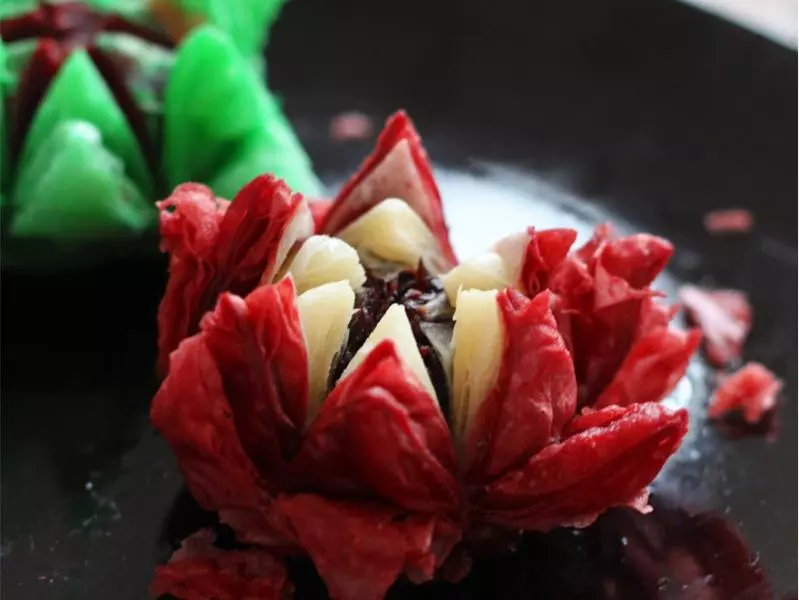
2紅色水油皮配料放盆中,同樣活成柔軟的麵糰,蓋保鮮膜醒30分鐘

3油酥配料放盆中,揉成油酥麵糰備用
4醒好的麵糰放案板上揉勻
5水油麵團和紅色水油麵團分別分成十個均勻的小劑子,油酥麵糰分成20個劑子

6拿一個水油皮劑子按扁,放一個油酥劑子

7捏緊封口,收口朝下放案板上

8用擀麵杖擀成長橢圓形
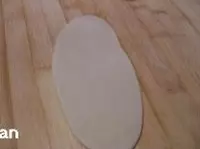
9從上至下捲起來

10按扁

11再擀成長橢圓形(這次擀好的比上次要長許多,窄許多)

12從上至下捲起來,蓋保鮮膜備用

13拿一個紅色水油皮麵糰,包裹油酥麵糰

14捏緊封口,收口朝下放案板上

15擀卷的方法和白色水油皮麵糰是完全一樣的,卷好以後,暫時不用的蓋保鮮膜

16拿一個面卷,豎著放案板上

17用擀麵杖擀成圓形面片

18白色在下邊,紅色放上邊

19放40克豆沙餡

20一定要捏緊封口,收口朝下放案板上

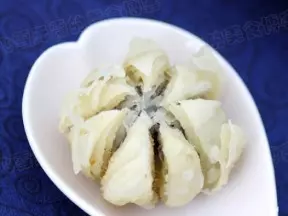
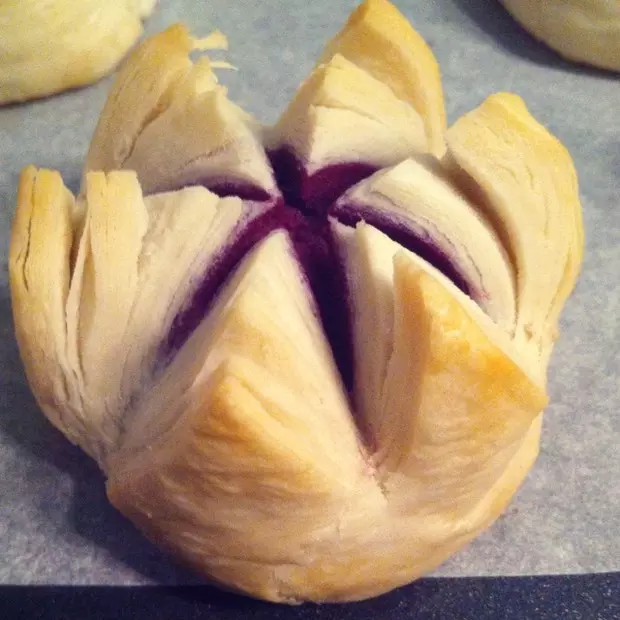
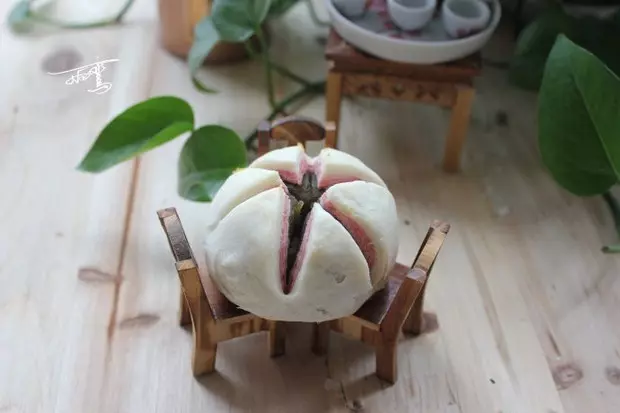
21用尺子在麵糰上邊平均壓三道壓痕

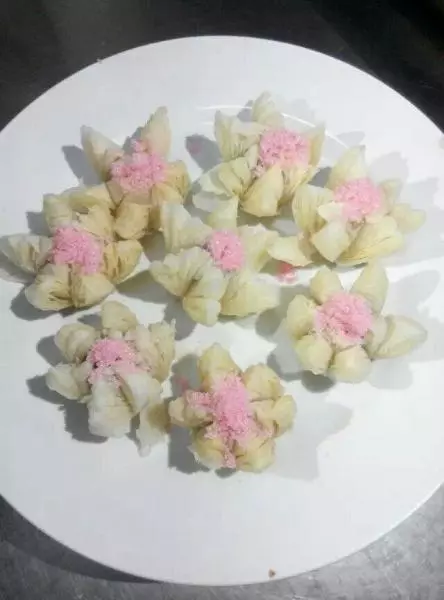
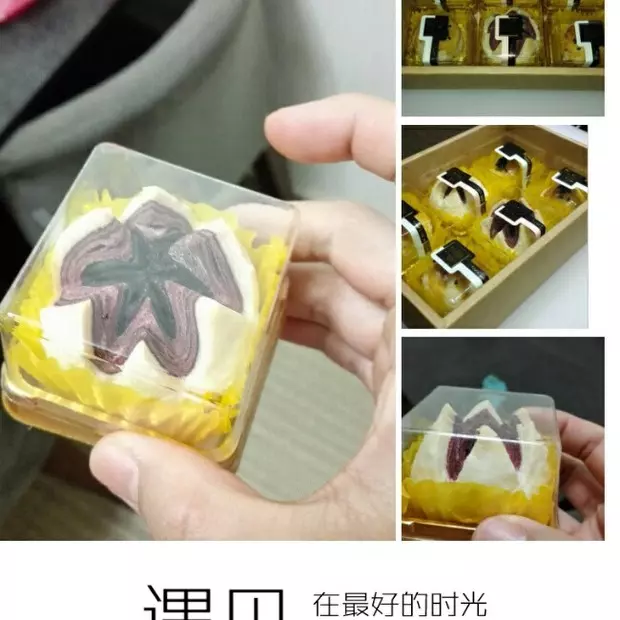
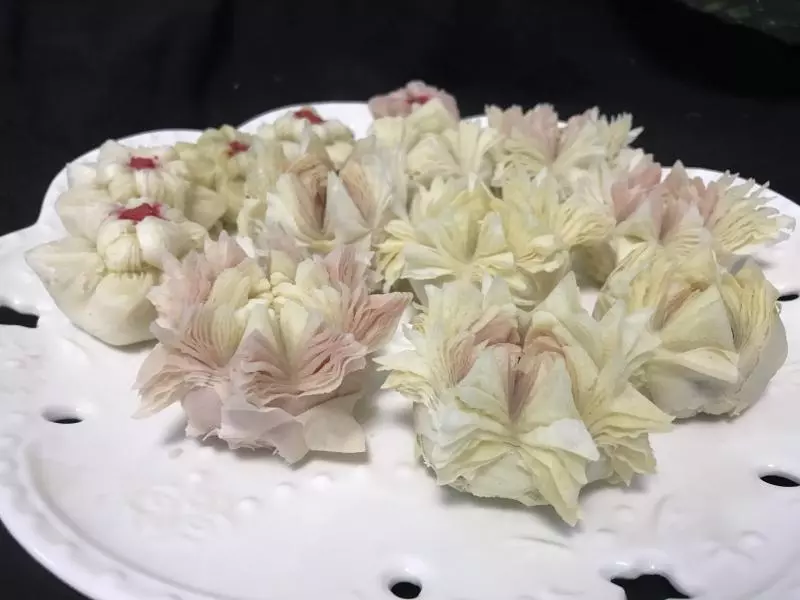
22用鋒利的刀片,在頂部切開,深度切至豆沙餡部分

23烤盤鋪錫紙,放上包好的荷花酥

24烤箱預熱184度,中層,上下火烤35分鐘左右(看顏色差不多了,就在上邊蓋一層錫紙,別讓烤好的荷花酥烤成黃色啊,那樣就不好看啦,這個荷花酥,必須是白白的才好看!烤的時間看自己烤箱的功率自己掌握,我先烤了25分鐘,沒熟,又加了10分鐘,這次就沒啥問題了)