原料
低筋麵粉 80克, 雞蛋 4個, 糖 60克+30克, 油 55克, 牛奶 55克, 醋 幾滴, 新鮮櫻桃 300克, 糖 25克+35克, 玉米澱粉10克, 水 100克(加濾出的汁液), 鹽 1克, 檸檬汁 5ML, 櫻桃果泥 200克, 動物性淡奶油 200ML, 水 100克, 蛋黃 4個, 吉利丁片 4片, 細砂糖 30克.
步驟
1準備原料

2將蛋黃和蛋清分別打入兩個容器中

3將蛋黃攪拌均勻

4將30克糖加入

5將牛奶和油的混合液倒入攪拌好的蛋黃中

6把他們攪拌均勻

7再加入麵粉

8充分攪拌均勻

9將蛋清打起攪拌後加入另外60克糖的三分之一

10再打發蛋清, 加入另外糖的三分之一

11再打發蛋清, 加入另外糖的三分之一

12在打發好的蛋清中加入幾滴白醋,再打發一下

13打發好的蛋清能豎立起小三角

14將打發好的蛋清的三分之一倒入混合好的蛋黃液中, 將它們攪拌均勻

15將攪拌好的液體再倒入剩餘的三分之二蛋清中

16將它們攪拌均勻

17倒入所需要的模具中, 放如烤箱前先振動兩下

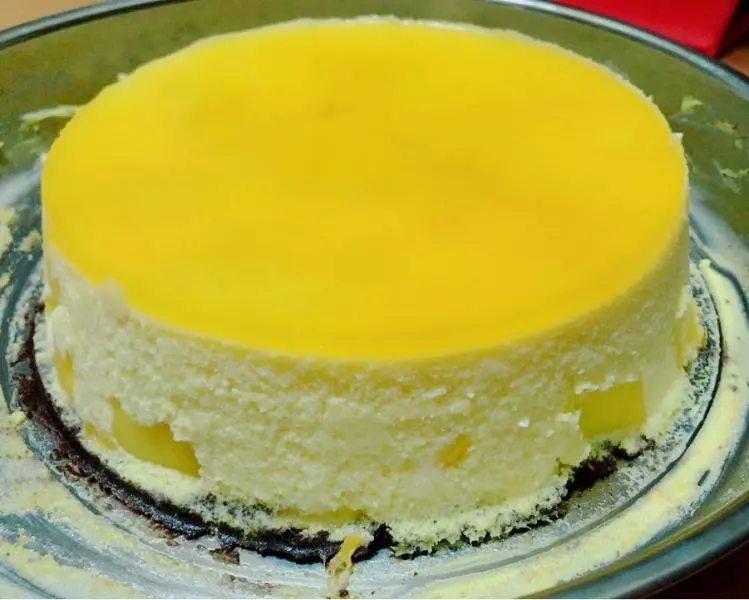
18放入預熱好180度烤箱中, 中下層40分鐘, 拿出來倒扣, 冷卻後脫模

19涼透後的蛋糕切成片

20新鮮櫻桃洗凈, 用刀劃成兩半後去核

21加入糖,蓋上蓋腌制2個小時以上

22將腌制好的櫻桃的一半,倒入攪拌器中打碎

23將吉利丁片泡在冷水中

24將泡軟的吉利丁片加上糖, 水隔水加熱, 直到完全融化

25加入剛打好的櫻桃液一起攪拌均勻

26再將雞蛋黃逐個加入, 每一個加入都要攪拌均勻後再加入下一個

27全部攪拌均勻後拿出來放涼備用

28將奶油打發到六, 七成

29倒入準備好的櫻桃液充分混合

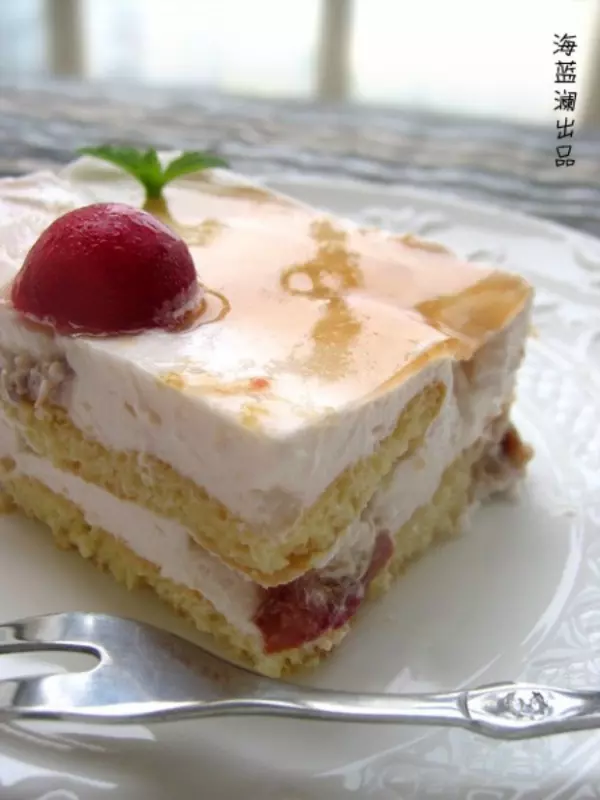
30將模具用錫紙包好,切片的蛋糕放在底部

31倒入些慕斯液,再加上蛋糕片, 再倒滿慕斯液, 放入冰箱中冷藏一晚上

32將剩餘的一半糖腌過的櫻桃濾出汁液,加入適量的水,玉米澱粉,鹽,檸檬汁,糖,在火上加熱並不斷攪拌,直到沸騰,成為濃稠的狀態

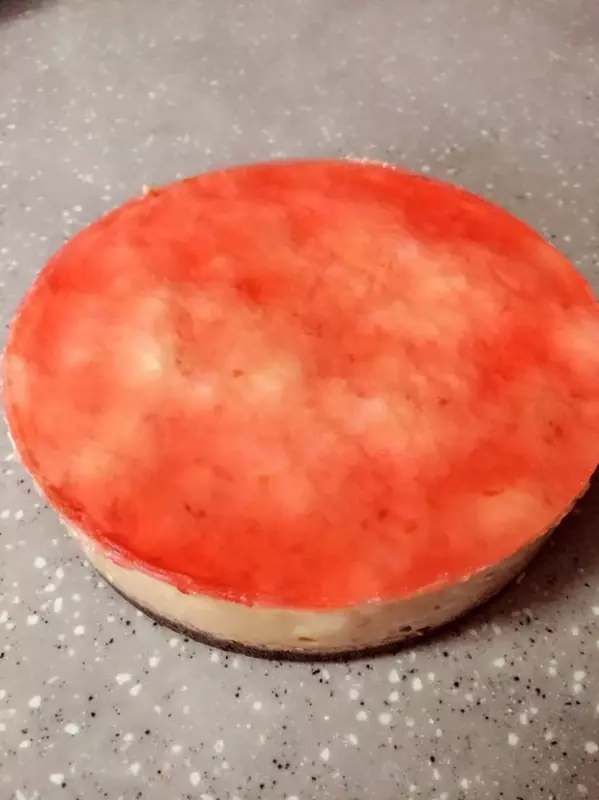
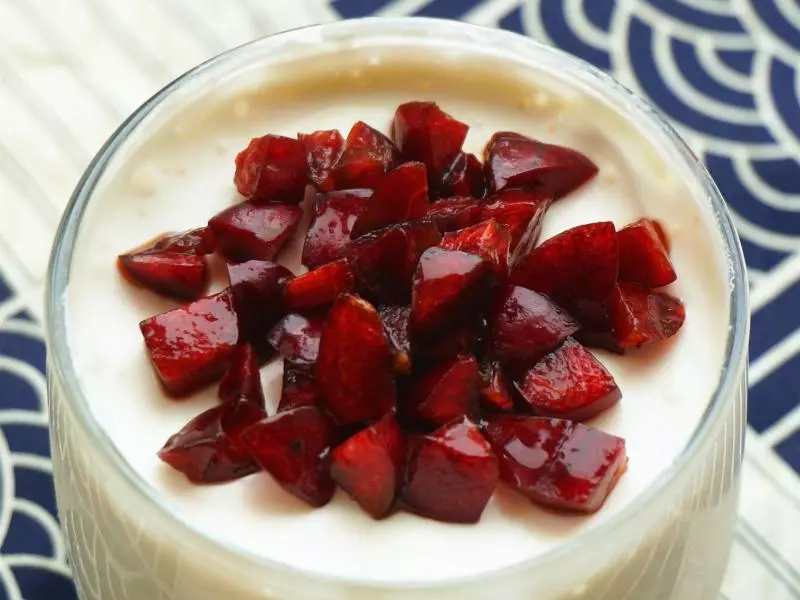
33把煮好的果汁趁熱淋在濾干水的櫻桃上

34攪拌均勻後冷卻備用

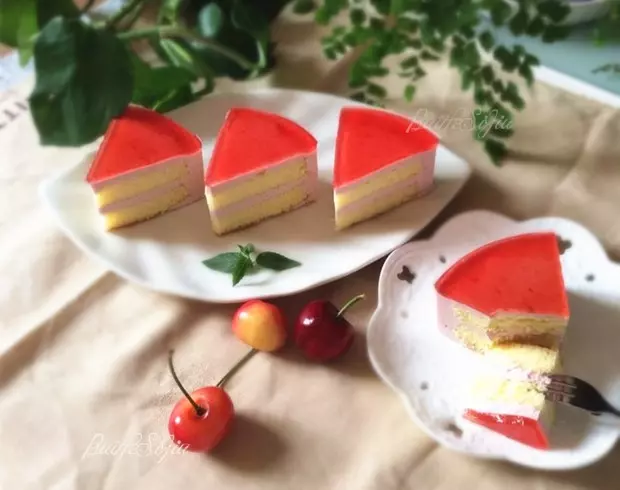
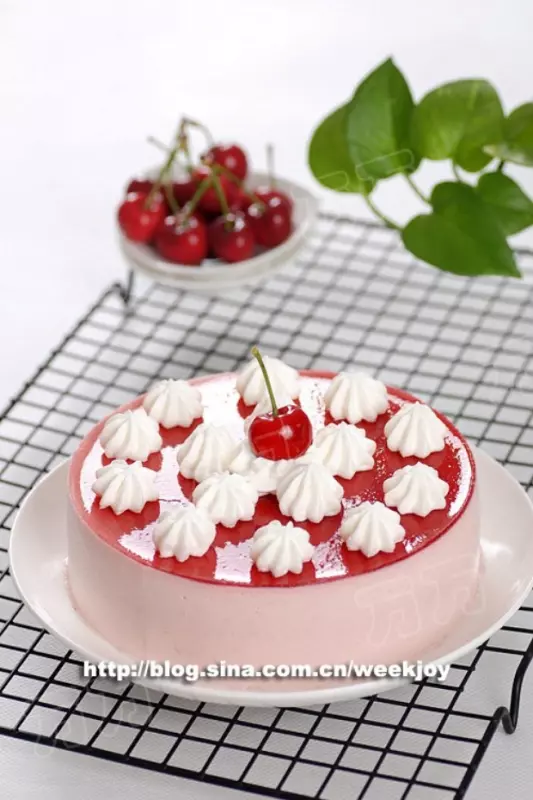
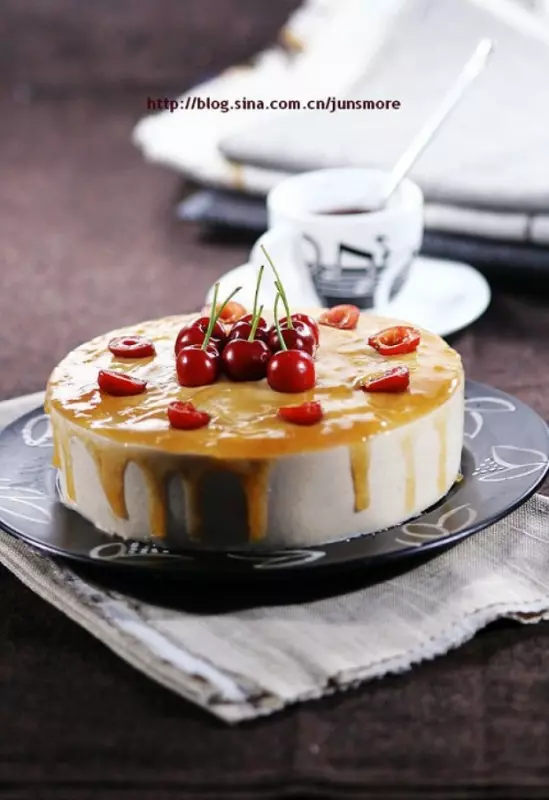
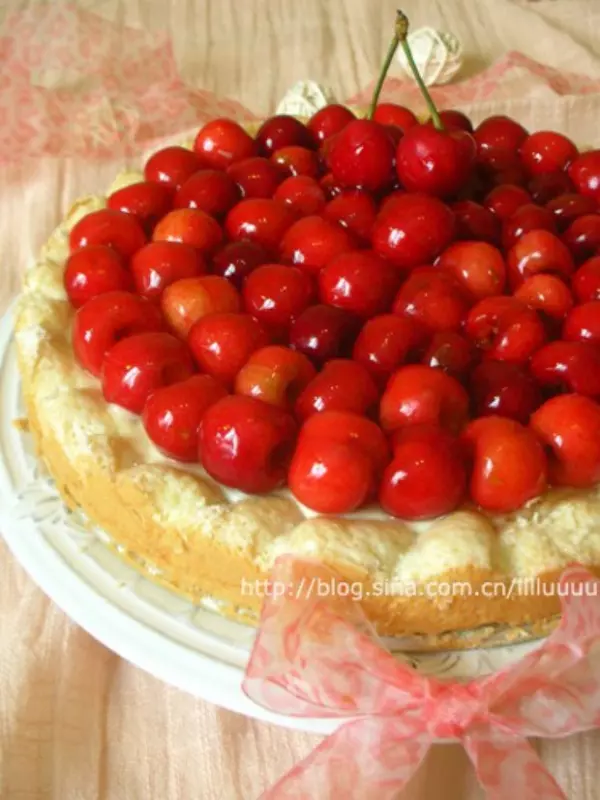
35將冷卻好的慕斯蛋糕脫模

36在上面鋪滿櫻桃

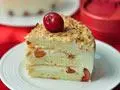
37點綴翻糖花即可

小技巧
1.戚風蛋糕注意事項:蛋清要打在無水無油的容器中;打發好的蛋清和蛋黃液混合物攪拌時要注意力度和方式,要從下往上挑;家庭製作加入醋,就避免添加塔塔粉這類化學物;打發好的蛋清以用攪拌器上能倒立成小三角為宜;蛋糕模拿出來要馬上倒立過來,以免塌陷;
2.製作櫻桃餡的時候,必須經過兩個小時以上的腌制,才可以產生足量的汁液。如果沒有時間,可以把新鮮櫻桃加糖後,放入小鍋里煮沸,能立即得到汁液。但櫻桃經過烹煮,口感會和新鮮櫻桃不一樣,看個人喜好決定是否採用這種方法。 如果你的櫻桃是非常酸的那種,則可以省略在櫻桃餡中加入檸檬汁;
3.吉利丁片要用冷水泡,泡的時間不宜過長,以二十分鐘為宜,天熱泡長時間就熔化了; 夏天溫度高,慕斯液倒入模具中時間很長還是液體狀,可以先將混合好的慕斯液放入冰箱中冷藏二十至三十分鐘再倒入模具中;
4.從冰箱裡取出蛋糕,然後用吹風機在邊上吹一圈,蛋糕就會自動脫模;也可以用熱毛巾圍住模具四周, 注意觀察,邊緣有鬆動的痕跡,就可以脫模啦。