原料
鸡蛋: 12个, 牛奶: 190克, 细砂糖: 80克, 低筋粉: 135克, 玉米油: 135克, 柠檬汁或白醋: 4滴, 淡奶油: 300克, 细砂糖: 30克
步骤
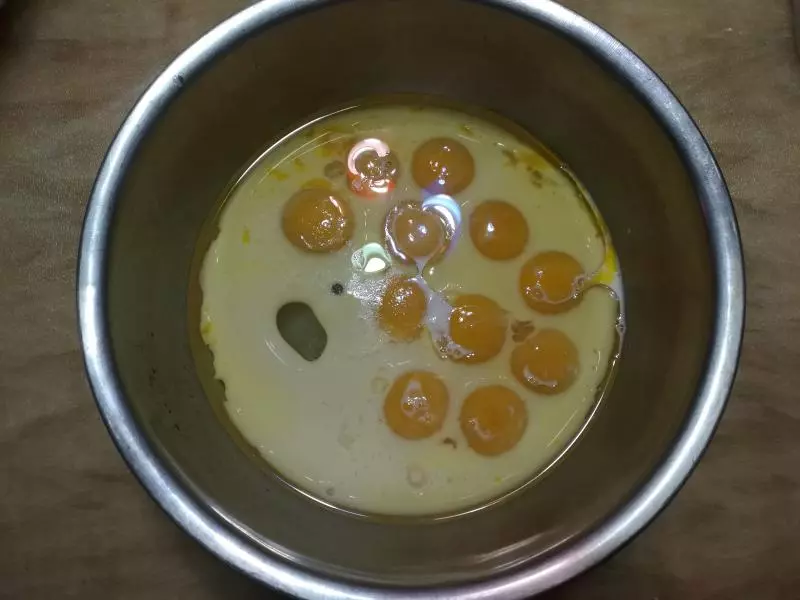
1分离蛋清蛋黄。蛋黄内加入30克糖、牛奶、玉米油。
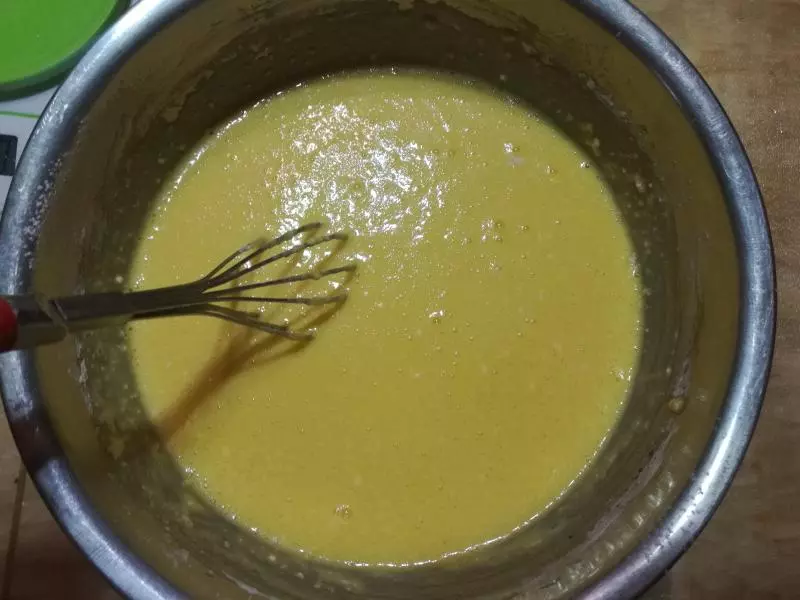
2混合搅拌均匀,充分乳化。
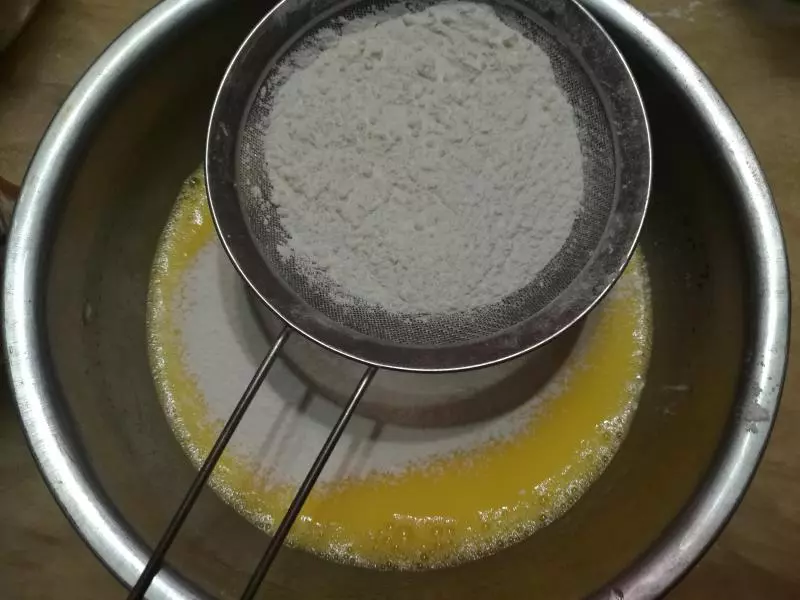
3筛入低筋粉,一字型搅拌均匀。
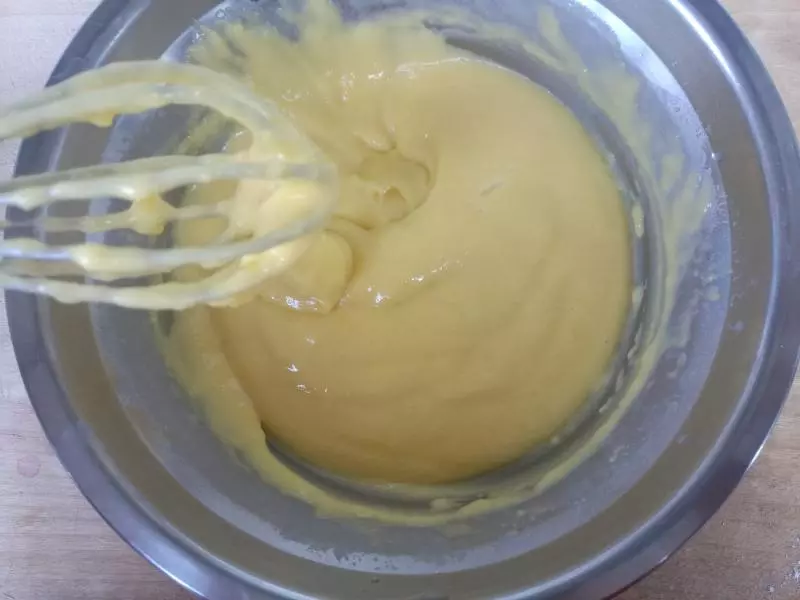
4拌好的蛋黄糊状态。
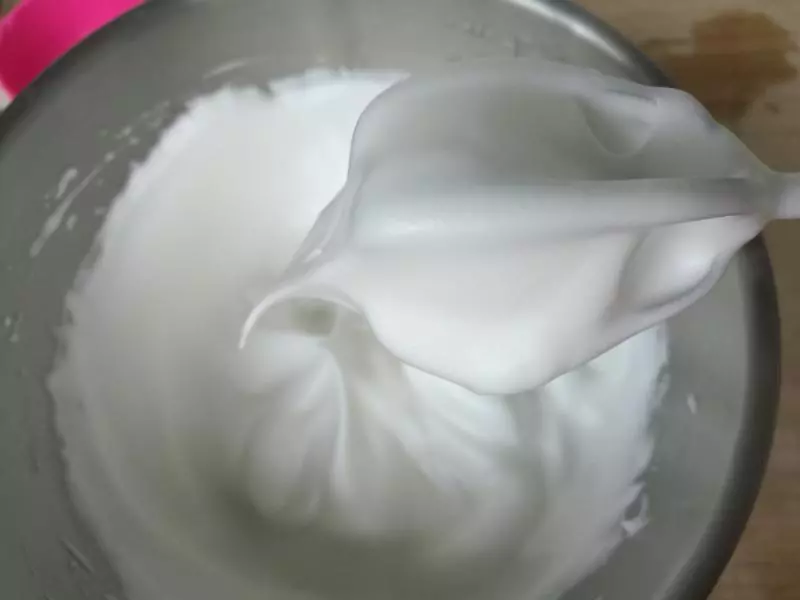
5蛋白内加入柠檬汁或白醋打发至湿性发泡,提起打蛋器出现大弯勾状态。
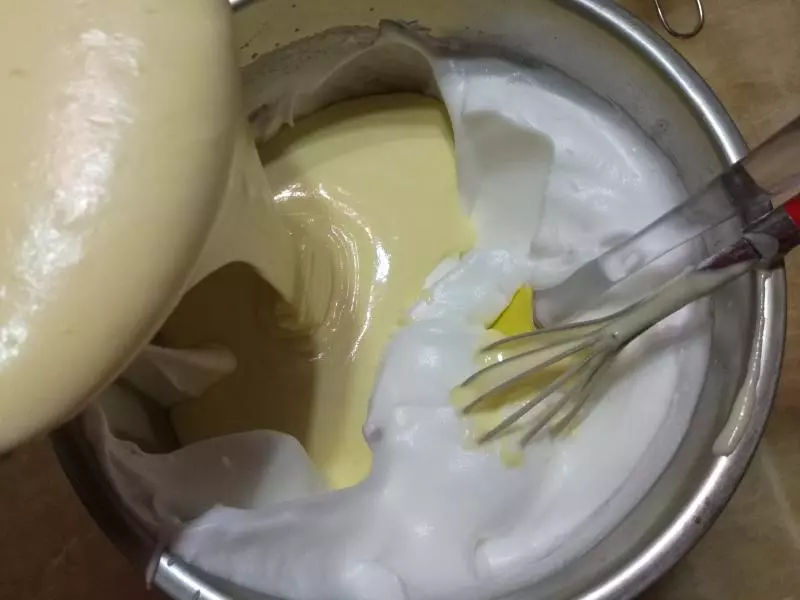
6取三分之一蛋白糊到蛋黄糊,翻拌手法混合均匀,混合好后倒回蛋白盆,继续翻拌均匀
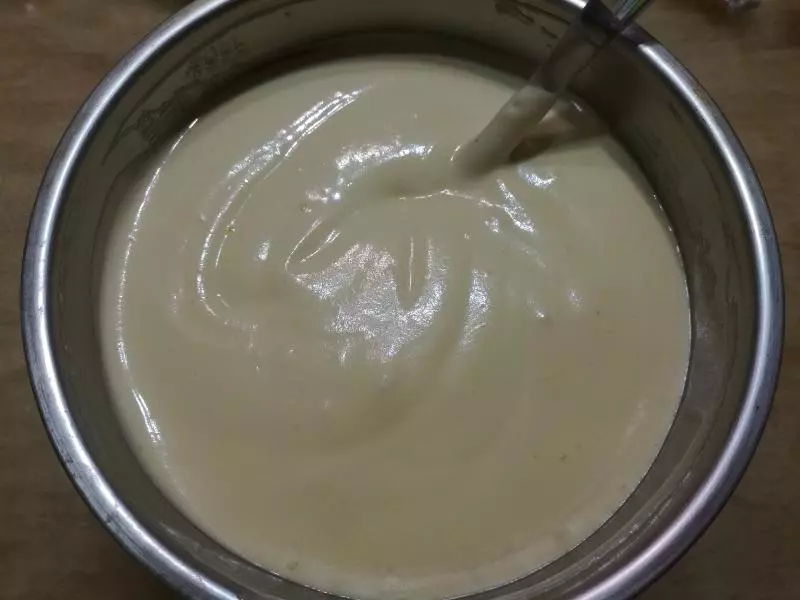
7混合好的蛋糊。
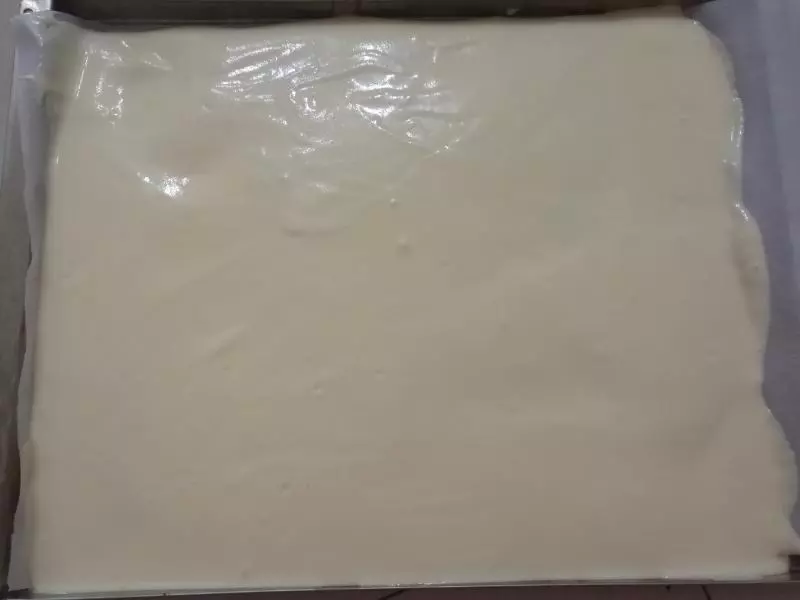
8烤盘铺油纸,撒上适量蜜豆,倒入蛋糊(分成三份)。
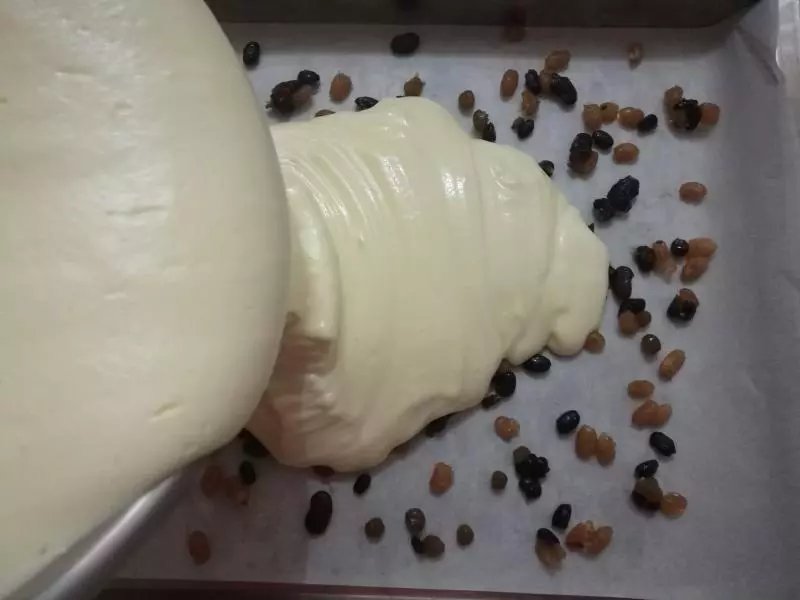
9整理平整。也可以在表面再撒一层蜜豆。
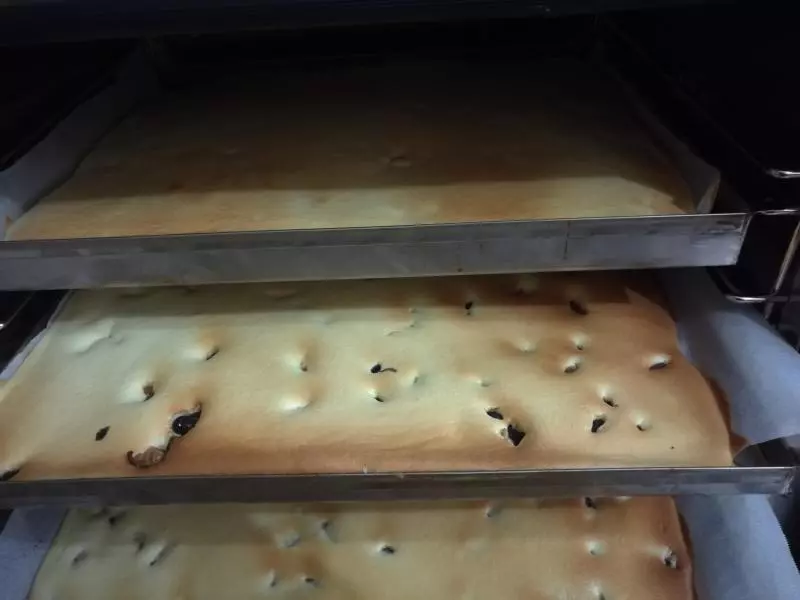
10送入预热好的UKOEO风炉,上下火175度烘烤16分钟即可。(也可普通烤箱上下火175度烘烤18分钟即可)

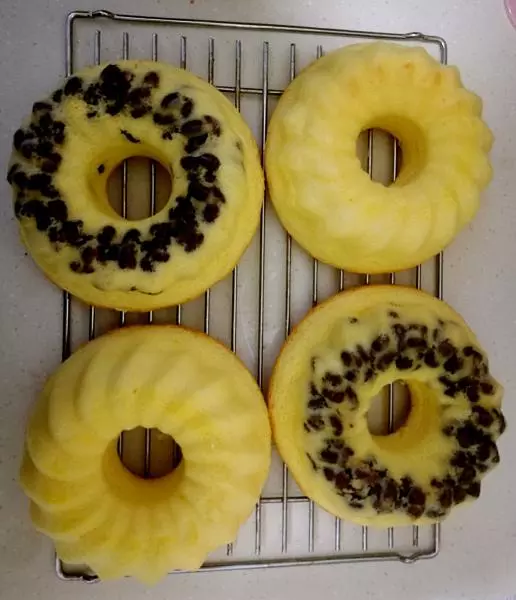
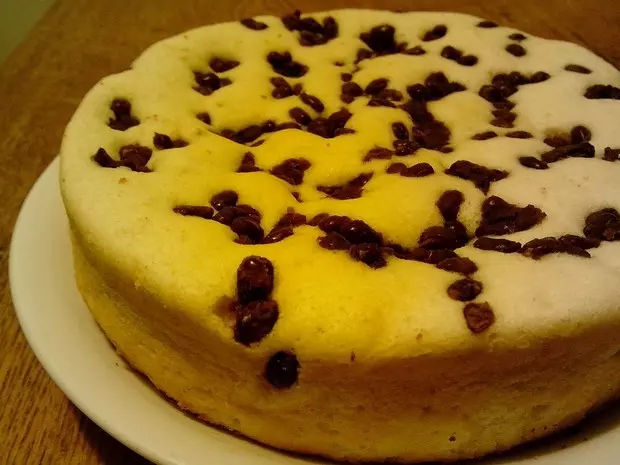
11停止后取出烤盘,上色很均匀。放烤网上揭开油纸四周晾凉。
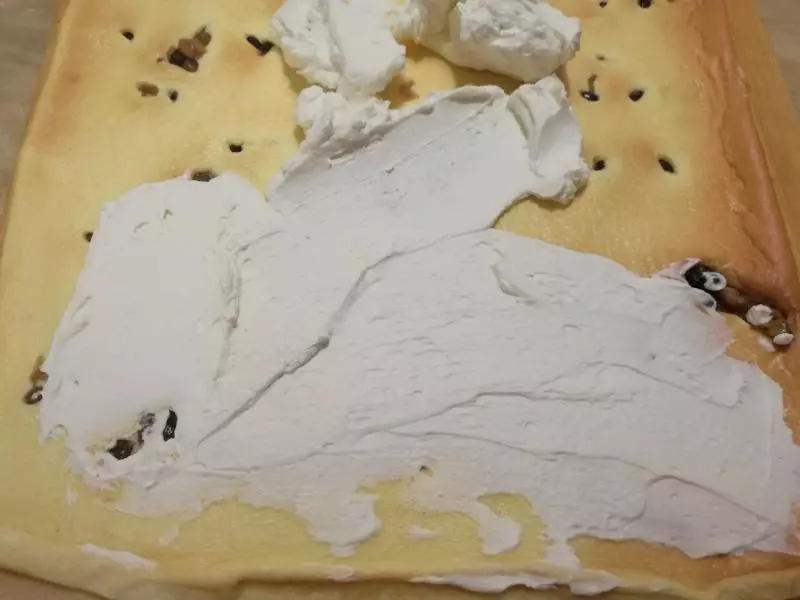
12淡奶油加糖打发至九分,用抹刀均匀地平铺在蛋糕上。
13撒上一层蜜豆
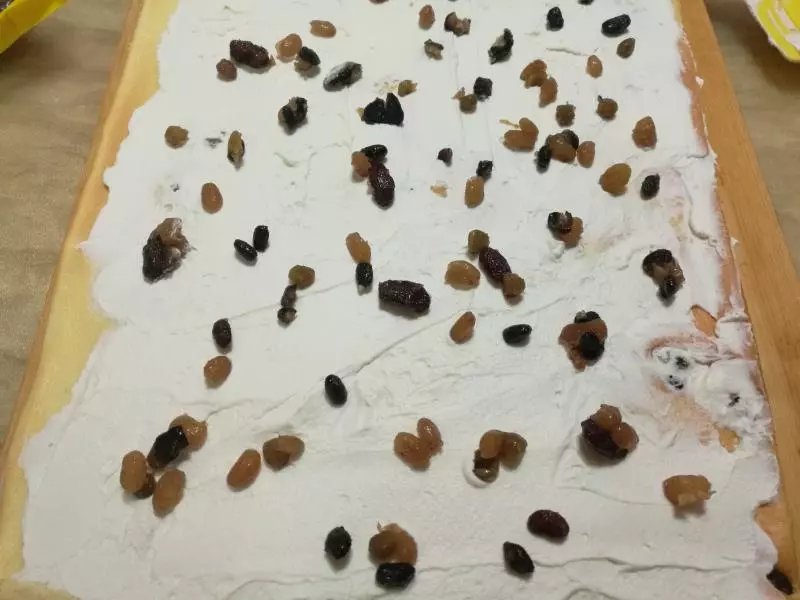
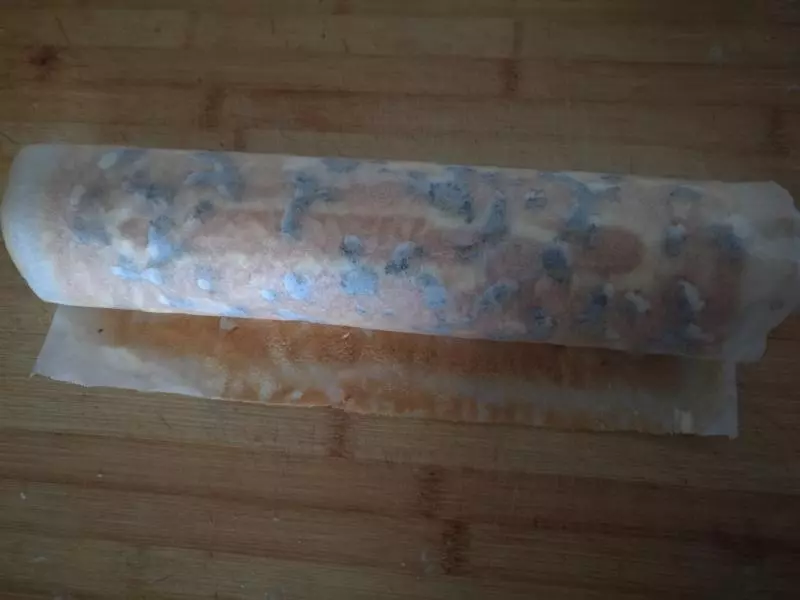
14借助油纸卷起来放冰箱定形。
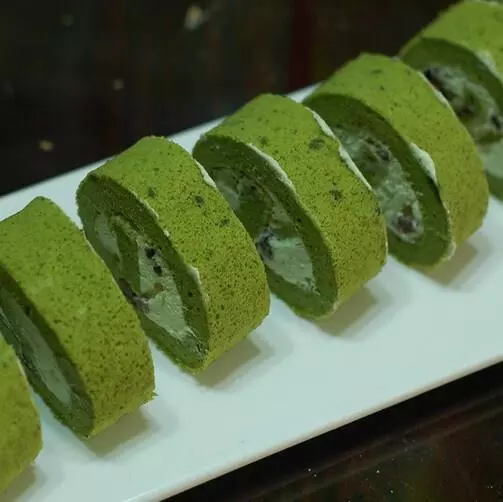
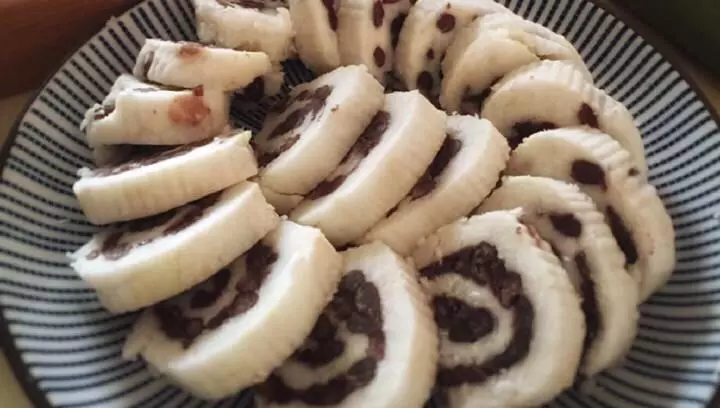
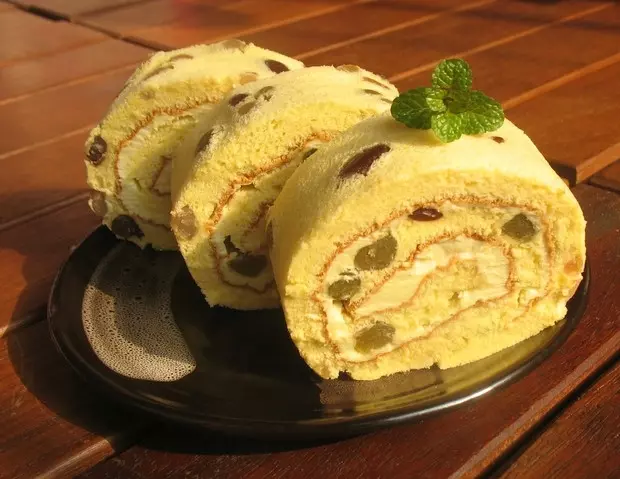
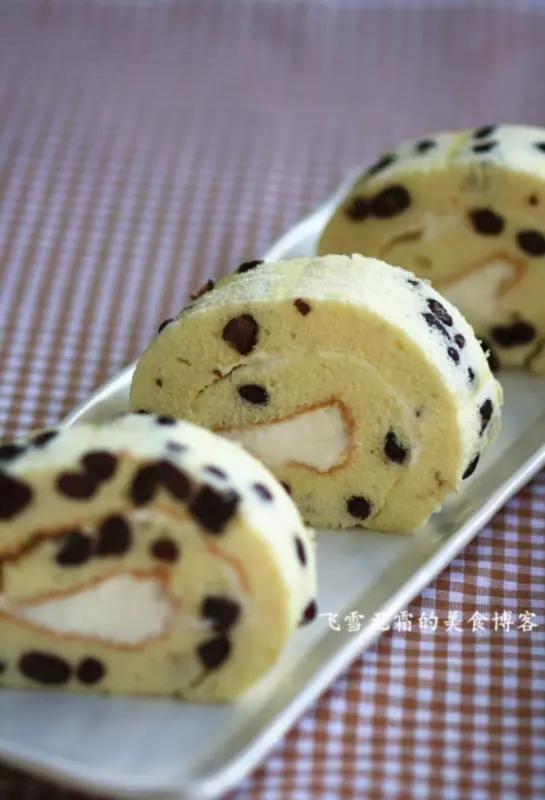
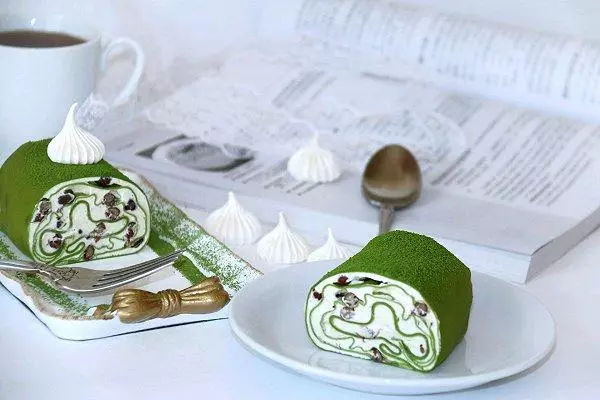
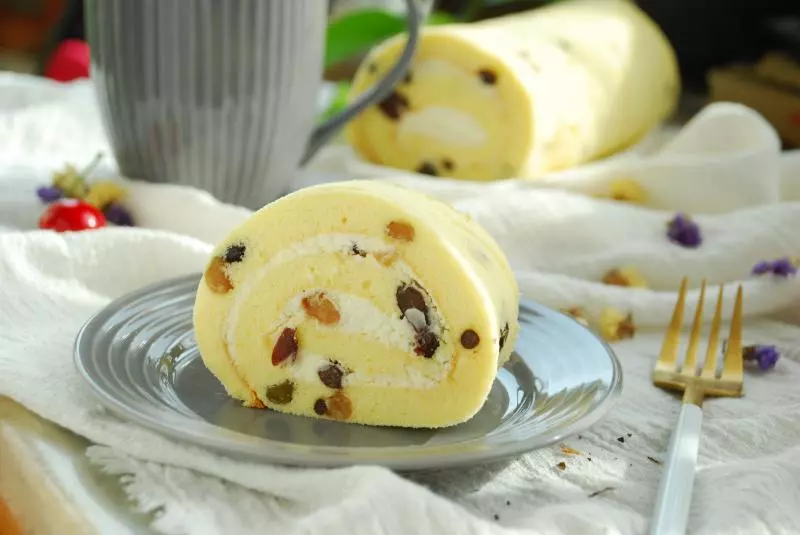
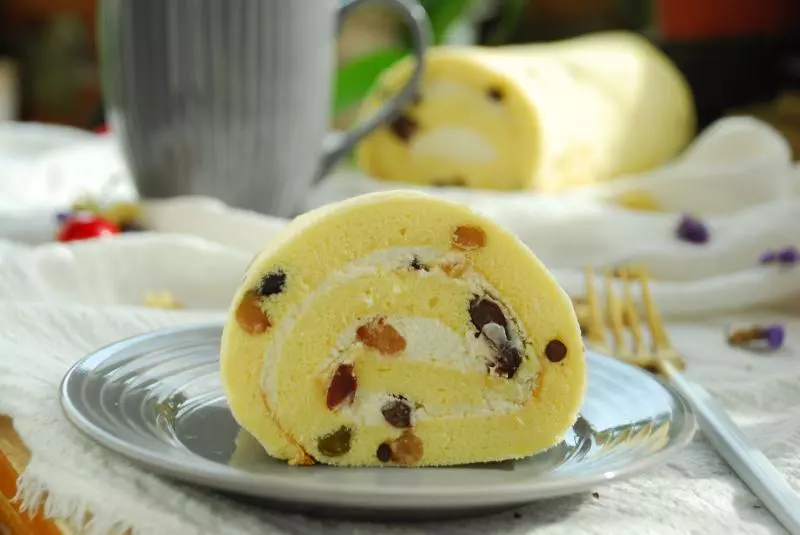
15取出后切块就可以享用了。
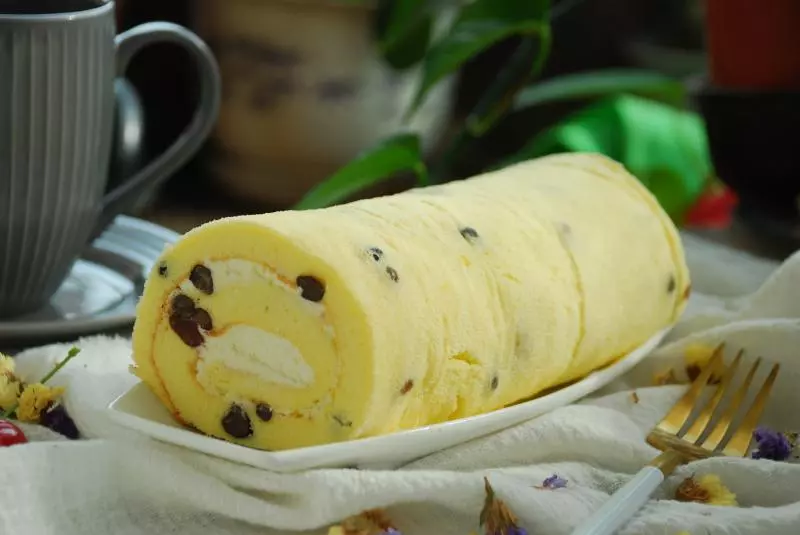
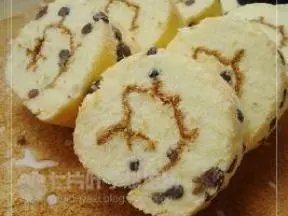
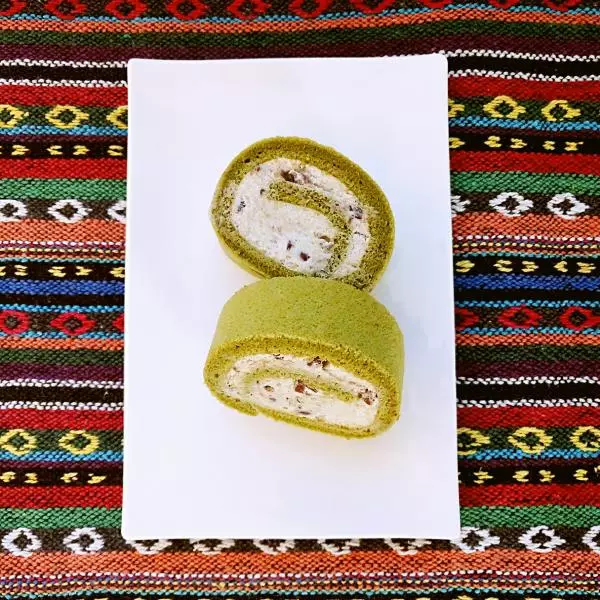
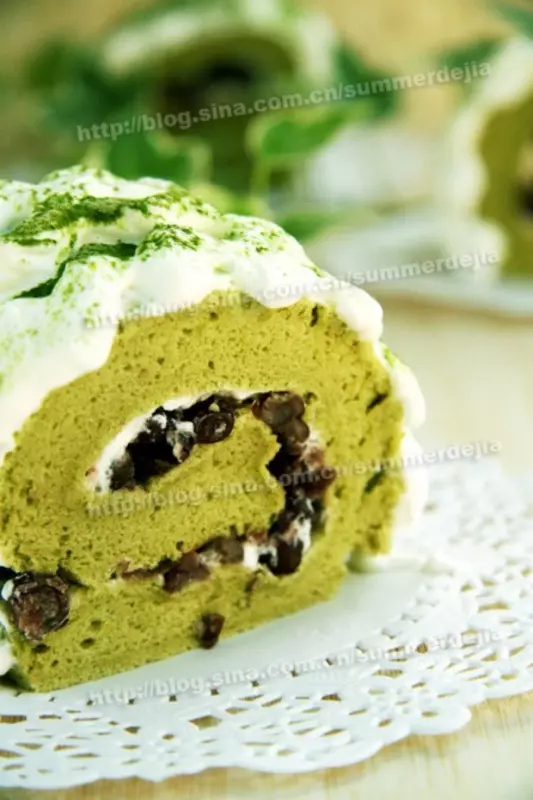
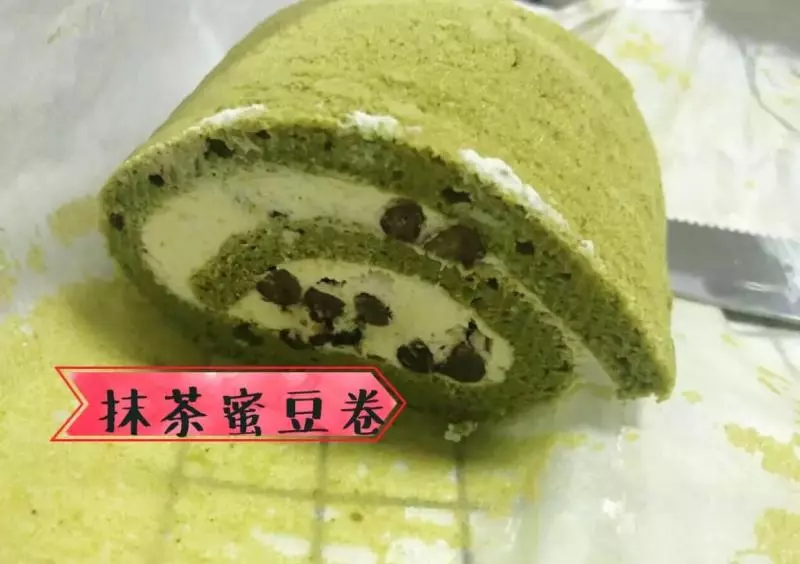
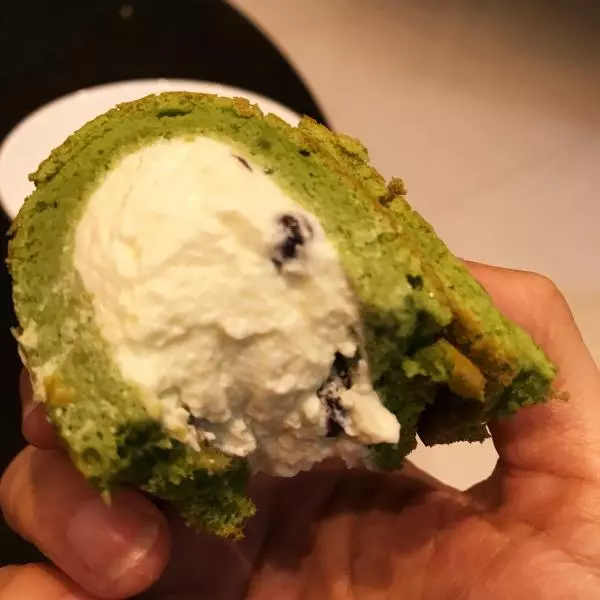
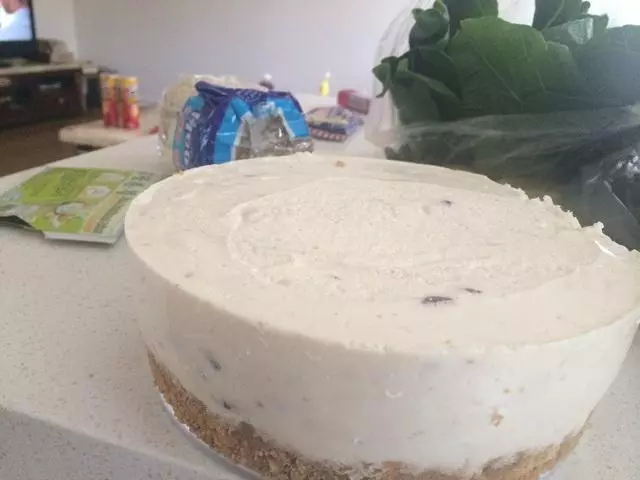
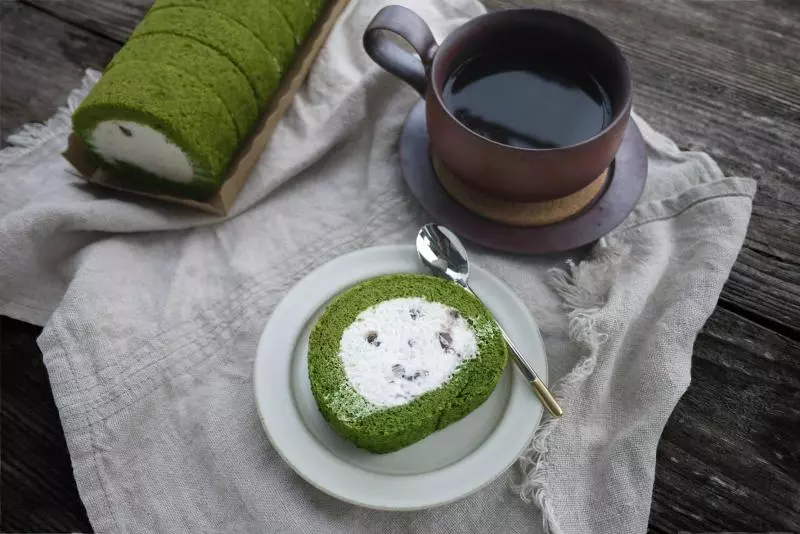
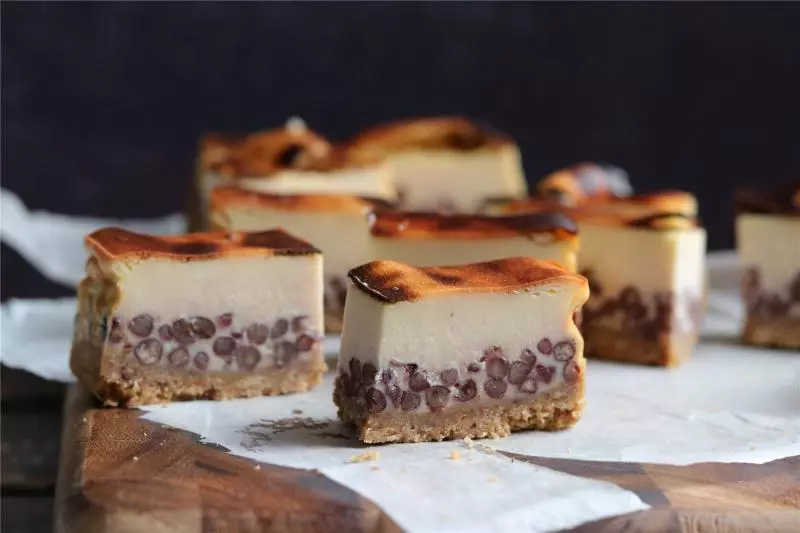
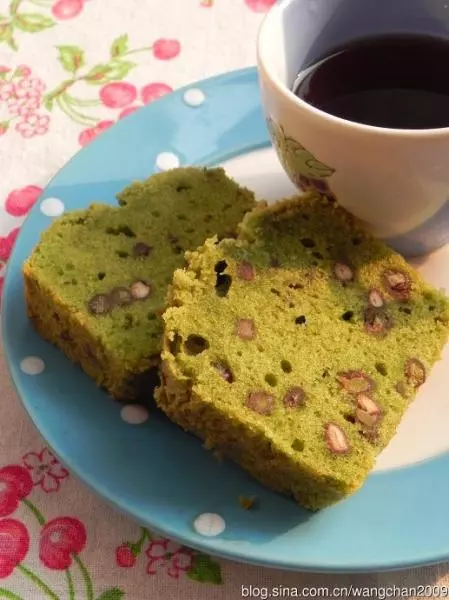
16成品图
小技巧
1、蛋白打发不要过度否则造成蛋糕卷断裂。 2、换成提子葡萄干也不错,不过要记得提前浸泡,用纸巾吸干水分。 3、此方子是三盘的量,同样适合28*28的烤盘。