原料
低筋面粉: 160克, 黄油: 40克, kiri芝士奶油: 40克, 橙皮丁: 45克, 鸡蛋: 1个(净重60克), 绵白糖: 45克
步骤
1材料一

2材料二

3方法一:黄油和芝士奶油切小块,自然软化,等到黄油软化成一捏就扁的程度时,加入细砂糖。(?一定要让黄油彻底软化哦!)

4开始打发黄油,芝士奶油。时间为3分钟左右。

5加入鸡蛋,继续打发。(打发的黄油和芝士奶油做的饼干比较韧性哦!)

6成浓稠的糊状

7筛入低粉

8加入橙皮丁

9用刮刀搅拌均匀,再用手轻轻揉成光滑的面团团。

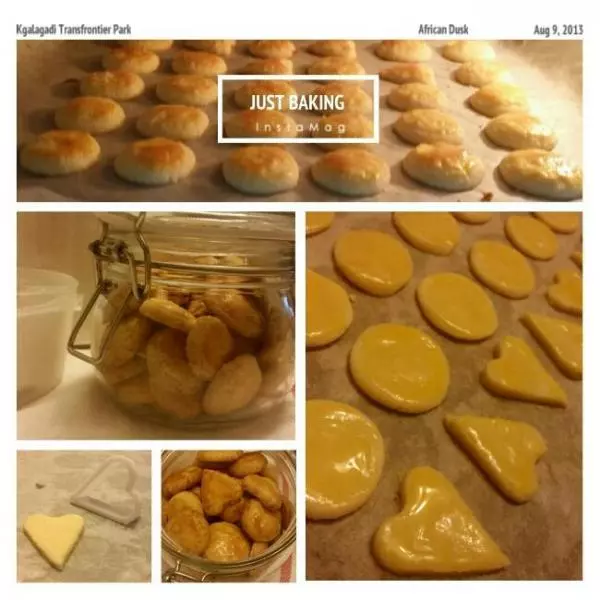
10揉成你想要的形状,整形好后用保鲜膜包起。

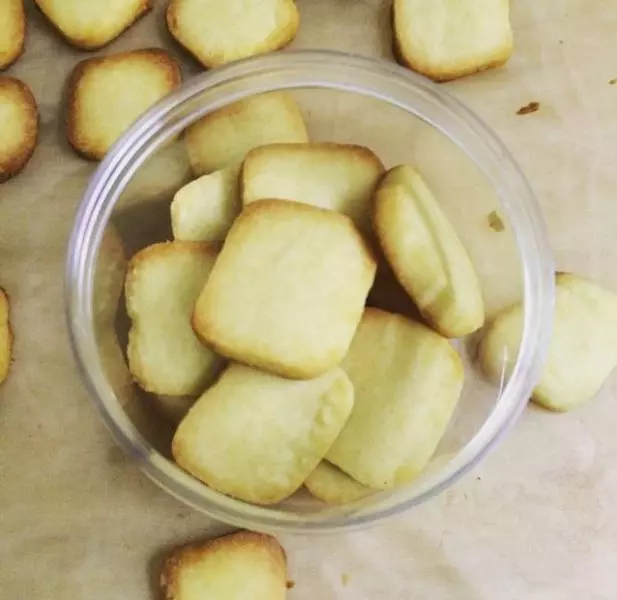
11有模具的可以入模具整形,然后放入冰箱冷冻一小时。

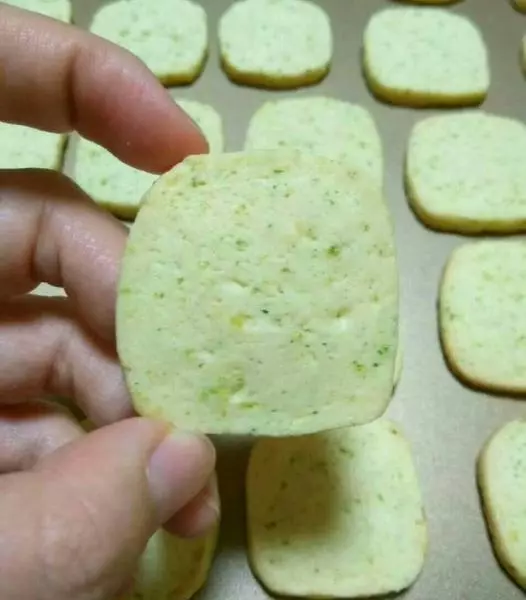
12冷冻后取出切成0.5cm的厚片

13烤盘铺油纸,摆好饼干

14预热烤箱,170度,20分左右。每家烤箱脾气不同,烤15分钟时要注意观察哦!我家的烤箱火力比较大,所以只用170度哈。

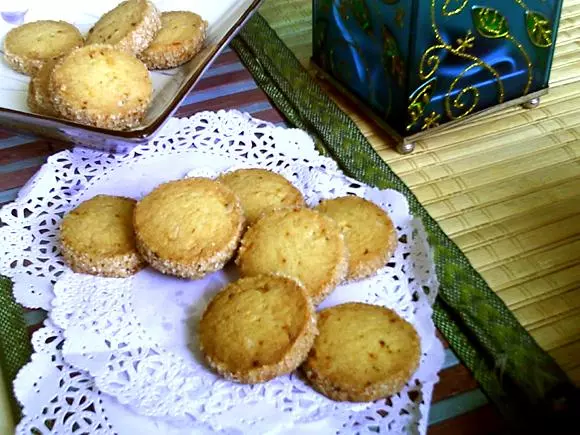
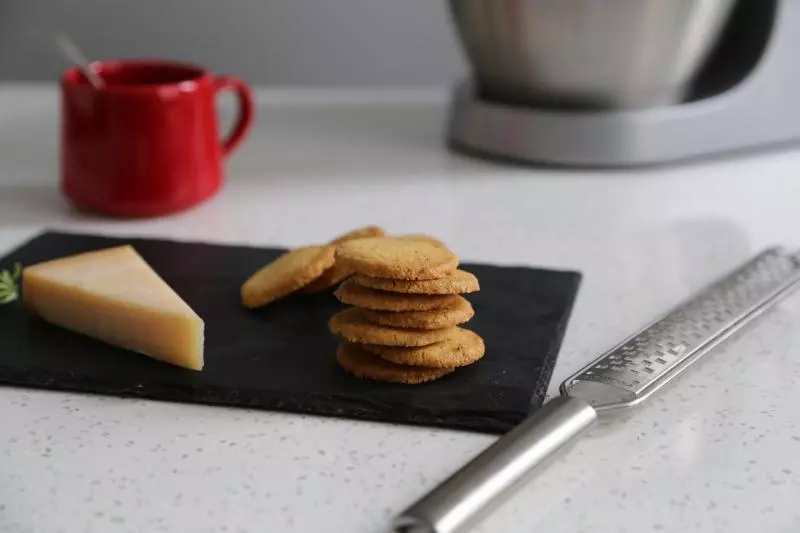
15冷却后更酥脆,美美的享受下午茶哈!

16方法二:直接把黄油和芝士奶油隔热水融化,然后加白糖、鸡蛋搅拌,再筛入低粉和橙皮丁,做出来的饼干比较酥哈!我个人喜欢方法二做出来的饼干哈?

小技巧
?有两种方法制作饼干,一种是打发的黄油和芝士奶油,这样做出来的饼干是比较有韧性的酥饼。一种是直接隔热水融化的黄油和芝士奶油,做出来的饼干是酥酥的。 ?没有芝士奶油可以用老酸奶等量代替。 ?这个饼干的是基础方,亲们可根据自己的口味添加适量坚果,增加口感哈!