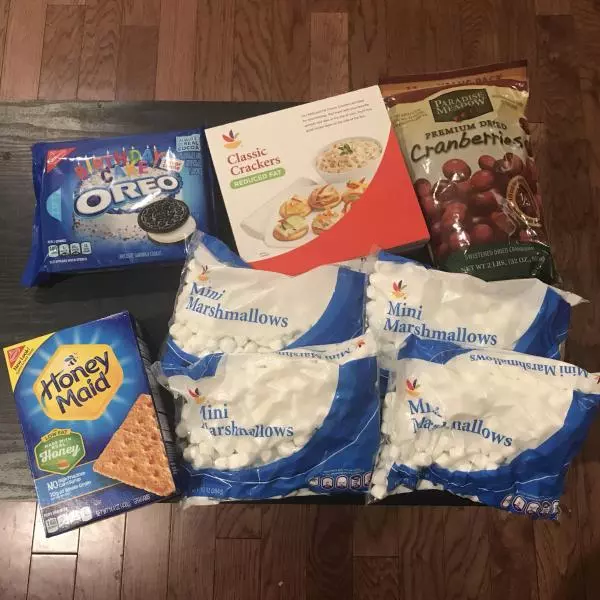
原料
蔓越莓雪花酥: ----------------, 饼干: 140g左右(1袋honeymaid/1.5袋经典饼干), 棉花糖: 140g左右(半袋), 黄油: 50g, 奶粉: 40g, 蔓越莓干: 40g, 坚果: 40g, 巧克力雪花酥: ----------------, 饼干: 140g左右(1袋honeymaid/1.5袋经典饼干), 棉花糖: 140g左右(半袋), 黄油: 50g, 奶粉: 40g, 黑巧克力: 40g, 坚果: 80g, 黑芝麻雪花酥: ----------------, 饼干: 140g左右(1袋honeymaid/1.5袋经典饼干), 棉花糖: 140g左右(半袋), 黄油: 50g, 奶粉: 40g, 黑芝麻粉: 10g, 黑芝麻: 60g, 坚果: 20g, 奥利奥雪花酥: ----------------, 奥利奥饼干: 140g左右(一袋半), 棉花糖: 140g左右(半袋), 黄油: 50g, 奶粉: 40g, 咖啡粉: 10g, 坚果: 80g
步骤
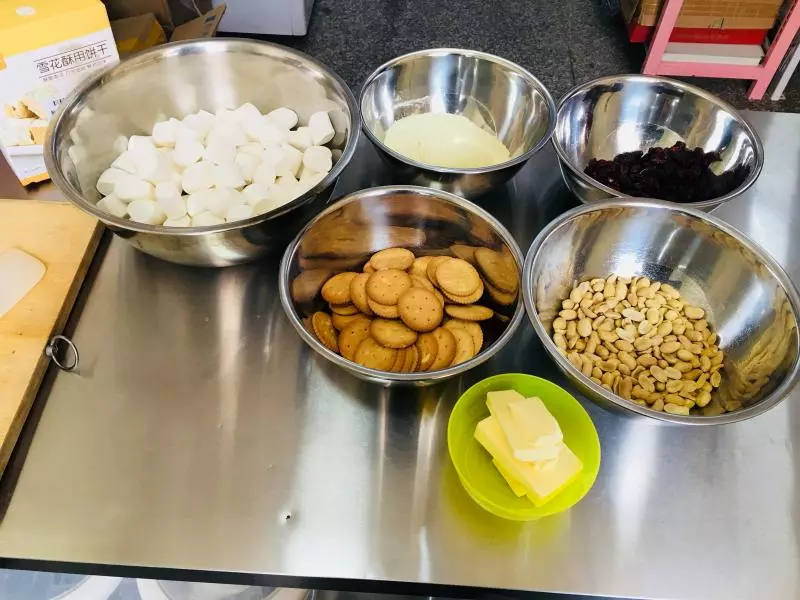
1一口气买了一堆饼干,奥利奥口味无所谓反正奶油都要刮掉~
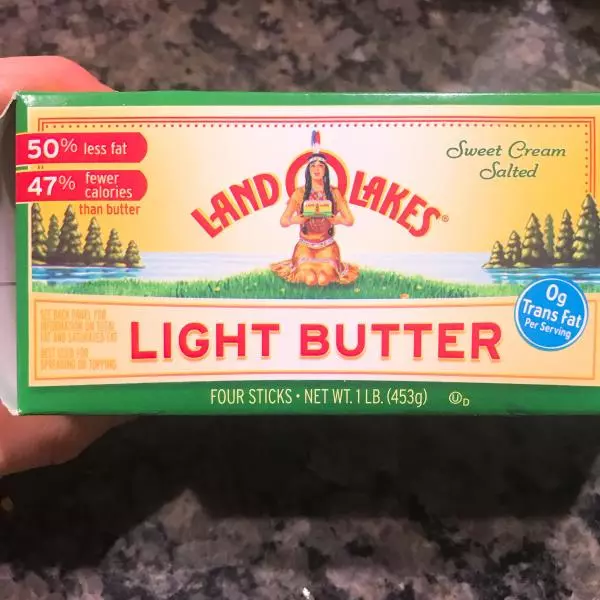
2为了消耗家里的黄油我很拼,减脂有盐黄油味道也吃不出来咸味~
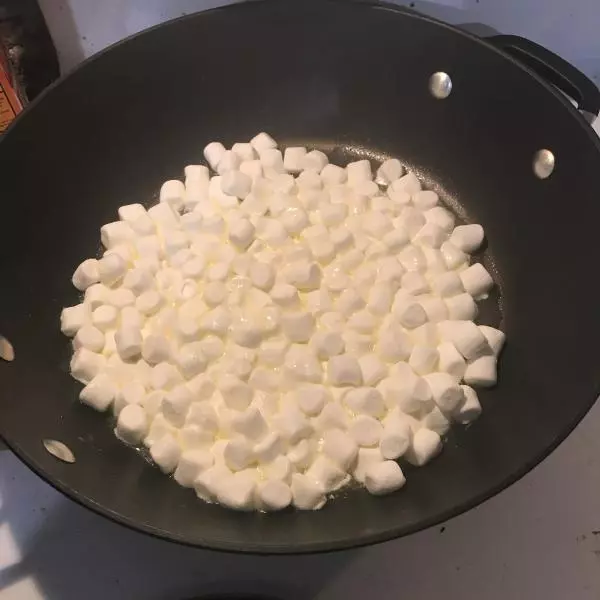
3全程小火,先加入黄油,融化后加入棉花糖~ ?巧克力味:在棉花糖之前加入巧克力,融化后再加入棉花糖~
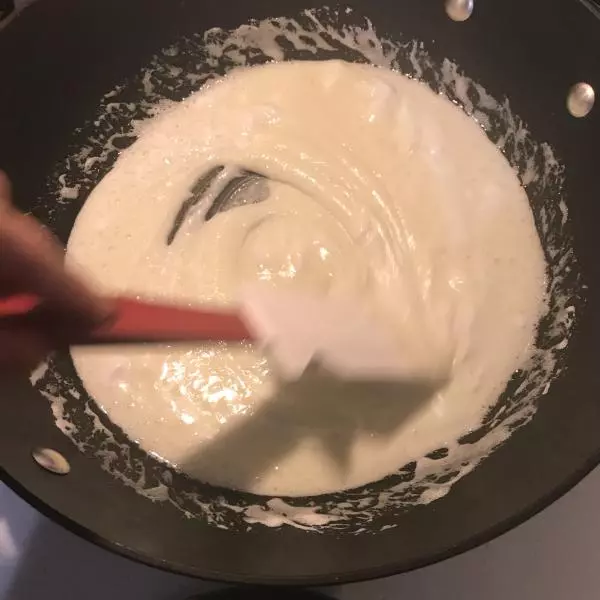
4棉花糖融化后迅速加入奶粉搅拌~ ?黑芝麻味:加奶粉+芝麻粉~ ?奥利奥味:加奶粉+咖啡粉~
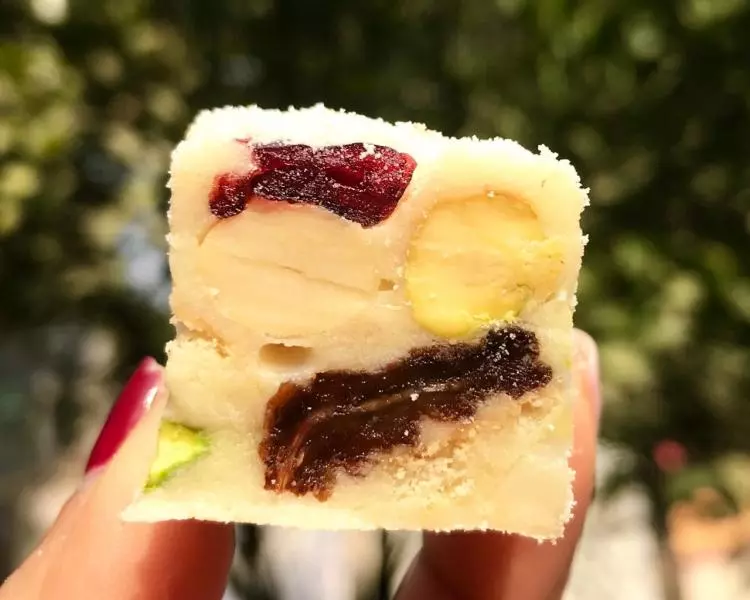
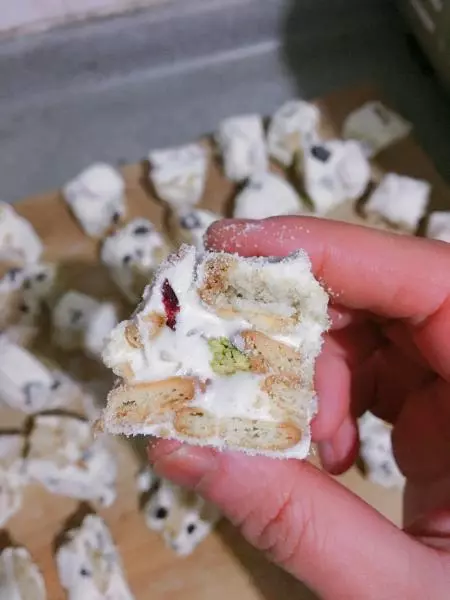
5待混合均匀迅速加入饼干+坚果~ ?蔓越莓:蔓越莓 (如果喜欢坚果也可以加,我喜欢不加蔓越莓的,但是棉花糖可能偏甜) ?巧克力:饼干+坚果 ?黑芝麻:饼干+黑芝麻+坚果 ?奥利奥:奥利奥+坚果
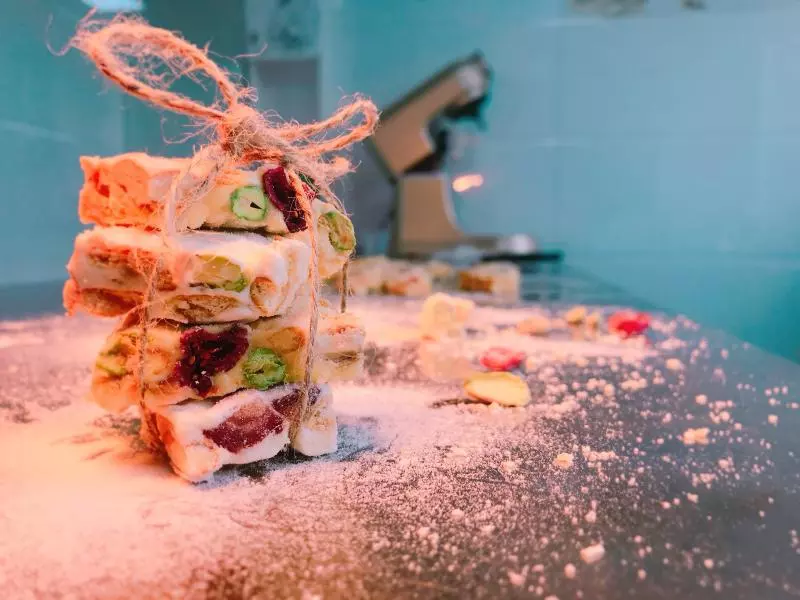
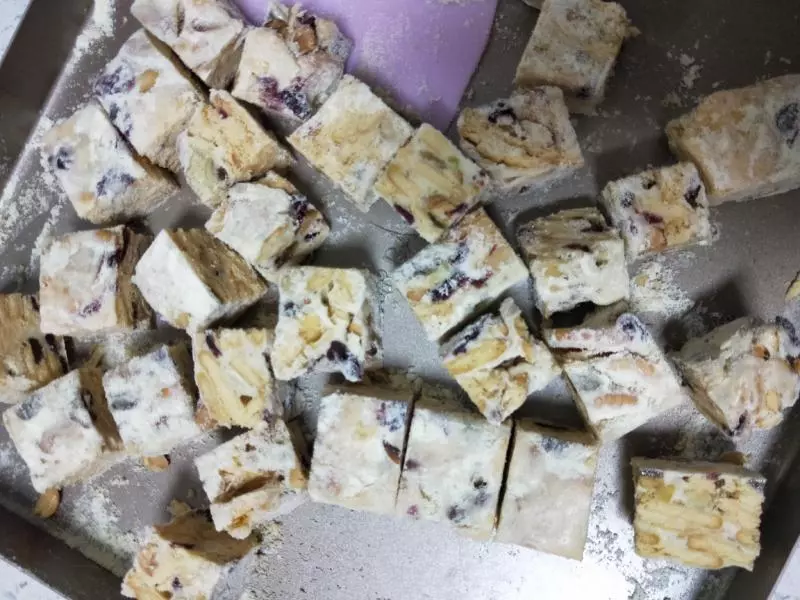
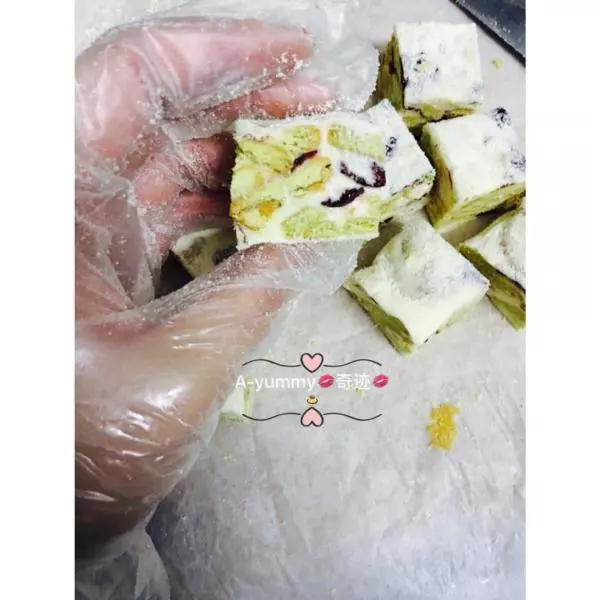
6在不沾盘里整形,一定要不沾~戴一次性手套是最好的~
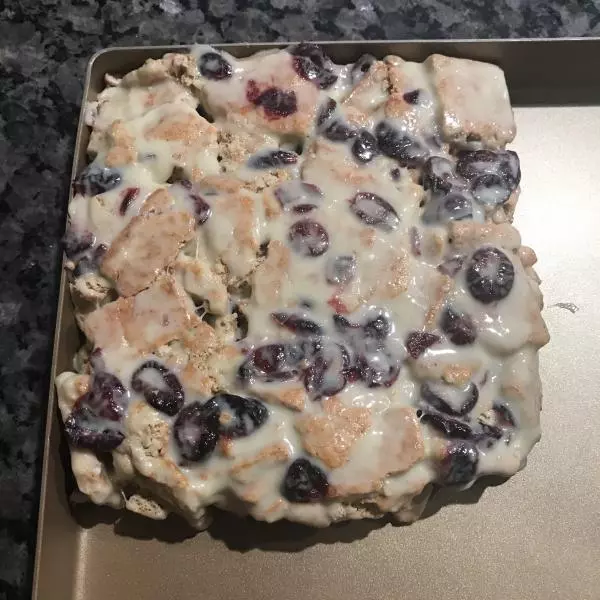
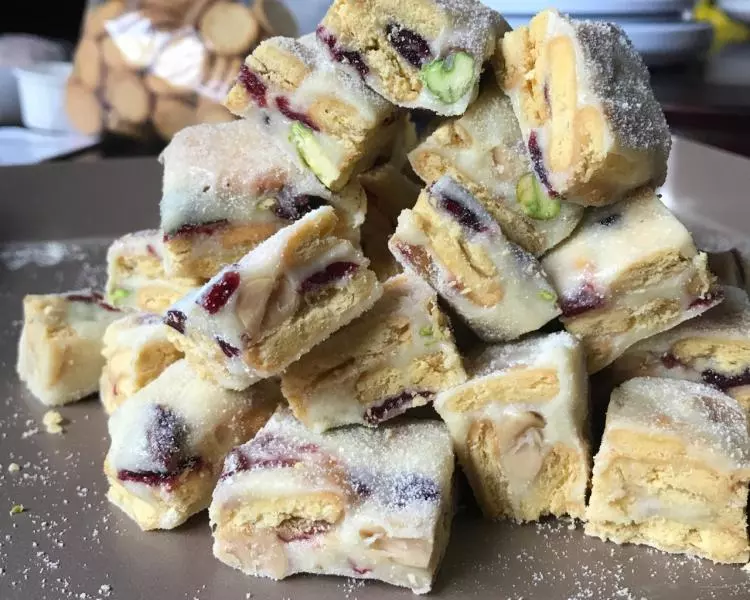
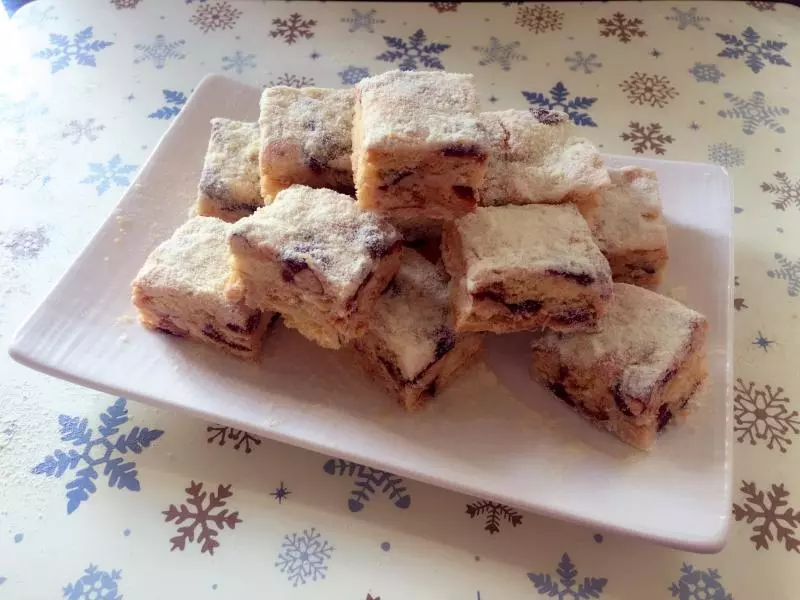
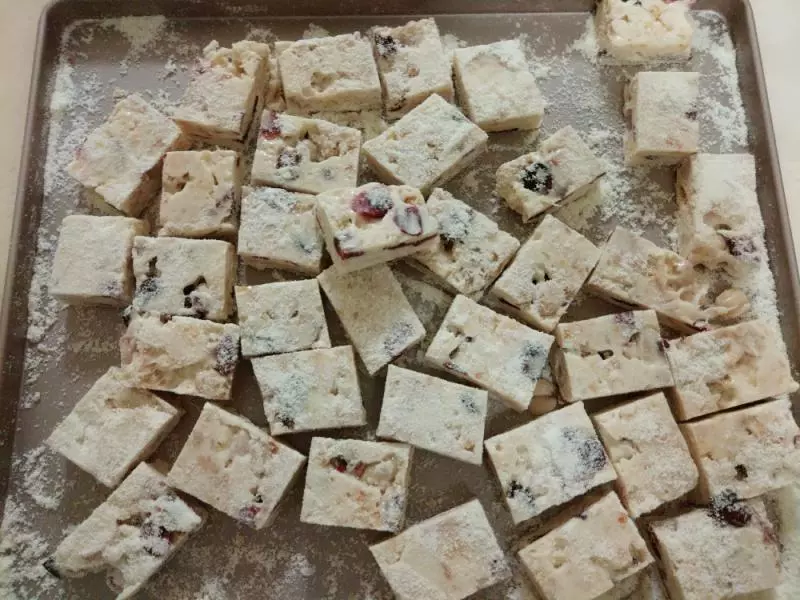
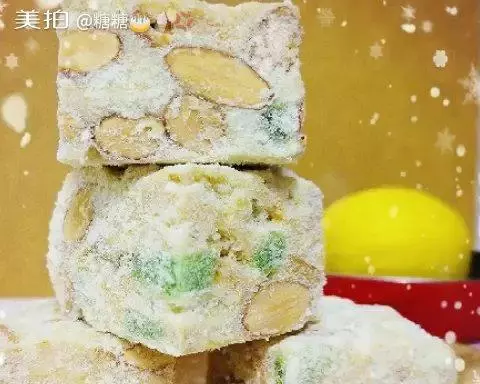
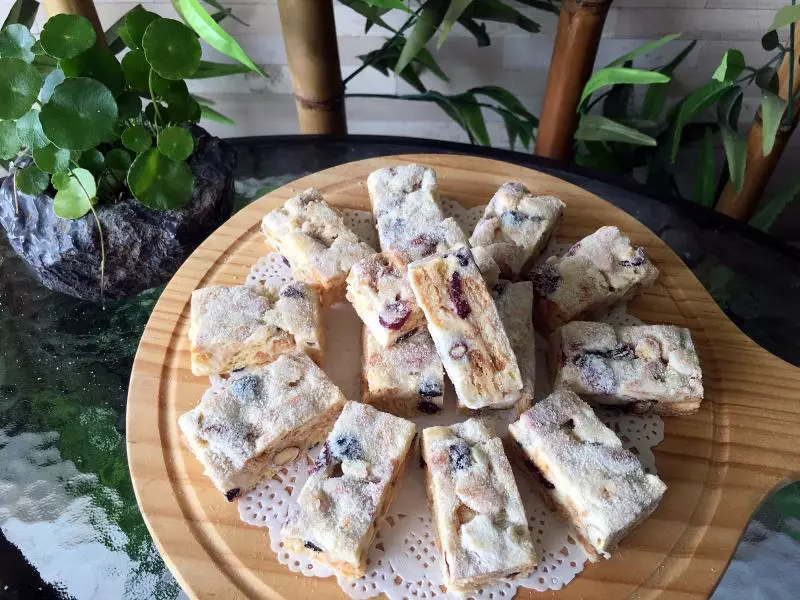
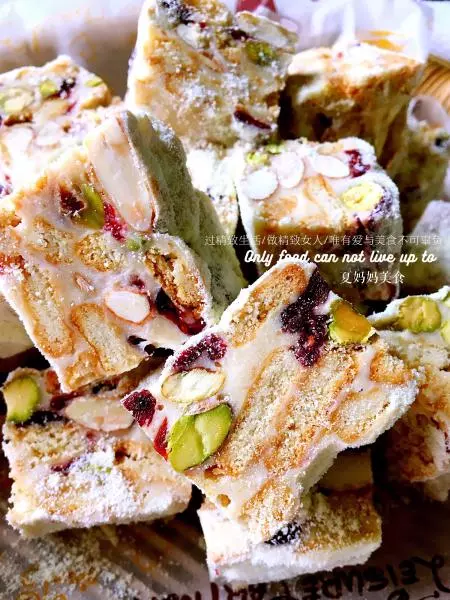
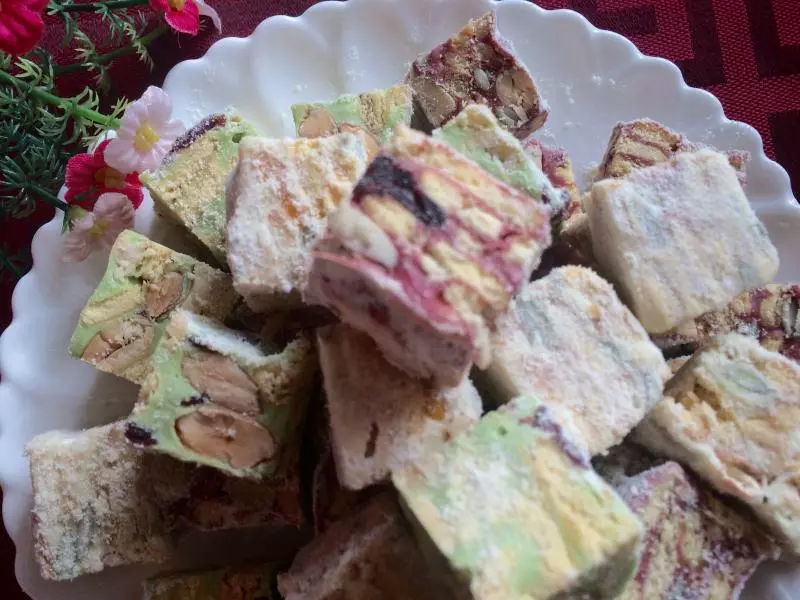
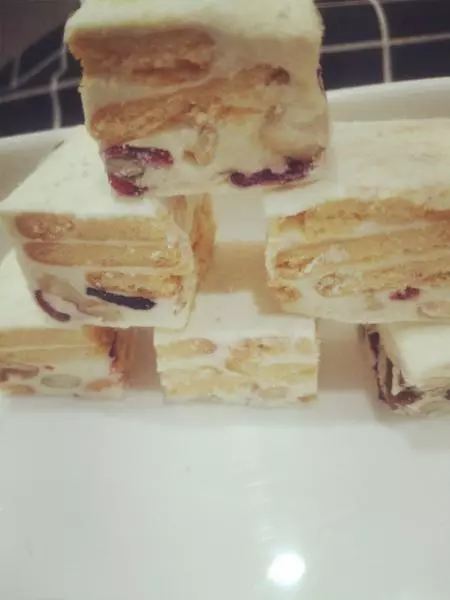
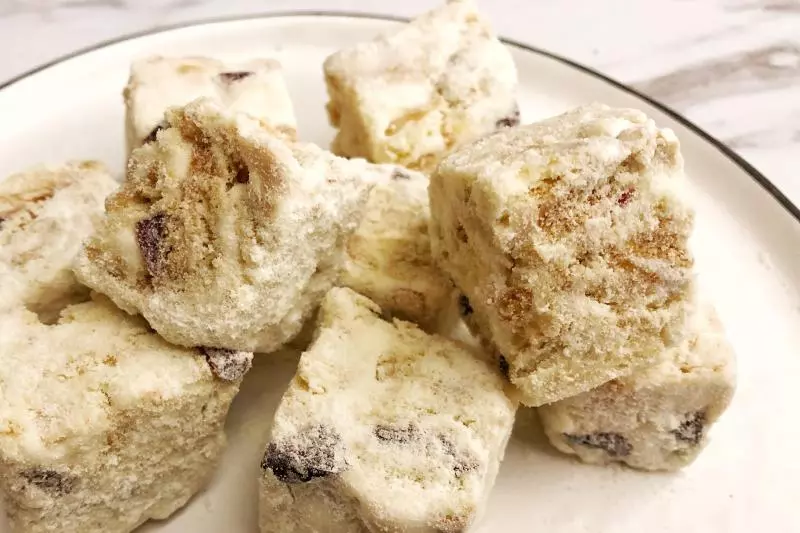
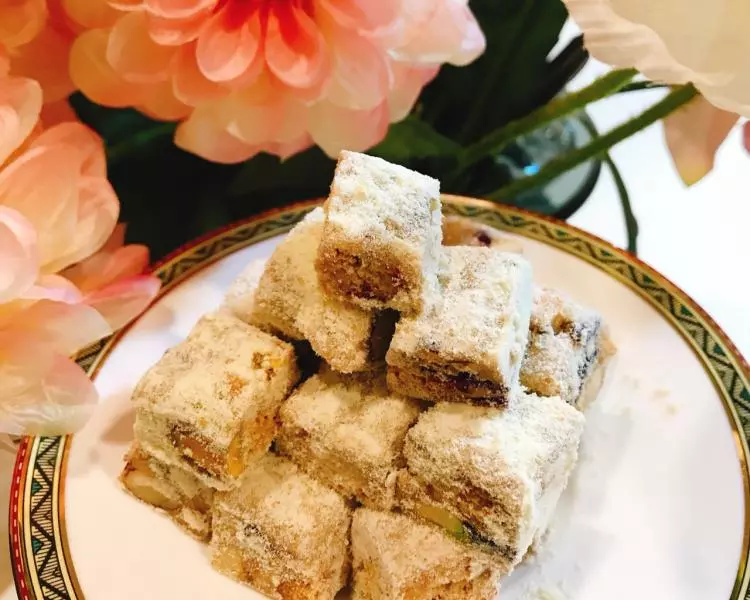
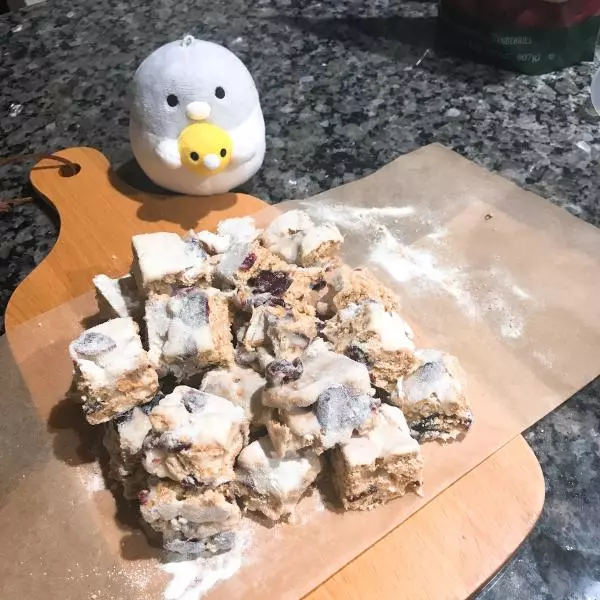
7稍微凉了不粘以后正反面撒粉切块,哒哒~蔓越莓雪花酥做好啦!
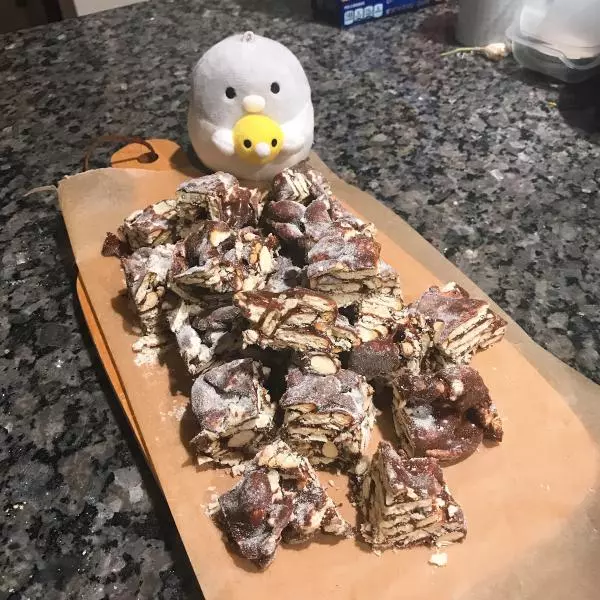
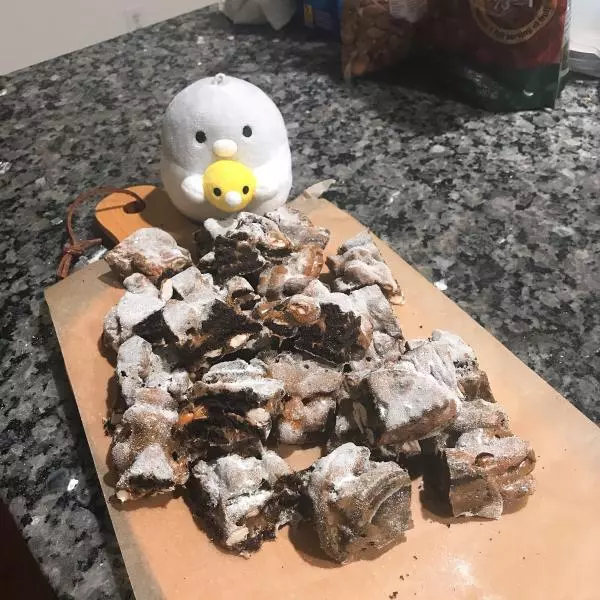
8巧克力雪花酥完工!

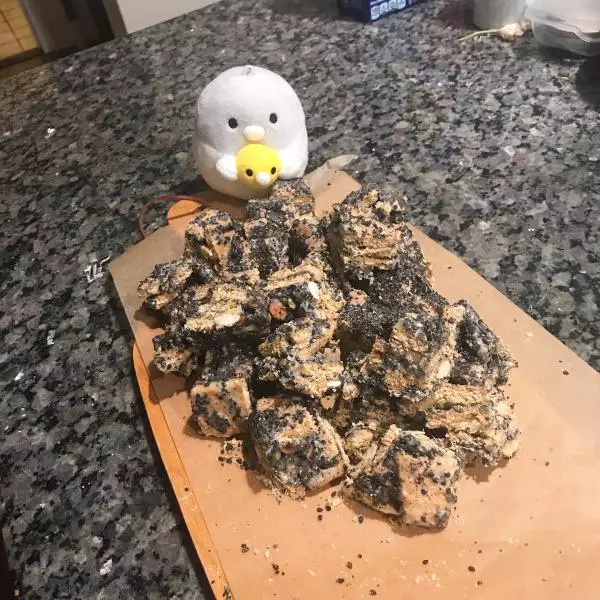
9黑芝麻雪花酥撒了芝麻粉!
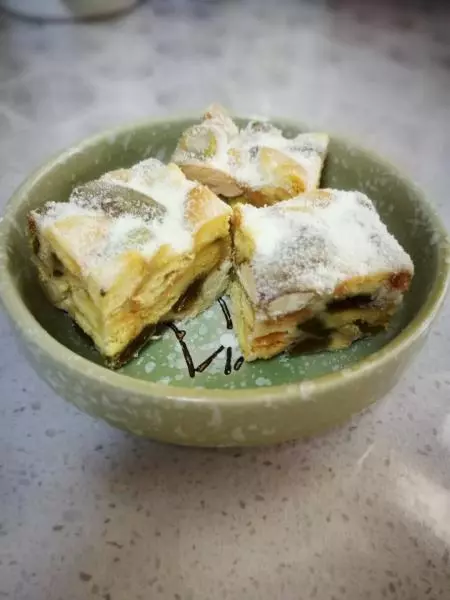
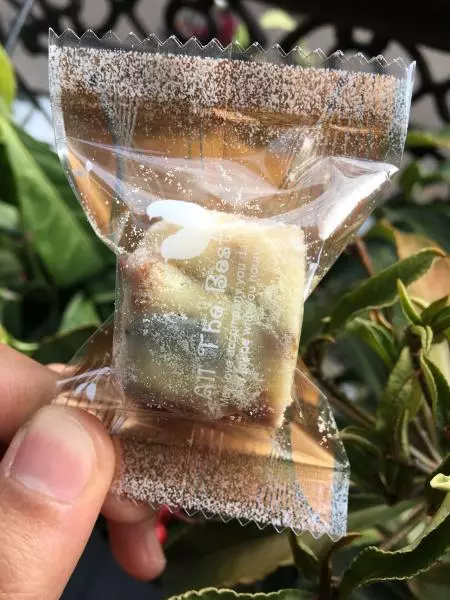
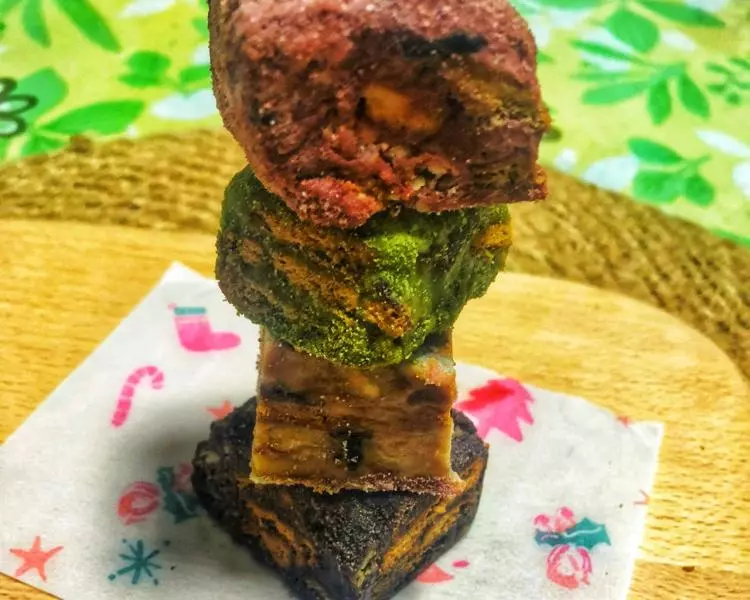
10奥利奥雪花酥搞定?!(彼尔德坚持四张照片都要上镜)
小技巧
雪花酥绝对零失败,配方不需要很精确,自由发挥度也高,都很好吃~下次我要做红枣的❤️