原料
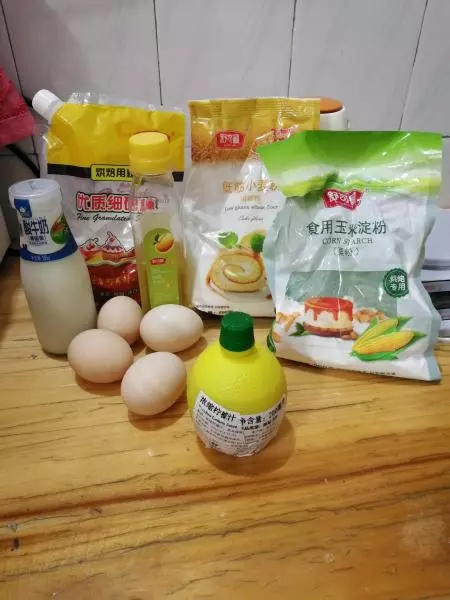
鸡蛋: 4个, 酸奶: 180克, 低筋面粉: 100克, 油(玉米油,色拉油): 20g, 柠檬汁: 几滴, 糖粉: 70g, 玉米淀粉: 10g, 泡打粉: 2g
步骤
1材料准备齐全
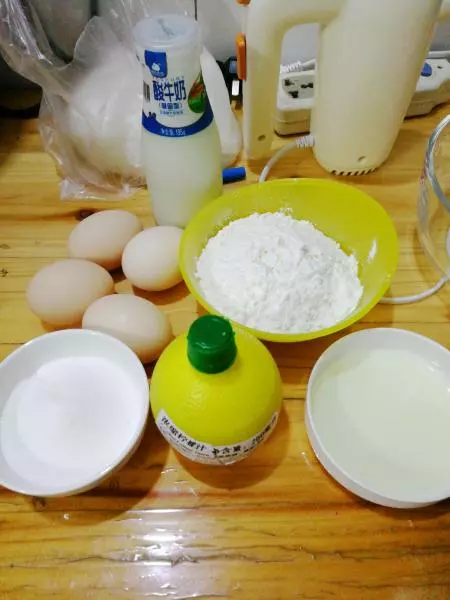
2称好所有的材料
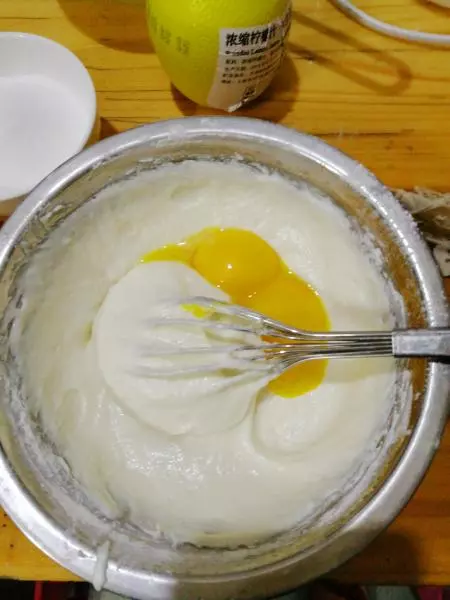
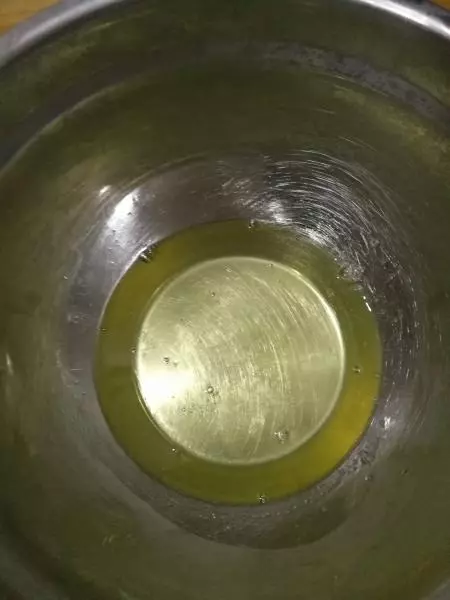
3将蛋白,蛋黄分开,蛋黄加色拉油拌匀+酸牛奶继续拌匀

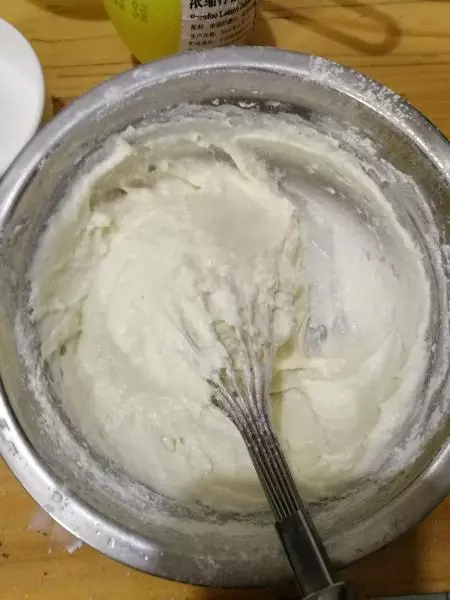
4筛入低筋粉拌匀
5分两次加入蛋黄拌匀,蛋黄液准备好了备用
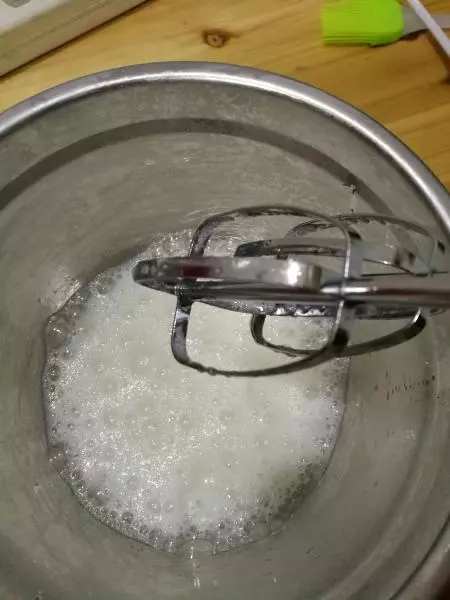
6开始打蛋白,先滴3滴醋,或者柠檬汁,糖分3次加入蛋白中,用电动打蛋器先打5秒变成鱼泡眼状态加第一次糖
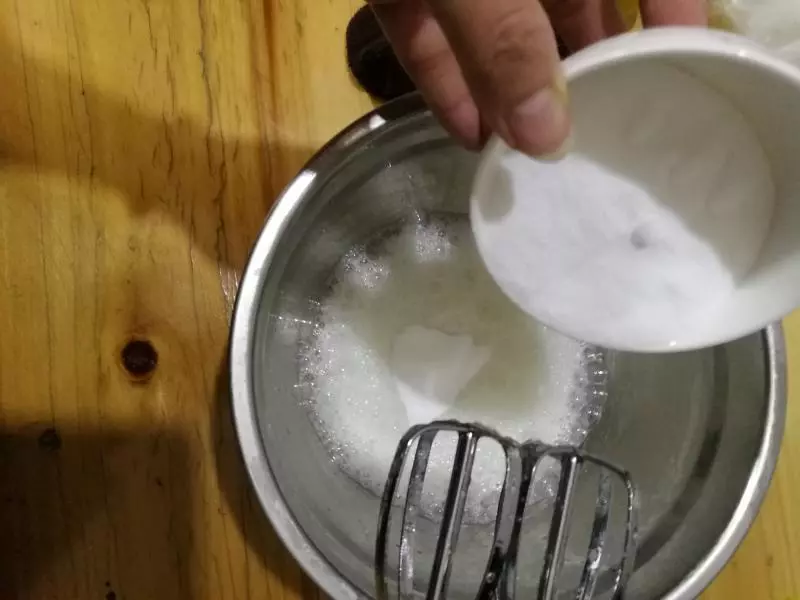
7开始加第一次糖
8第一次加糖继续打
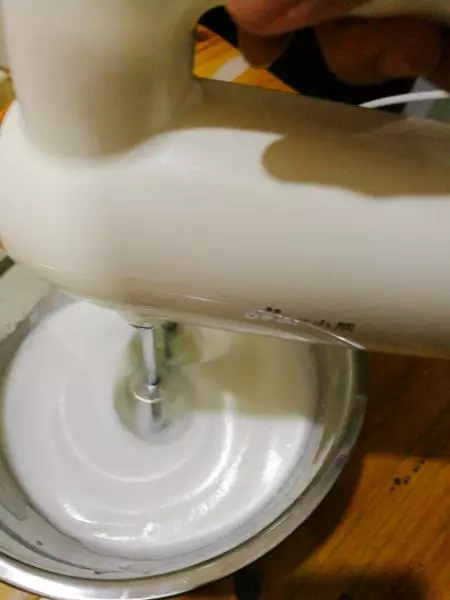
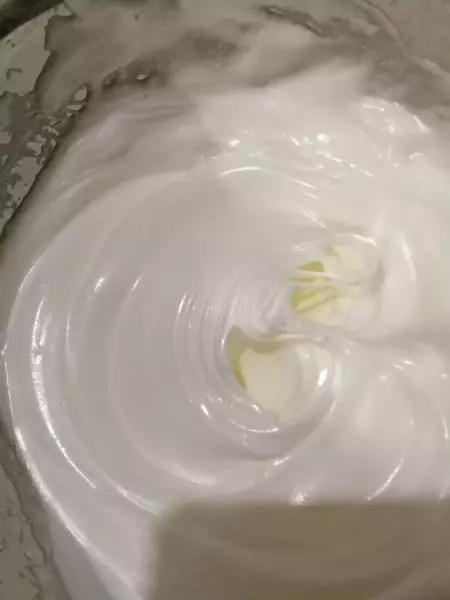
9先高速打,最后一次用低速打,打到蛋白提起能看到竖起三角形不倒就行了,或者把盘子反过来看看,倒不出来就行了
10打好的蛋白
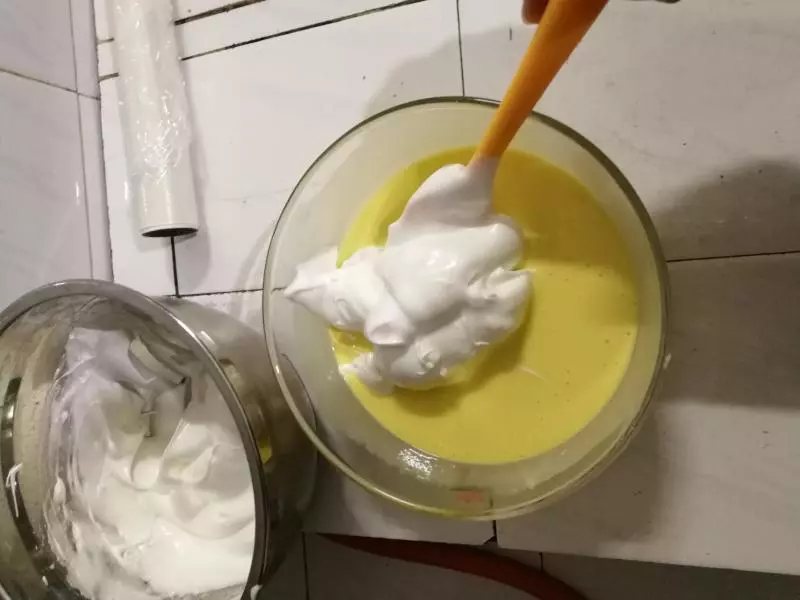
11蛋黄液和蛋白准备好了,开始混合

12先搞一部分蛋白和蛋黄出来拌匀,分3次加入到蛋黄液中,要上下的拌匀,不能打圈圈的拌哦!
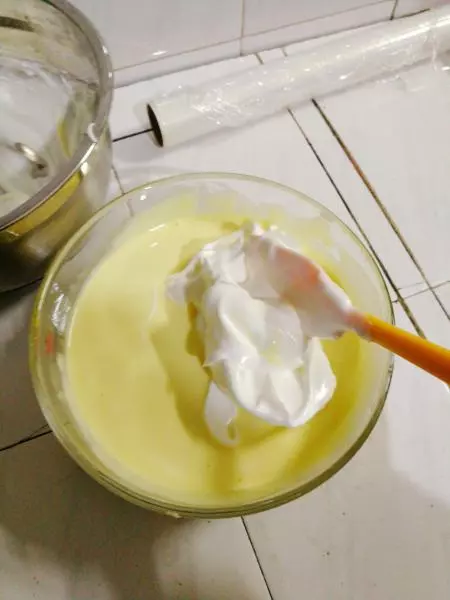
13加第二次蛋白
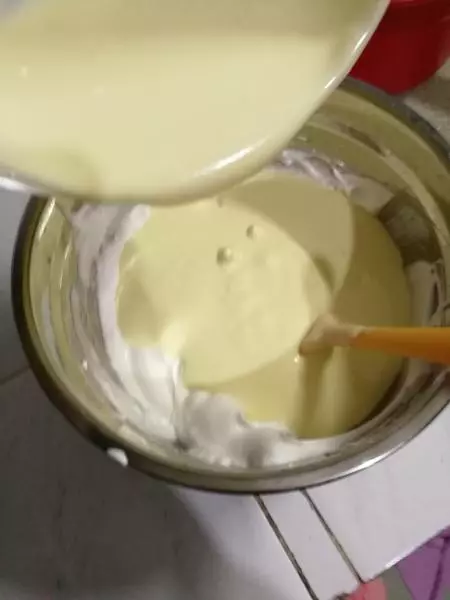
14最后把蛋黄液全部倒入蛋白里。拌匀,动作轻,快,动作大怕消泡哦
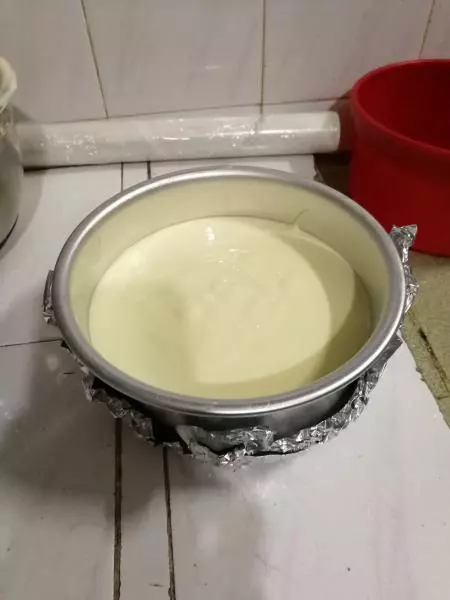
15倒入模具准备开始蒸了,我用的是6寸的模,水开蒸25分钟,我用电饭煲蒸的,熟得快。剩余的用4寸和5寸各做了一个烘烤的
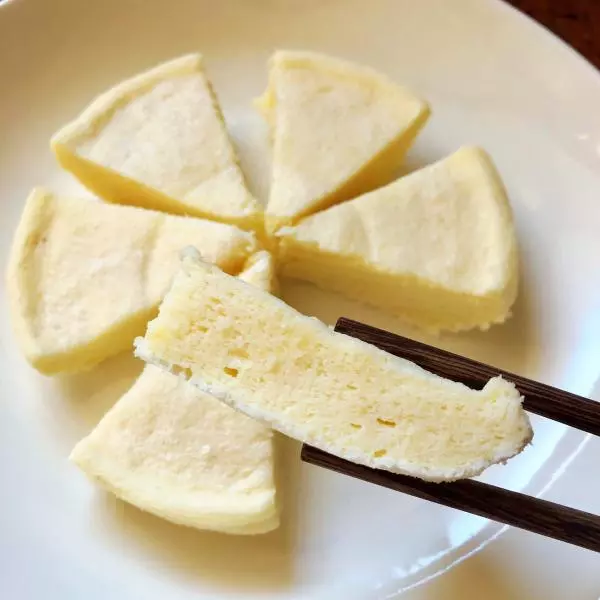
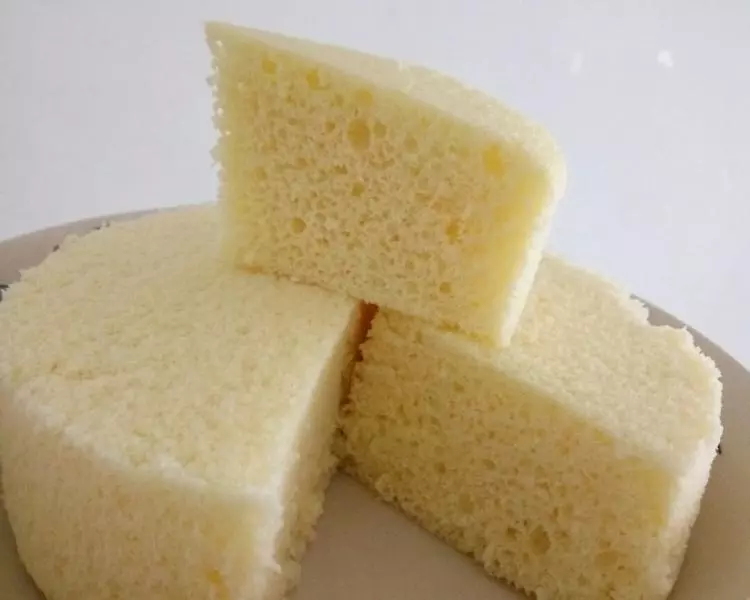
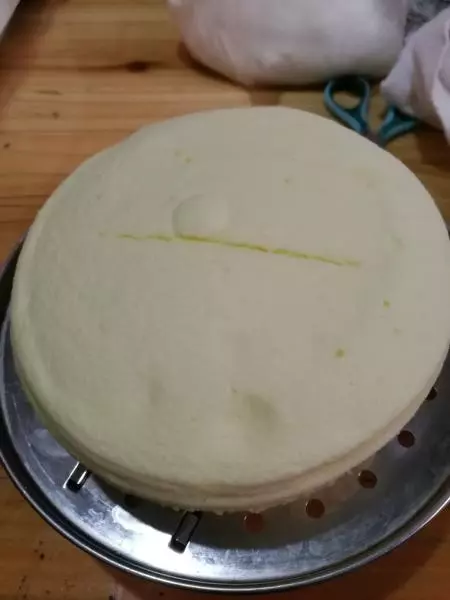
16蒸好了
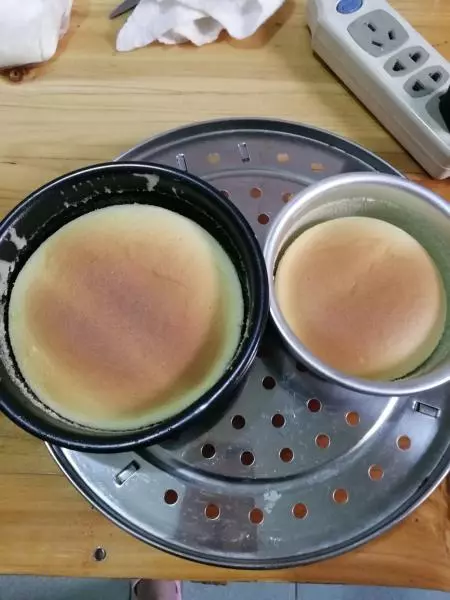
17一个蒸的,两个烤
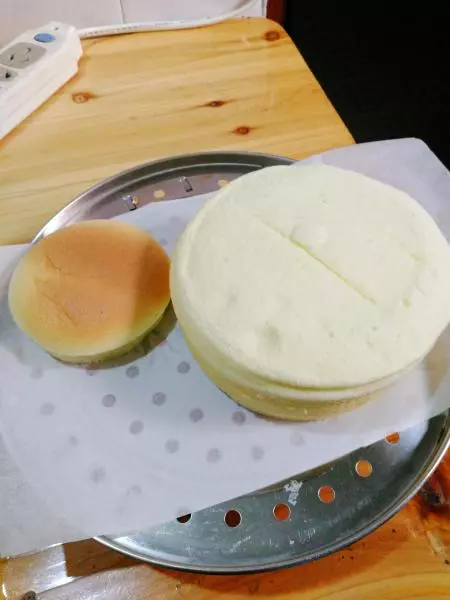
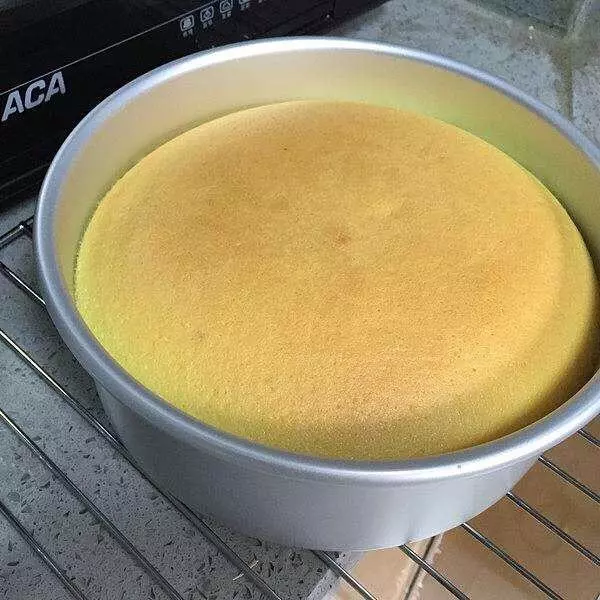
18烘烤的有点回缩了,不影响口感.我家的是小烤炉,放第三层200℃烤30分钟就成这样了
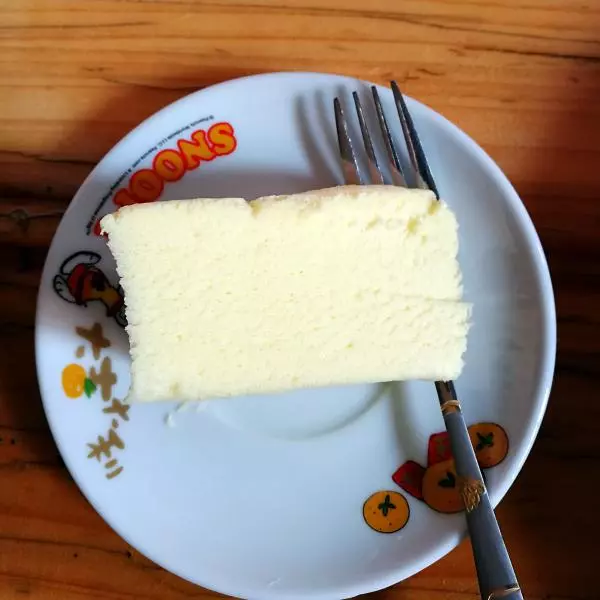
19松软细腻的没话说,做成功了。好吃的一下吃完了
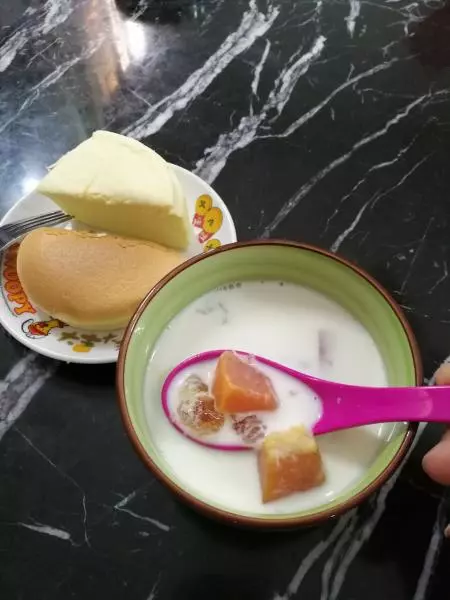
20蛋糕配木瓜牛奶桃胶做早餐,完成了。成就感十足
小技巧
鸡蛋一定要冷藏过好打发。蛋白的盆子一定要无水无油干净的。蛋黄和蛋白搅拌时一定要上下拌!