原料
凤梨馅: 120~130克左右, 鸡蛋: 3个, 低筋面粉: 75克, 玉米淀粉: 35克, 牛奶: 70克, 淡奶油: 80克, 奶粉: 40克, 黄油: 50克, 中筋面粉: 180克, 转化糖浆: 130克, 枧水: 3克, 花生油: 30克, 50克的月饼模具: 1个
步骤
1转化糖浆130克。 我用的是:上仙‘泳歌’的方子? https://www.xiachufang.com/recipe/100563258/
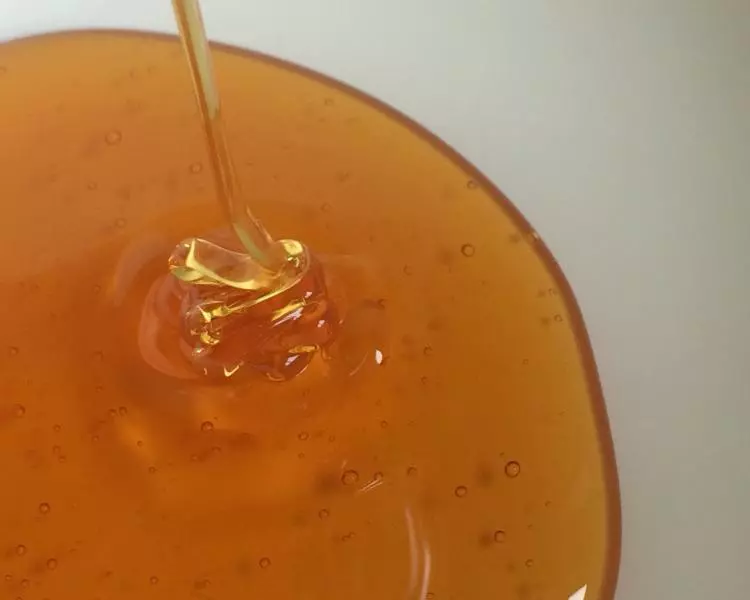
2转化糖浆130克,花生油30克,枧水3克一起搅拌均匀
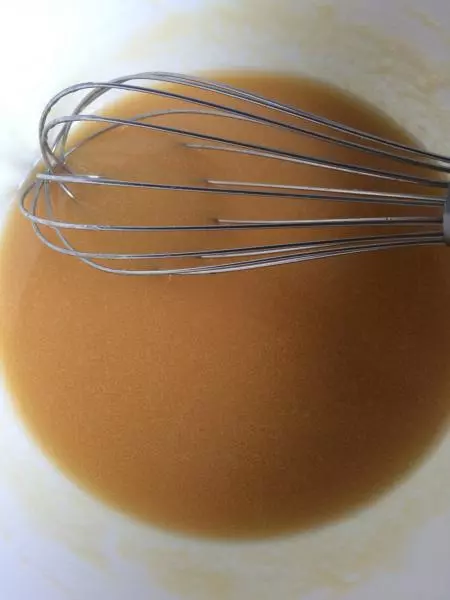
3筛入180克中筋面粉
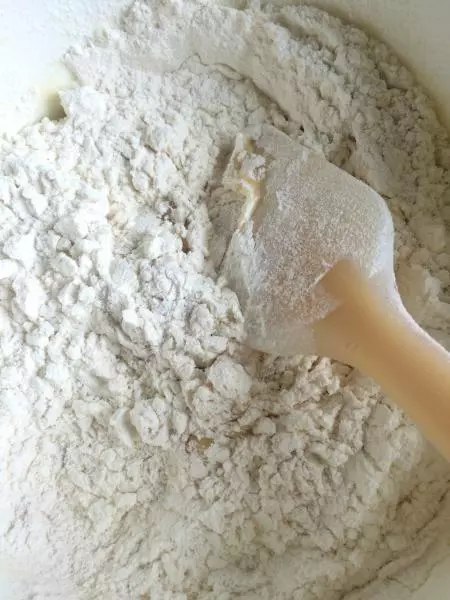
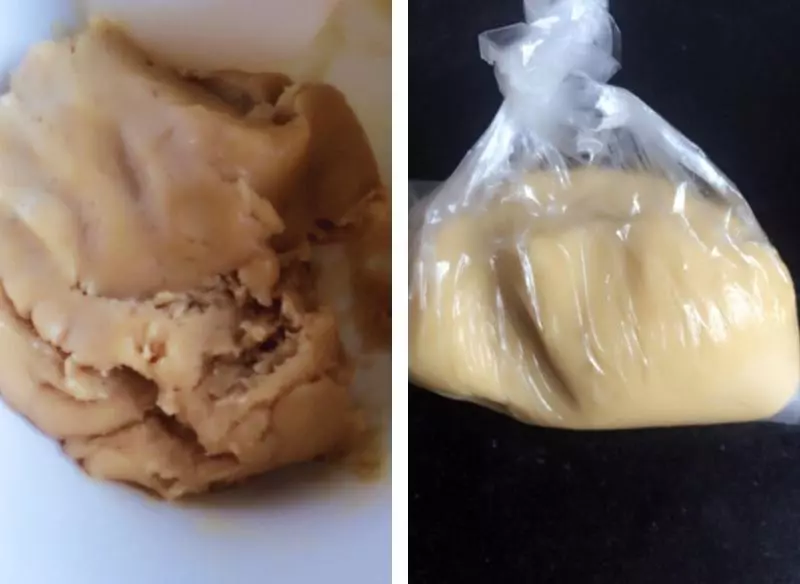
4搅拌成团,放入保鲜袋,醒10分钟,如果想更快点的话,拌匀面团,略揉匀就可动手包馅了,无需醒面,操作时一定要戴上一次性手套,要不会有些粘手?
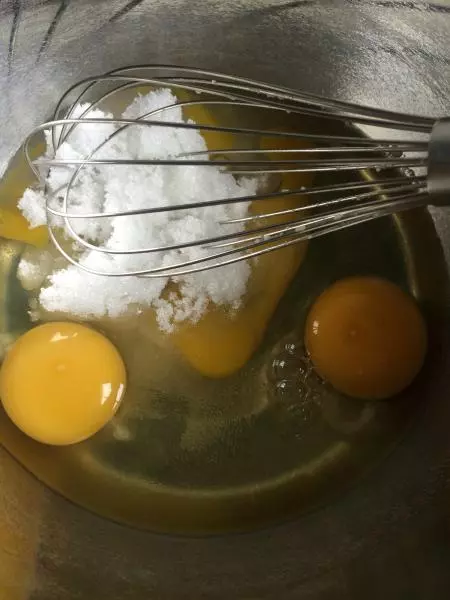
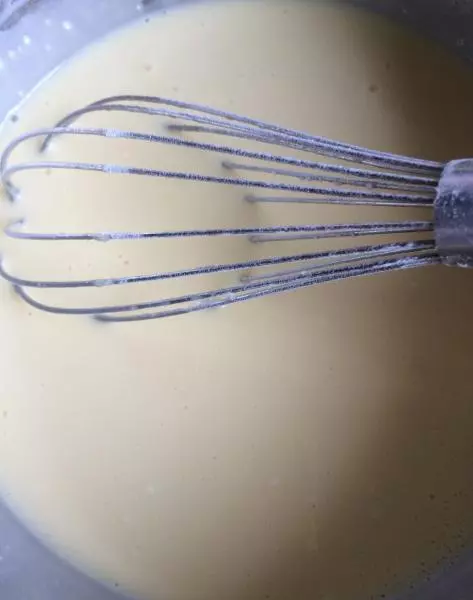
5鸡蛋3个,加糖70克搅拌均匀
6筛入低筋面粉75克,玉米淀粉35克,奶粉40克
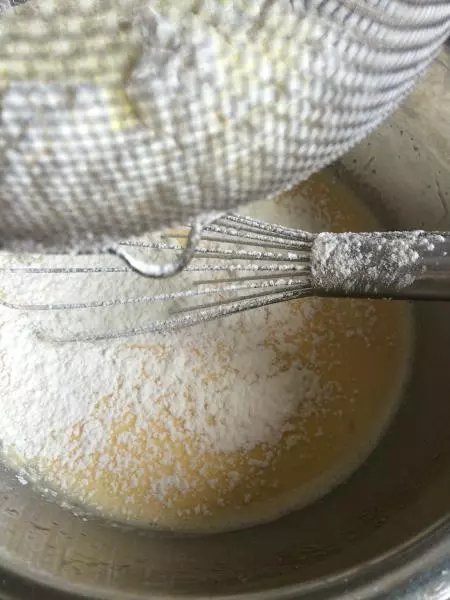
7搅拌至无干粉
8过滤到不粘锅中

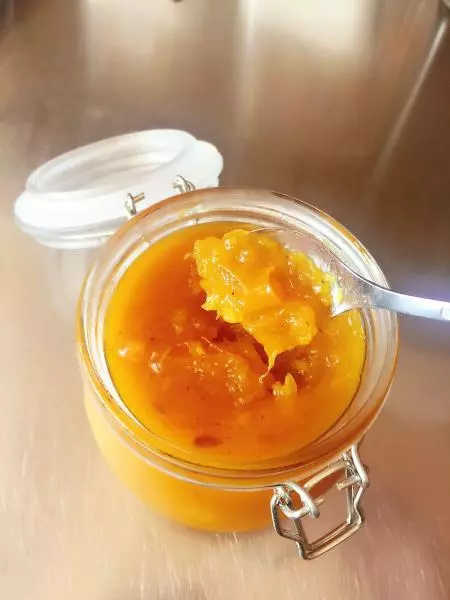
9再加入黄油50克,凤梨馅120~130克 我用的凤梨馅是:上仙‘飘香奶猪’的方子? https://www.xiachufang.com/recipe/100585716/
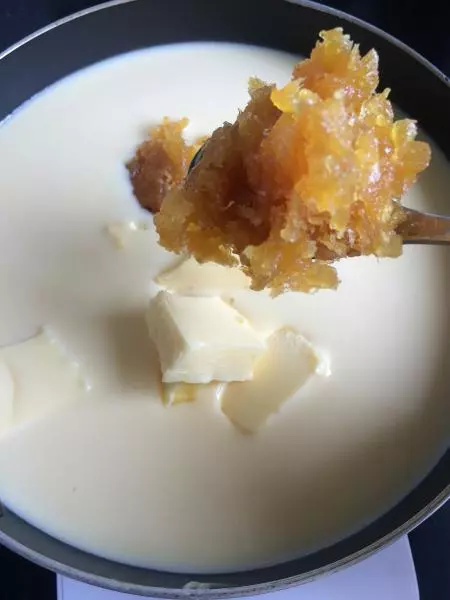
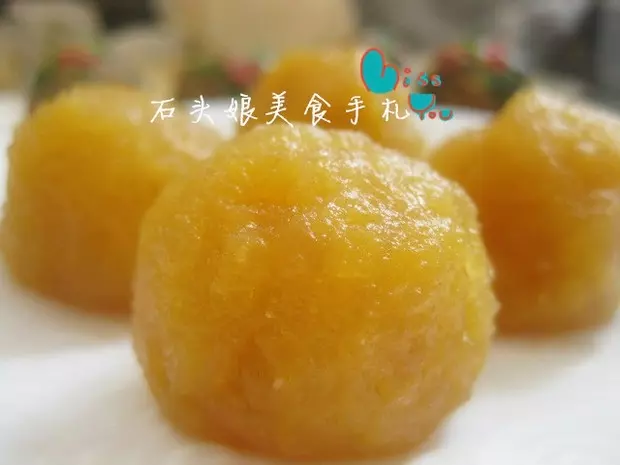
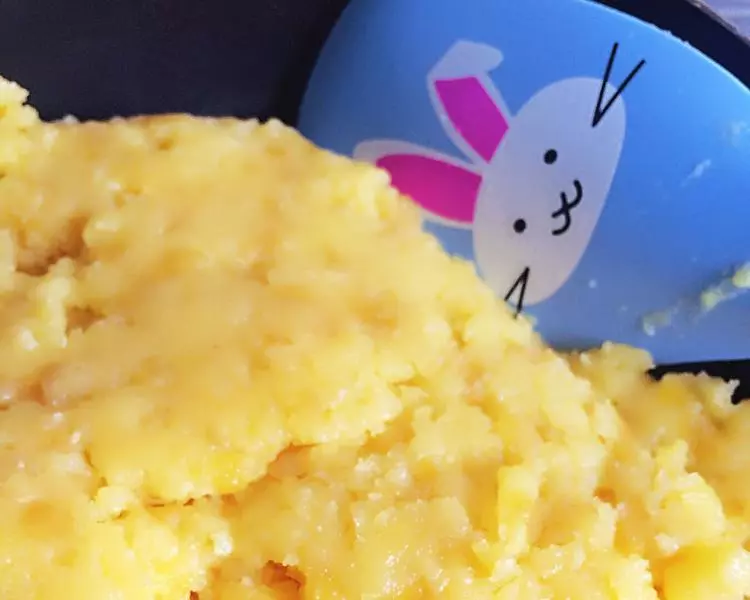
10开中小火加热,不停的搅拌,至馅成团。平均分成18份搓圆待用。
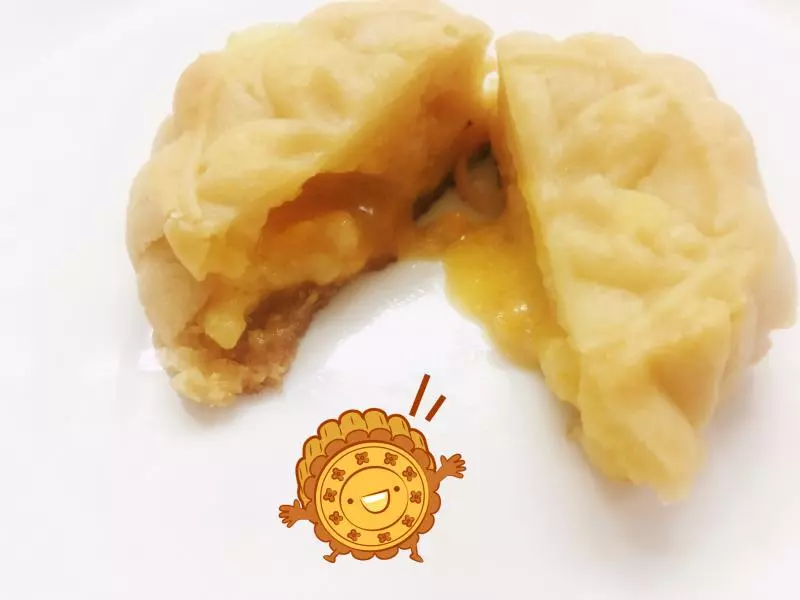
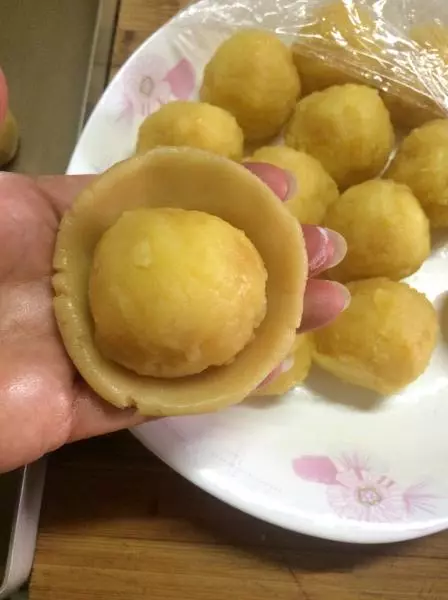
11月饼面团也分成18份,取一份按扁打窝,放入凤梨馅,包好,搓成略长的椭圆形。
12在装有干玉米淀粉的盘里滚上一圈

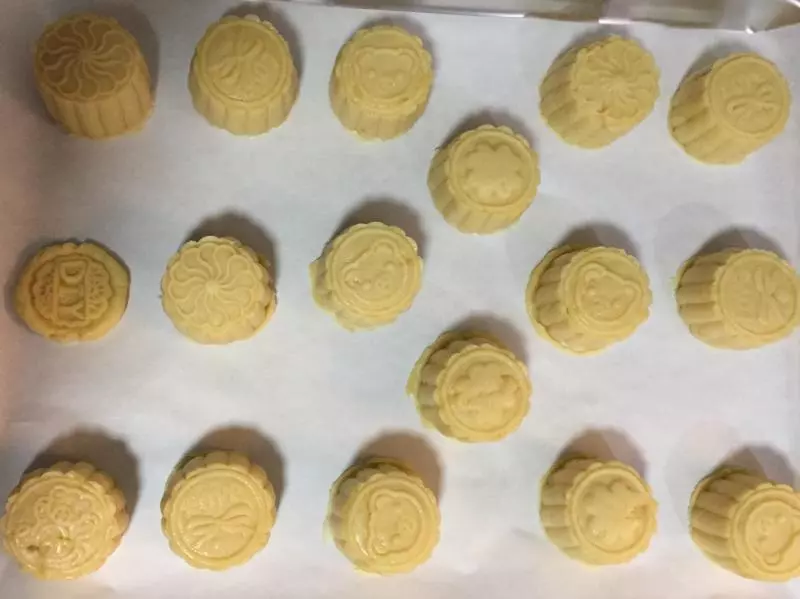
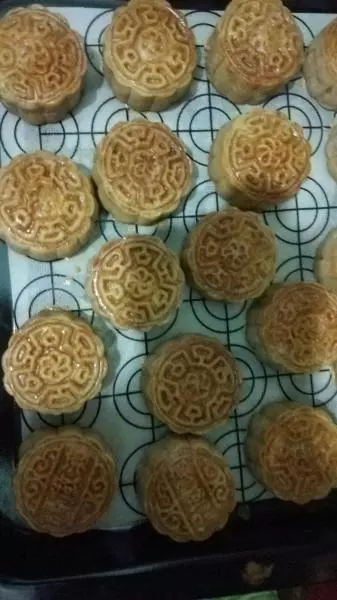
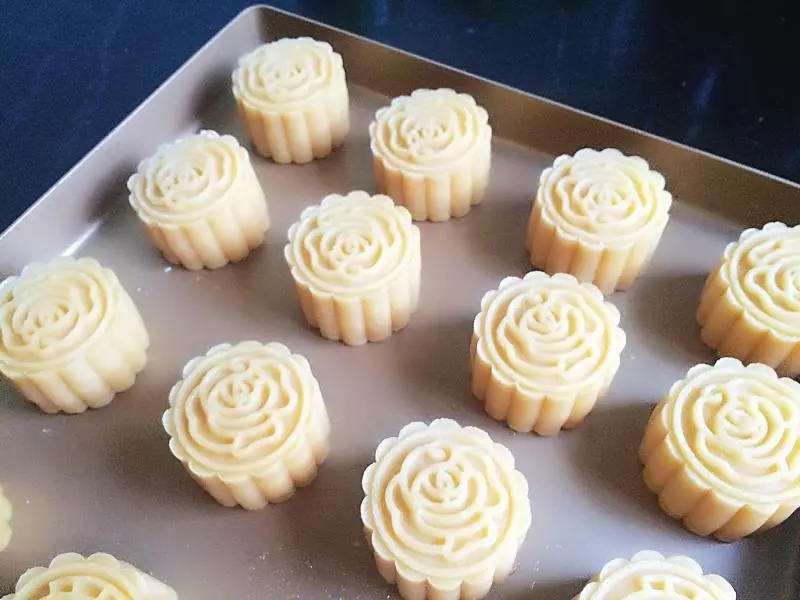
13压成月饼胚子
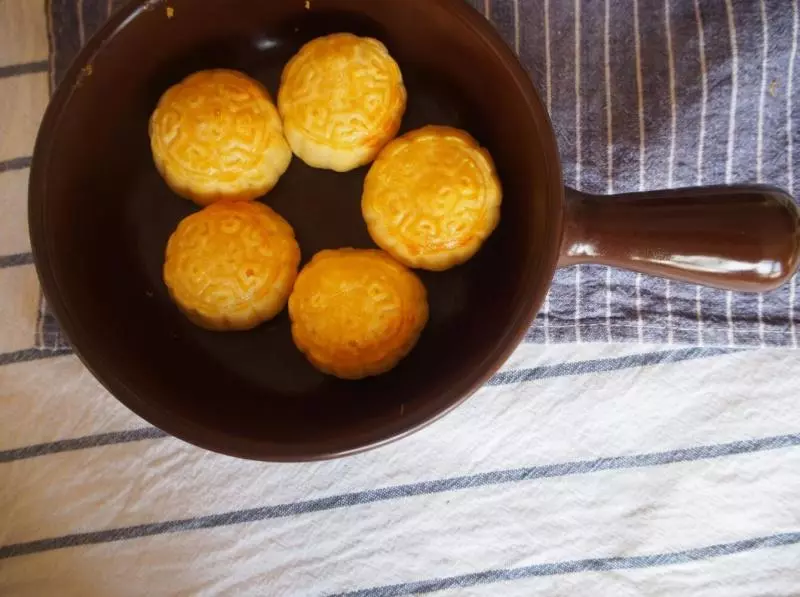
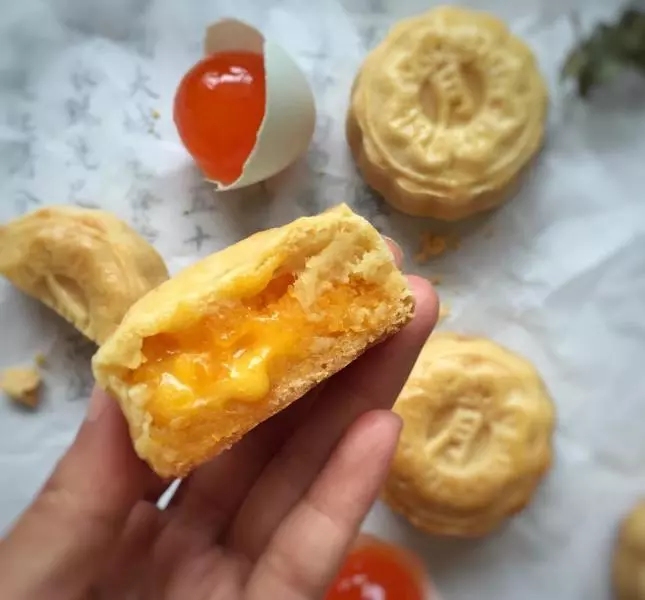
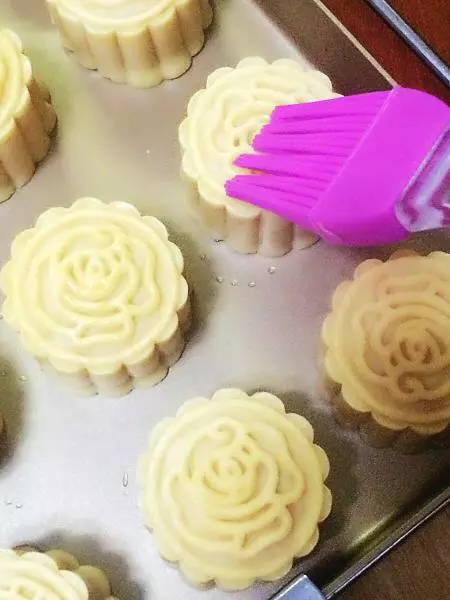
14烤箱预热200度10分钟(我的烤箱小,所以放在中下层)放入月饼烤5分钟,取出烤盘,饼坯刷上蛋黄液(半个蛋黄加30克水搅拌均匀),花型表面上刷薄薄的一层,宁少勿多哦?
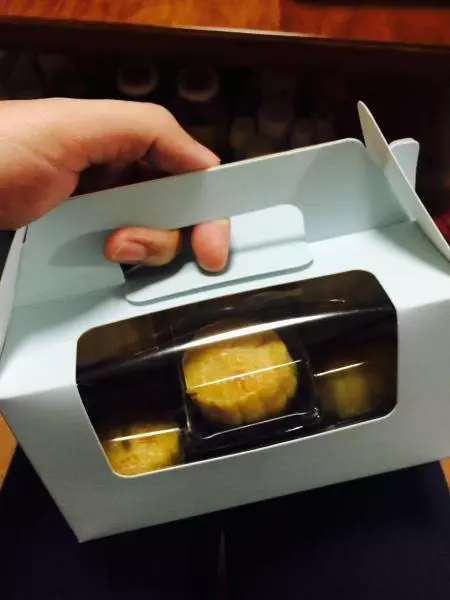
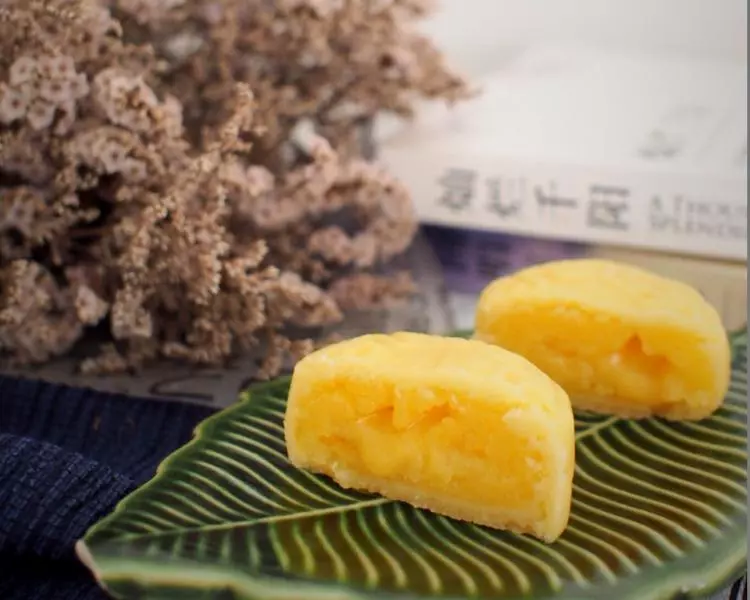
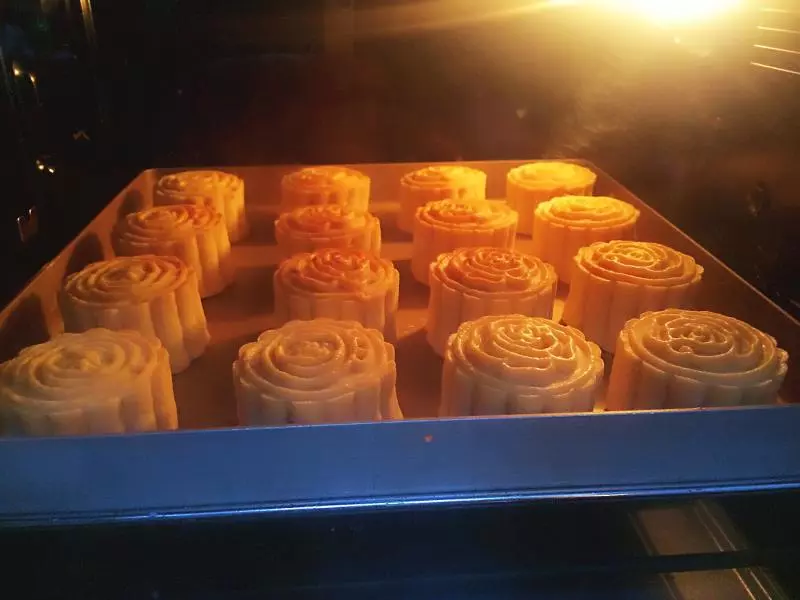
15继续放入烤箱烤,因为馅儿是熟的,所以烤10分钟,表面上色即可,取出晾凉即可。 等第二天回油后就很漂亮了,尽量在一星期内吃完。
小技巧
方子里面馅多了一点,皮我喜欢厚一点的,用到21克左右,馅用30克左右。 菜谱不醒面,面团也是:不塌,不鼓,不泻哦?