原料
8寸戚风: , 鸡蛋: 5个, 牛奶: 70克, 玉米油: 65克, 砂糖: 100克, 低筋面粉: 100克, 玉米淀粉: 10克, 柠檬汁或白醋: 数滴, 裱花材料:: , 淡奶油: 500克左右, 糖粉: 50克左右, 色素: 酌情调配, 芒果: 1个
步骤
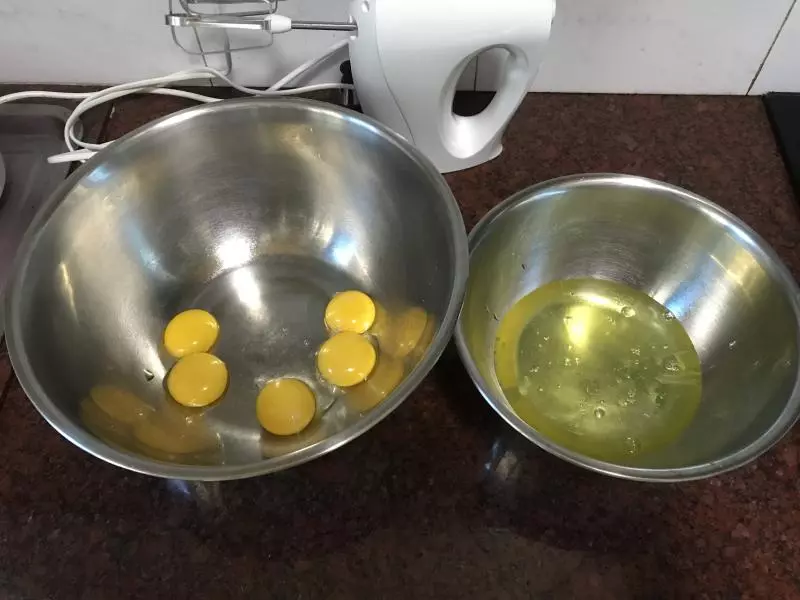
1把5个鸡蛋的蛋黄和蛋白分开,装蛋白的盆必须无油无水,否则蛋白很难打发。
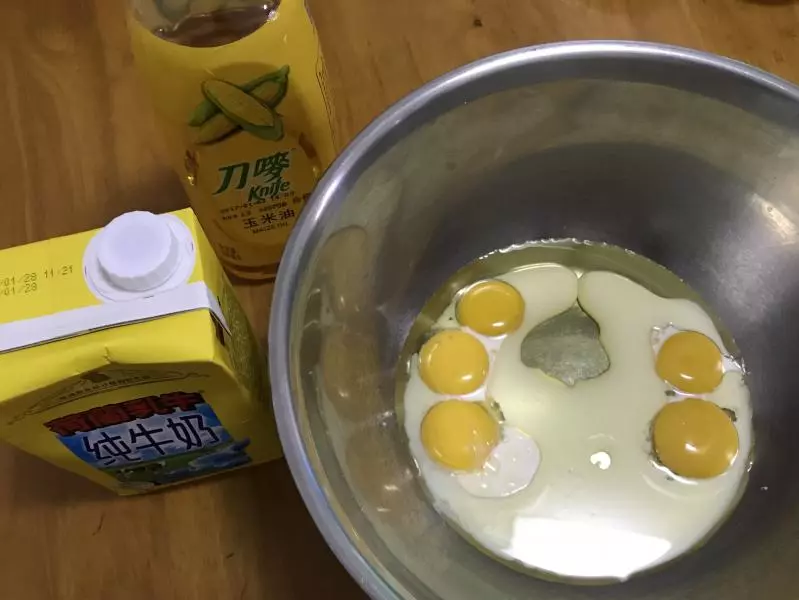
2蛋黄中加入70克牛奶和65克玉米油,用手动打蛋器搅拌均匀。
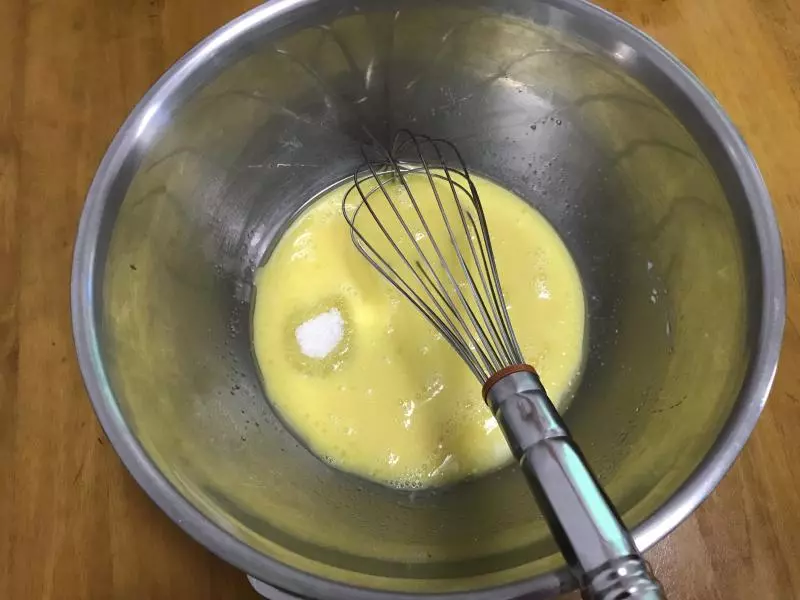
3加入20克糖搅拌到糖融化。
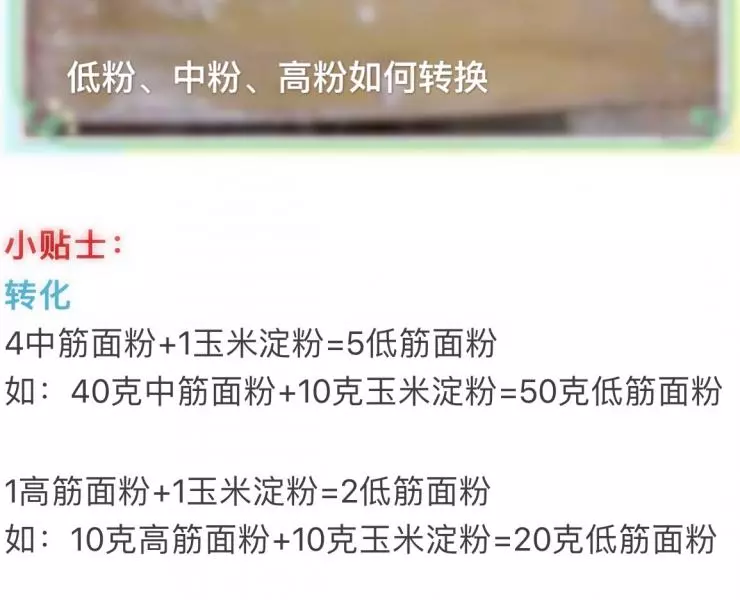
4我家低粉用完,我根据以上公式用80克的中粉+20克的玉米淀粉换算成100克的低粉的。
5100克低粉筛入蛋黄糊中。
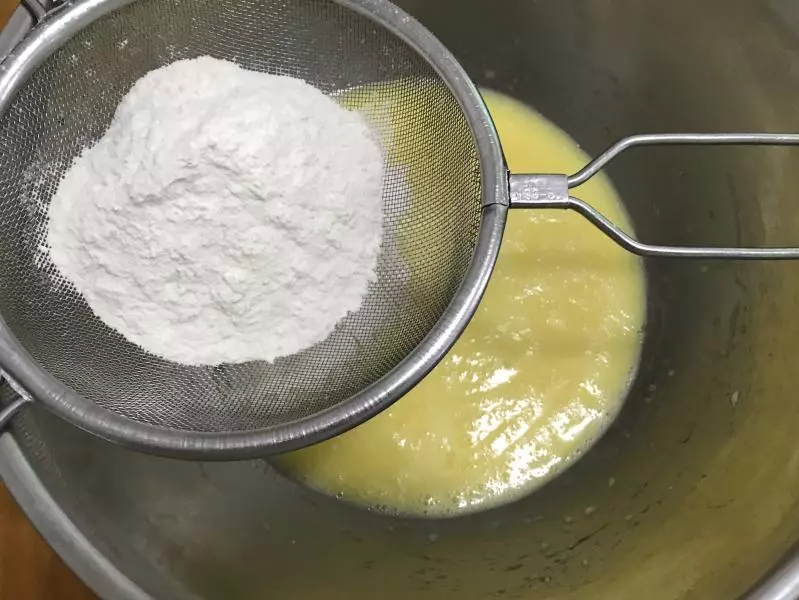
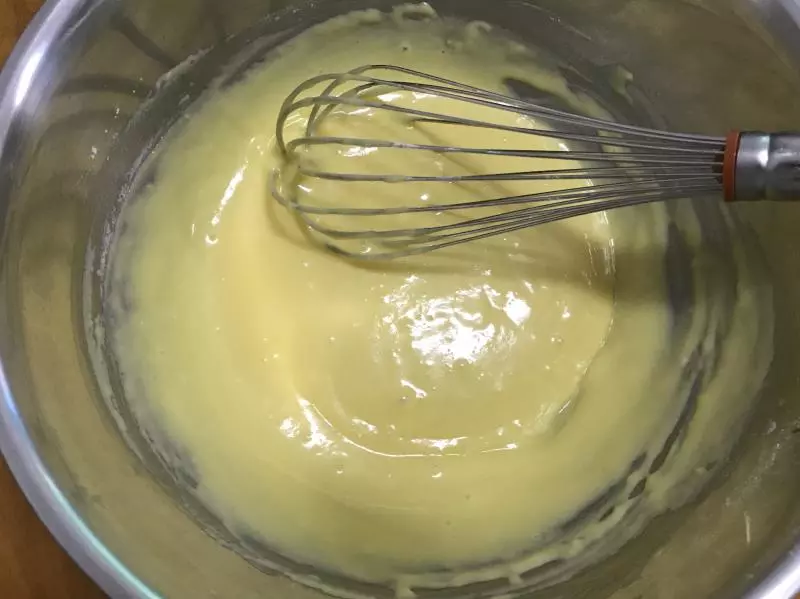
6用手动打蛋器搅拌到看不见干粉,这样蛋黄糊就完成了。
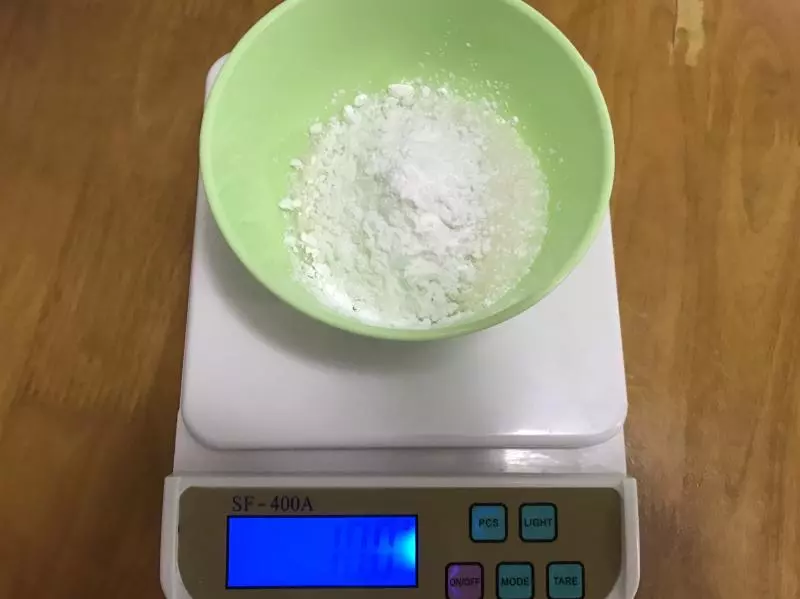
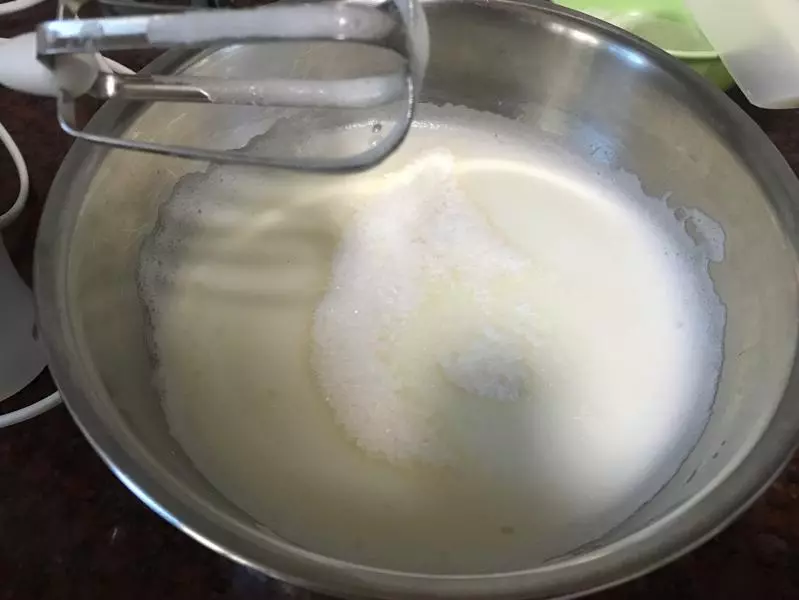
780克糖+10克玉米淀粉拌匀备用。
8蛋白加入数滴柠檬汁或者白醋后用电动打蛋器低速打发到呈细腻小泡时加入三分之一的玉米淀粉糖。
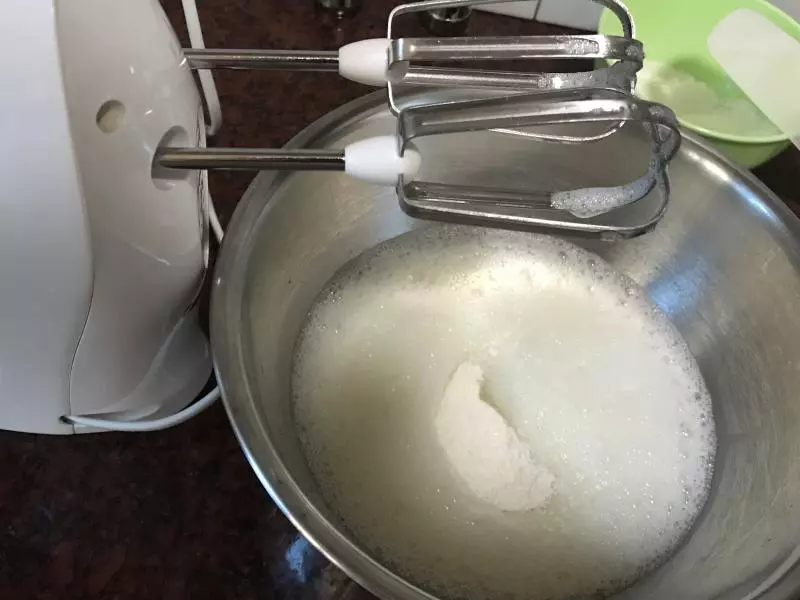
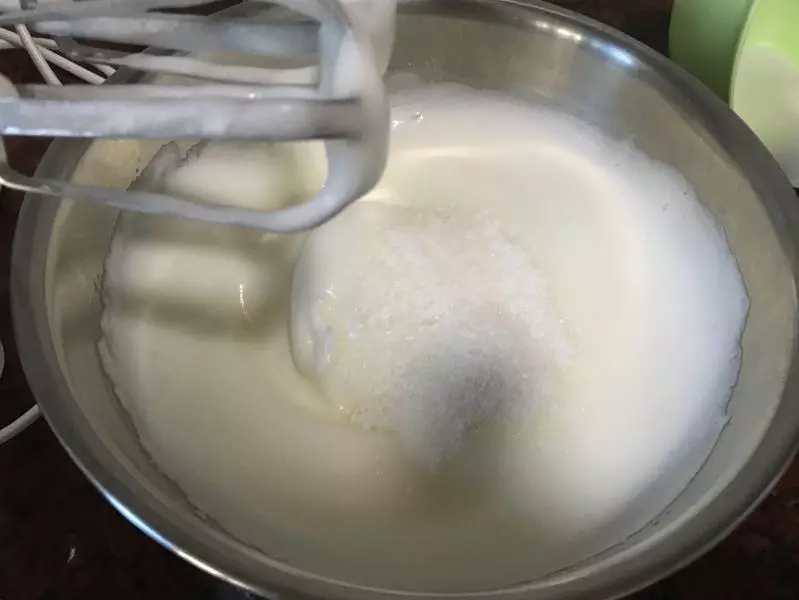
9继续低速打发到糖融化蛋白呈更细腻的泡泡时再加入三分之一的玉米淀粉糖。
10继续低速打发到糖融化蛋白出现一点点纹络时加入最后三分之一的玉米淀粉糖。
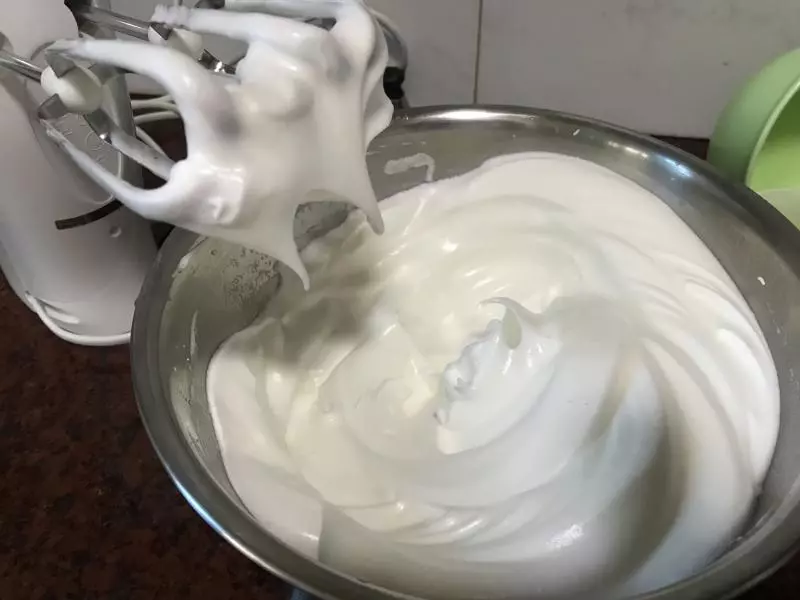
11继续打发蛋白,先低速再转高速,最后转低速打发到拉起打蛋头成短角,且蛋白看着细腻有光泽就完成了。
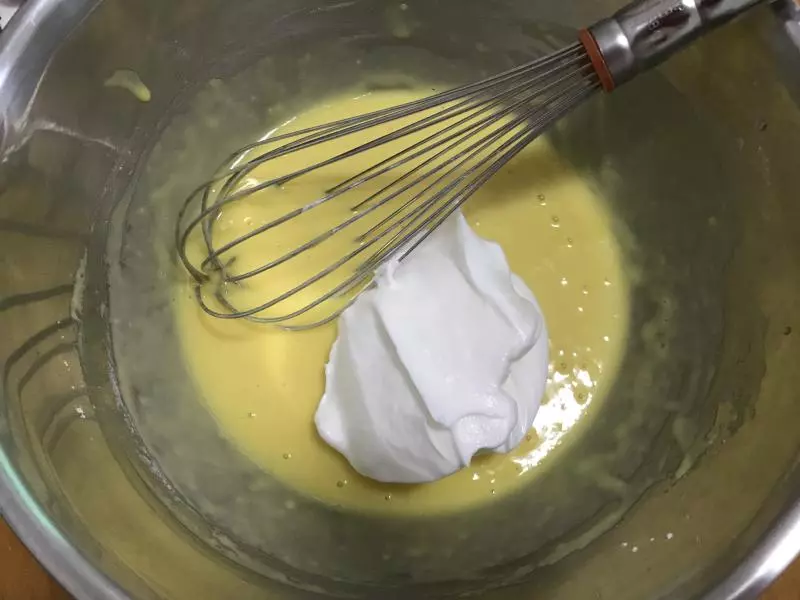
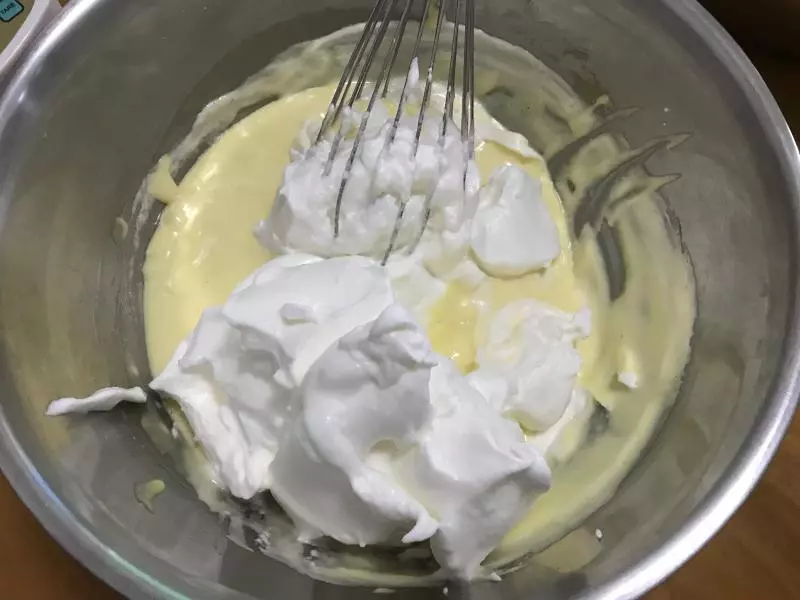
12取三分之一蛋白加入蛋黄糊中,用手动打蛋器抄底拌匀。
13把剩下的三分之二蛋白倒入蛋黄糊中,继续用手动打蛋器抄底捞匀。
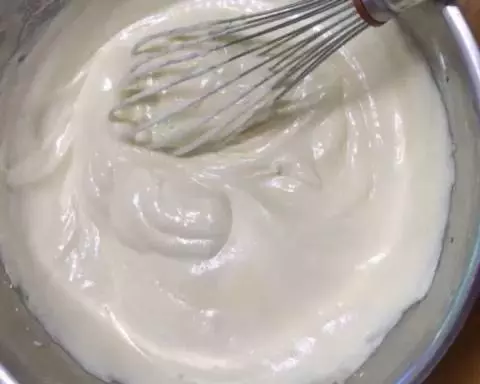
14这样搅拌不用担心蛋白消泡,一直搅拌到蛋白蛋黄混合均匀,没有蛋白团为止。也可以用刮刀抄底拌匀,看个人习惯吧。
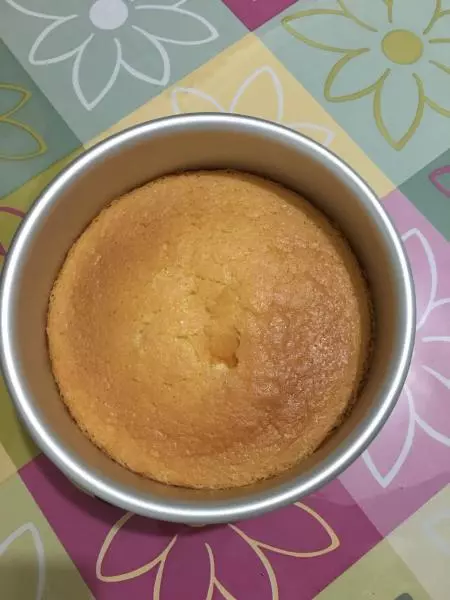
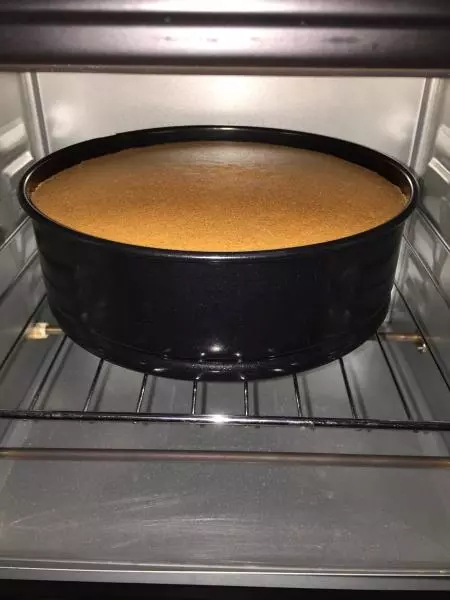
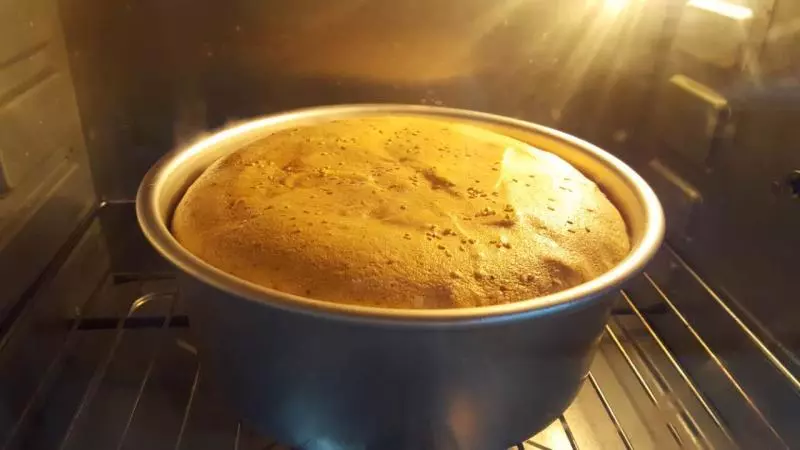
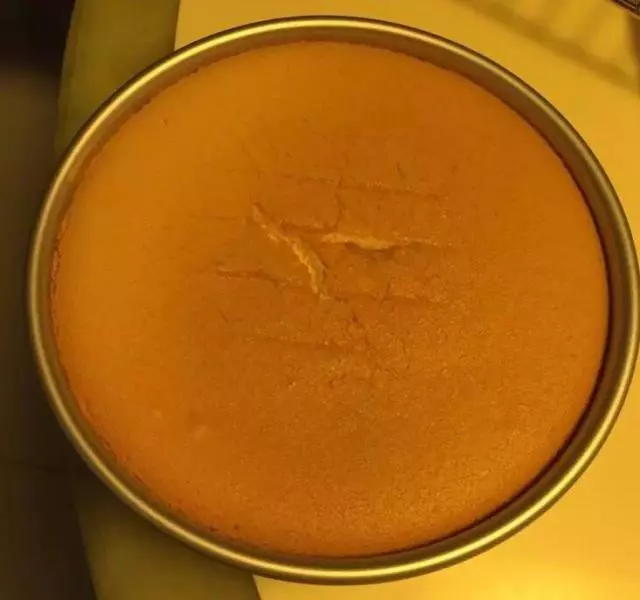
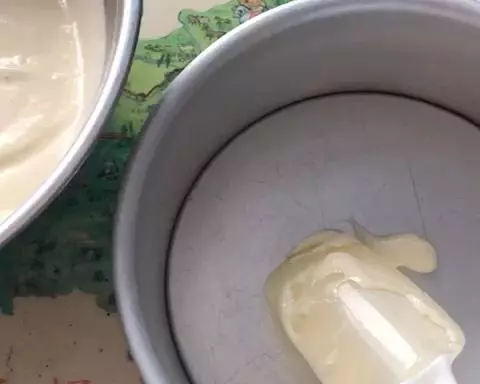
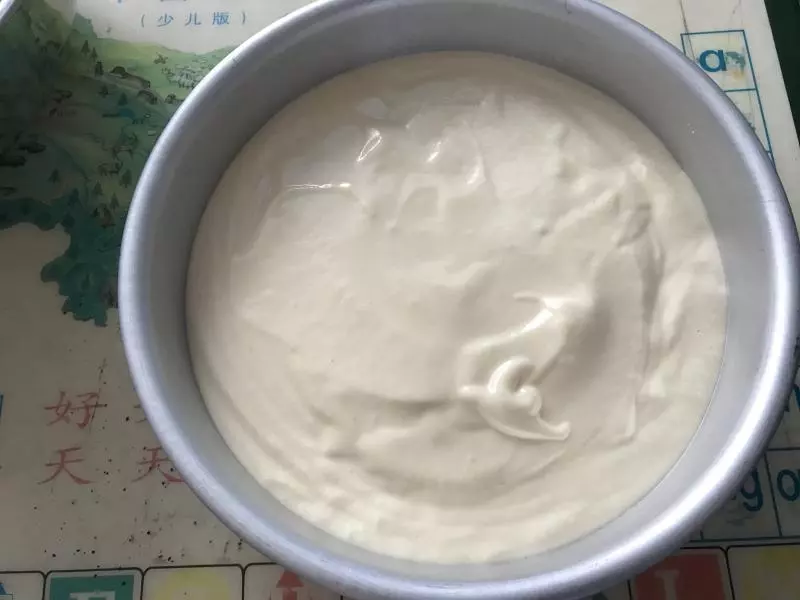
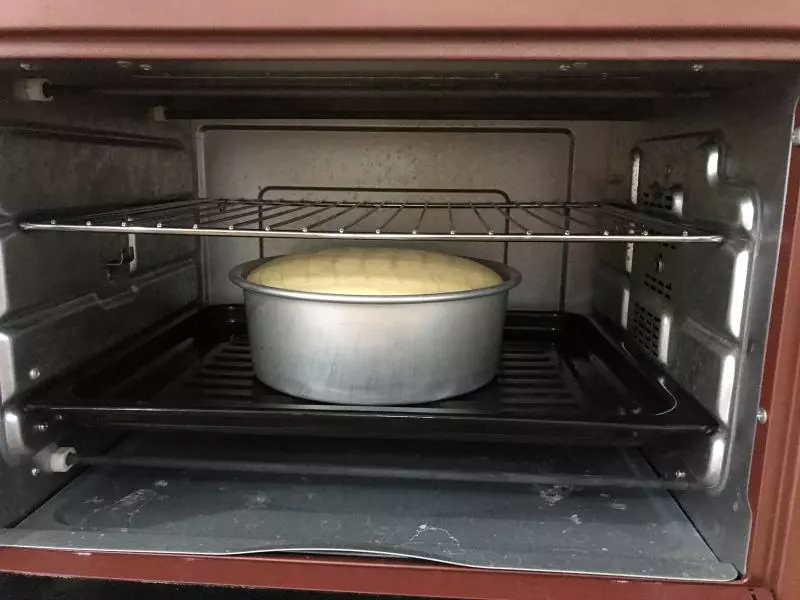
15这时先把烤箱打开调到200度预热一下,把拌匀的蛋糕糊倒入8寸圆模中,看看层层叠叠的蛋糕糊,这个状态是最佳的。
16把模具在桌上震一下,把蛋糕糊中的小气泡震出来。
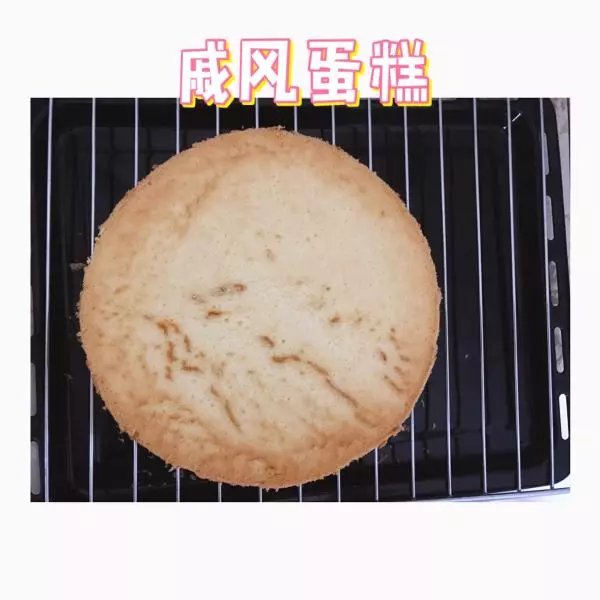
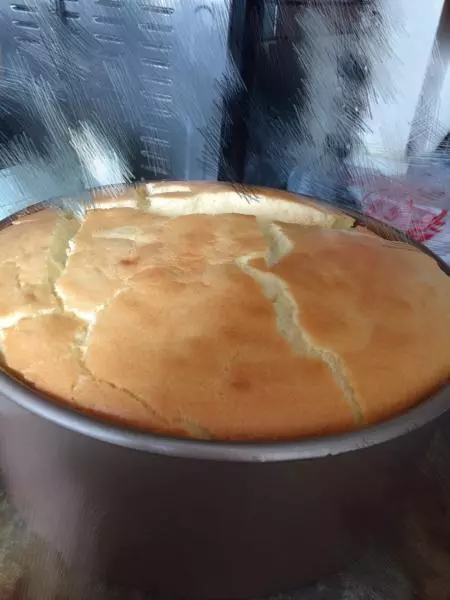
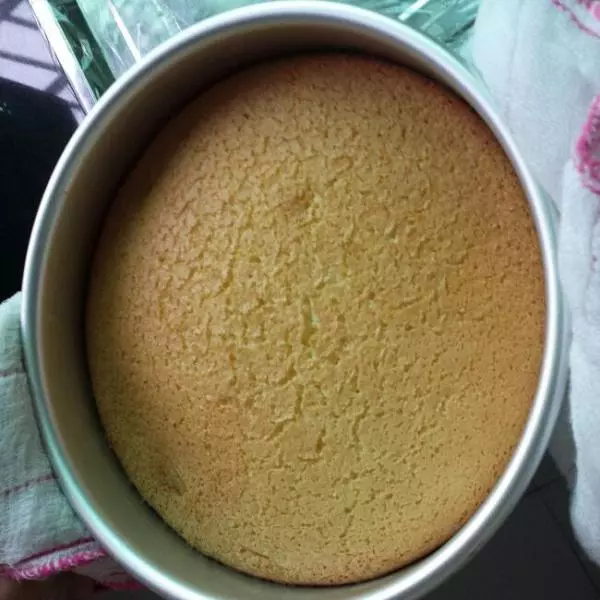
17100度烤1小时。我的烤箱温度偏高,为了避免蛋糕表面开裂,烤30分时在烤网上放个烤盘隔热,50分时拿掉烤盘,继续烤到蛋糕面上上色,用长竹签插入蛋糕中,竹签抽出来是干净没有蛋糕糊就好了。
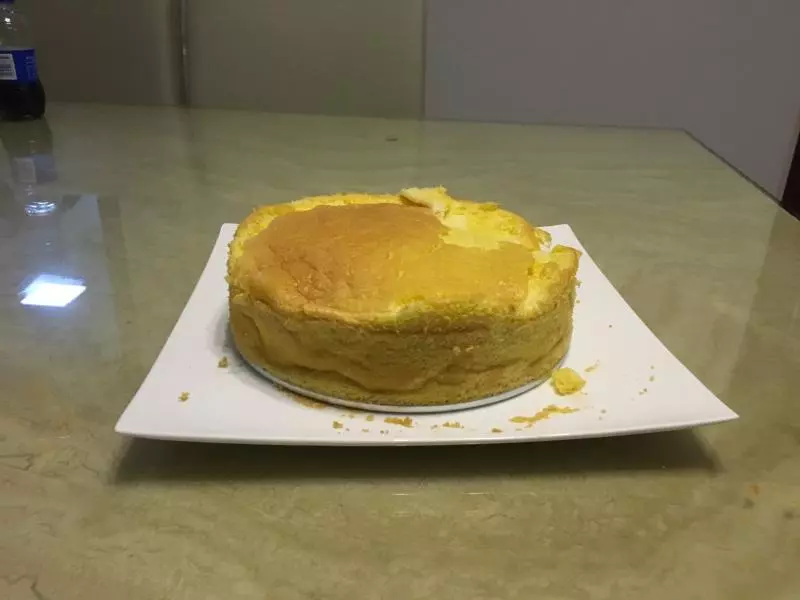
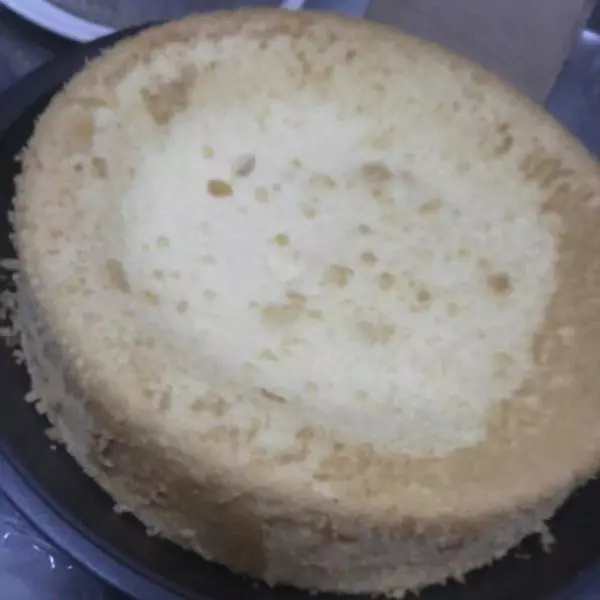
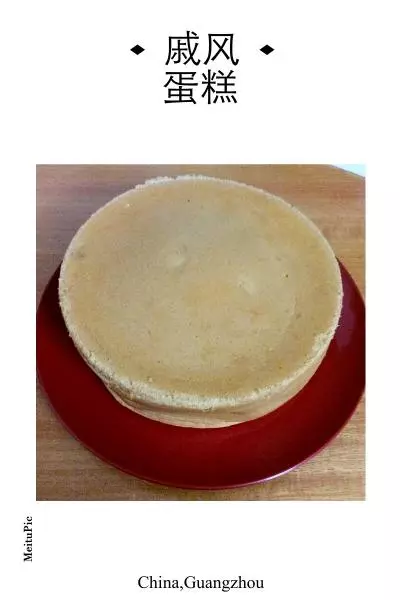
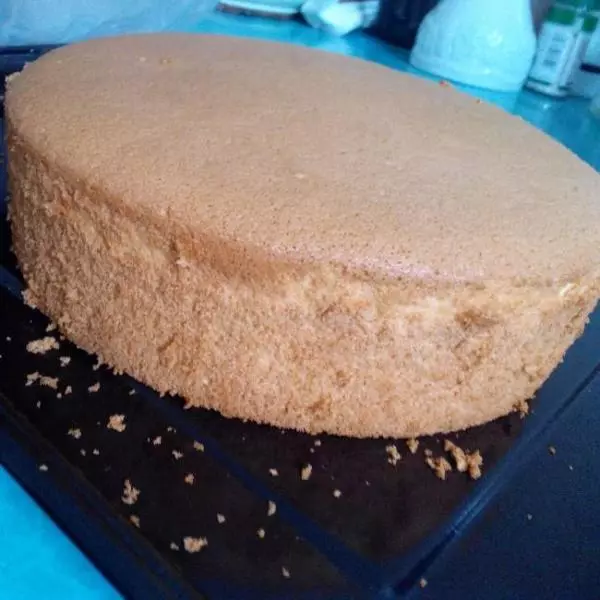
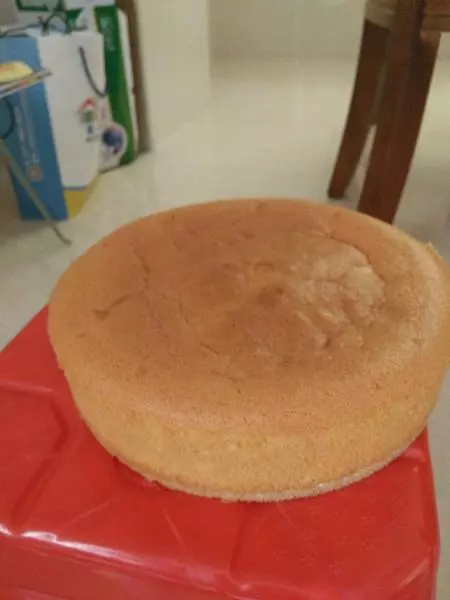
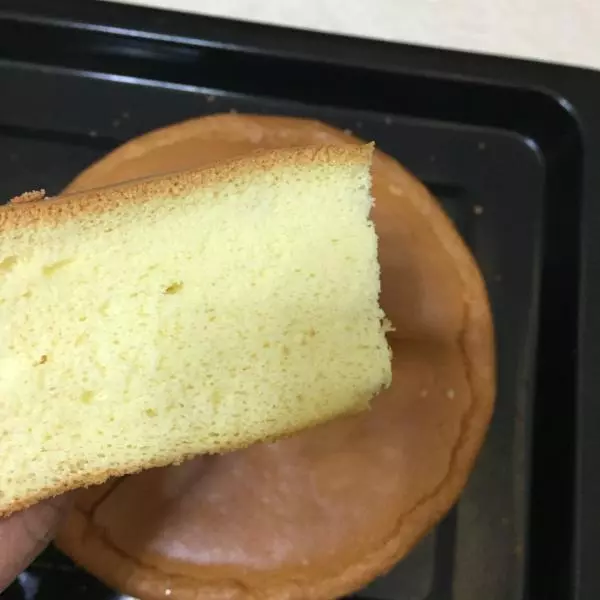
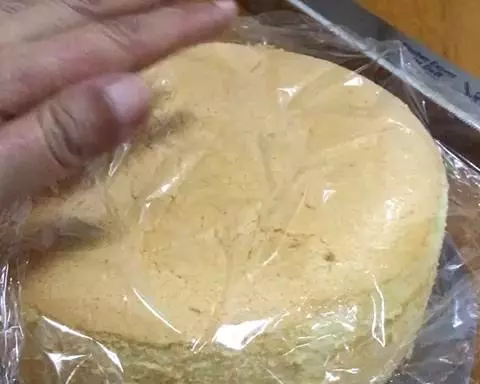
18出炉,满模又不开裂。
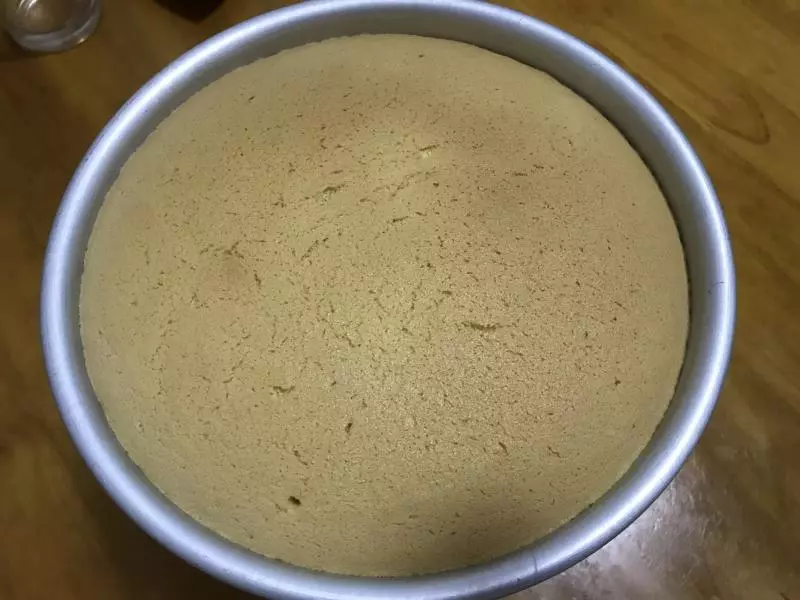
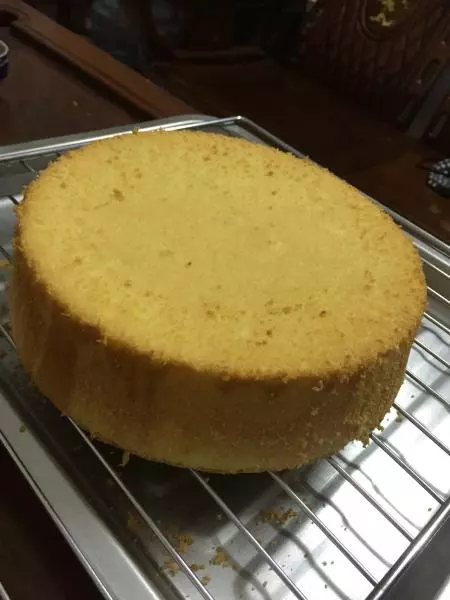
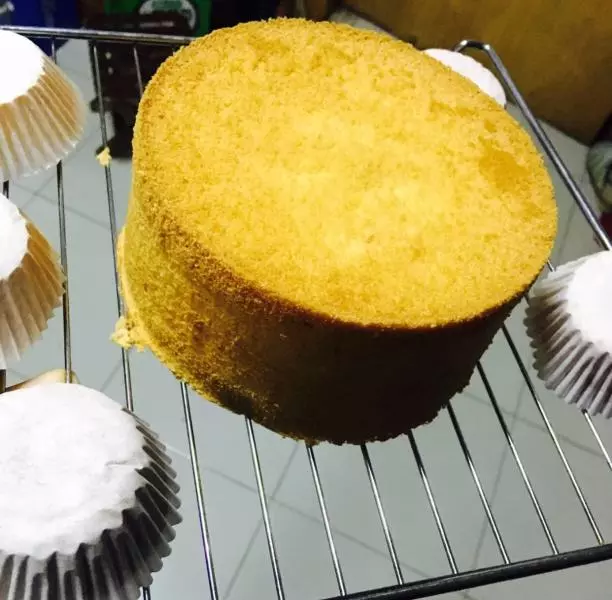
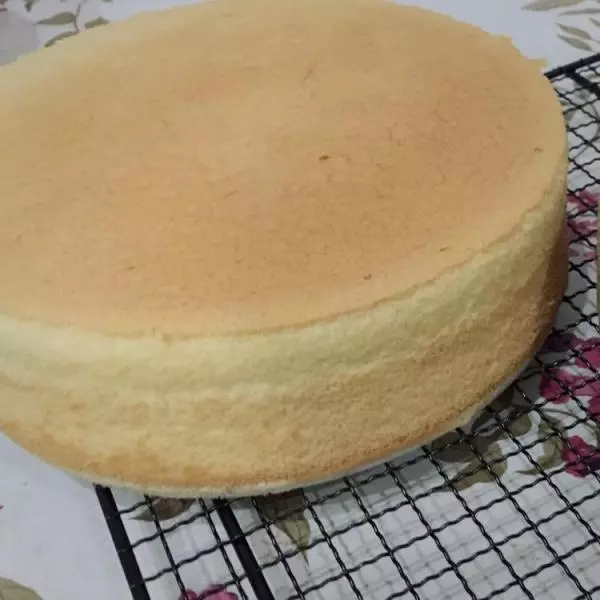
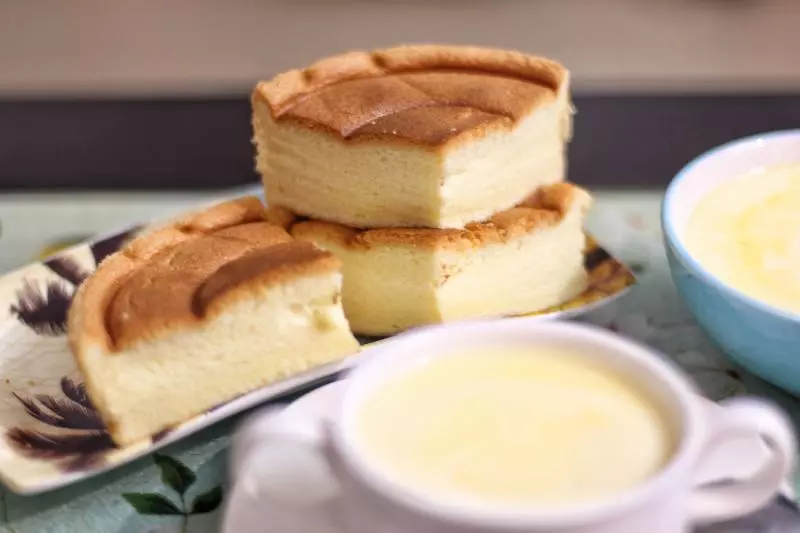
19蛋糕出炉后立刻倒扣放凉。
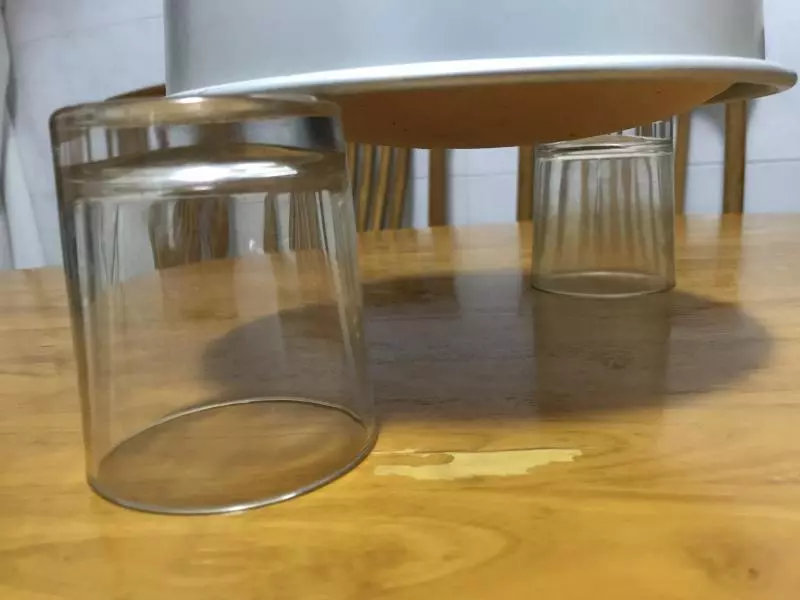
20脱模。
21蛋糕非常有弹性。
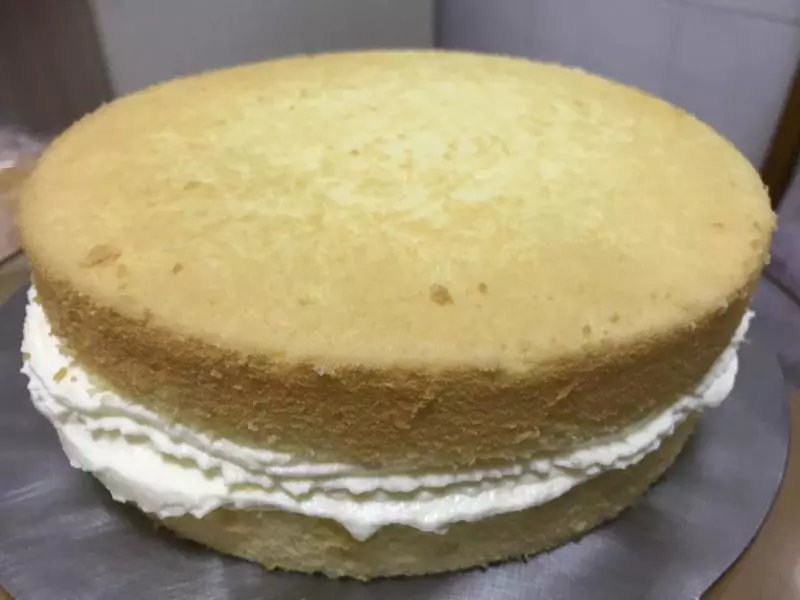
22一般都把蛋糕切三片,但我家孩子不爱吃太多淡奶油,所以我一般切两片做两层的蛋糕。

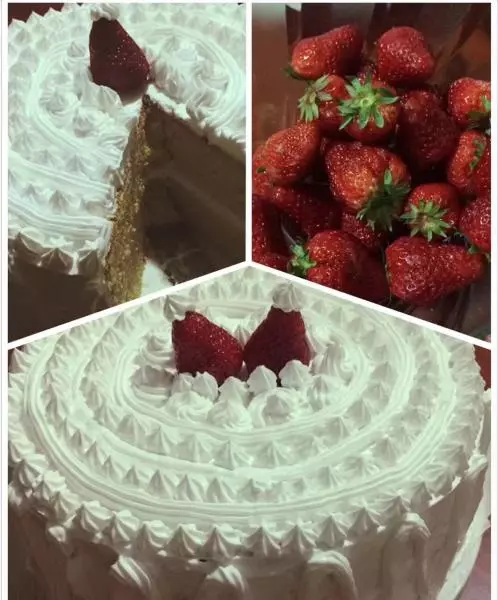
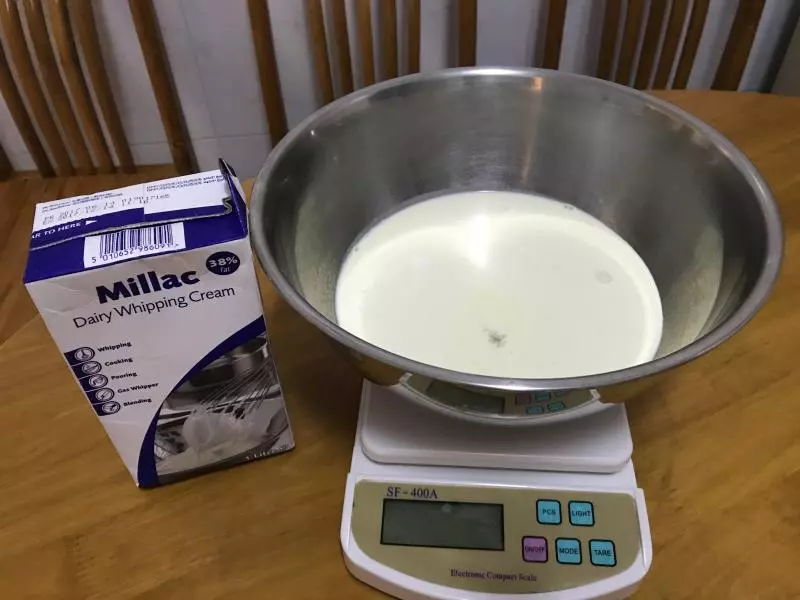
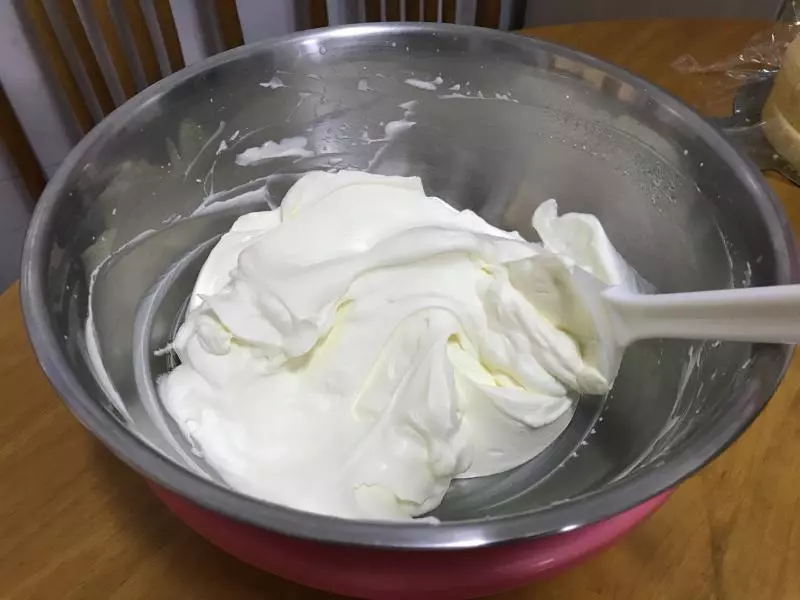
23500克蓝风车淡奶油加50克细砂糖用电动打蛋器打发。
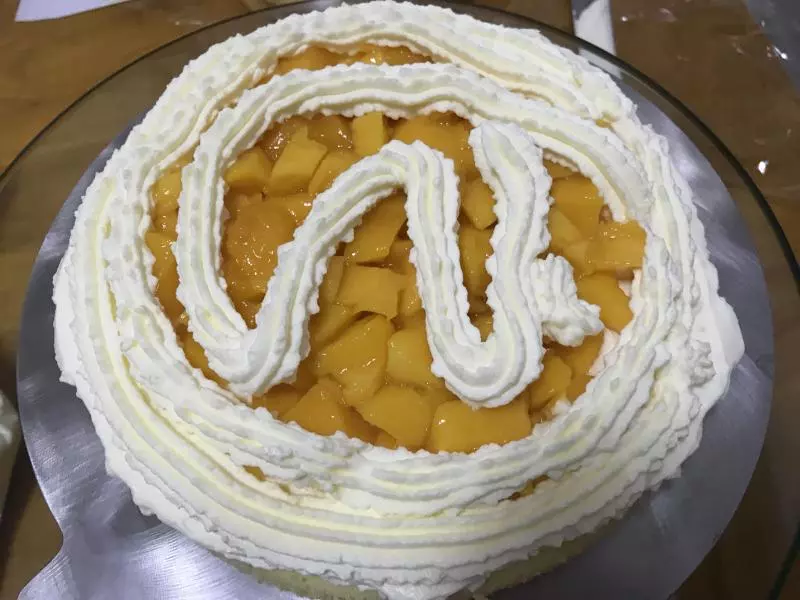
24这个状态的淡奶油有点打过干了,可以再软点,容易涂抹裱花。
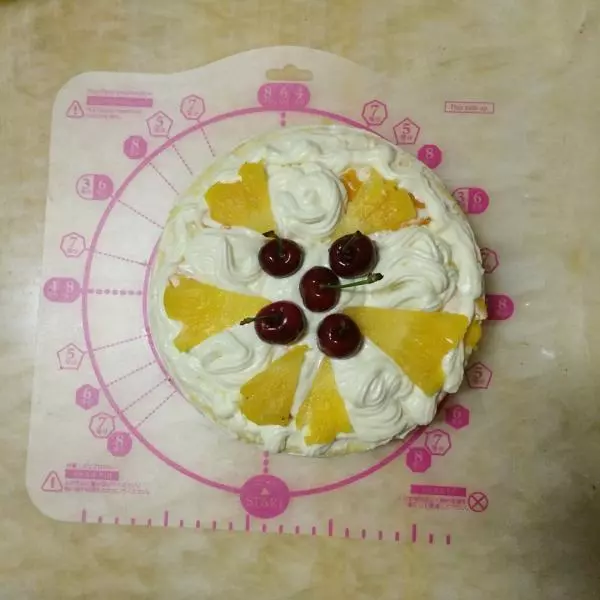
25取一片蛋糕,均匀涂抹奶油。
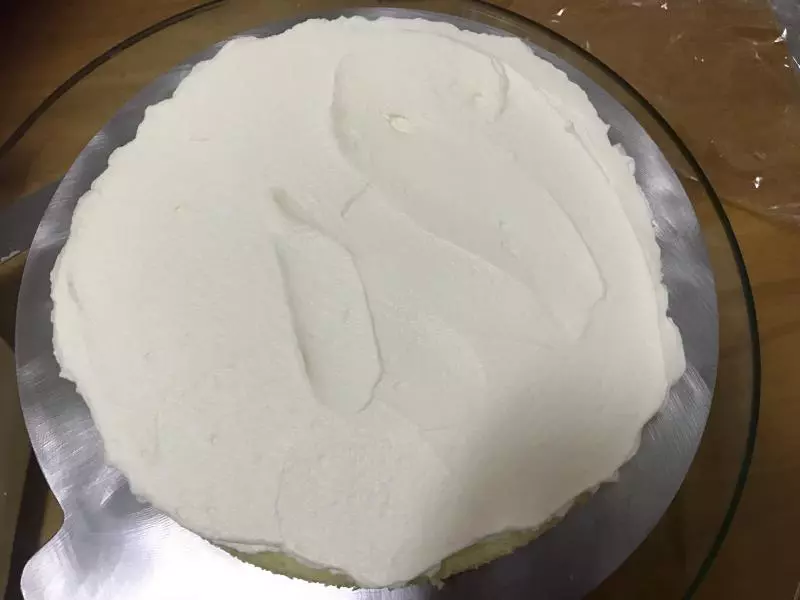
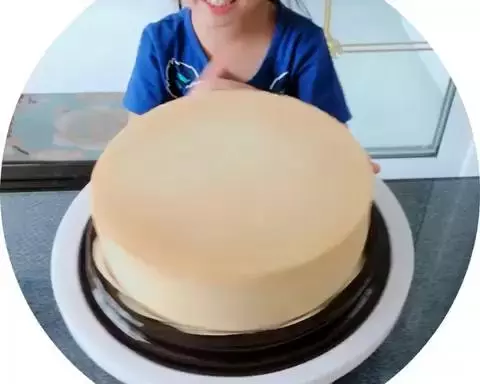
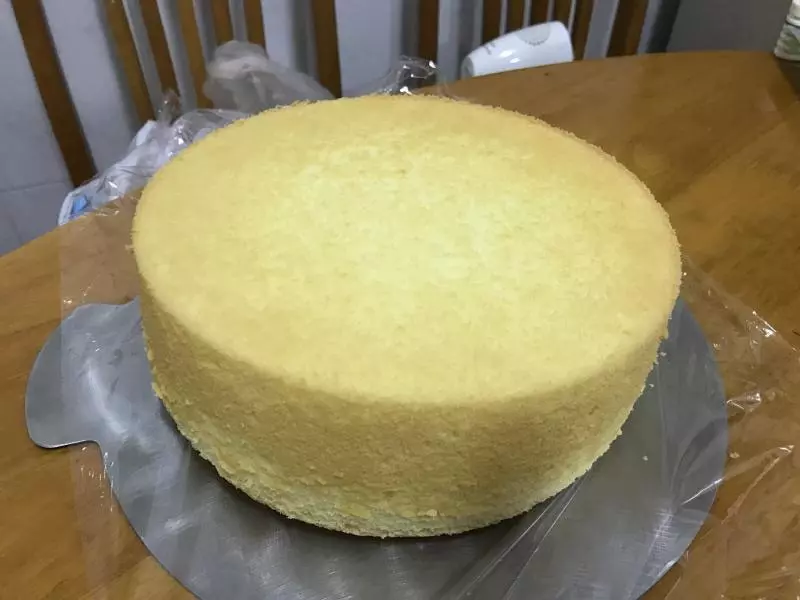
26中间夹芒果粒,边边和芒果粒上面都涂上奶油。
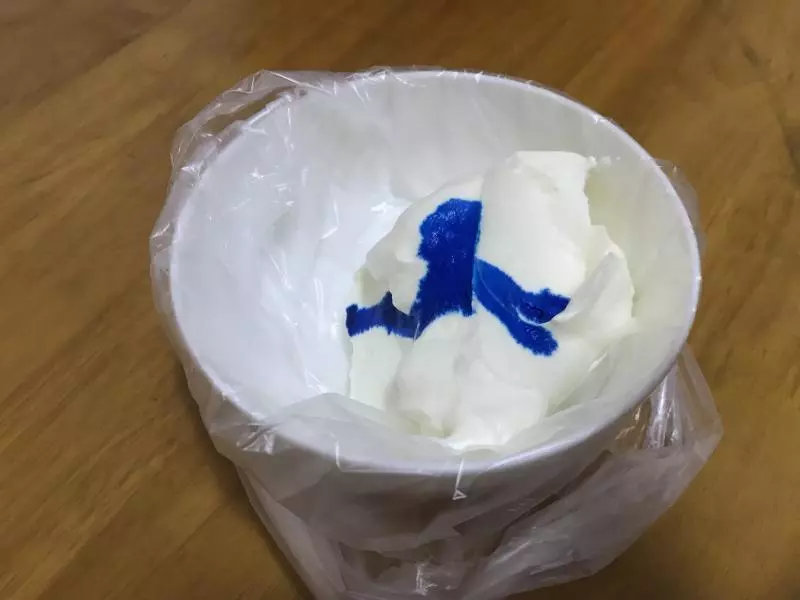
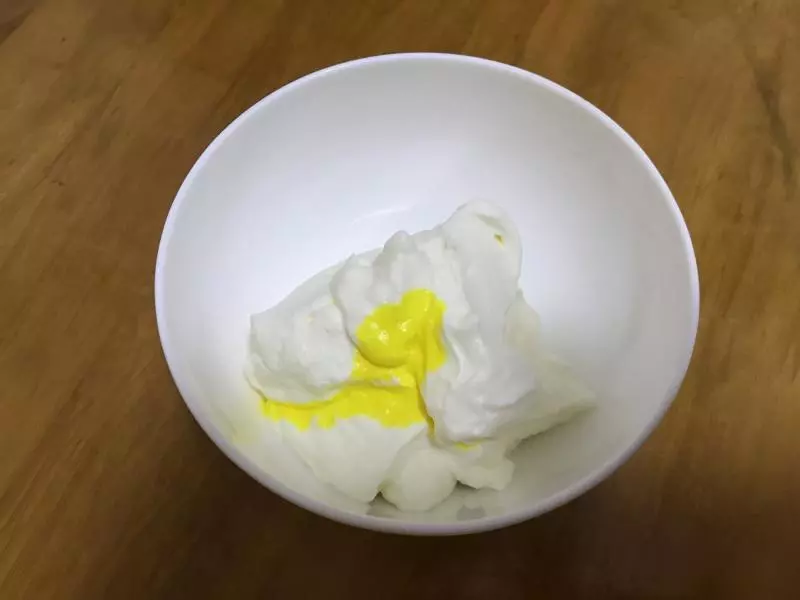
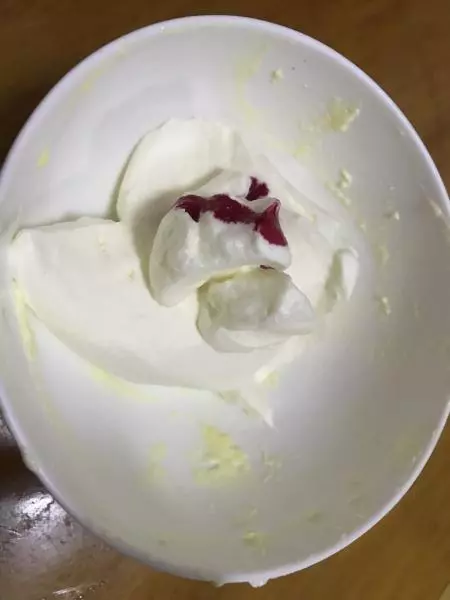
27抹匀。
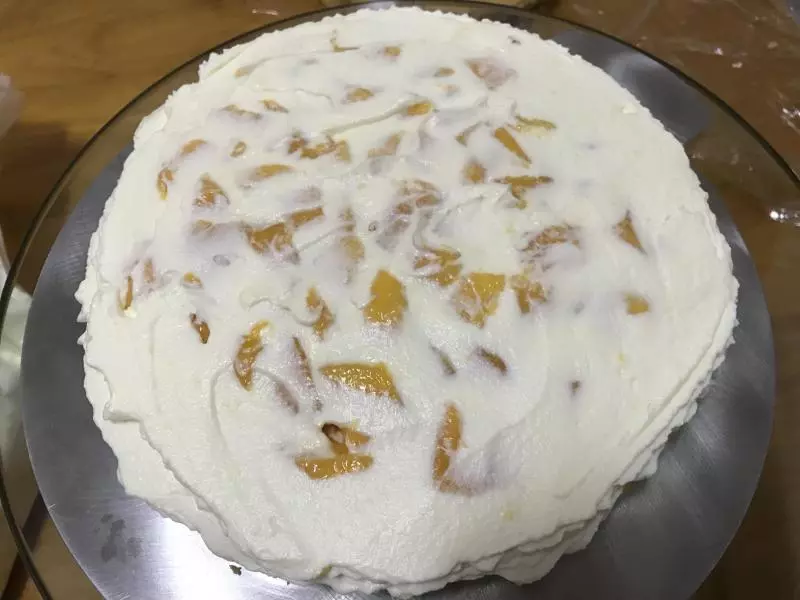
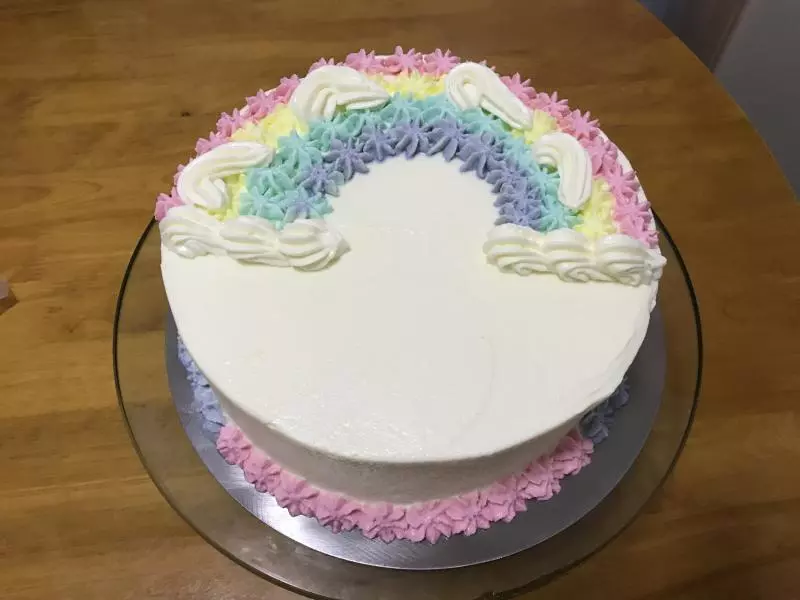
28再盖上一片蛋糕,把整个蛋糕都均匀地涂上奶油,用抹刀修整到整个蛋糕表面和四周都很光滑,放入冰箱备用。
29用色素调奶油,一刮刀奶油加两滴色素就可以了,这是蓝色。
30黄色。
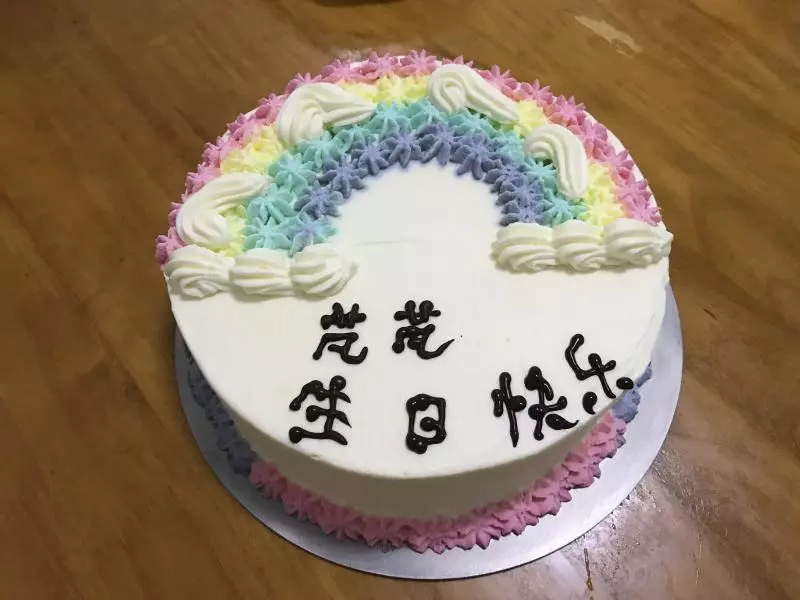
31红色。
32紫色。

33挤在蛋糕上。
小技巧
不同烤箱温度高低不同,要酌情调整,最好烤30分钟左右观察一下,我习惯低温烤戚风蛋糕,避免开裂,当然开裂一点也无所谓,因为最终表面一层是切掉的。