原料
配方在简介: 耐心100, : , : , :
步骤
11、将butter milk的材料混合静置,如图。
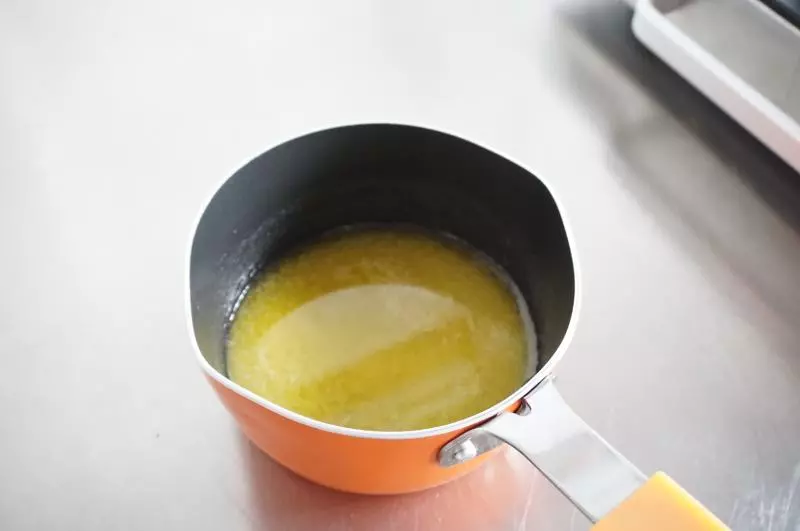
22、制作澄清黄油:先小火将黄油融化,不要沸腾。如果部分黄油未融化,其他已经融化的黄油就会提前沸腾,所以需要全部融化才能进行下一步。
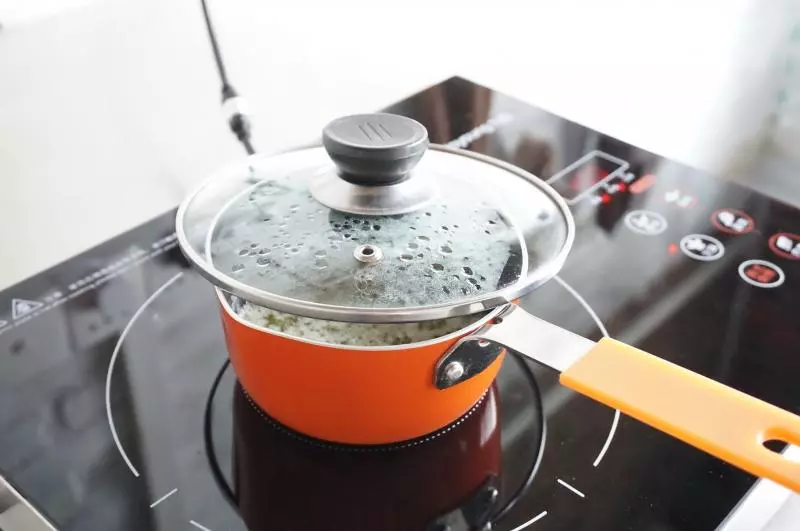
33、同样是小火,用一个小盖子盖着奶锅,但要留一条缝隙以便水蒸汽排出,不会回流到锅里。因为黄油加热过程中会沸腾,油会飞溅,所以需要加一个盖子防止黄油飞溅。
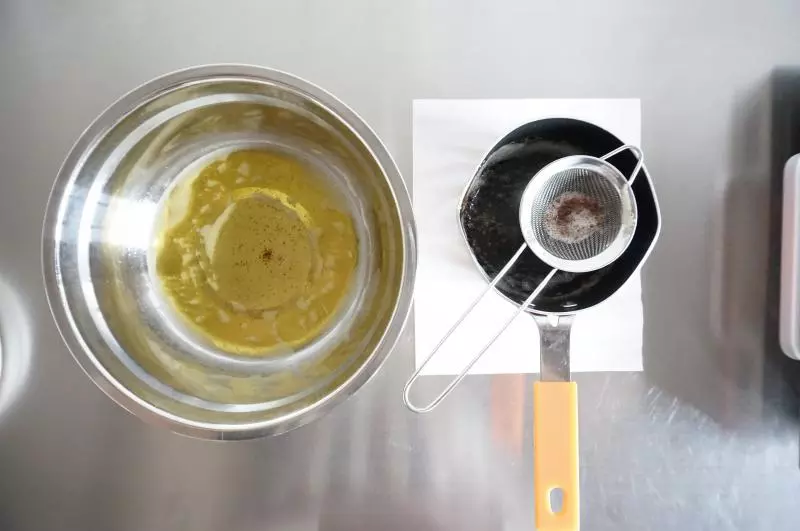
44、一直加热到黄油变澄清,底部沉淀物变褐色,然后过滤,如图,左边的澄清的黄油,右边是沉淀物。
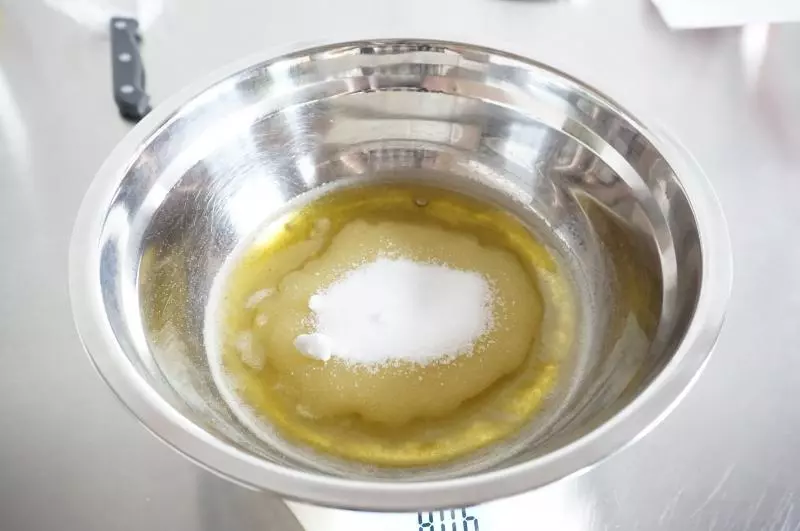
55、加入细砂糖,充分混合均匀,砂糖不必充分溶解。
66、加入鸡蛋,搅拌均匀。

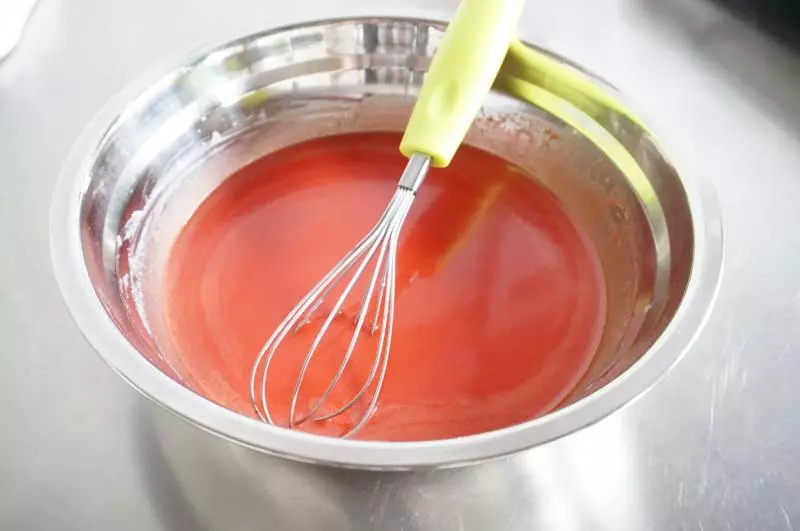
77、加入butter milk、色素,搅拌均匀。
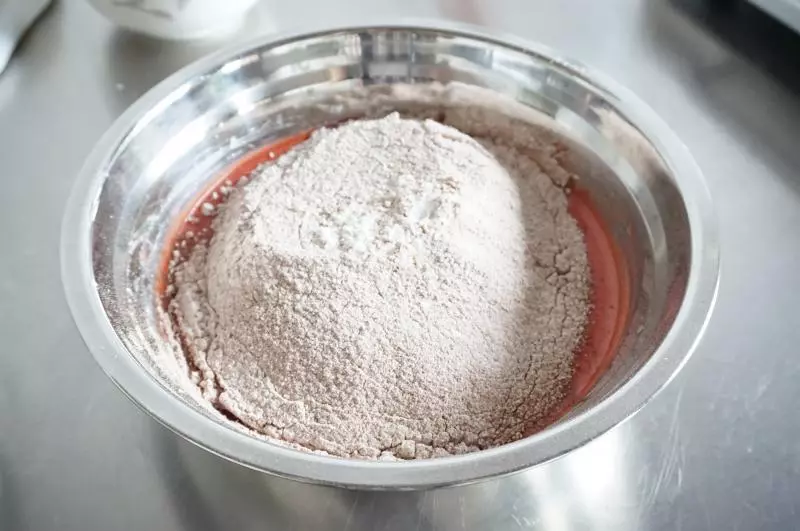
88、将低筋面粉、可可粉、盐、小苏打混合,并过筛到7中搅拌均匀,即成红丝绒面糊。
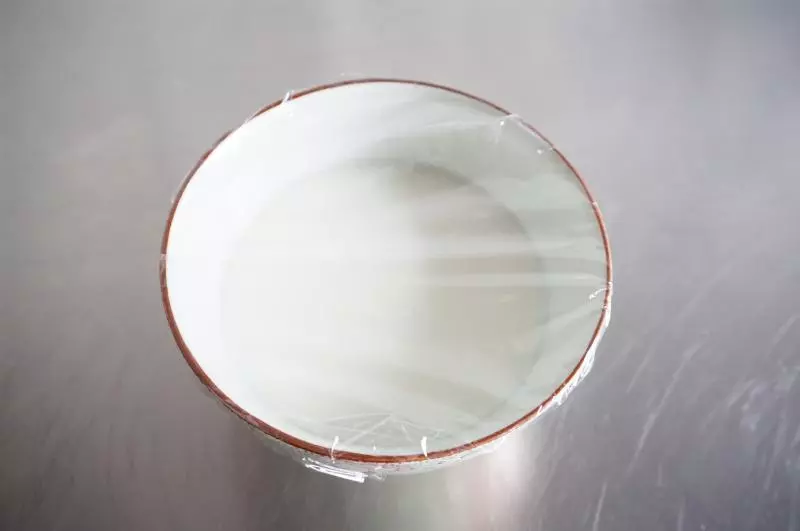
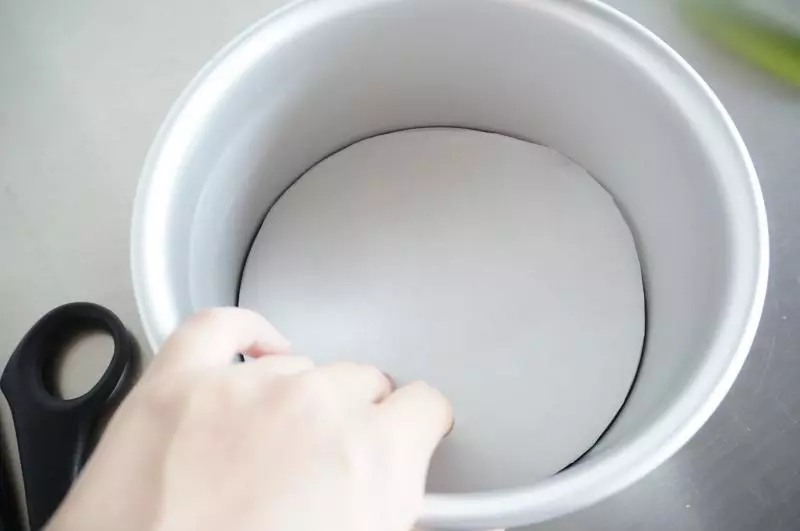
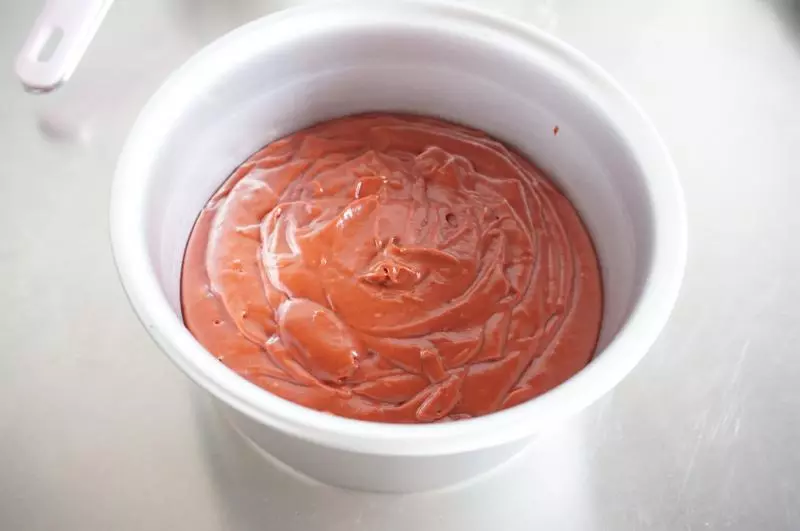
99、裁剪和模具底部一样大的油纸,置于底部,倒入混合好的面糊。
1010、烤箱上下火180度,中层,烘烤30~35分钟,或直到用牙签插入拔出无沾湿面糊。
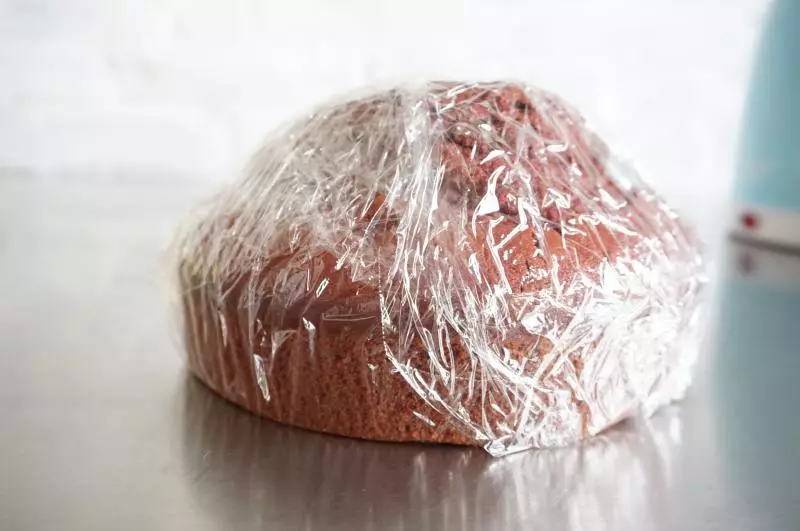
1111、蛋糕冷却到微热状态,然后脱模,用保鲜膜包裹后冷藏到完全冷却。
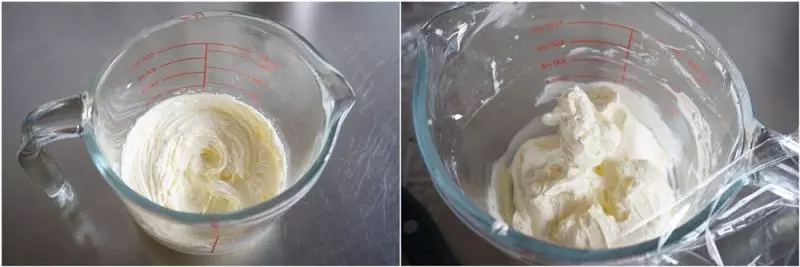
1212、制作奶油霜,黄油需要软化到室温,然后打散,加入糖粉打发至泛白。最后分3次加入淡奶油打发,充分混合。如图,左边是泛白的黄油,右边是打发好的奶油霜。 奶油霜加适量色素调色即可。 ※天气冷如何软化黄油:微波炉每5s加热一次,直到合适状态。
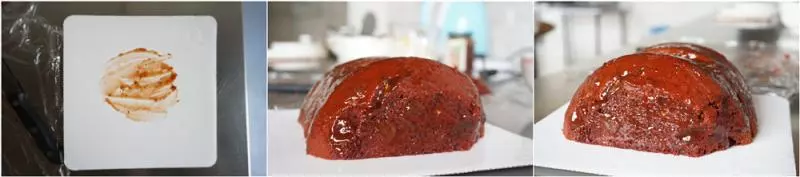
1313、蛋糕顶部切平整,如图切开蛋糕,然后放置。
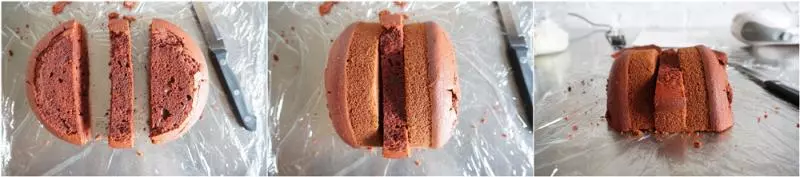
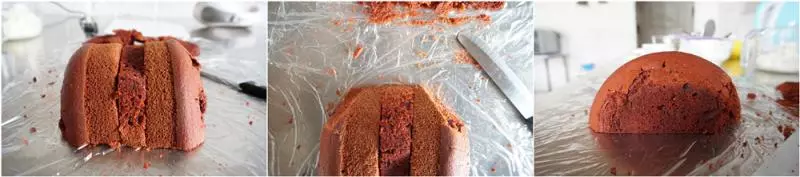
1414、如图,把突出的两端削成有弧度的形状,选一边的两侧削两个小弧度,如图二。
1515、如图,在蛋糕托涂少许草莓酱防止蛋糕移动。然后在蛋糕夹层粘合处涂上草莓酱,最后再涂蛋糕表面。
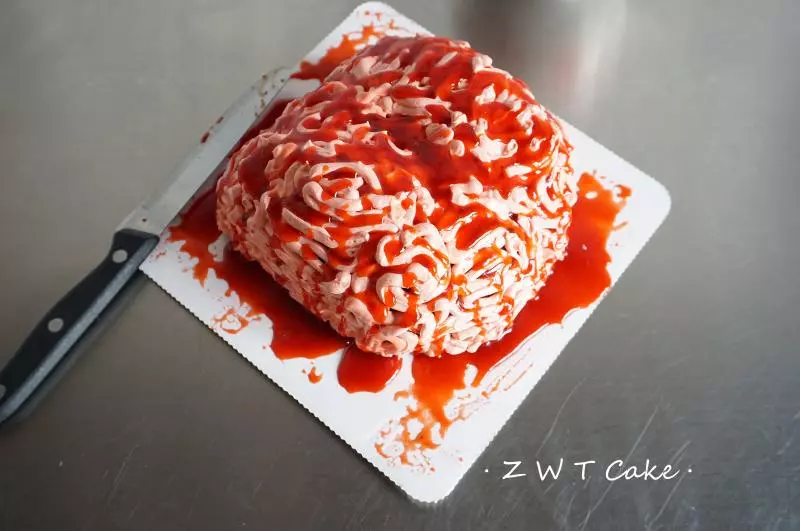
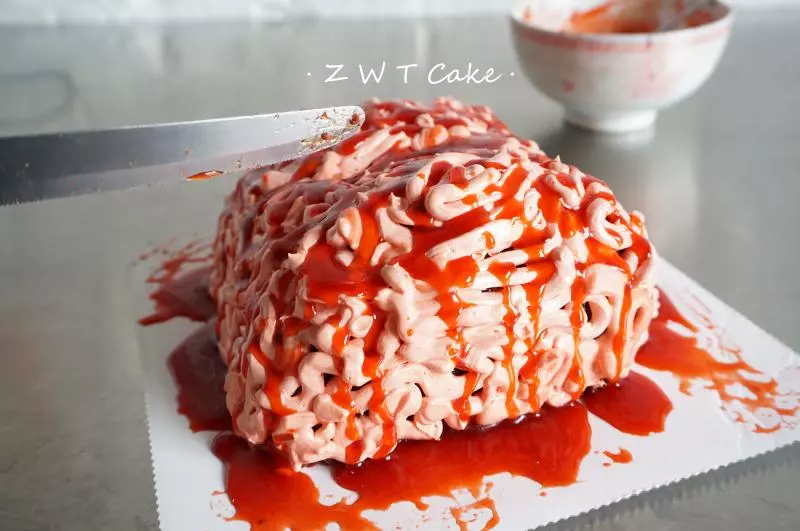
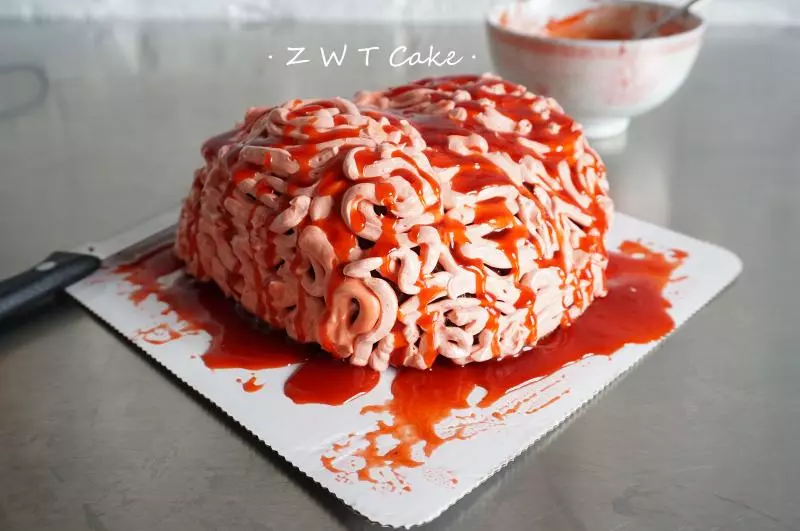
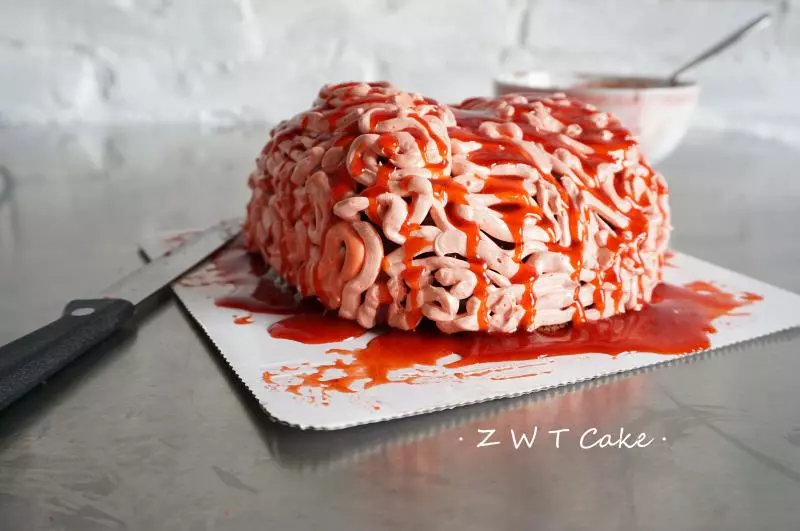
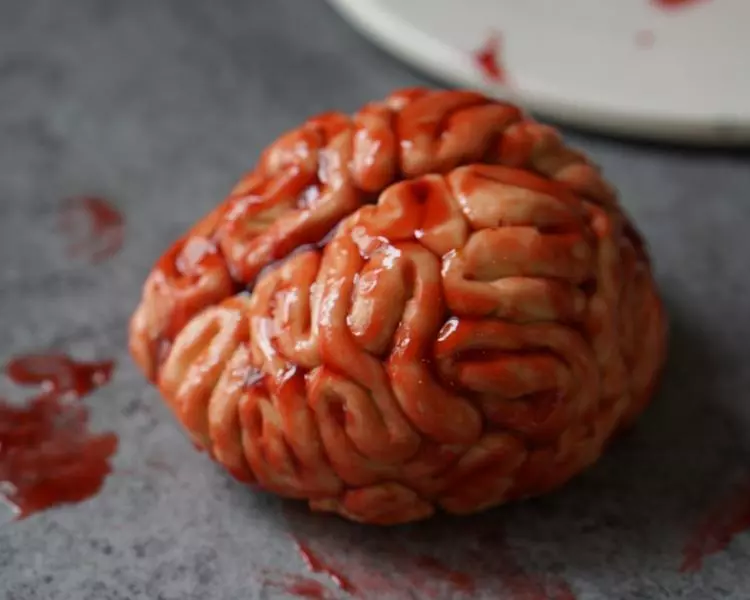
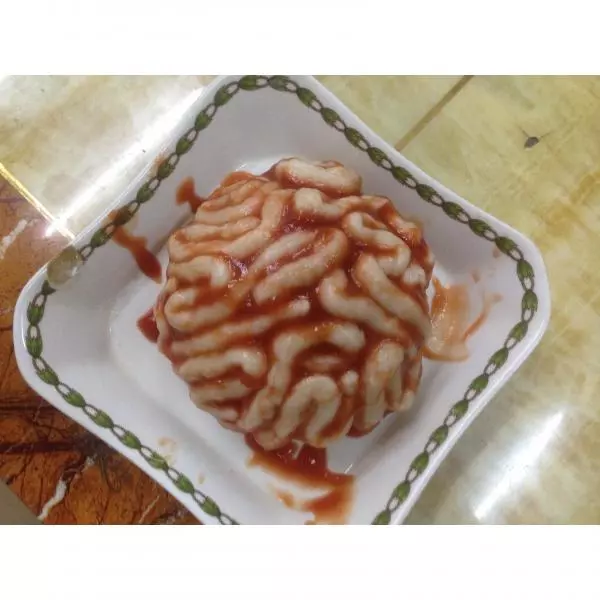
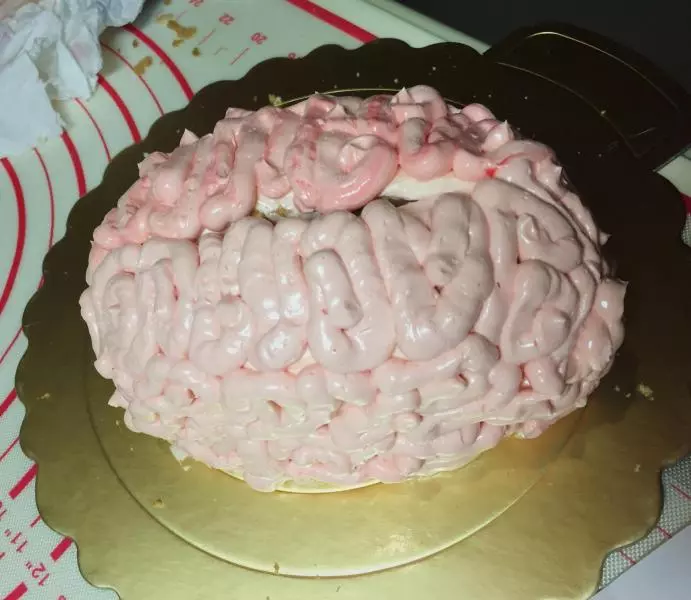
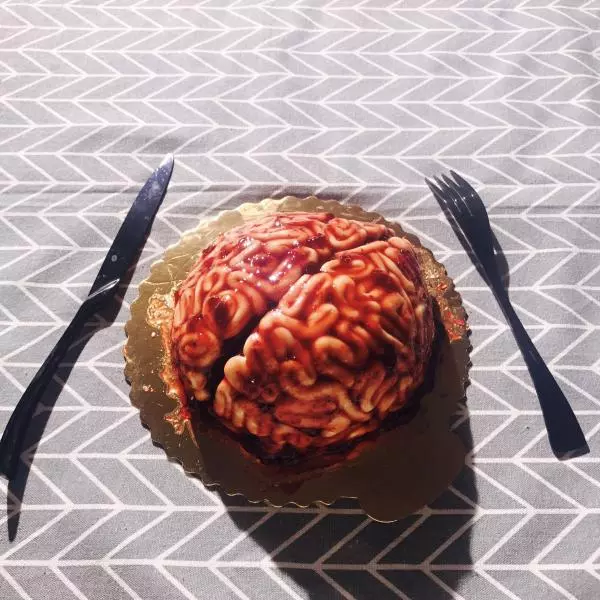
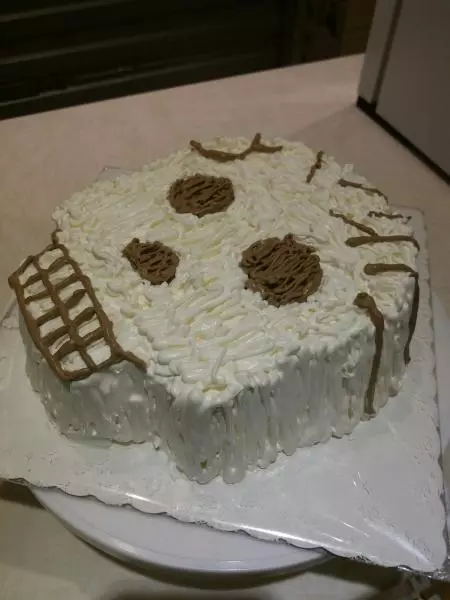
1616、红色血制作:草莓酱和饮用水混合均匀,然后过滤掉草莓籽,最后再用色素调色。 最后奶油霜装进裱花袋挤出线条,用勺子淋在蛋糕上制造血淋淋的样子。
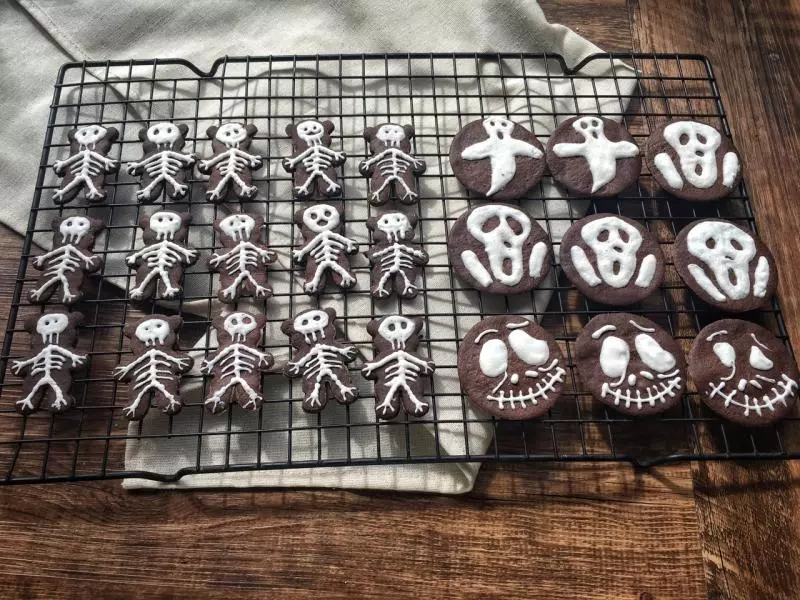
17成品
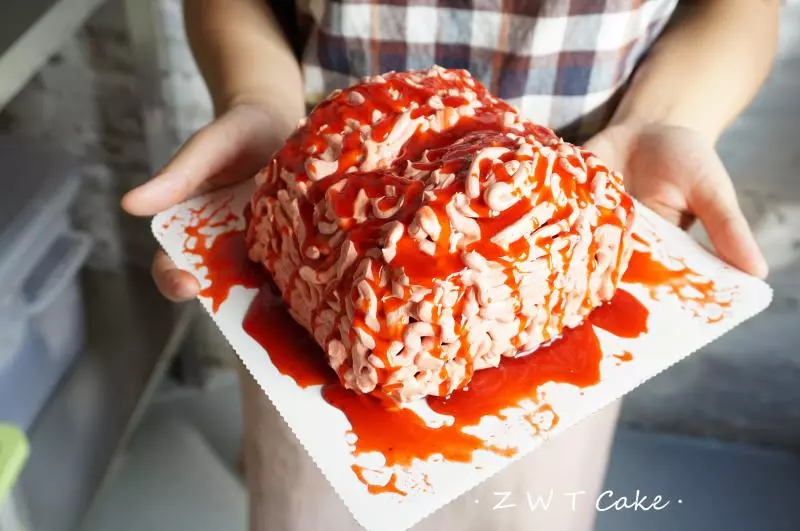
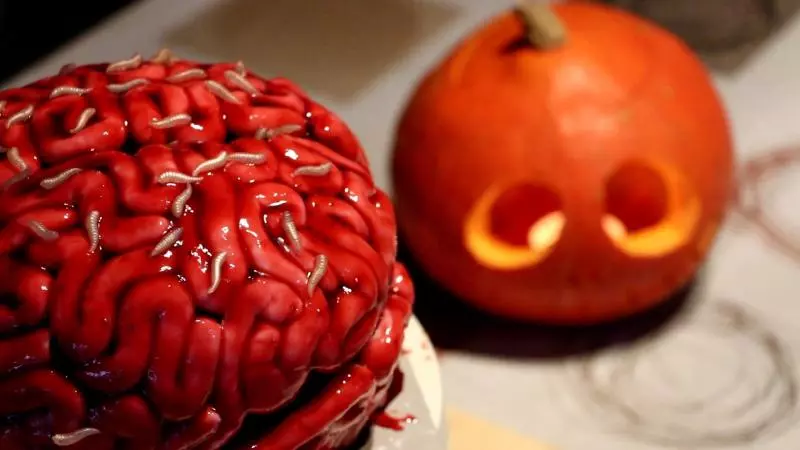
18红丝绒蛋糕胚其实就是材料混合均匀就可以了,用澄清黄油不需要打发,而且有特殊的香气。蛋糕看着恐怖,其实是草莓味的哦~~
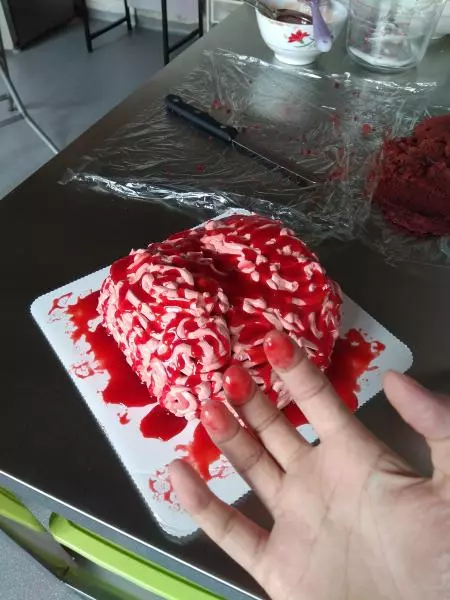
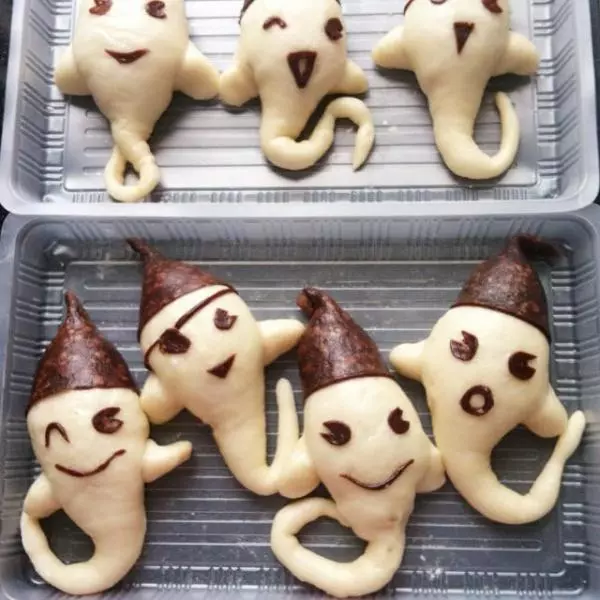
19成品
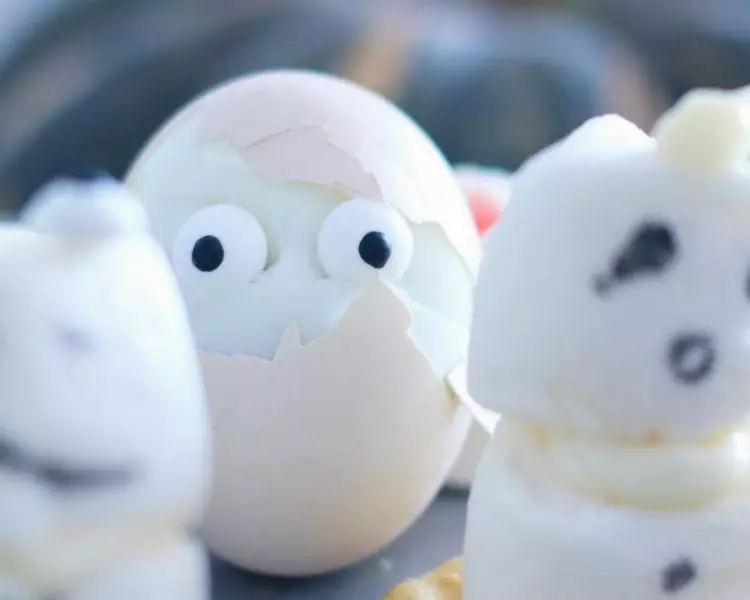
20成品
小技巧
请看简介


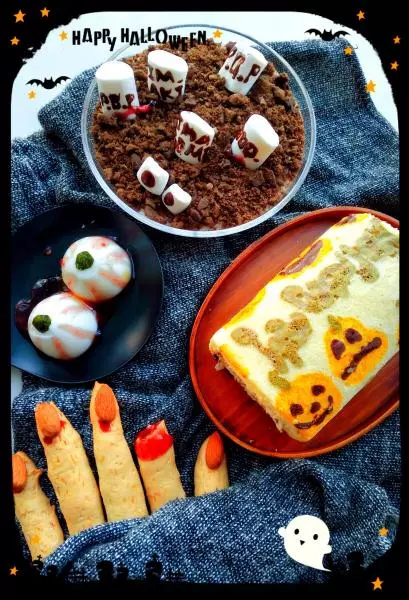
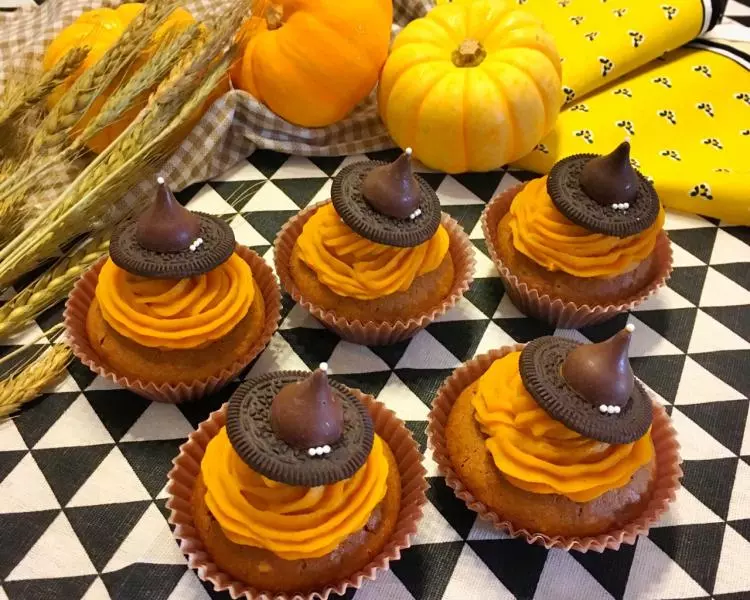
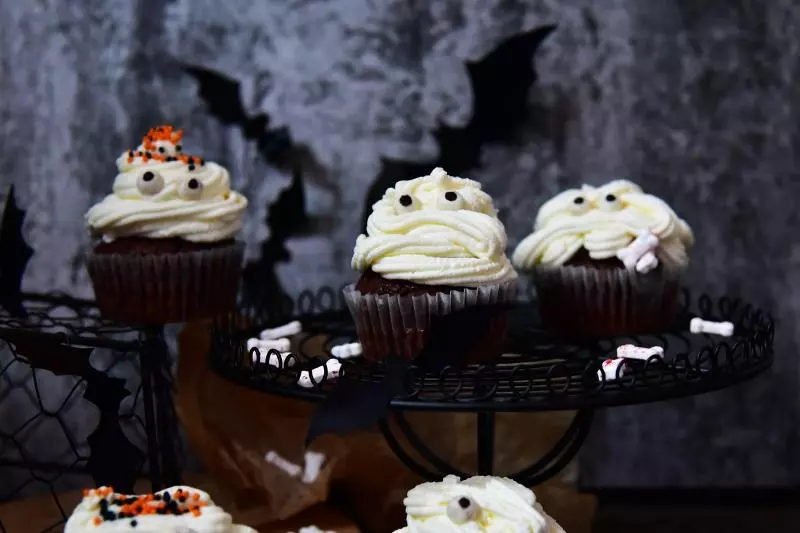
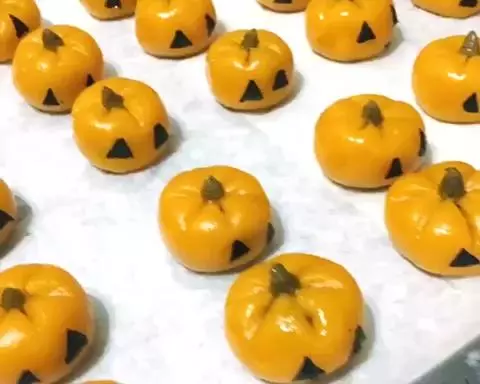
![[万圣节]南瓜杯子蛋糕](/images/node/24/241616.webp?1638104719)