原料
酸奶: 90克, 鸡蛋: 2只, 玉米油: 10克, 低筋面粉: 50克, 糖: 30克, 白醋或者柠檬汁: 两滴, 工具:果语酸奶机、分蛋器、电动打蛋机、打蛋盆2个(一个打发蛋清,一个调蛋黄糊)、面粉筛、蛋糕模具、硅胶刮刀、蒸锅;’保鲜膜,厨房电子秤;:
步骤
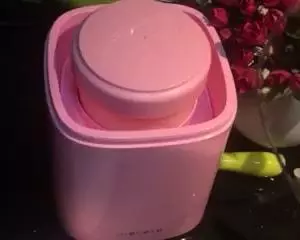
1果语酸奶蒸糕第一步:做酸奶 1、烧开水并将纯牛奶倒入1升奶罐,我家特别爱喝自己做的酸奶,所以每次都直接做1000ml;
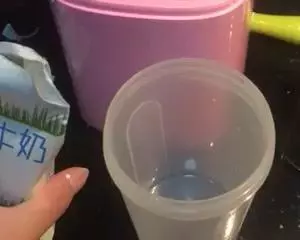
22、倒入一包菌粉并搅拌均匀
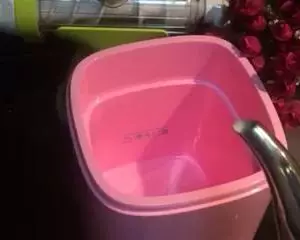
33、将开水倒入酸奶主机,倒到刻度线即可
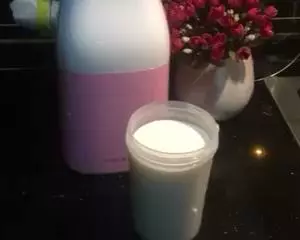
44、盖好盖子,准备明天品尝美味果语手工酸奶,是不是很简单?
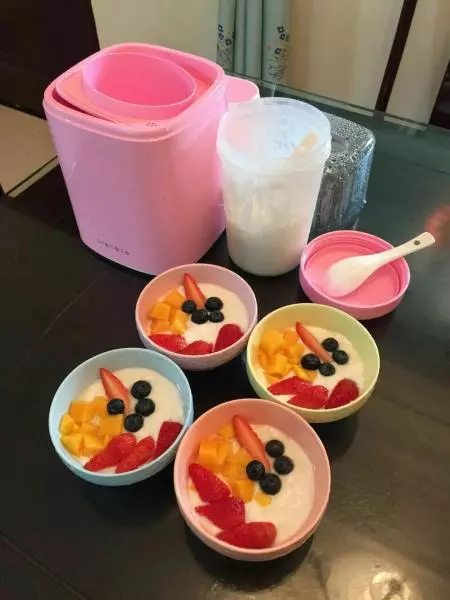
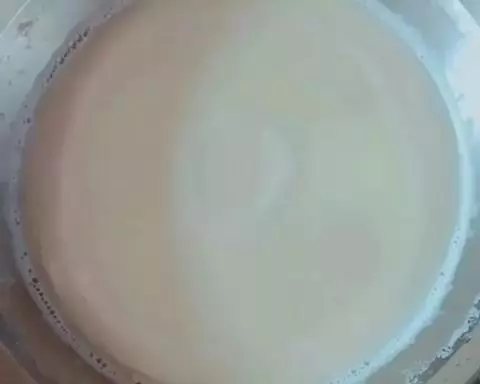
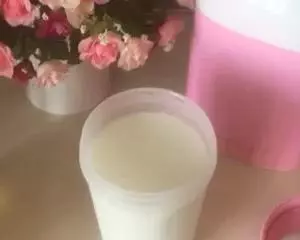
55、让我们来看下昨天晚上做好的酸奶,细腻浓稠,口感也比超市买的更棒哦,而且自己做的更安心,益生菌也更多!如果食用的话,建议加蜂蜜和水果或者麦片来调整口味,会更棒;天气热了喜欢吃凉一点的话,就放到冰箱冷藏室,如果吃不完还可以用我们的果语酸奶机配送的奶酪机做成奶酪,拌水果沙拉或者抹面包都是非常棒的选择
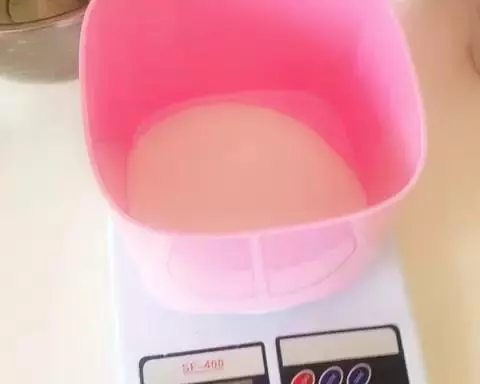
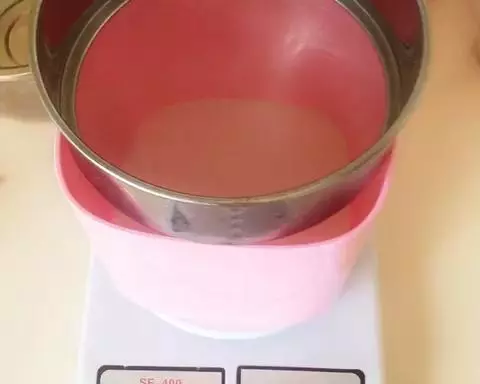
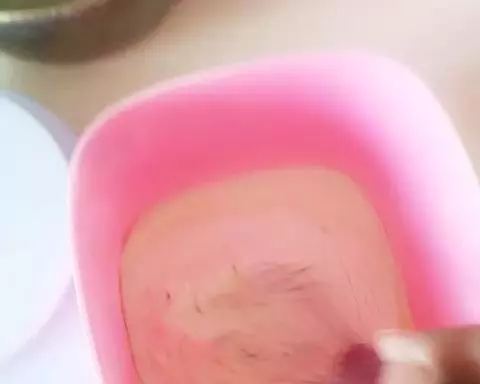
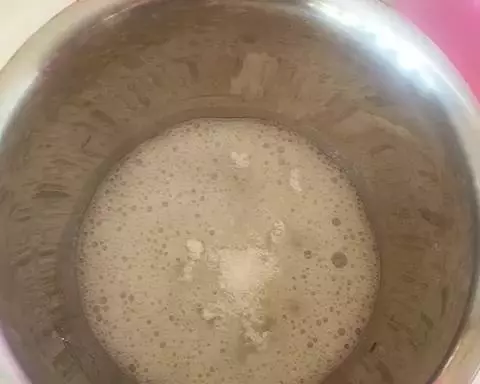
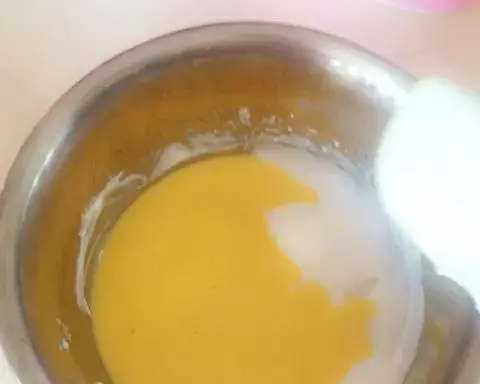
6好了,接下来我们正式做果语酸奶蒸糕啦;首先我 们把90克的果语手工老酸奶倒进一个容器里,然后倒入10克玉米油,搅拌均匀
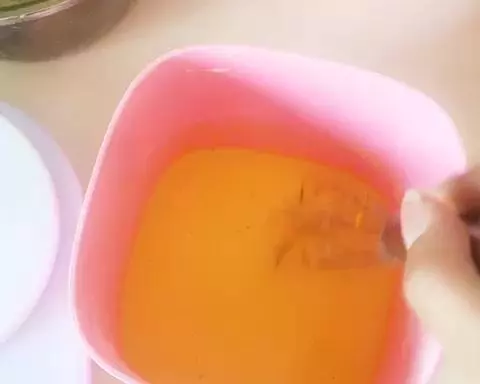
7然后我们筛入50克的低筋面粉,也就是蛋糕粉,一字状搅拌均匀
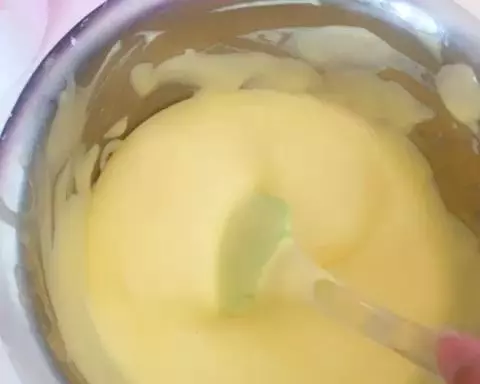
8我们要把面糊搅拌到看不到干粉的状态就OK了
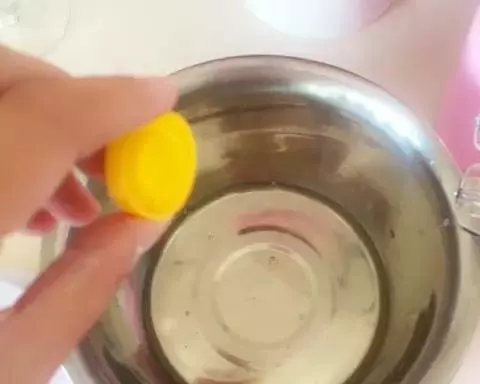
9接下里我们来分离蛋清和蛋黄,切记,蛋清打到无水无油的打蛋盆中;而且不要滴入蛋黄哦,这样才能打发出来完美的蛋白霜
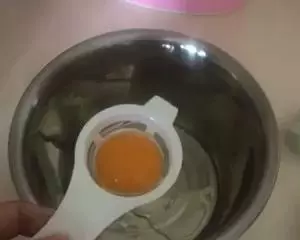
10OK,蛋黄我们直接加到酸奶面糊中

11继续1字状搅拌均匀蛋黄液,然后我们去打发蛋白霜
12在蛋清里面加入两滴白醋或者柠檬汁
13然后我们把白砂糖(我工作室没有白砂糖了,用白糖代替了)分为3次加入到蛋白中,第一次大泡泡的时候➕三分之一
14小泡泡的时候➕剩余糖的一半
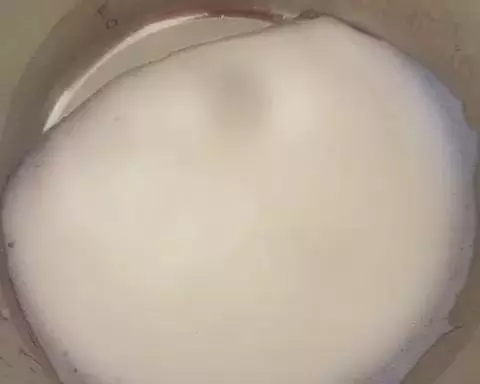
15出现纹理的时候把剩余的糖都加进去,继续打发至中性或者干性状态
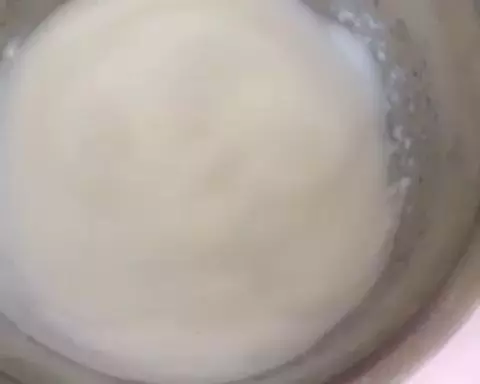
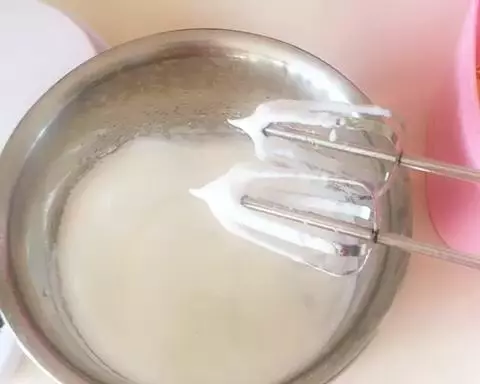
16直到我们打到提起打蛋器,打蛋头上有一个尖尖不倒,倒扣打蛋盆蛋白霜不会流动就OK了
17然后我们把打发好的蛋白霜,分三次加入到蛋黄糊中,用翻拌的手法(一只手不好拍,各位不明白的可以搜一下翻拌的视频)先加入三分之一,与加糖的方式相同
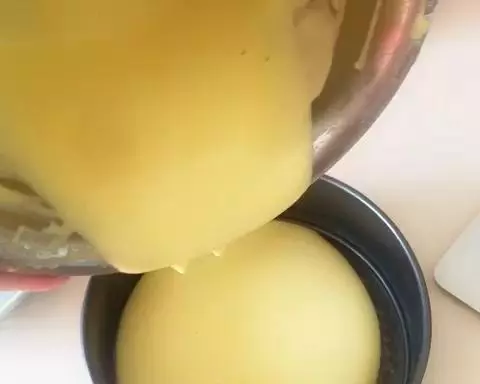
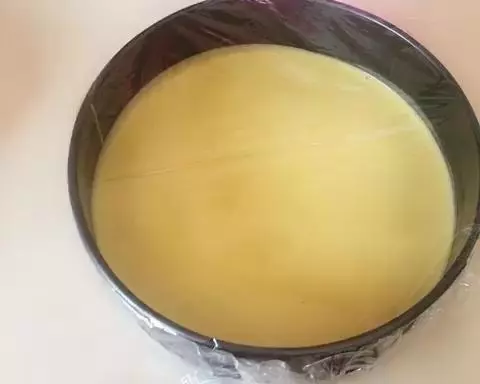
18搅拌好的蛋糕糊是浓稠细腻有光泽的,我们来把它倒进蛋糕模具中
19入蛋糕模具的时候稍稍留点距离,大概10厘米左右,这样可以消除一些气泡
20然后我们需要离地大概10厘米左右的距离震几下,把大的气泡震出来(生怕影响楼下邻居,示范一下大家理解就OK了哈)
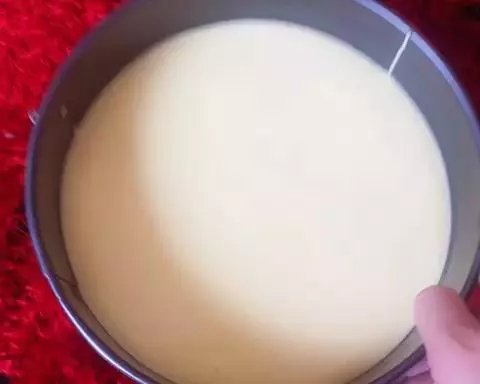
21接下来是最最重要的一步:一定一定一定要覆盖保鲜膜,我做了3次失败就是这个原因…… 切记、切记、切记!!!
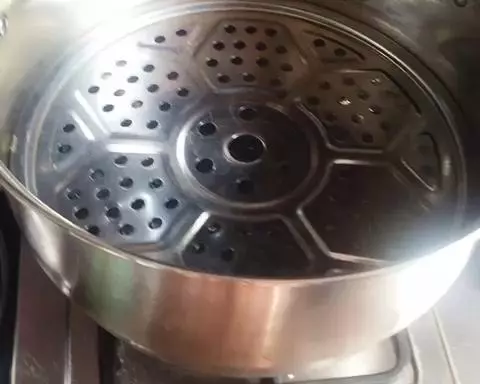
22 锅内倒入提前烧好的开水(前面忘记说了,不好意思);水要多一些,免得像我似的烧糊了锅…… 哈哈哈 一定要小火、小火、小火!!!蒸20分钟就可以看一下去了,蛋糕表面隆起,然后用牙签扎一下,抽出来之后没有面糊就熟了~,熟了之后不用着急取出来,关火闷个4-5分钟之后再起锅;
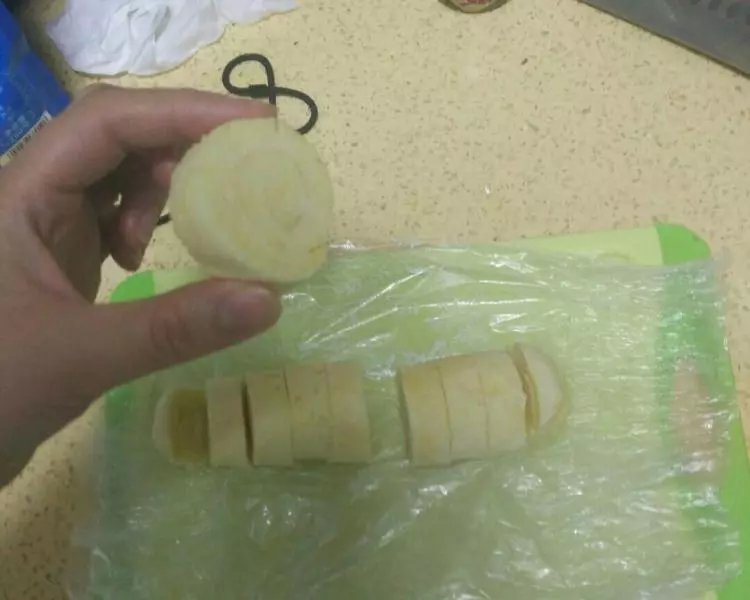
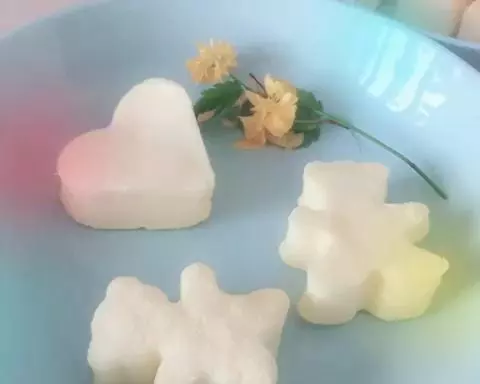
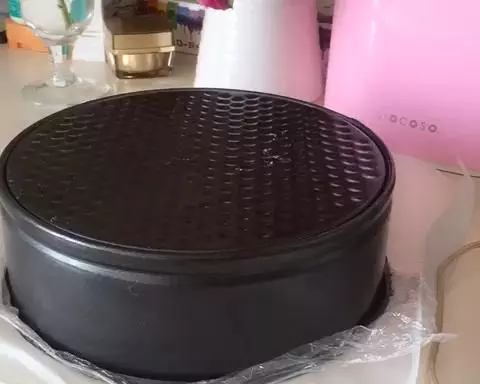
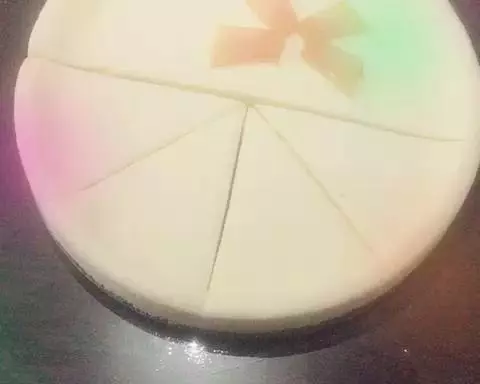
23然后我们把做好的果语老酸奶蒸蛋糕取出来,倒扣到盘子中,我没有大的托盘,直接用油纸代替了
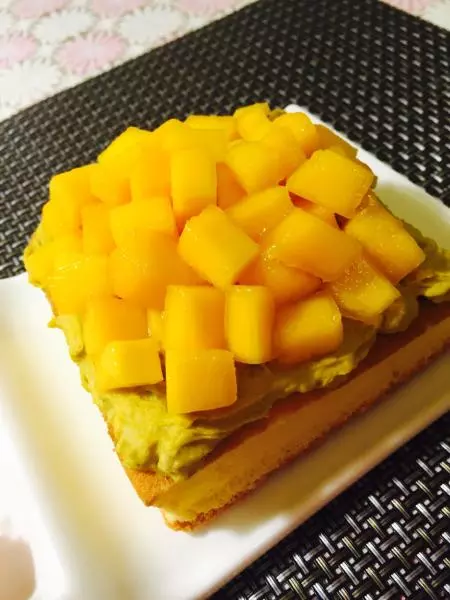
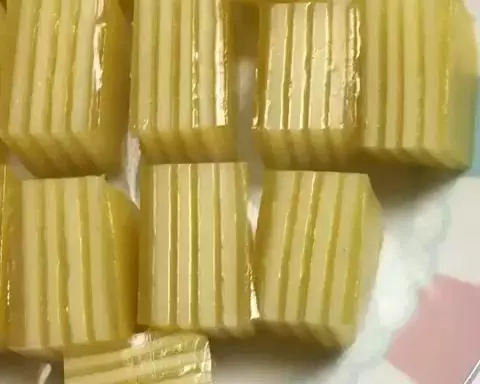
24晾凉之后的酸奶蒸糕好啦~~~看一下组织,非常的细腻松软
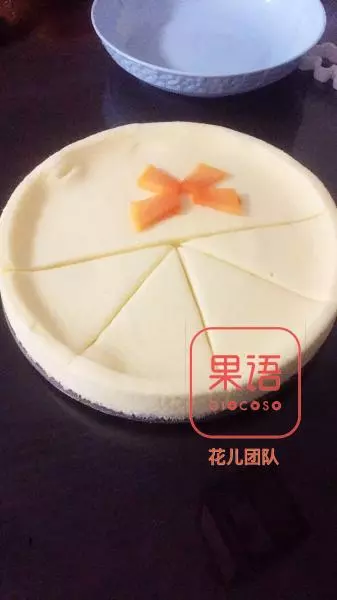
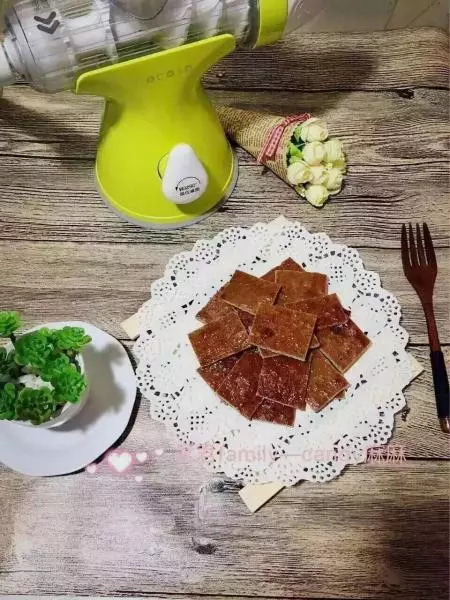
25自己感觉美美哒
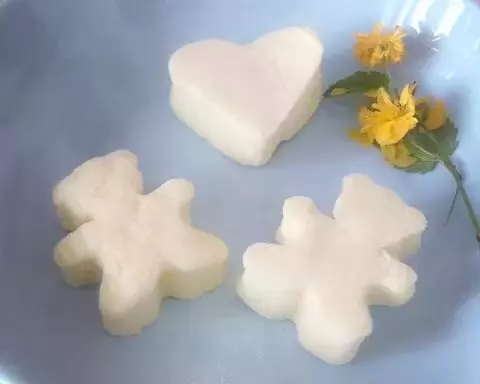
26当然给自己加娃吃,大家还可以自己发挥一切想象力,比如做出来卡通造型啥的,哈哈哈,一切自己去DIY
小技巧
实在搞不明白,➕我微吧121739450