原料
油: 少许, 淀粉: 20克, 饺子: 6个
步骤
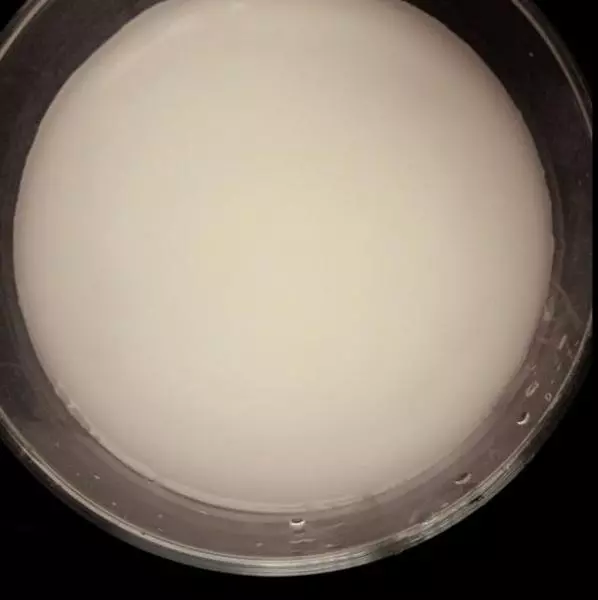
1把适量玉米淀粉放入水中溶化备用
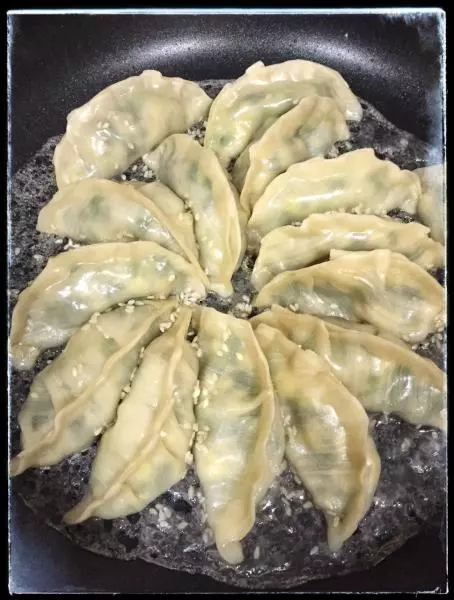
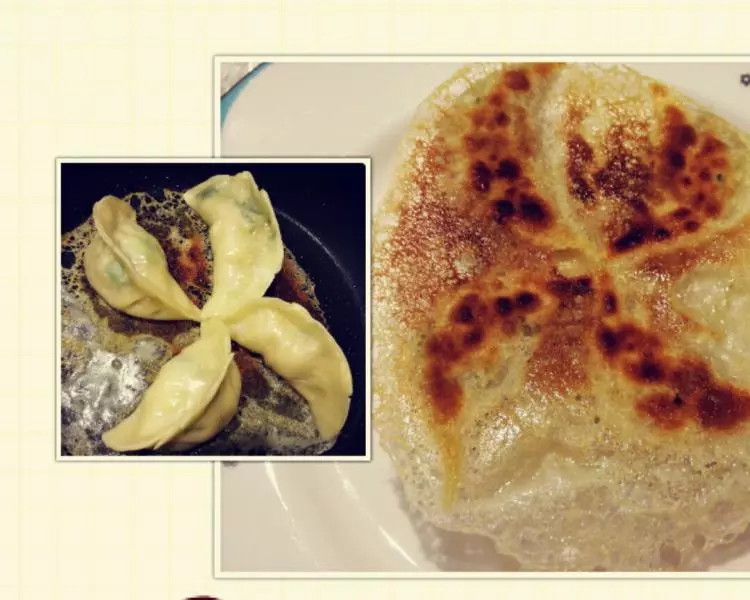
2将平底锅淋油,锅热后放入饺子
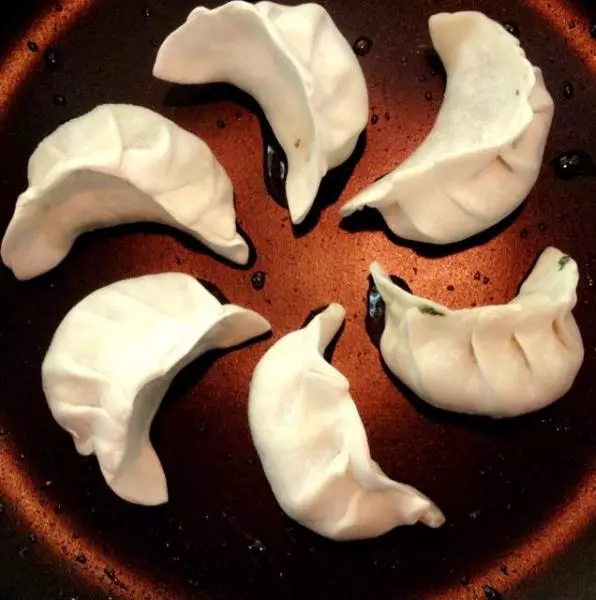
3小火煎到饺子底部金黄,注意不要太焦啦,不然出锅后的颜色会很深,不好看,其实我就喜欢吃那种脆脆的

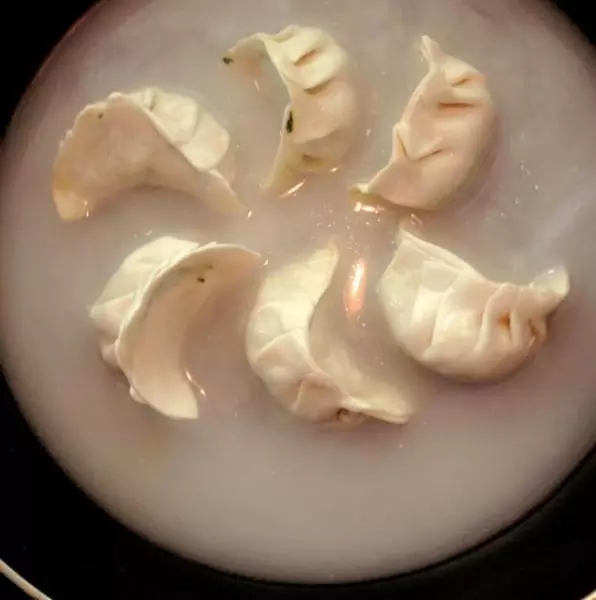
4饺子底部开始泛着金黄的色泽时就差不多可以把淀粉水倒进去拉,没过大胖饺子的小蛮腰就可以啦。到淀粉水的时候搅拌一下,因为会有沉淀~
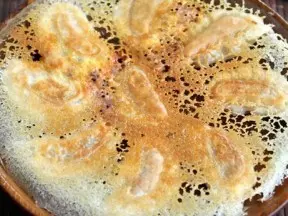
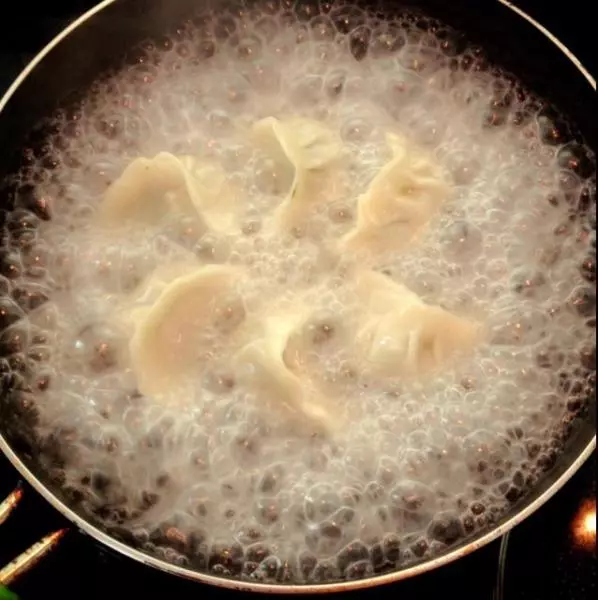
5盖上锅盖,大火烧开后继续煮个3分钟,然后换中火5分钟,我怕饺子不熟有加了一次淀粉水
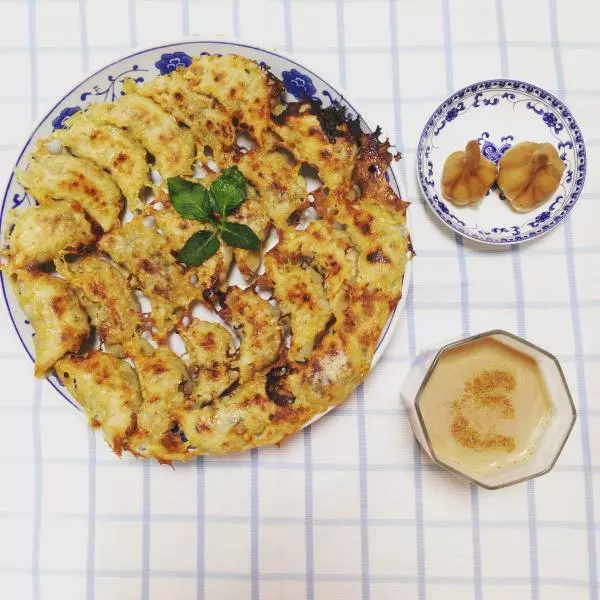
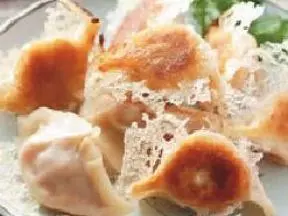
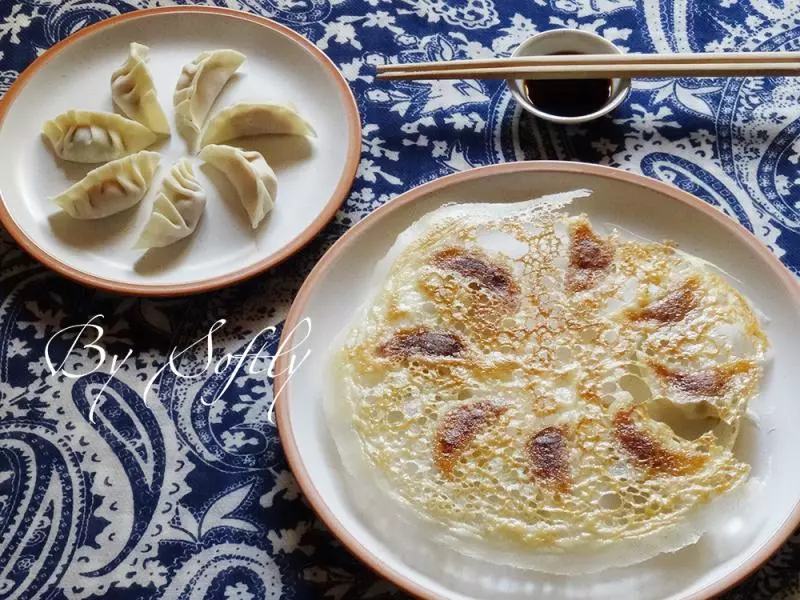
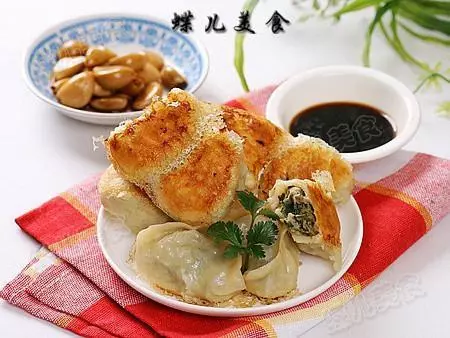
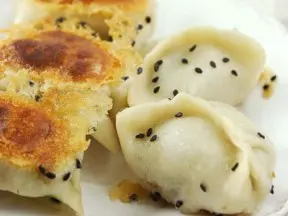
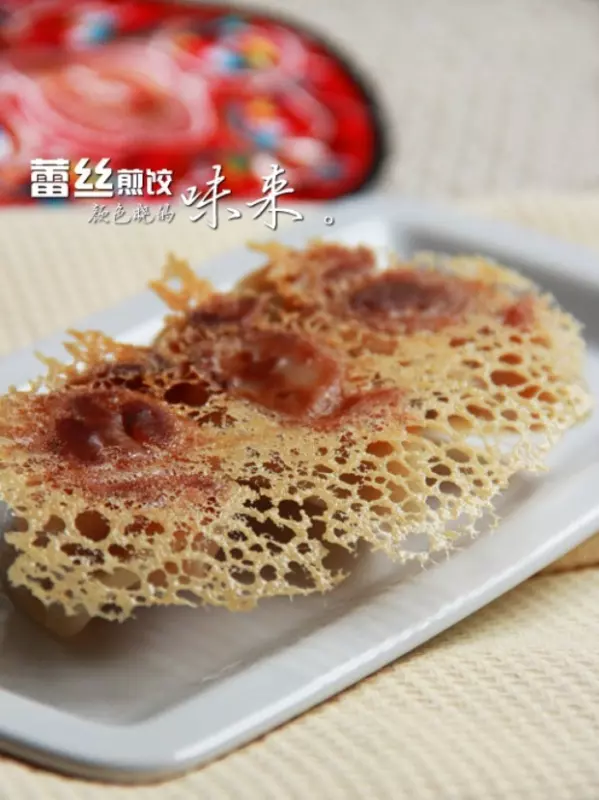
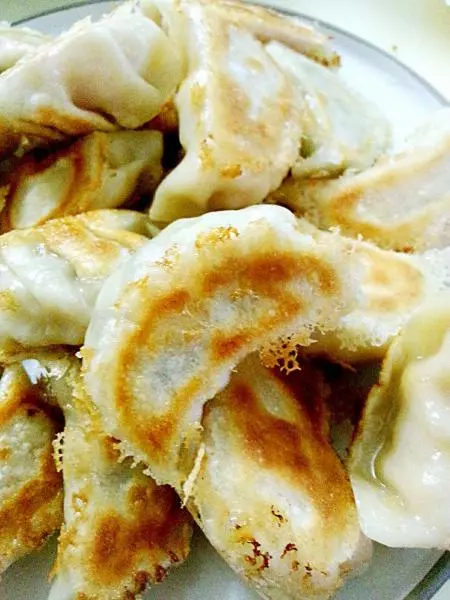
6最后大火烧开,中火收汁,千万别烧过头啦,装盘时把边边撬开就行,用一个空盘先扣进锅里,然后托住盘子将平底锅翻过来,饺子就全部到碗里去啦,我的冰花不算成功,不过第一次我知足啦

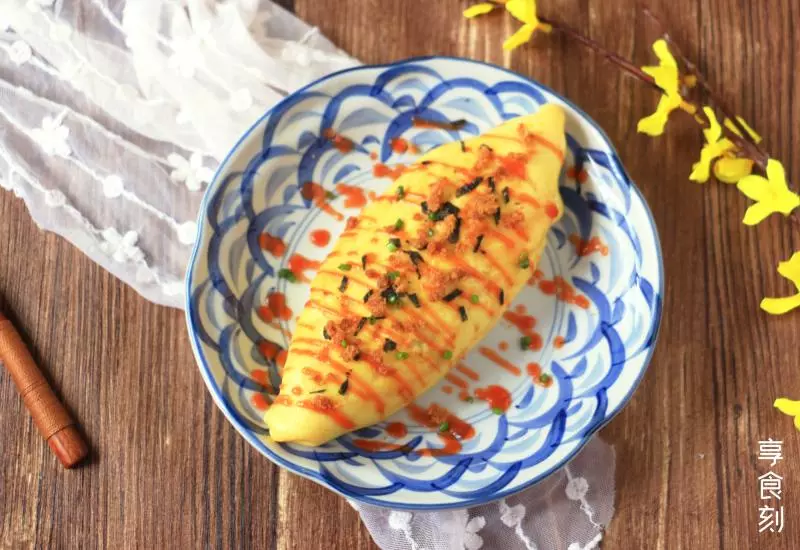
7最后怎么能少得了老醋和香辣牛肉酱呢,哈哈哈

小技巧
出锅一定要注意啊,别拿铲子在锅里铲,其他都没有技术含量啦