原料
草莓: 不定量, 鸡蛋: 1个, 细砂糖: 20克, 黄油: 25克, 低筋面粉: 15克, 巧克力: 30克, 朗姆酒(增香,可不加): 1小勺
步骤
1首图依然是材料全家福

2黄油,白巧克力切小块,导入朗姆酒隔水完全融化

3鸡蛋加白砂糖稍微打发至颜色变浅

4加入至刚刚制作的巧克力糊中,筛入低级面粉,搅拌均匀后,用滤网压制出草莓汁

5搅拌均匀

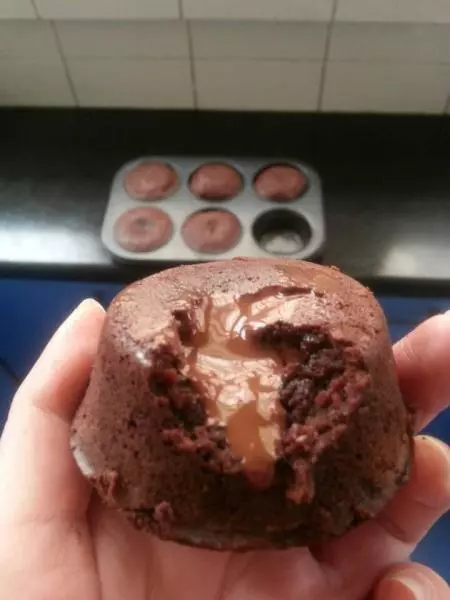
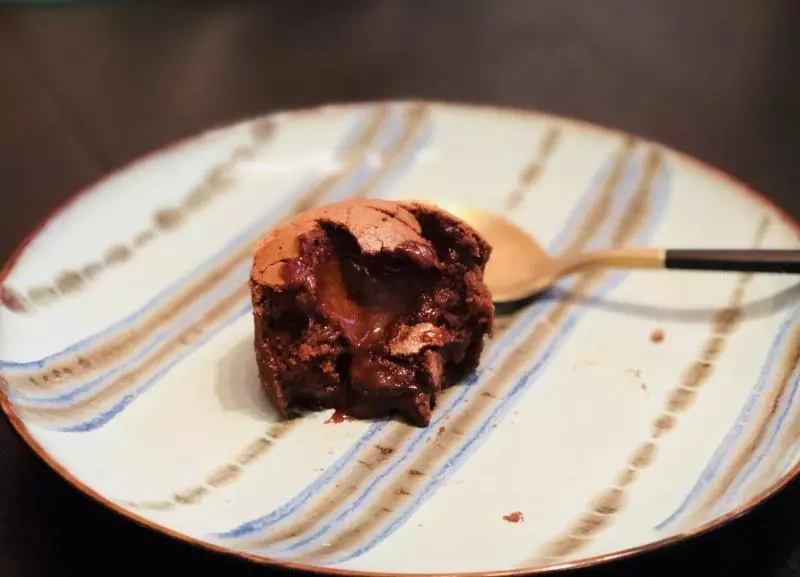
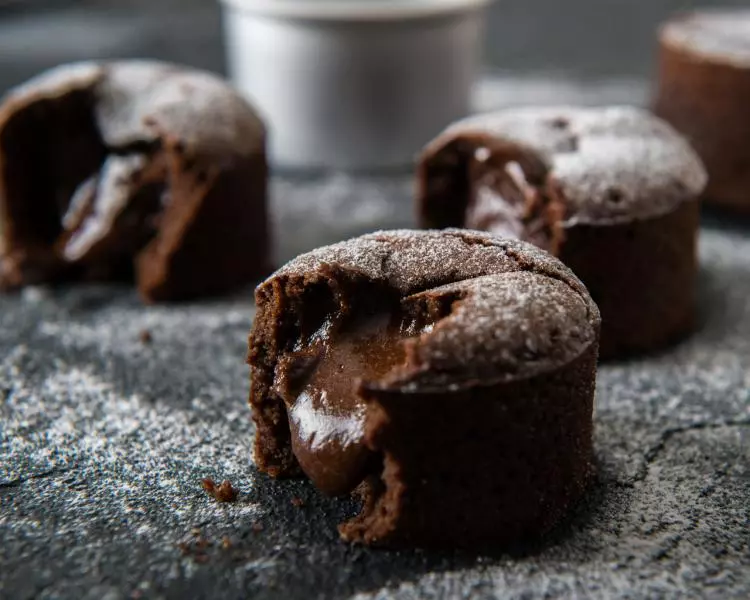
6倒置纸杯至8分满,送入已200℃预热的烤箱烤8-10分钟

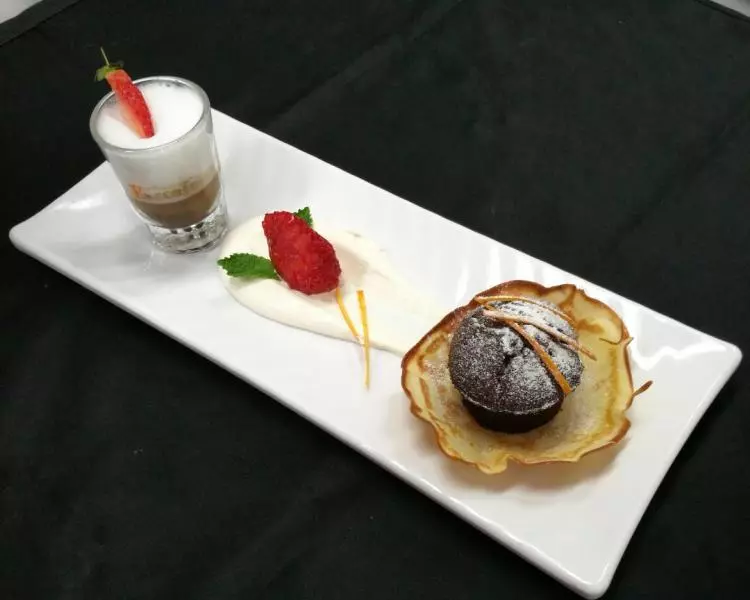
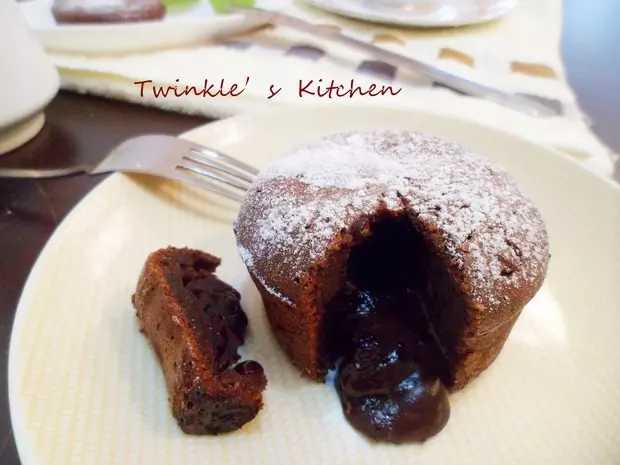
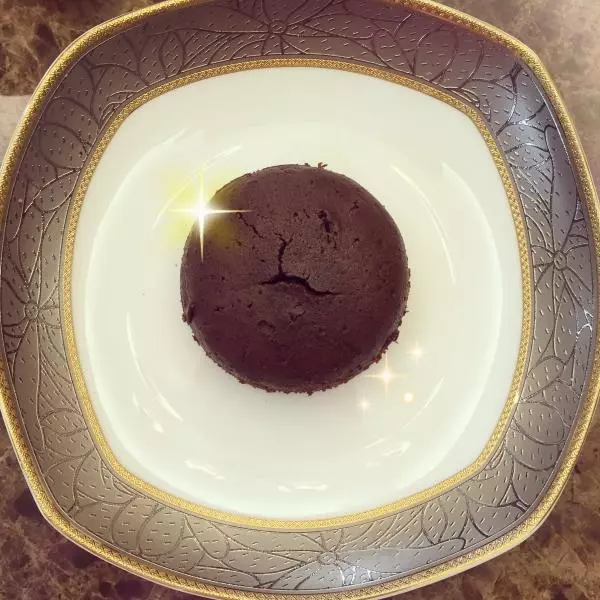
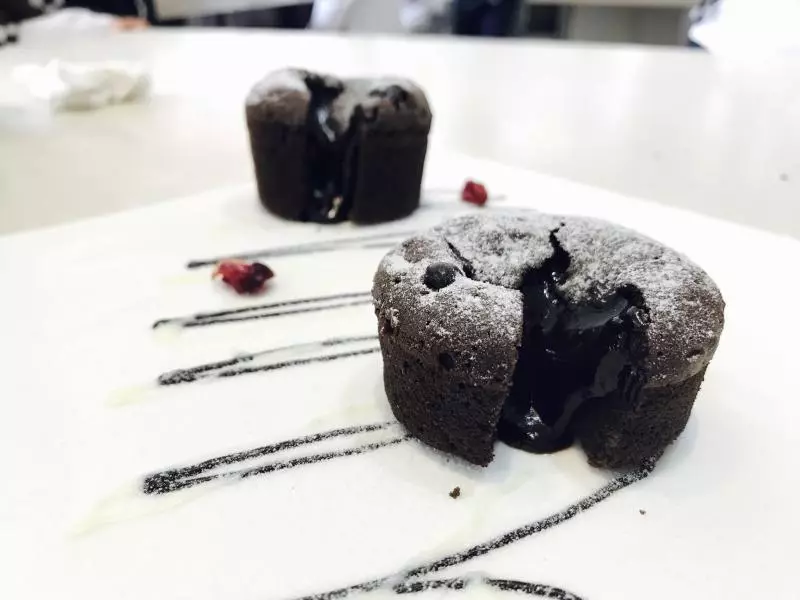
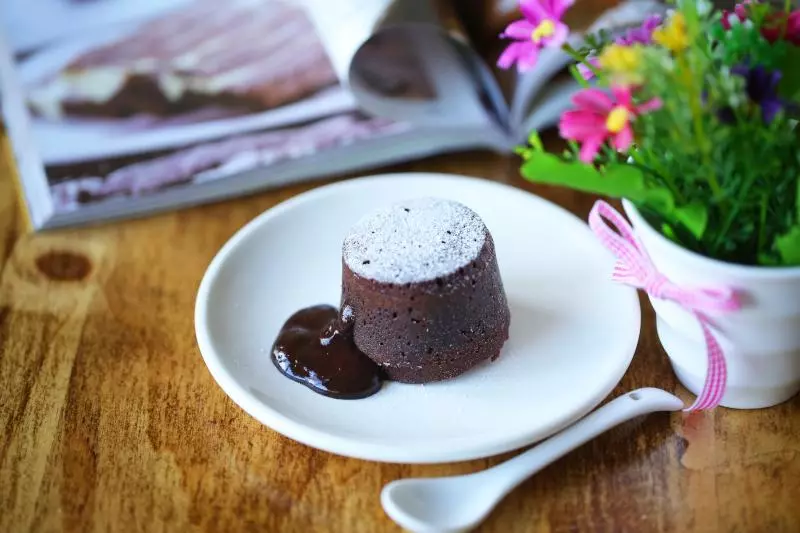
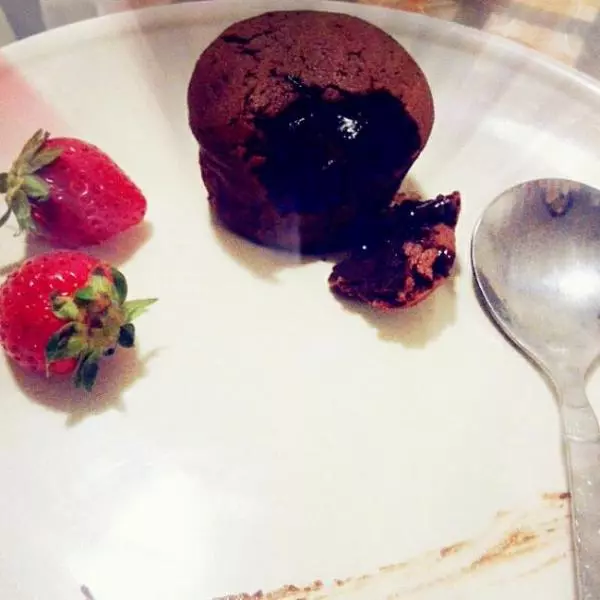
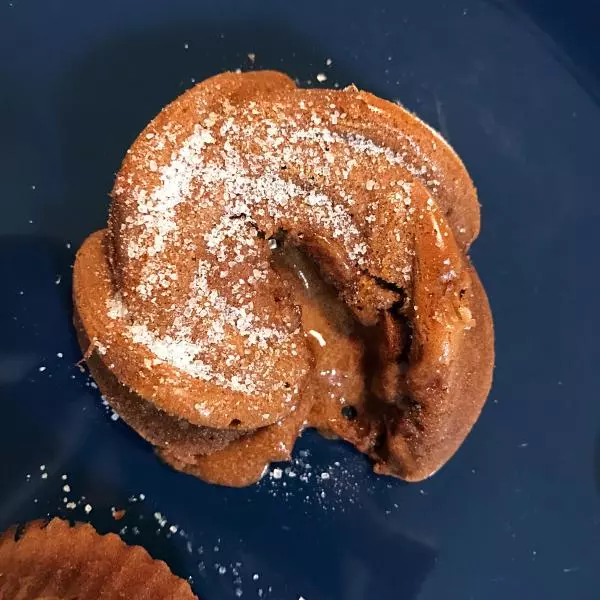
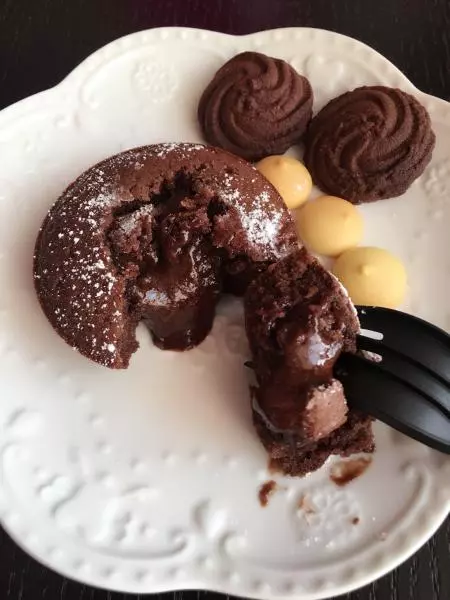
7撕开纸杯,筛糖粉,再取一颗草莓切成玫瑰状,网上很多教程就不多写了

8烤好的熔岩蛋糕要趁热吃才会出现流心效果

小技巧
奶油草莓1、草莓建议选择奶油草莓,这种吃起来比较香甜,本这种小草莓应该还没到正式上市的季节,吃起来会比较酸,所以糖的用量需要根据草莓酸甜程度进行调整 2、使用新鲜草莓的话,草莓用量会比较大,因为草莓本身的红色色素还未完全提取出来,如果先熬制成细腻的草莓酱再加入,上色的效果应该会更好