原料
鸡蛋: 1只, 黄油: 50g, 细砂糖: 50g, 炼乳: 10g, 鲜奶油: 80g, 低筋面粉: 100g, 泡打粉: 1/2tsp(2g)
步骤
1黄油软化,与细砂糖搅打均匀,颜色变浅

2分次加入打散的蛋液,每次搅打均匀再加第二次,至全部融合,颜色变浅

3加入炼乳,搅打均匀(我不会说那一瞥炼乳像什么的!!)

4加入鲜奶油,筛入粉类,拌均匀,看不见粉类就行(ps:加入鲜奶油后先别搅拌,要不然容易出现油水分离)

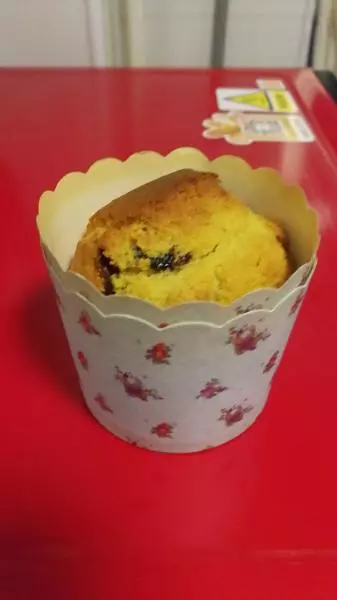
5装入裱花袋,马芬盘放入纸杯(因为这size比较小,用裱花袋或者保鲜袋装模比较方便点)

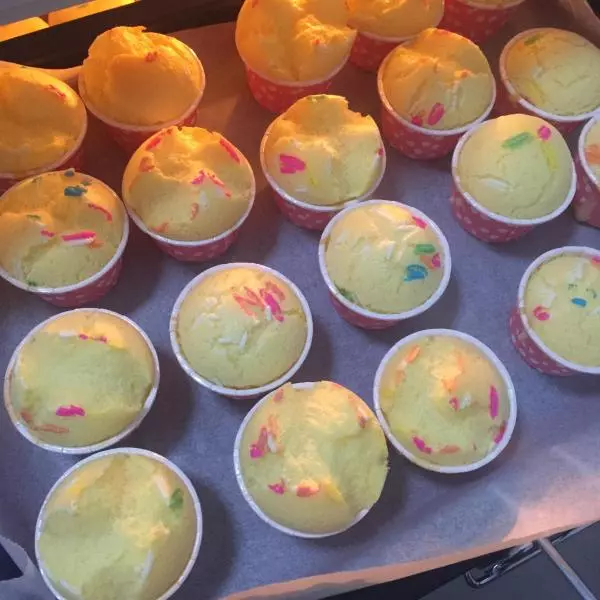
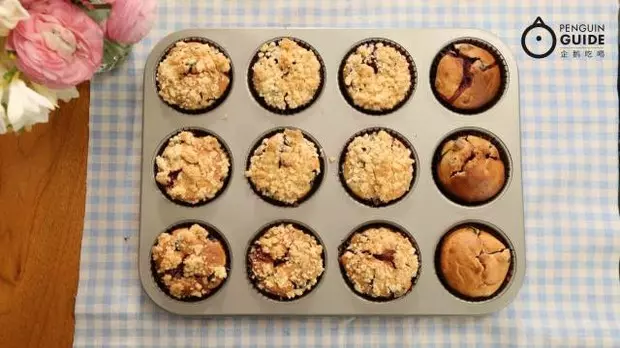
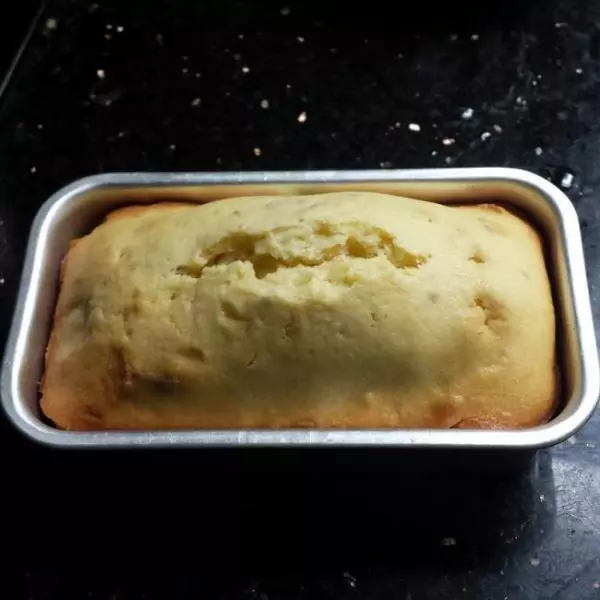
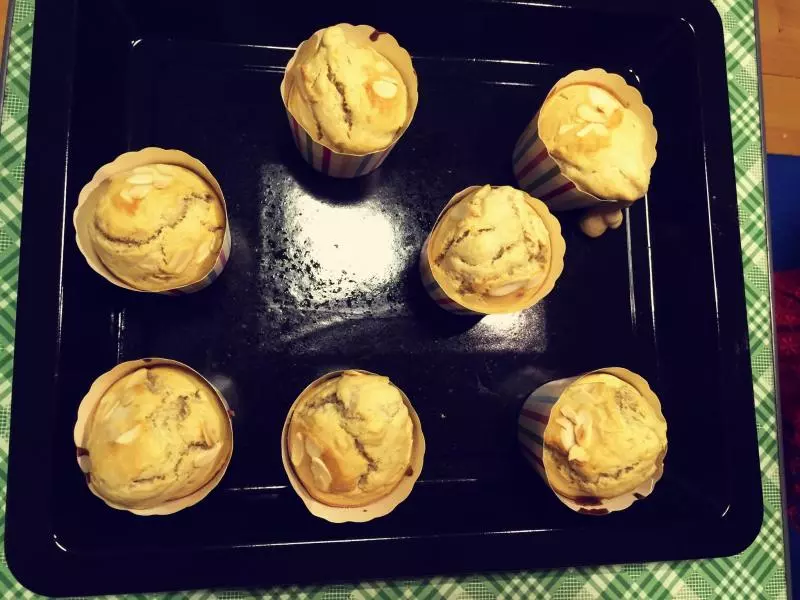
6挤入模具,七~八分满即可

7放入预热好的烤箱,中下层,180度烤29分钟就可以了,或者用竹签插进蛋糕拿出来是干净的就行了(烤箱的温度和烘烤的时间视自己烤箱的脾气调整)

小技巧
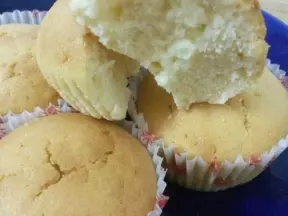
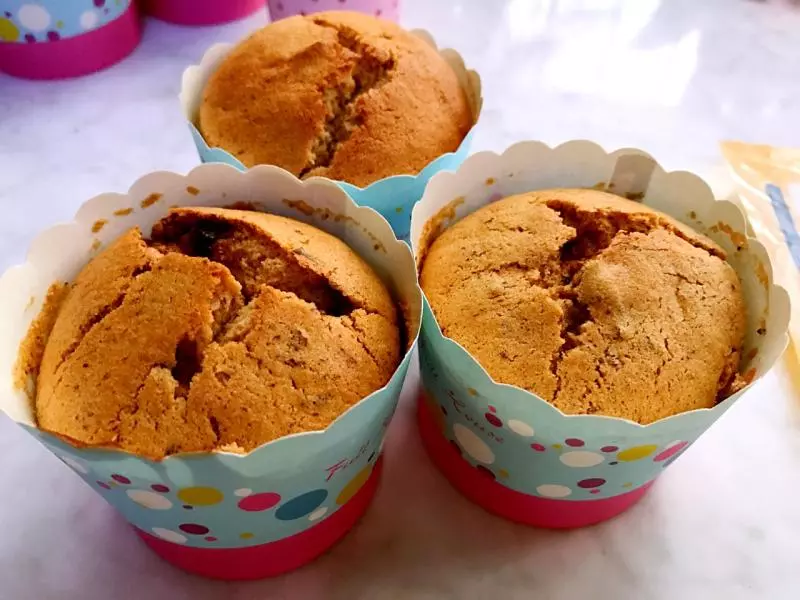
1、这款小蛋糕新鲜吃口感会比较软绵,要是吃不完的可以用保鲜袋或包装袋等密封的容器装起来,口感也还是不错的; 2、这款小蛋糕毕竟是用鲜奶油代替牛奶,很容易腻的,作为零食解下口瘾挺不错的,切忌贪口哦; 3、想知道蛋糕熟没熟,除了时间调好,用竹签插进去看之外,还可以用手轻拍蛋糕面,如果有弹性的证明熟了,要是拍下去是软的,不会回弹的,证明还没行哦;