简介
前段时间还有去赏樱花,过半个月再去就已经凋谢得差不多了~~
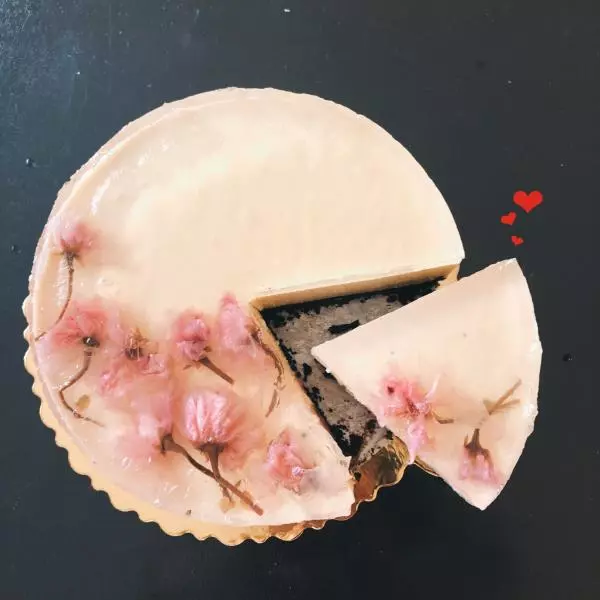
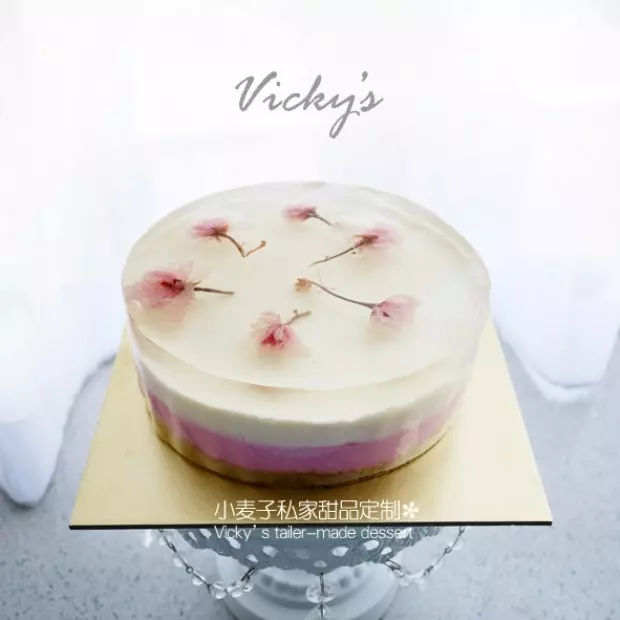
来一份美美的樱花慕斯做念想吧、
原料
饼底, 奥利奥饼干碎 150g, 黄油 80g, 慕斯层, 淡奶油 200ml, 芝士奶酪 250g, 糖粉 30g, 吉利丁粉 15g, 酸奶 100g, 果酱 适量做渐层用, 果冻层, 荔枝汽水 130g, 吉利丁粉 15g, 巧克力 少许裱花用, 盐渍樱花 数朵
步骤
1黄油室温软化,隔热水不停搅拌至融化成液体、

2我是直接用的饼干碎,网上都有的卖,比较方便不用一块块饼干挖去奶油馅儿、
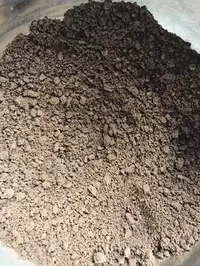
3倒入盘子里,可以看出来…并没有那么碎
4用保鲜袋套起来,然后拿擀面杖不停得压,直到碎的均匀点就行了,像这样已经是我的极限了…其实有时候就喜欢这种糙糙得口感,hiahiahia~(真会为自己的懒找借口
5慢慢得倒入黄油~~~
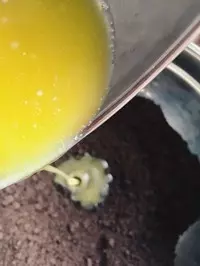
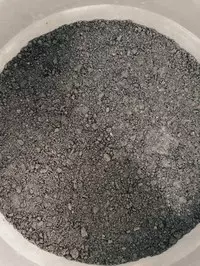
6搅拌均匀…一定要保证每粒碎碎已经被黄油包围啦~~
7把饼干底压入模具中~~我是直接拿保鲜袋套着手用掌心压得!还不错~~ok!冷藏备用~~~
8淡奶油打发到6分,就像流动的奶油一样就好了……冷藏备用!
9奶酪放入盘子里,放入糖粉,搅拌一下
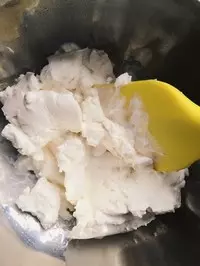
10因为我是用的吉利丁粉,所以直接洒在奶酪里面,用打蛋器打发得顺滑顺滑的,然后倒入酸奶搅拌搅拌搅拌……直到完全融合顺滑!
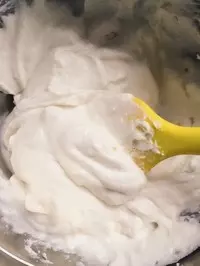
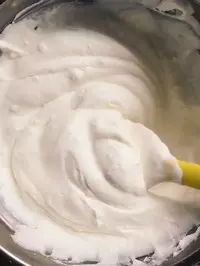
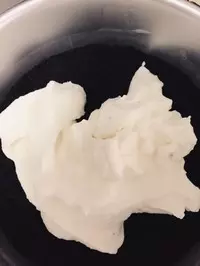
11加入打发好的淡奶油~~~好白好滑,
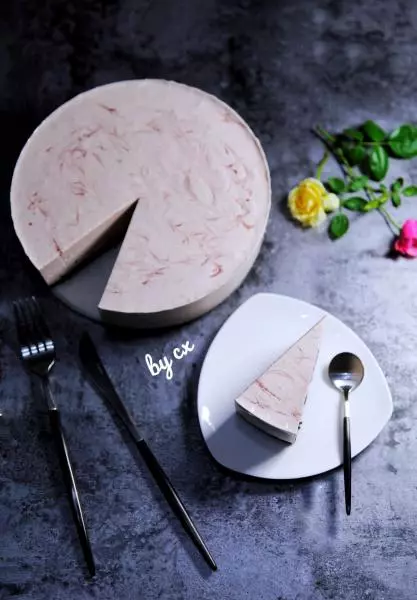
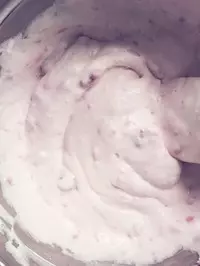
12取出一半的慕斯液,加入草莓酱,草莓酱是自制的手工草莓酱,里面还有大颗大颗的果肉,到时候吃起来想想都爽翻
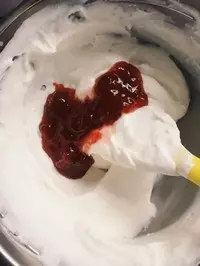
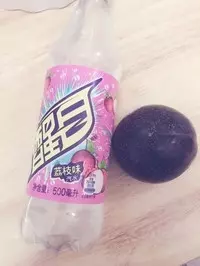
13不停搅拌成淡淡的粉色,因为是加草莓酱的关系,颜色不是很明显,所以适量得加,直到搅拌成你中意的颜色就可以啦~~如果觉得颜色浅可以点一点食用色素…啊!!满满的草莓香~~
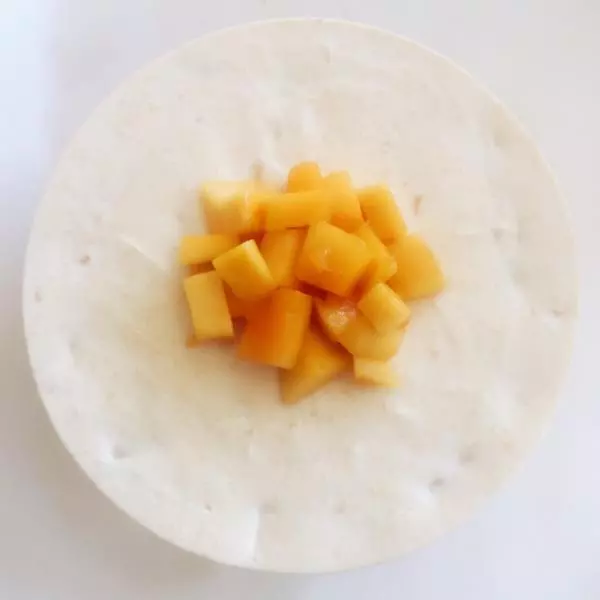
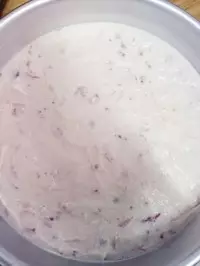
14取出饼底,加入原味慕斯液……
15接着加入草莓慕斯液,慢慢得刮平~~我们的慕斯层就做好了,冰箱冷藏备用,冷藏超过四小时以上哦~~
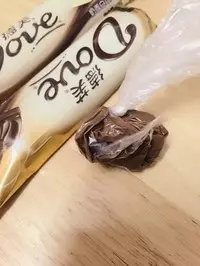
16没有裱花工具的亲们可以学我这样,懒人招儿,这里我用的是德芙的,取出两三块儿巧克力,放进保鲜袋,系一个小结,然后再套一层保鲜袋,这样就能保证裱花的时候里面那层保鲜袋不会粘着水滴到慕斯上,然后把巧克力放进烧开的水里面软化,直到完全融化,把外面那层保鲜袋丢弃,里面的还是干干净净没有一点水渍,这里我忘记拍照了,用完了剩下的巧克力可以放进冰箱冷藏一会儿,就会变硬恢复,撕去保鲜袋又是一块儿好巧克力!
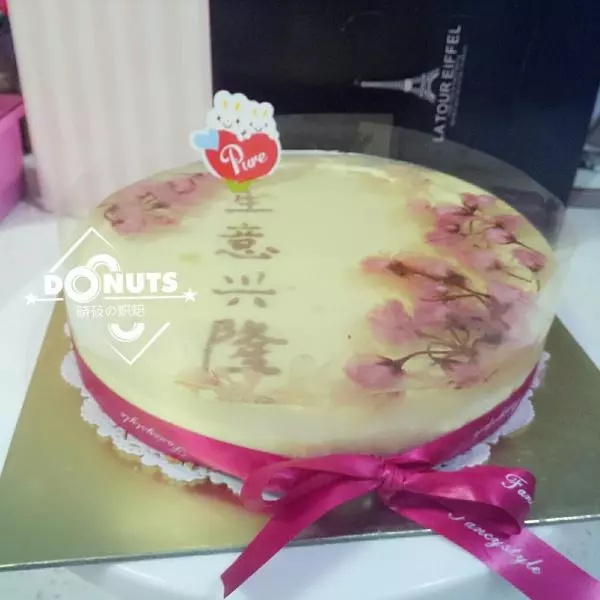
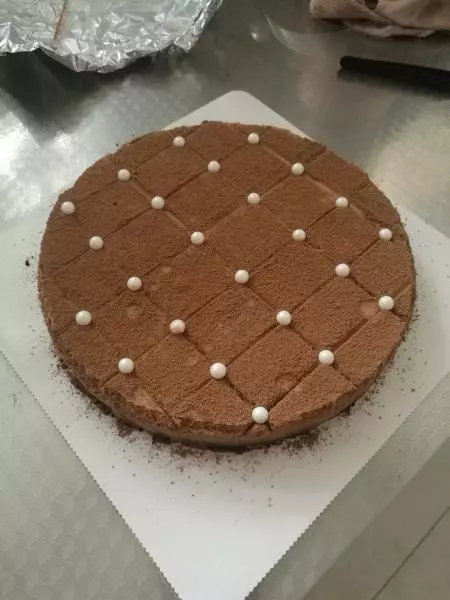
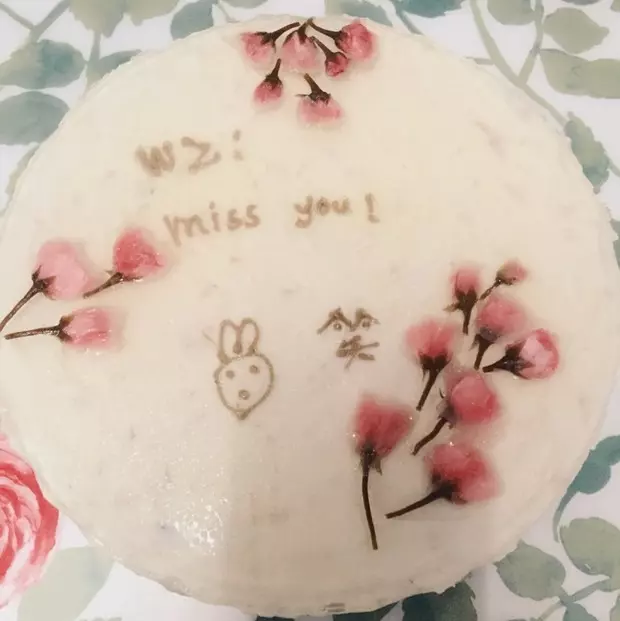
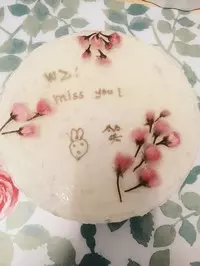
17这是我裱的字~~呵呵呵呵
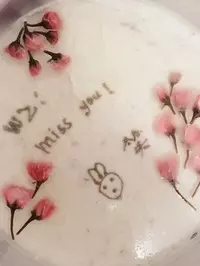
18吉利丁粉加一点热水搅拌至融化,马上倒入事先准备好的荔枝汽水,(汽水一定要提前放气,我的好像气没有完全放完,所以倒进去有些许气泡)取出事先冷藏好的慕斯,带吉利丁液和汽水儿完全融合后缓慢得倒入模具中,一定要慢,沿着边儿倒,不然会伤到之前裱好的字!
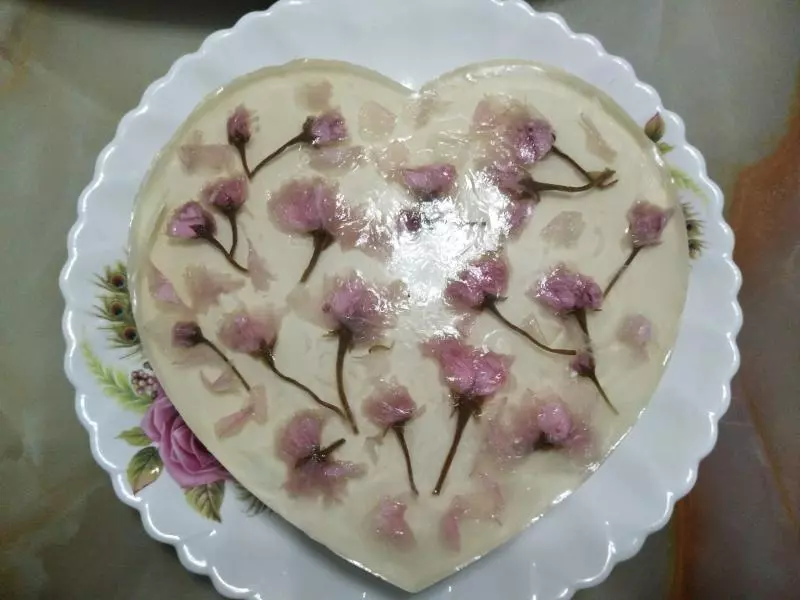
19这个是泡好的樱花,很美吧~~
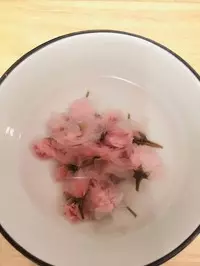
20用手轻轻得把樱花放入果冻层上,可以用牙签儿调整,摆出你喜欢的样子~~我设计得没有很好看
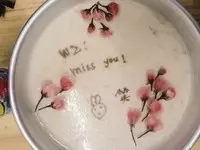
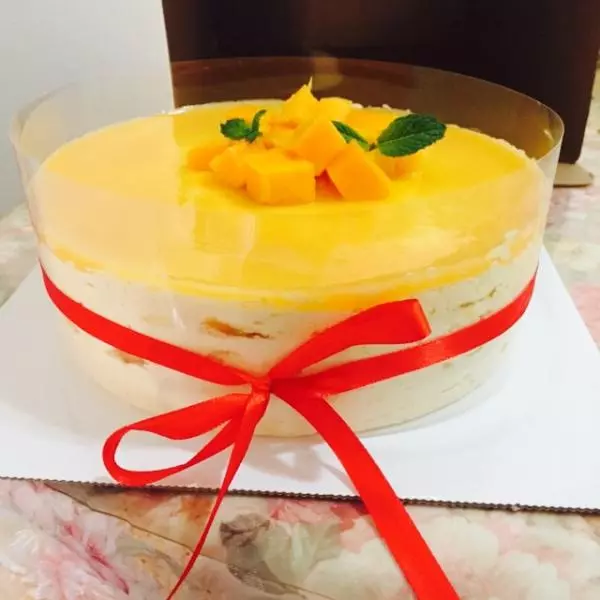
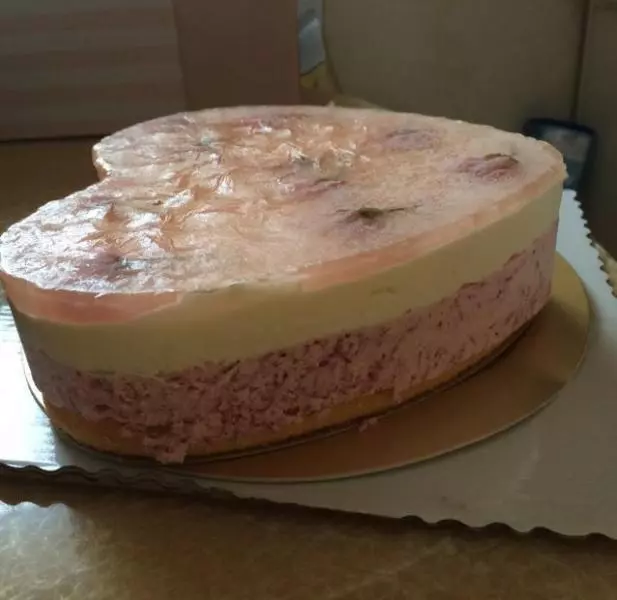
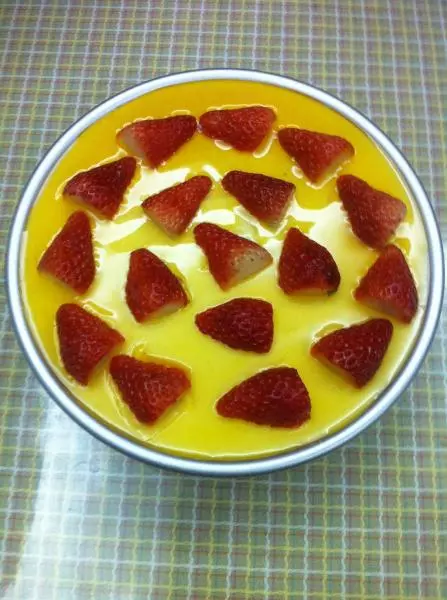
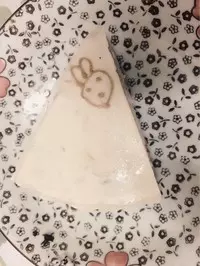
21差不多两个多小时了,取模~~呃…好像没有完全冻好!可是已经迫不及待想看成果了有木有!!
22果然还有点糊糊得,没有完全成形!不过可以很清晰得看出渐变了~~好嗨森

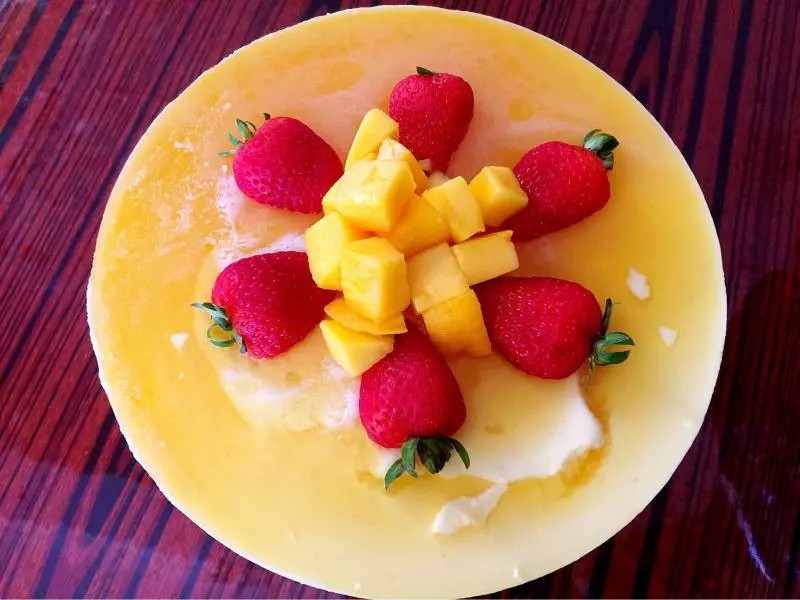
23小兔纸,我准备吃你啦
小技巧
吉利丁粉可以换成吉利丁片,我是因为忘记买吉利丁片了,临时从朋友家借的吉利丁粉,感觉没有吉利丁片好用!!
看完我的过程,我是不是太啰嗦了点