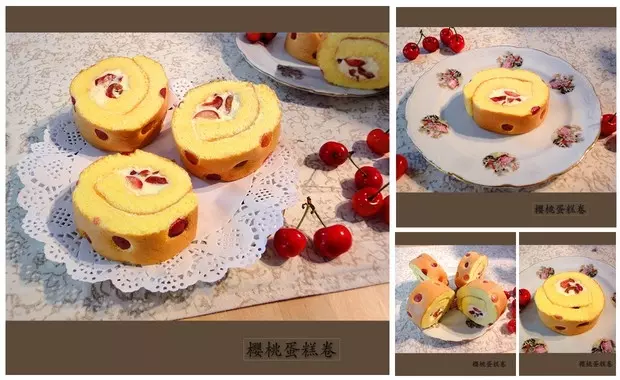
简介
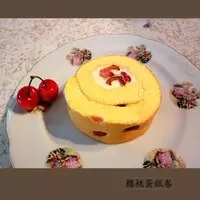
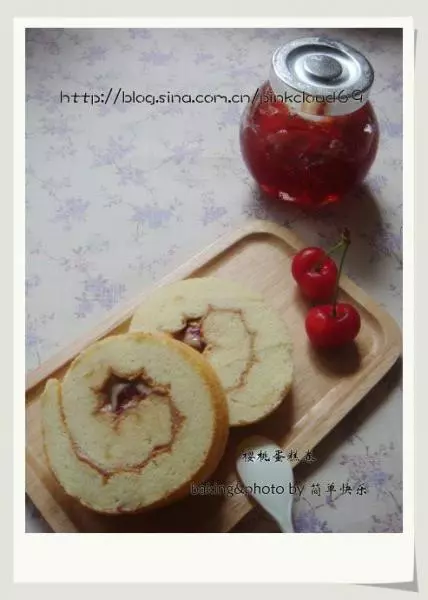
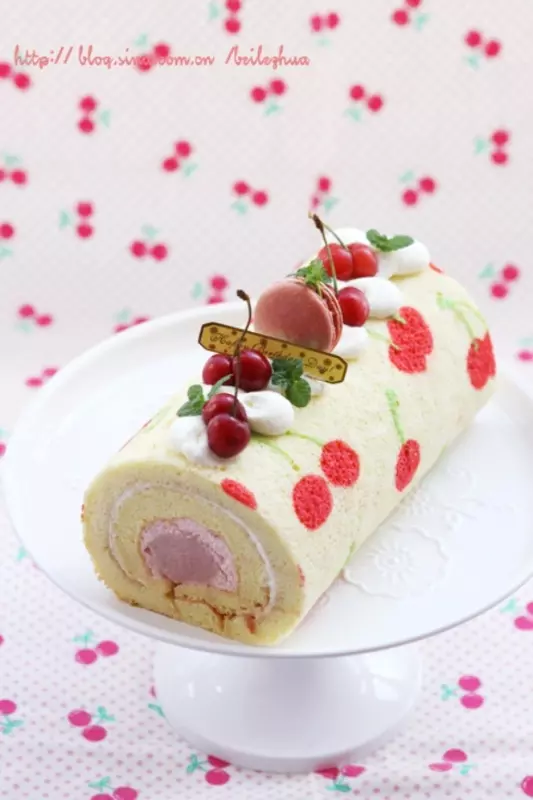
配方来自于八卦兔jadecw,她的是草莓蛋糕卷,上次做过一回,觉得很好吃,现在樱桃上市了,于是换了材料,感觉比草莓的一点不差,很好吃~
这个配方据说是小山卷的改良,真的很好用,不会断。然后吃起来甜度适中,加上水果,纯天然的感觉~
原料
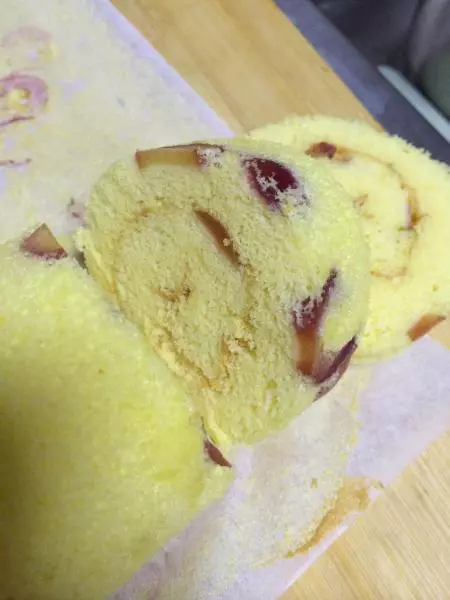
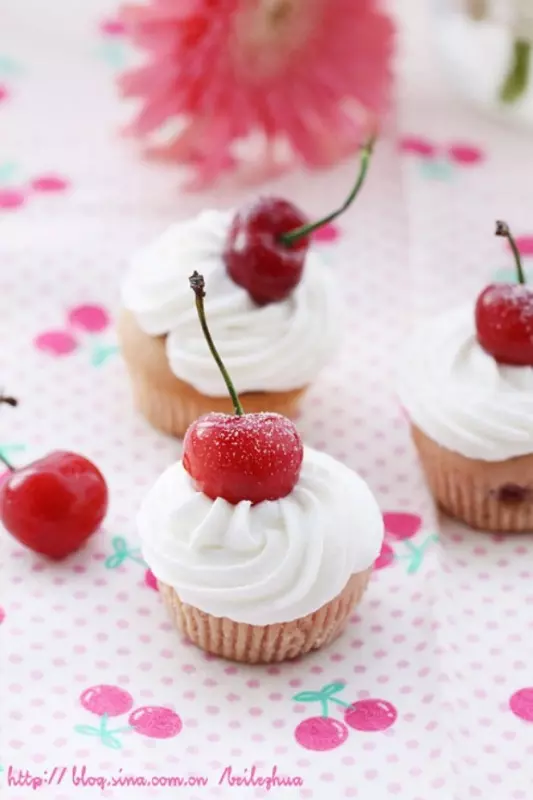
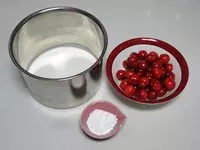
①蛋糕卷材料:, 蛋黄 100g, 细砂糖(加入蛋黄中) 26g, 蛋白 124g, 细砂糖(加入蛋白中) 52g, 低筋粉 58g, 黄油 12g, 牛奶 29g, ②夹馅和表面装饰:, 淡奶油 70g, 细砂糖(加入淡奶油中) 10g, 樱桃 适量, ③其它:, 大号烤盘(底部20×30cm) 1个, 锡纸 适量, 油纸 适量, 刮板 1个, 以及烘焙必备电打、刮刀、盛放容器等
步骤
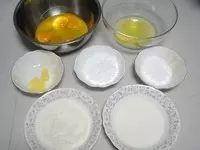
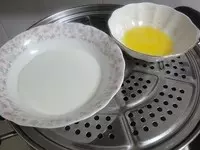
1先准备好各种材料。
2我用的是安佳淡奶油,味道不错,用的比较少,最后涂了薄薄的一层,如果喜欢吃厚奶油的感觉,可以多放点,增加到100g也行。
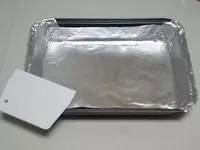
3烤盘垫好锡纸备用。
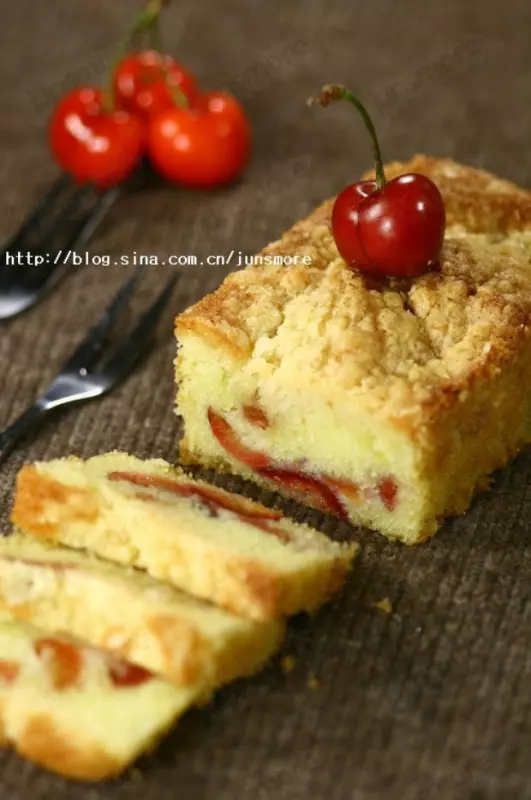
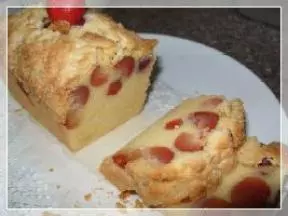
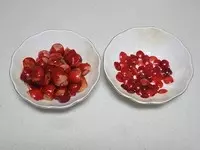
4草莓先提前用盐水泡一下,洗净,然后切成食指指甲大小的片片,注意切的薄一些。剩下的部分去核切半,留作夹馅用。
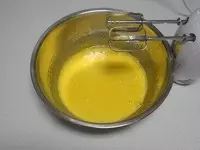
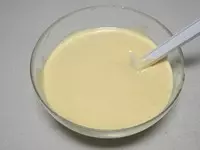
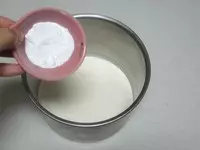
5开始~ 蛋黄中加入细砂糖;
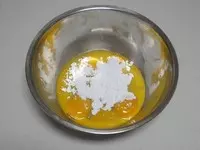
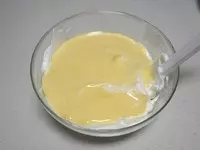
6用电动打蛋器搅拌均匀(原配方是用蛋抽,我嫌慢,直接用电打),注意不要打发过度,打到砂糖溶解,蛋黄颜色变浅就好。
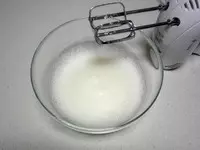
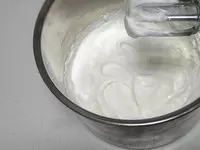
7蛋白先打成鱼眼泡的状态;
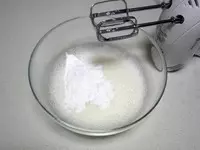
8然后分三次加入细砂糖,用电打打发蛋白。
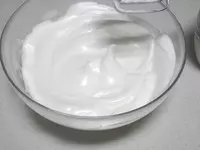
9打到湿性发泡的状态,有小弯钩即可。不要打到小直角的干性发泡状态,那样卷的时候容易裂。
10隔水加热牛奶和黄油,保持40度左右备用。
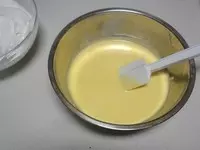
11蛋黄糊中加入1/3的蛋白霜;

12翻拌均匀;
13筛入低筋面粉;
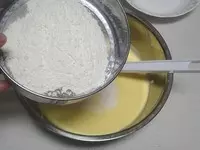
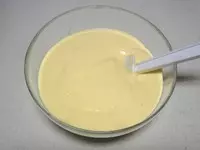
14继续翻拌均匀,不要划圈搅拌。
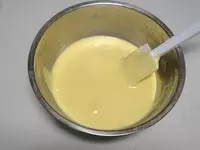
15然后全部倒入剩余的2/3蛋白霜中;
16用刮刀翻拌均匀。
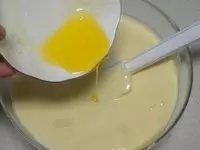
17顺着刮刀慢慢淋入加热好的牛奶; *烤箱预热,上下火180度。
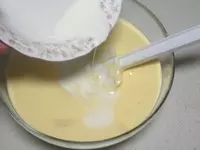
18继续加入黄油,都是先淋在刮刀上,慢慢流入蛋糕糊中。 *黄油与牛奶需手摸略热,40度左右。这个温度淋入,才不容易消泡。
19用翻拌和切拌的手法拌匀蛋糕糊。
20从大约15cm的高度倒入烤盘中。
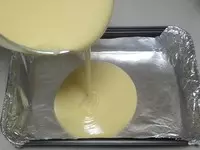
21迅速用刮板抹平表面,记得刮板不要来来回回的抹,冲一个方向就好;

22然后震两下。

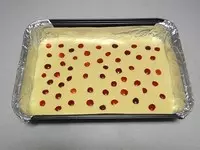
23将樱桃片轻轻放在蛋糕糊上,一定要轻放,浮在表面就好。
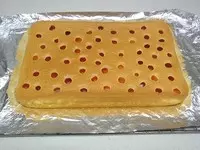
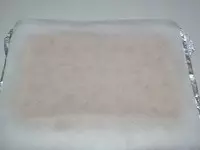
24然后放入烤箱里,上下火160度,烤15分钟左右。出炉后震模,然后立刻拖到晾网上,拆开四个角的锡纸,冷却备用。
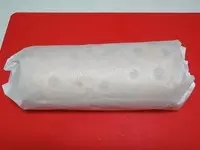
25淡奶油中加入细砂糖;
26打到七分发。
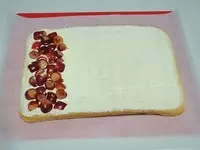
27⑧晾凉的蛋糕表面放上油纸,然后翻过来; *记得一定要晾凉,不然蛋糕表皮容易粘。翻的时候,油纸上面放上面板,扶着晾网和面板上下颠倒翻过来就可以了,手法要轻;
28然后涂上打发好的奶油,头部位置多抹一点,再放上樱桃片;
29拎起油纸的两头顺势卷起蛋糕卷。

30然后包好。
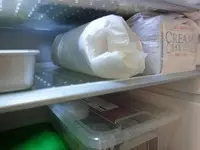
31放入冰箱里冷藏1个晚上至定型,第二天切片即可。
32我是用锯齿刀切的,关于切这种类型的蛋糕,没有太好的建议,我也切不整齐:P 感觉乳酪蛋糕和慕斯蛋糕更好切一些,因为比较润。总之自己吃就不用那么讲究了,好吃就行~