简介
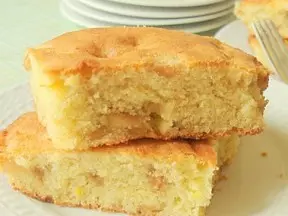
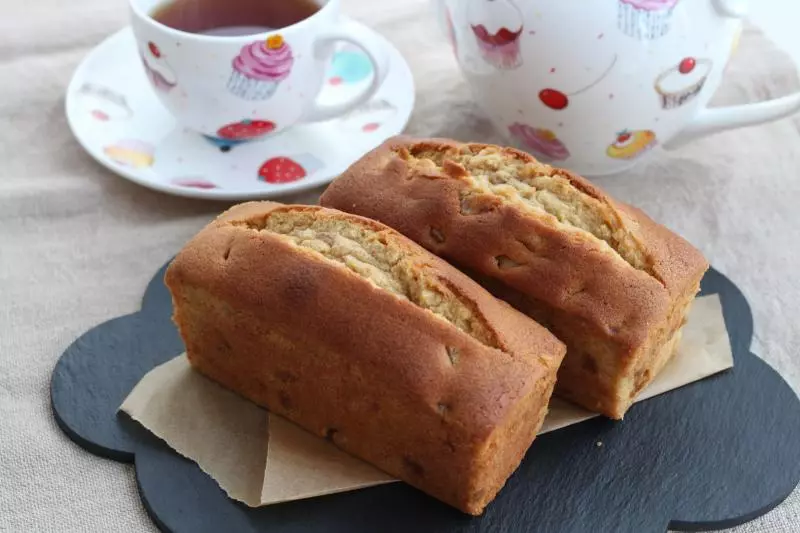
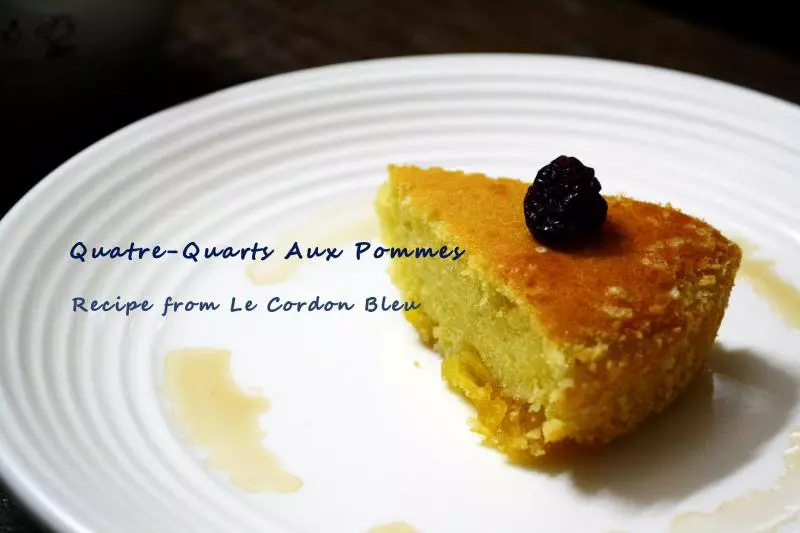
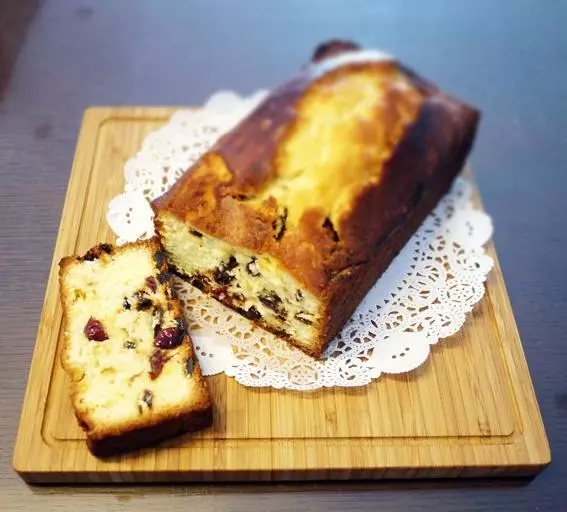
前段时间买的几本中最吸引我的就是《德国式简单烘焙》封面的这个苹果蛋糕,总算有时间做了它来解馋。建议使用稍微有些酸甜的苹果来做这款蛋糕,苹果的酸味正好中和了蛋糕的厚重感,以至于口感不会太腻。家里有苹果的可以试试做做看,原方子加了柠檬皮屑,我忘记了没有加~~~
原料
无盐黄油 125g, 细砂糖 125g, 鸡蛋 3个, 低筋面粉 200g, 泡打粉 3g, 牛奶 2~3大勺, 苹果 2~3个
步骤
1黄油室温软化,冷藏的鸡蛋恢复至常温;
2黄油加细砂糖用电动打蛋器打发至蓬松发白;

3鸡蛋逐个加入,每次加入后都要打到黄油顺滑再加入下一个,如果出现油水分离的状况可以加入少量面粉或者隔热水稍微加热一下,继续打发;

4低筋面粉和泡打粉过筛后分次加入到3中,

5用刮刀从底部搅拌至没有干粉;

6分次加入牛奶并搅拌均匀,用刮刀舀起面糊并往下滴,
7如果面糊自然滴落,说明浓度刚好,如果紧紧粘在刮刀上说明面糊过干,可以再加入牛奶调节;

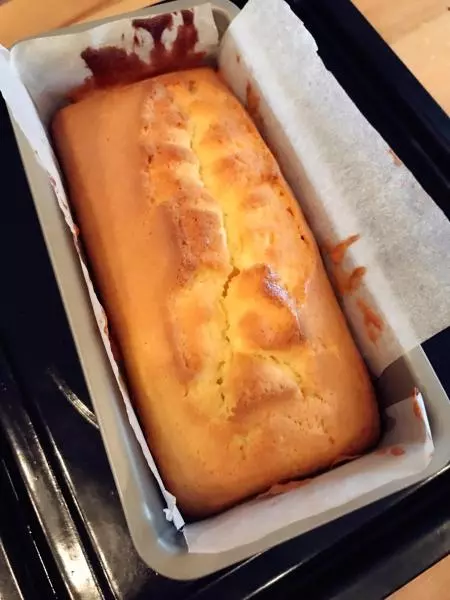
8面糊倒入模具中,表面刮平;

9苹果去皮,切成4份,去核,切薄片;

10切好的苹果片均匀的摆在面糊表面;

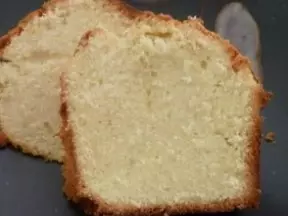
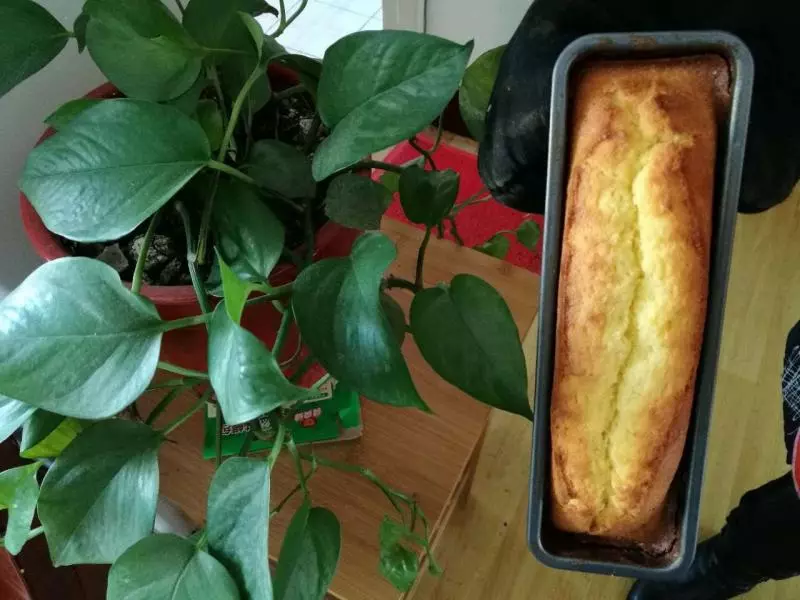
11180度,烤45-50分钟。用竹签插入蛋糕拨出无面糊粘连,说明已经烤熟。出炉后无需倒扣