原料
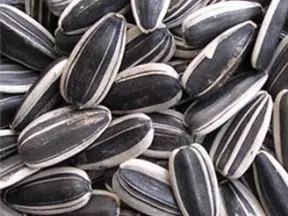
蛋白: 2个, 黄油: 100克, 低筋面粉: 100克, 糖粉: 100克, 瓜子仁(也可不加): 适量
步骤
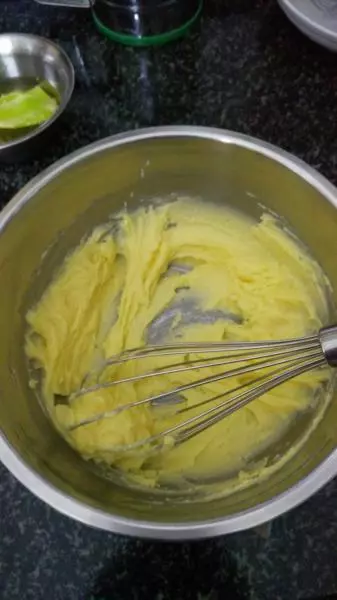
1室温软化的黄油(不要化成液体)加入糖粉用蛋抽搅拌均匀,不用打发。
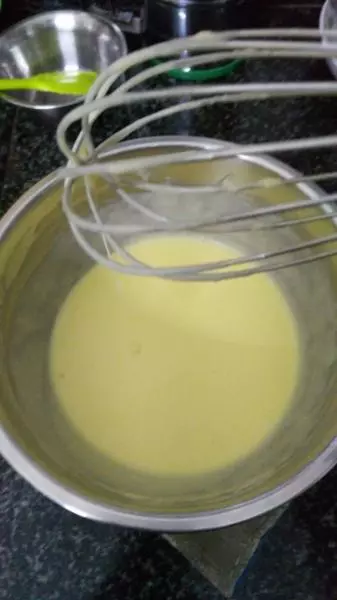
2蛋白分3次加入,用蛋抽搅拌均匀成流动性的细腻糊状即可,不要打发。
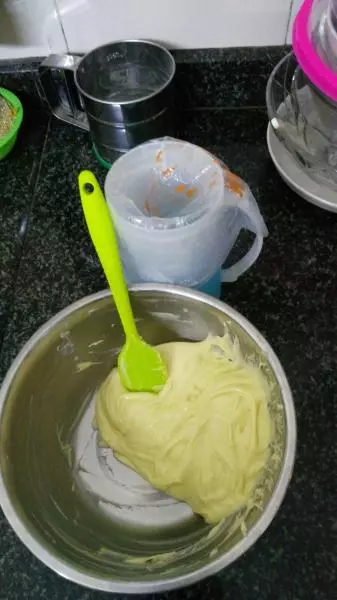
3筛入面粉用蛋抽搅拌均匀即可,不要过度搅拌会使面糊起筋影响口感。
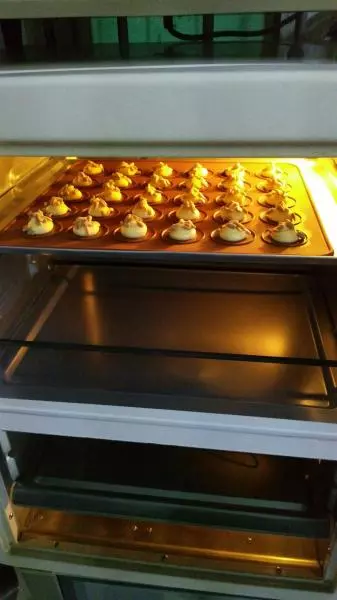
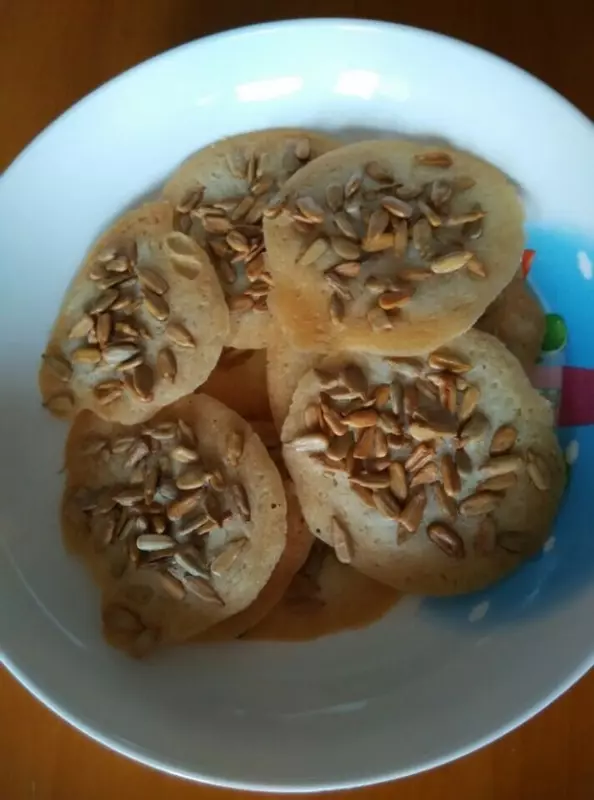
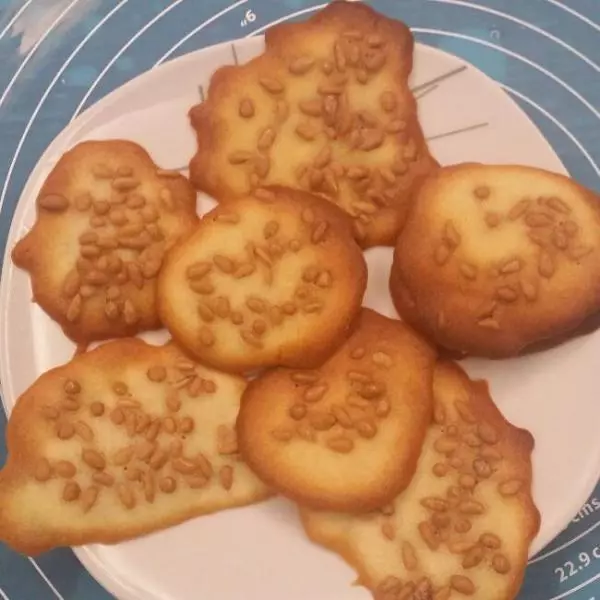
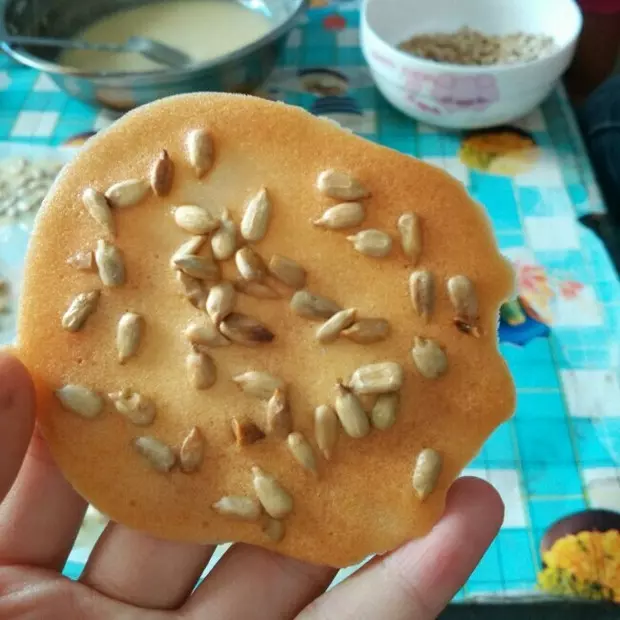
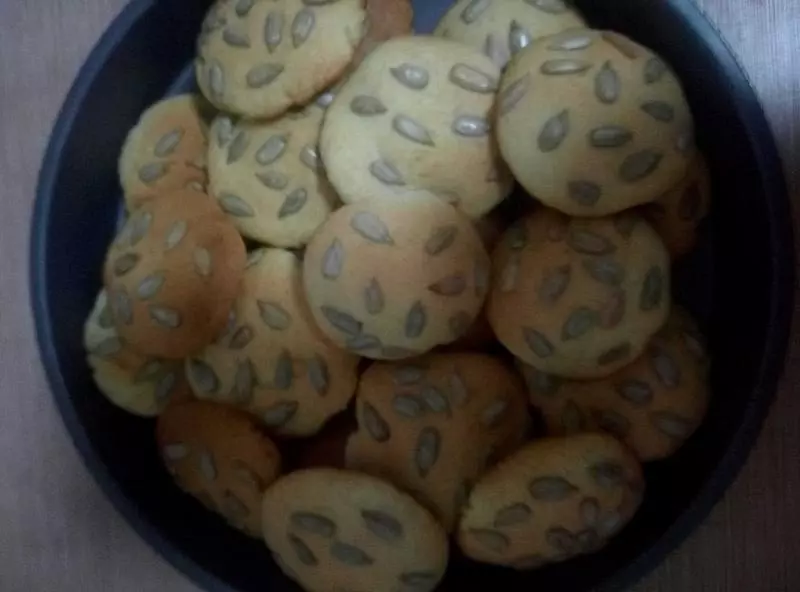
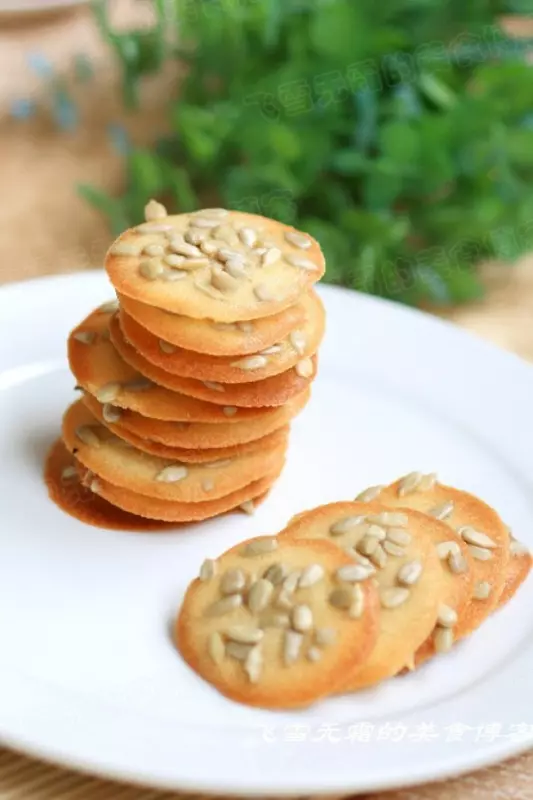
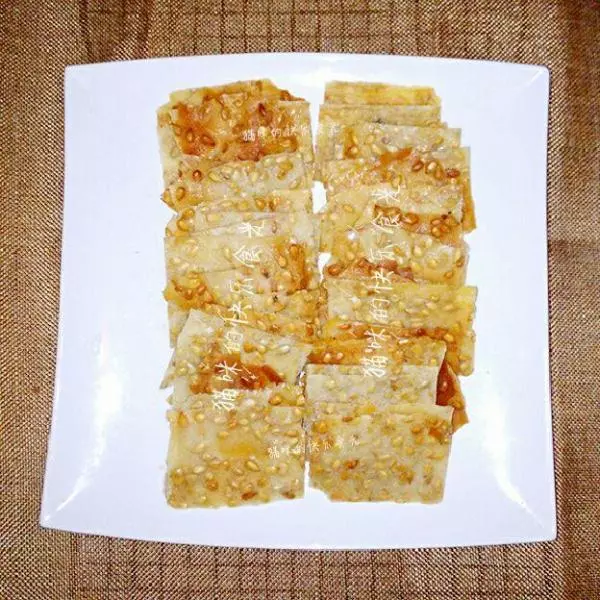
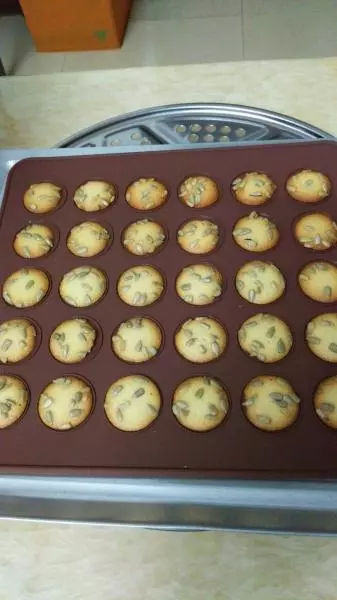
4把拌好的面糊装入裱花袋(我用了圆口裱花嘴)在硅胶垫上挤出一个小圆饼,洒上瓜子仁(不洒就是纯鸡蛋饼)
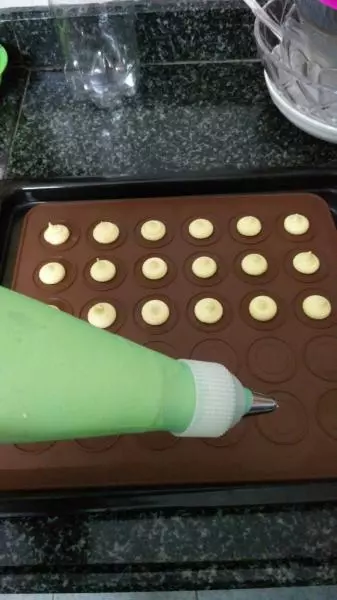
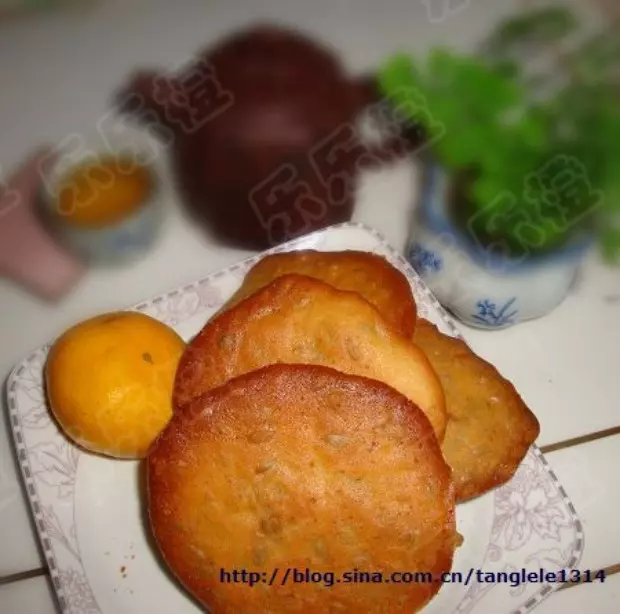
5也可挤成条状,每个饼糊之间留大点的空隙,烤好后面糊会变成薄片才不会粘在一起。

6放入预热好的烤箱上层160度烤15分钟,烤至边缘金黄色即可,要注意火候以免烤糊了。