原料
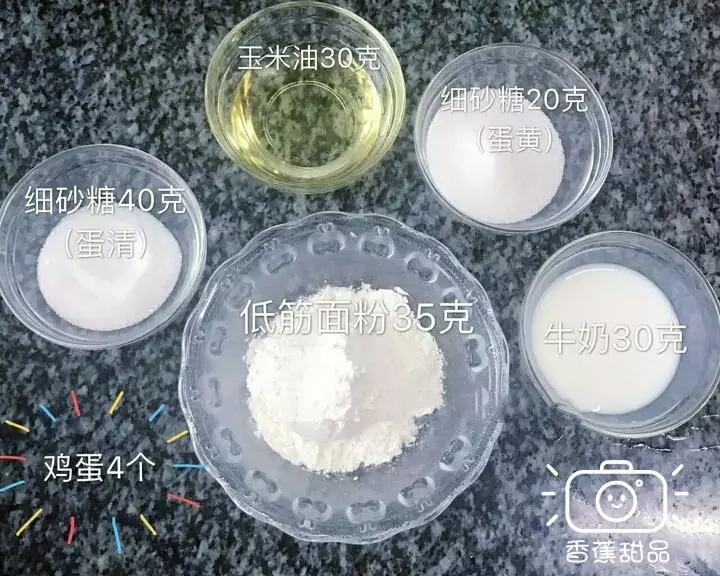
低筋面粉: 35克, 鸡蛋: 4个, 牛奶: 30克, 细砂糖: 40克(蛋清), 玉米油: 30克, 细砂糖: 20克(蛋黄), 卡士达酱: , 低筋面粉: 12克, 玉米淀粉: 12克, 黄油: 12克, 蛋黄: 2个, 细砂糖: 10克, 牛奶: 250克, 奶油: 200克, 香草椰油(可以不加): 2克
步骤
1材料备齐
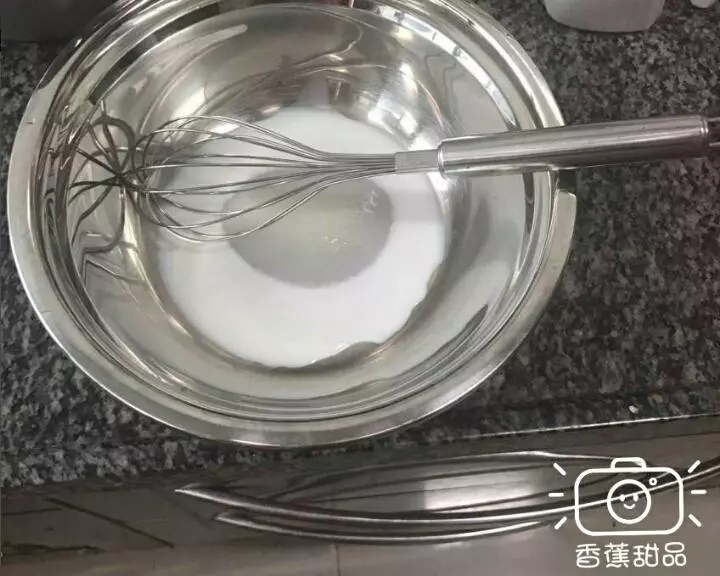
2倒入牛奶、细砂糖、玉米油用手动打蛋器搅拌至糖融化。
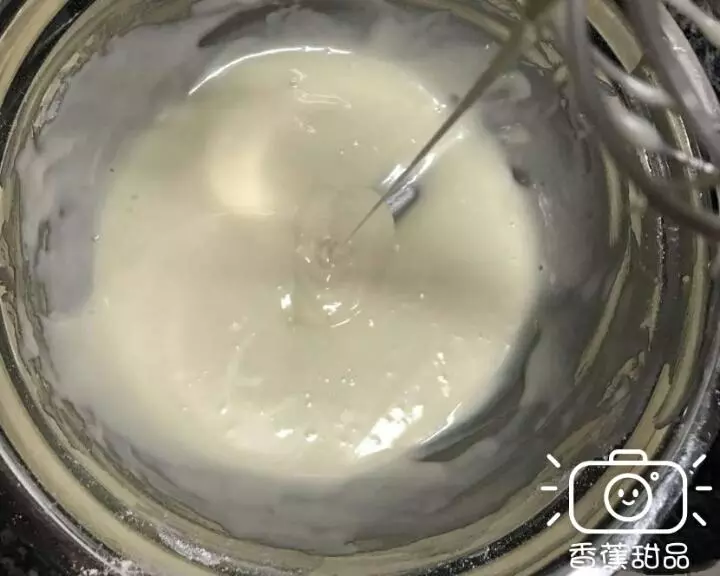
3搅拌至融合后,筛入低筋面粉画Z字搅拌细致无颗粒(不能画圈会起筋)。
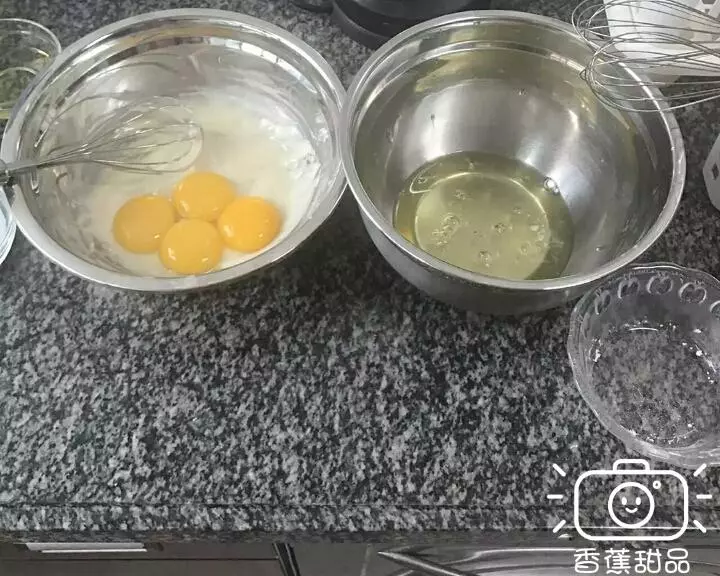
4把鸡蛋的蛋清和蛋黄分离,蛋黄放入面糊中拌匀备用,蛋清放入无油无水的盆中。
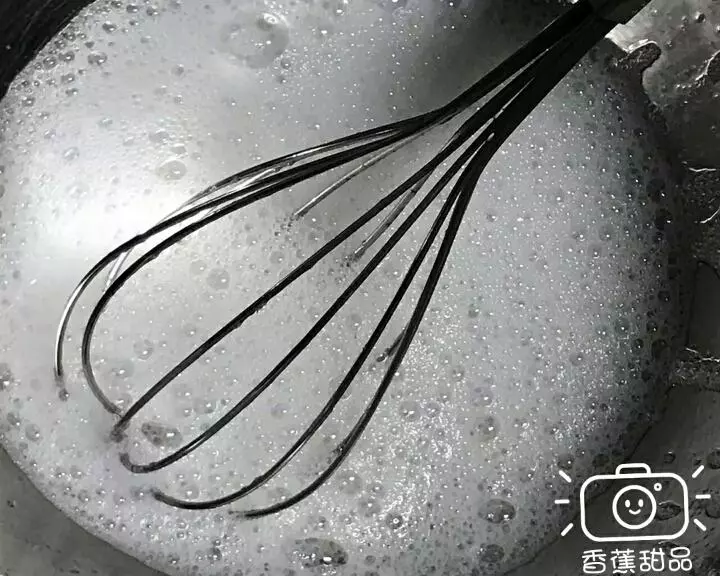
5电动打蛋器中速打发蛋白起鱼眼泡泡时加第一次糖,有纹路时加第二次糖。
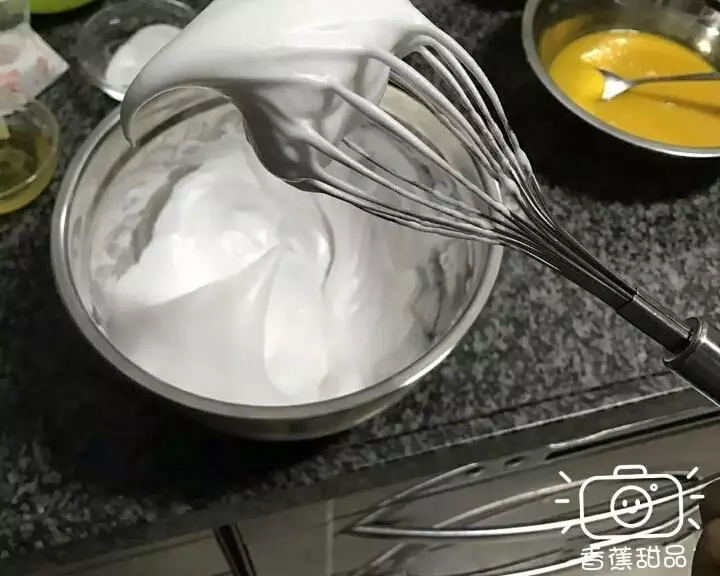
6当蛋白打发到湿性发泡,打蛋头拿起有个小弯勾时加第三次糖。
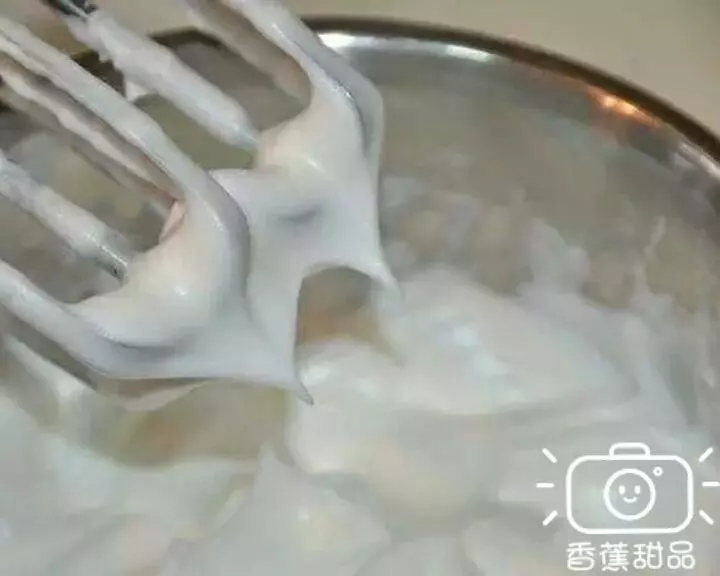
7当蛋白打发到可以坚挺立起来的时候,就是干性发泡了。
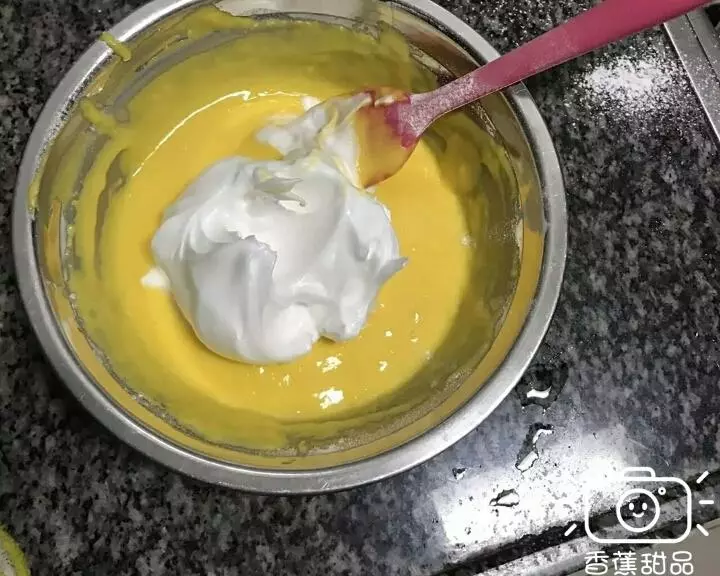
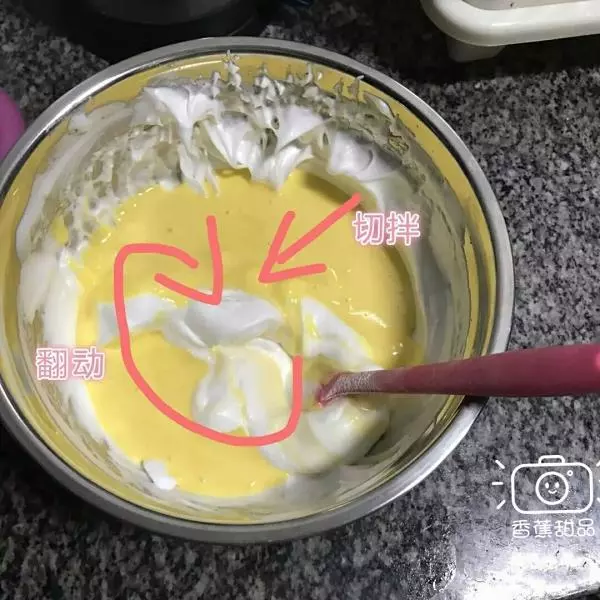
8将1/3蛋白加入搅拌好的蛋黄糊中翻拌均匀
9拌匀后将蛋黄糊倒入蛋白盆中,继续切拌(动作要轻,从低下往上翻动切拌)。
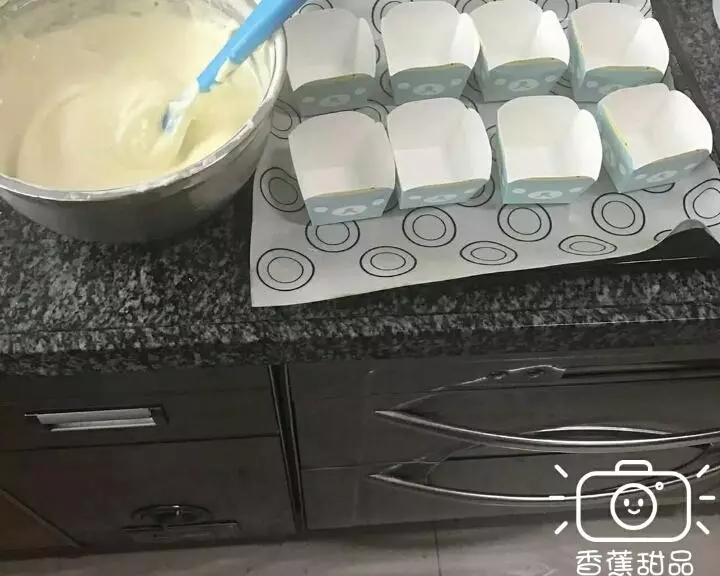
10拌好的面糊倒入模具中,用力震几下,震出大气泡。
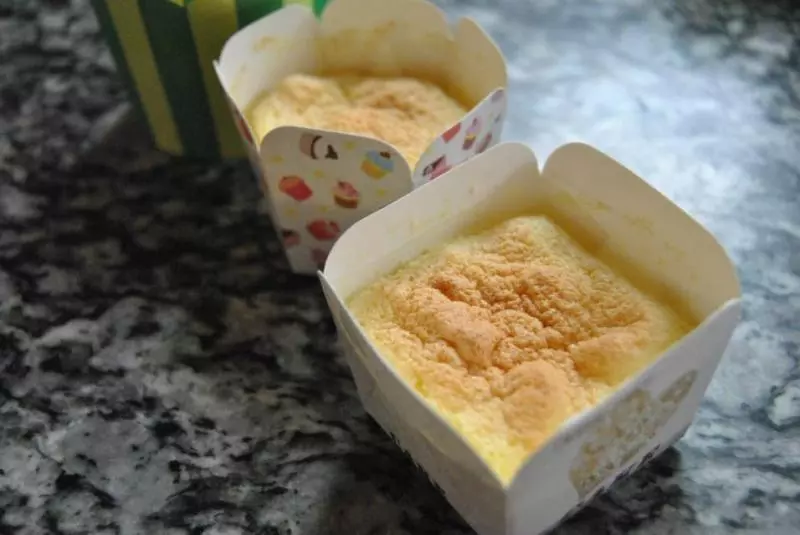
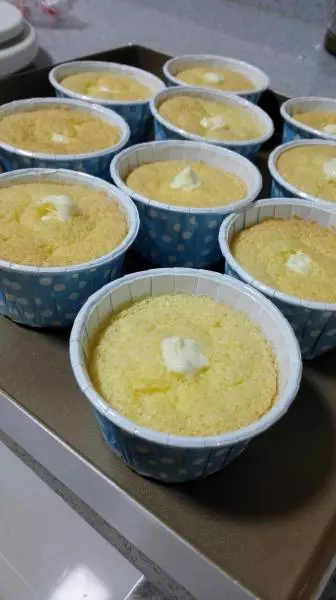
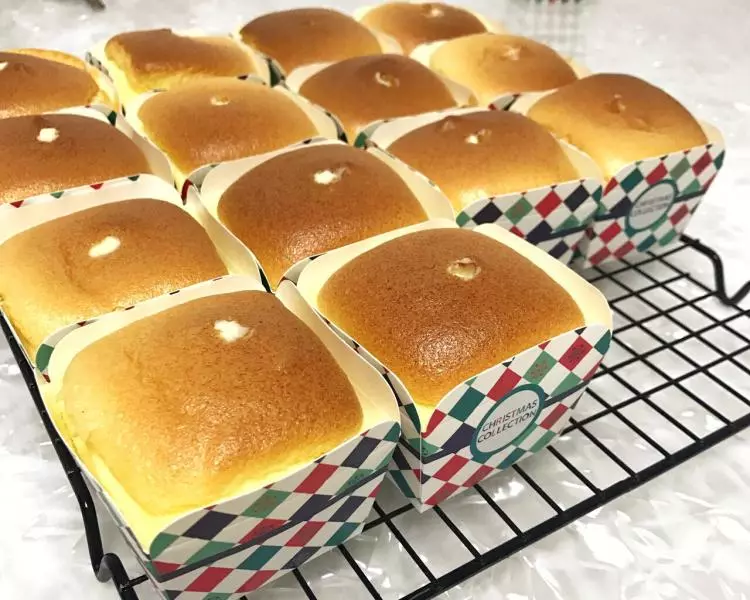
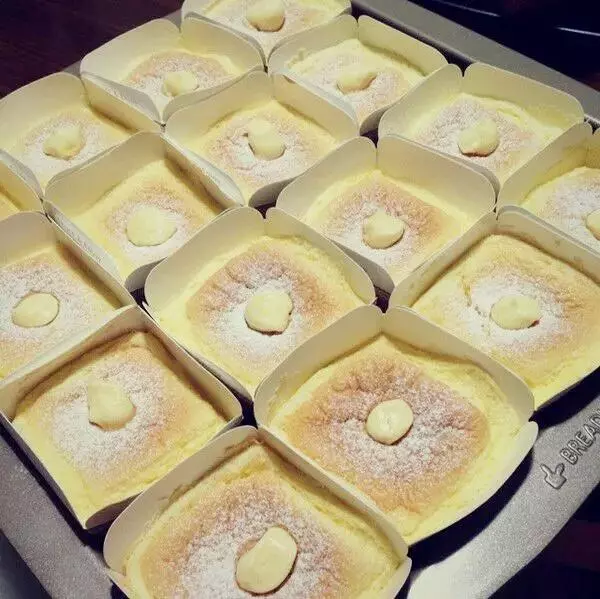
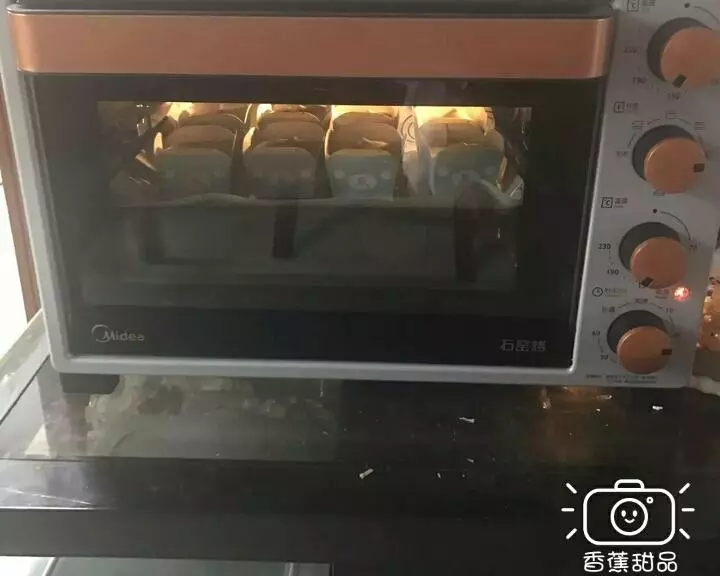
11放进预热好160度的烤箱,烤焙15分钟左右,至表面金黄即可出炉。
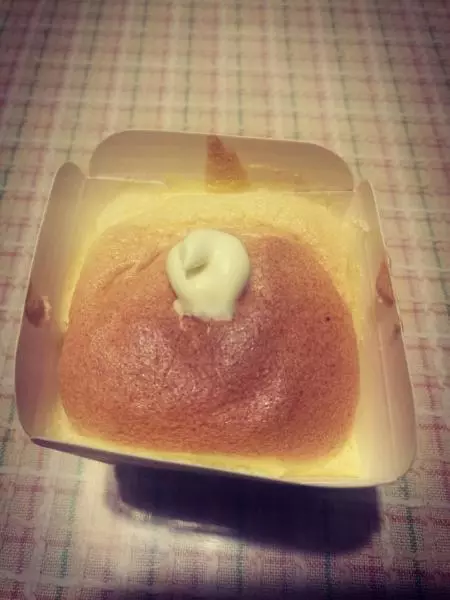
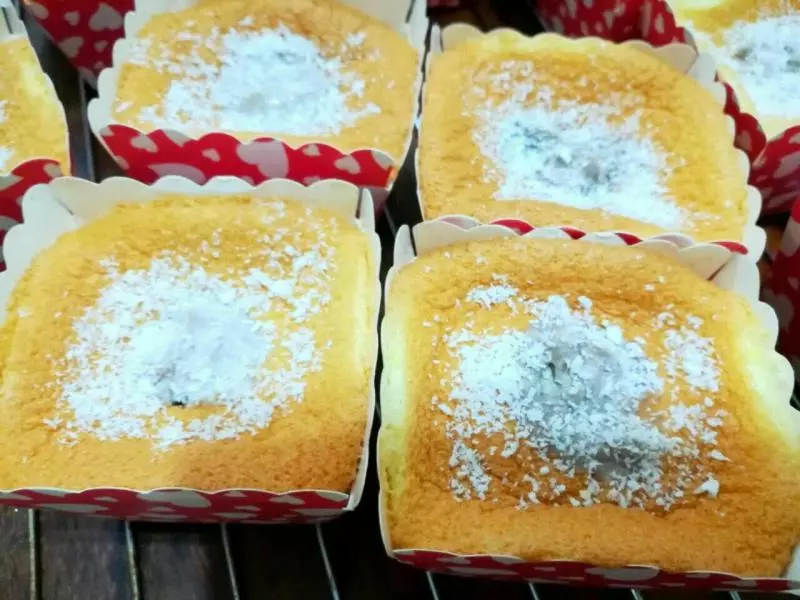
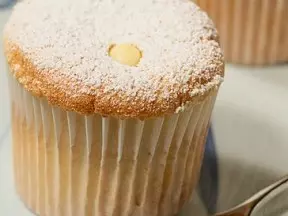
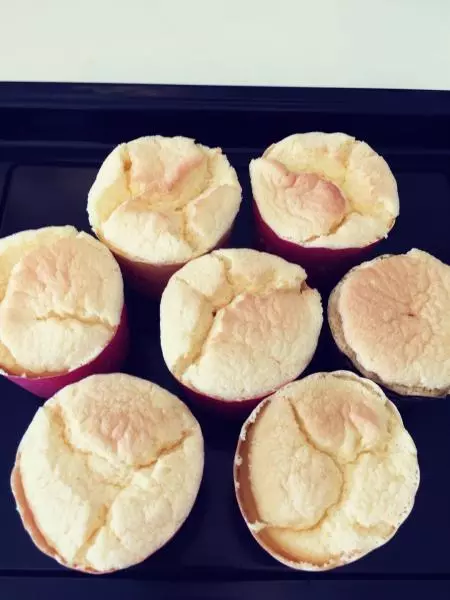
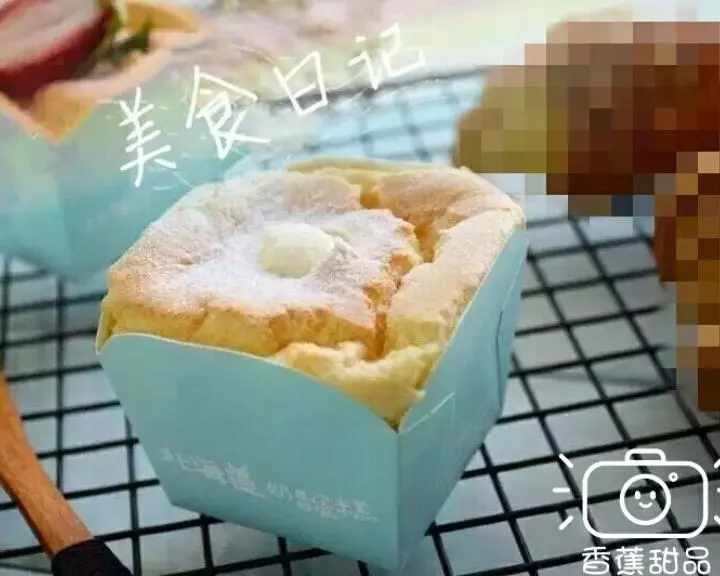
12刚出炉时也是光滑饱满的一会儿就塌下去了。这正是北海道戚风的特点,低粉少,柔软,所以支撑不起,会塌陷,但利用它的塌陷正好填充卡士达酱。

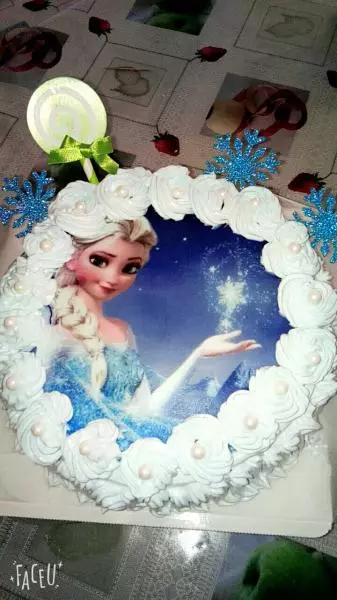
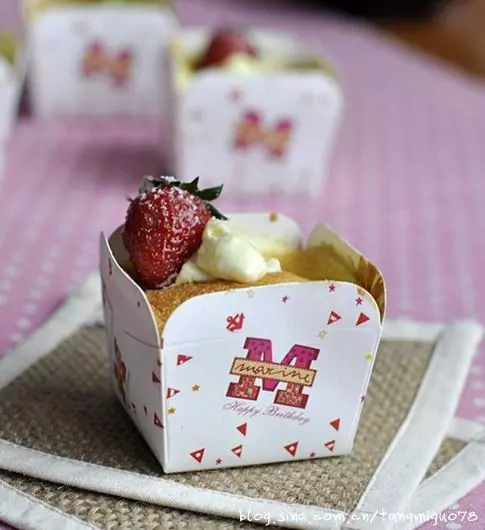
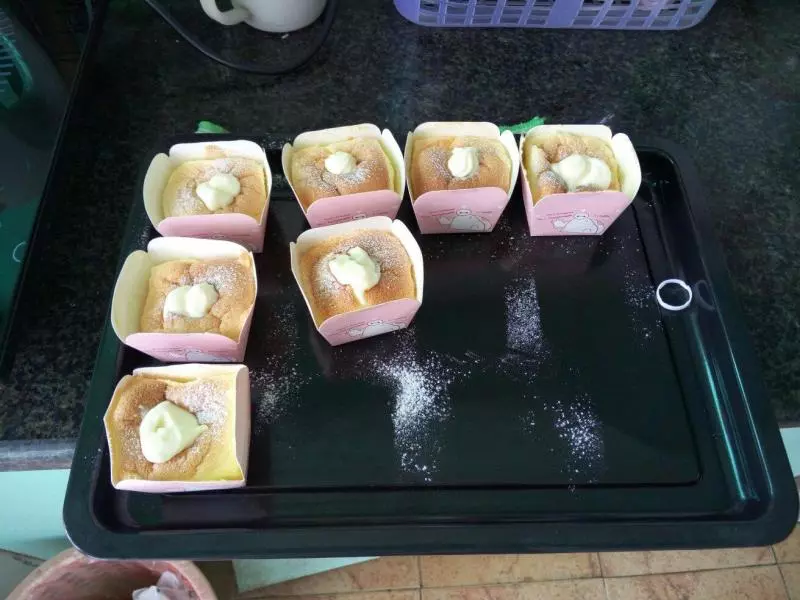
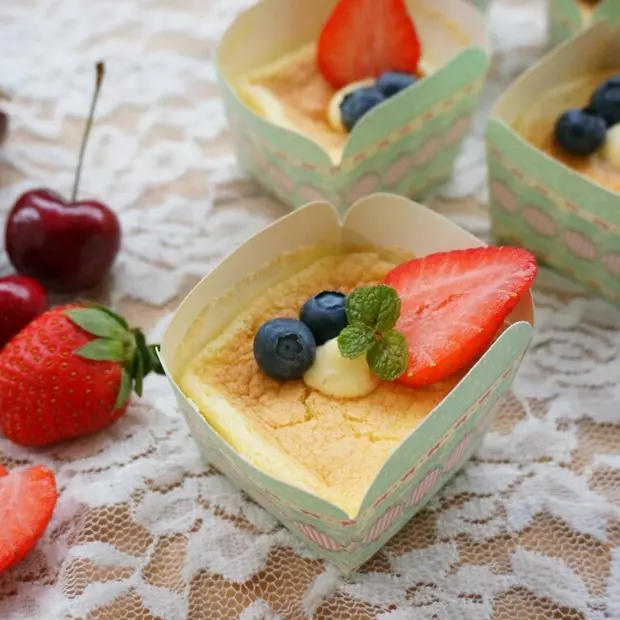
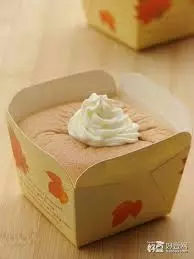
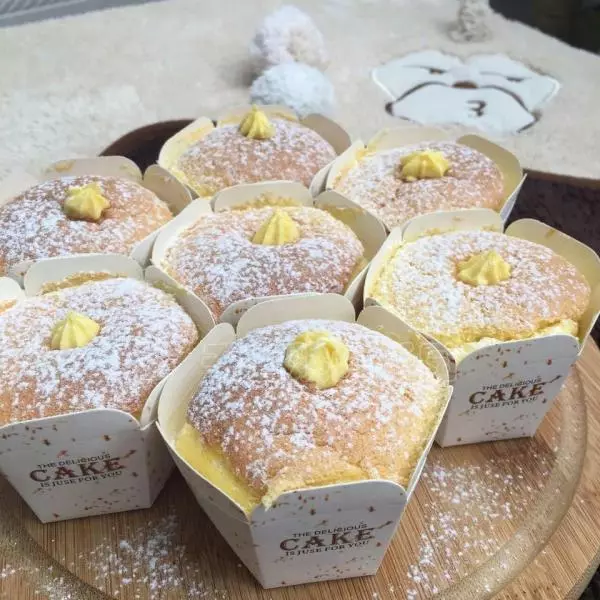
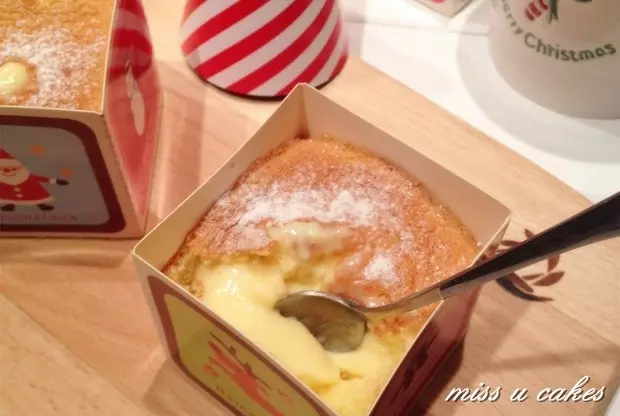
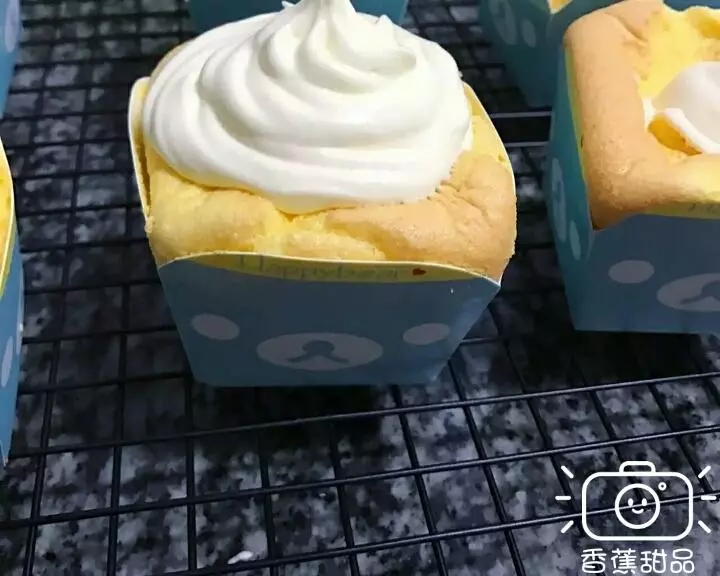
13等烤好的蛋糕冷却后,用小圆号的裱花嘴从中间插入蛋糕内部,挤入卡仕达酱。挤至表面微微鼓起即可。在表面撒点糖粉就可以吃啦~!可以根据个人喜好挤不同的花样哦~!我来挤个大的~O(∩_∩)O哈哈~
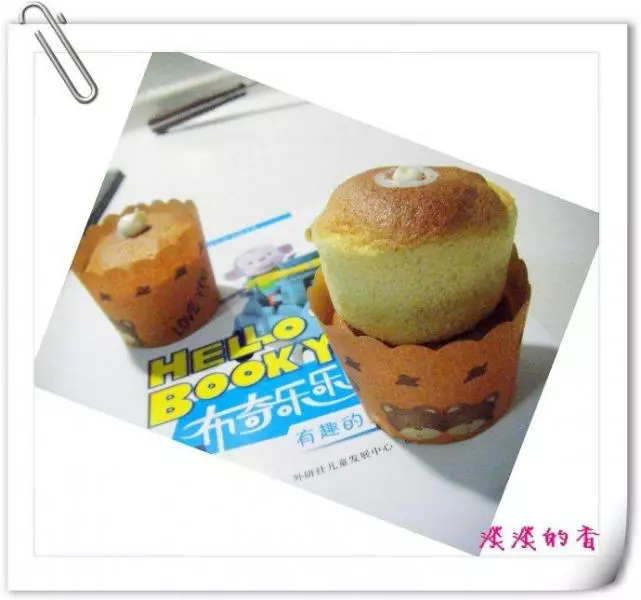
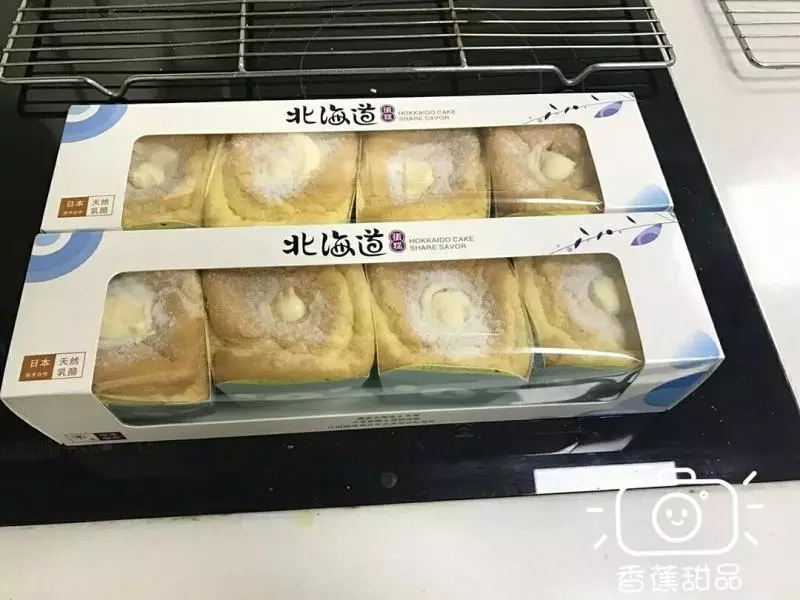
14包装好
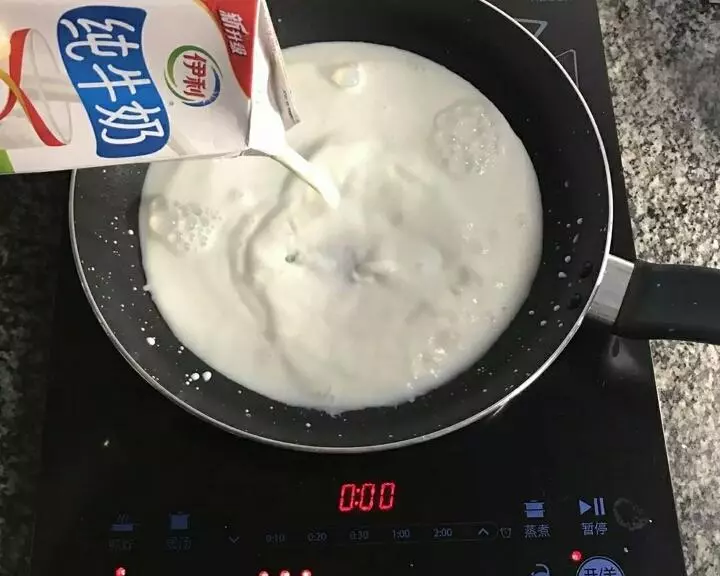
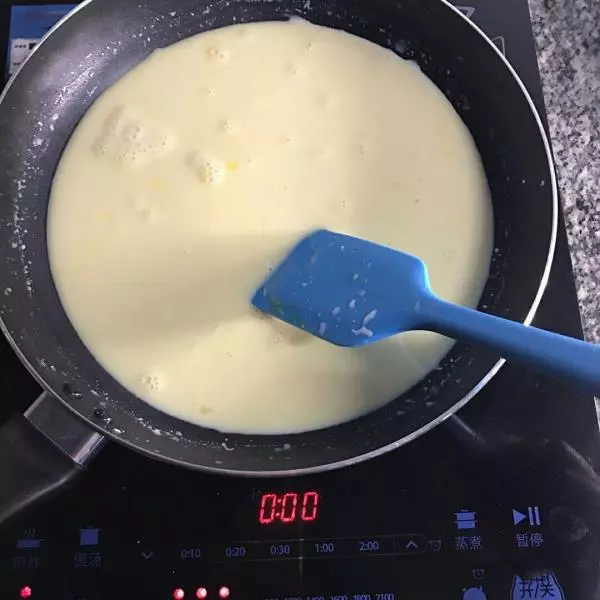
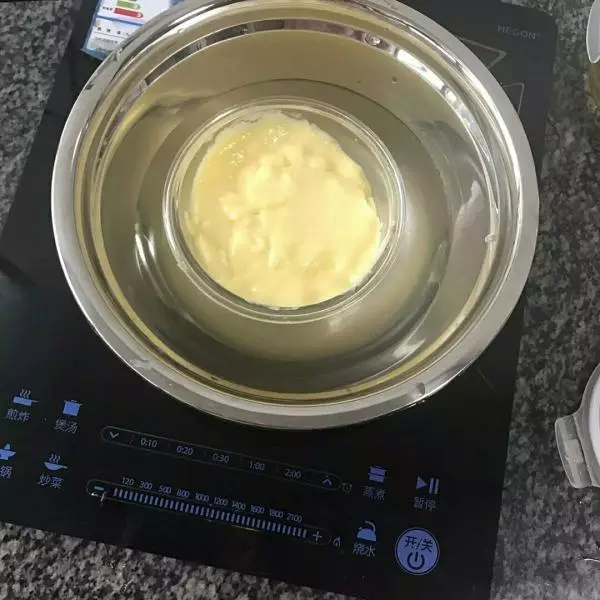
151.牛奶放不粘锅中加糖小火煮沸
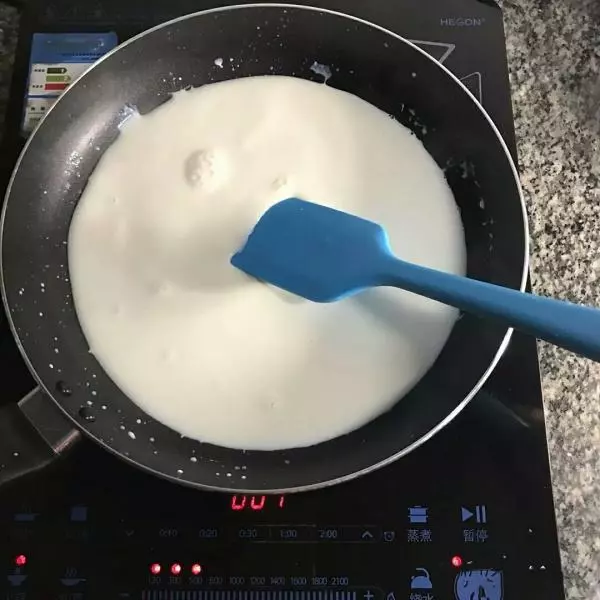
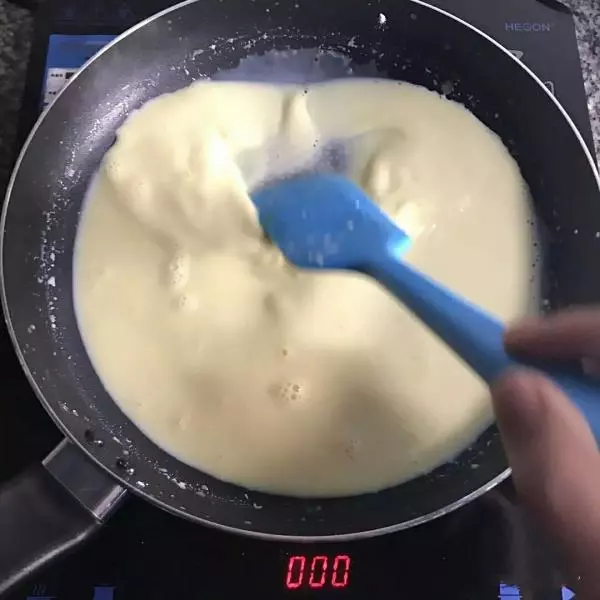
162.调至微火,筛入低筋面粉、玉米淀粉,翻拌均匀(这就是烫面)。
173.关火倒入蛋黄液。
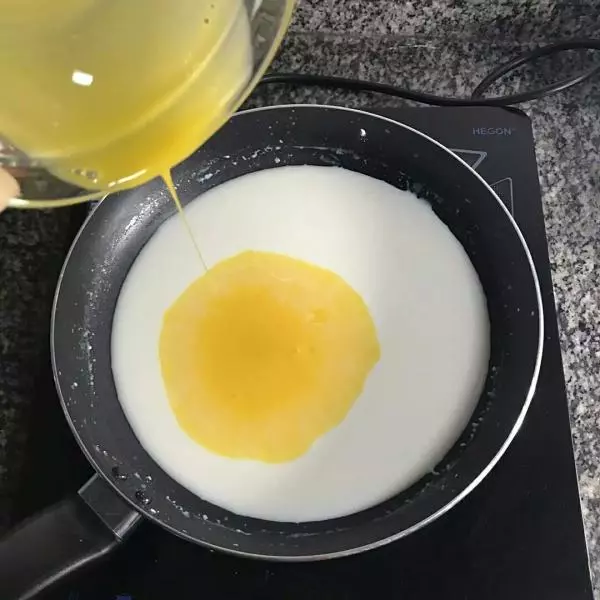
184.快速搅拌均匀。
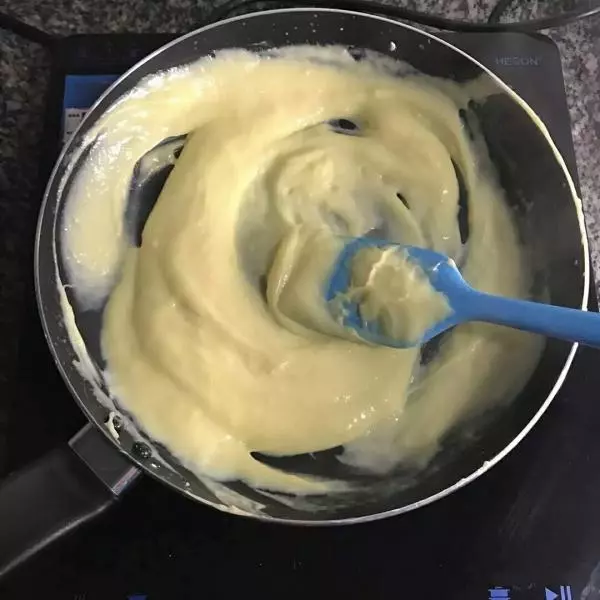
195.小火不停翻炒,边炒边用按压的手法把面糊拌匀。
206.继续煮至粘稠冒泡离火。
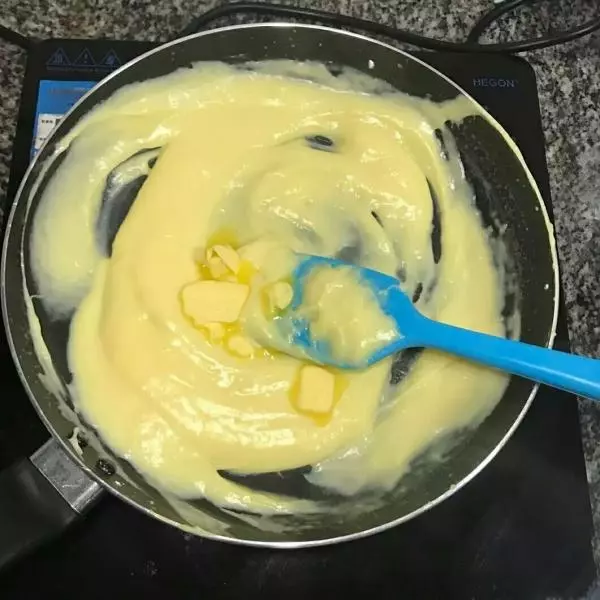
217.趁热将黄油加入面糊中拌匀出锅。
228.面糊过筛,可以使口感更加细腻。
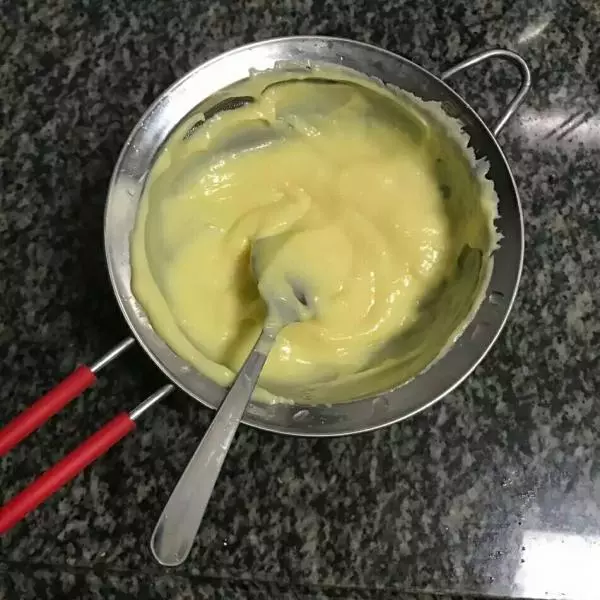
238.面糊过筛,可以使口感更加细腻。
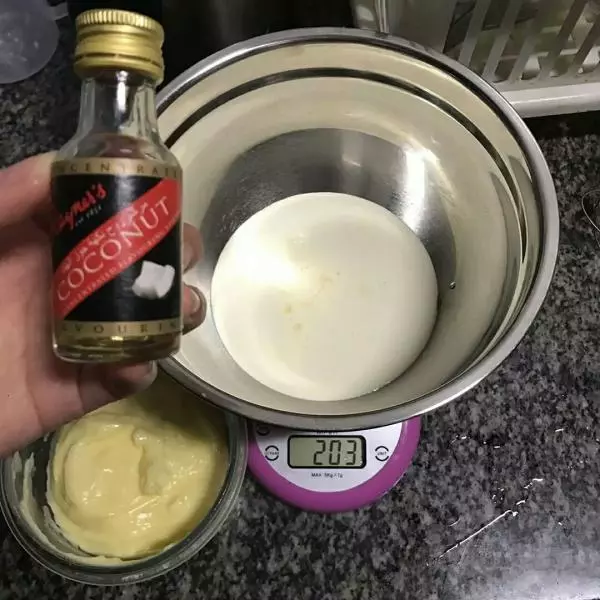
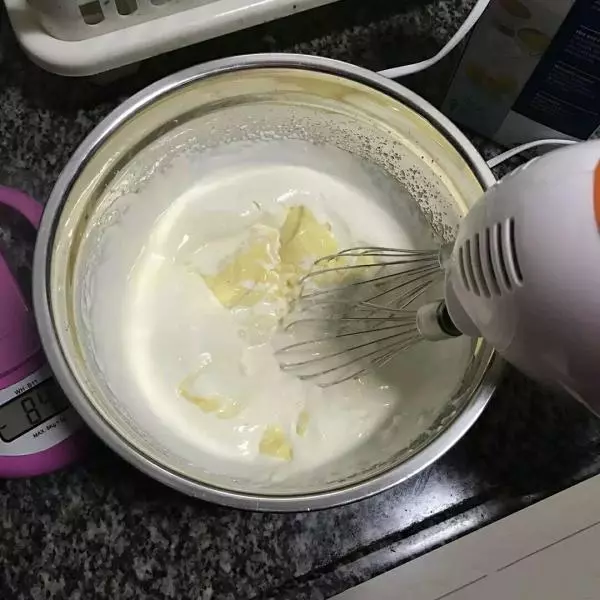
2410.奶油装入无水无油的盆中,加入椰油或香草精增加香味(如没有可省略)。
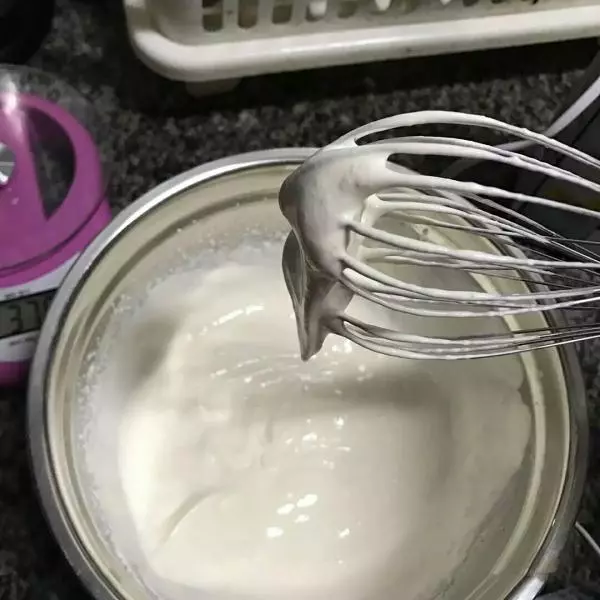
2511.奶油打发到有纹路,能提起并快速掉下。
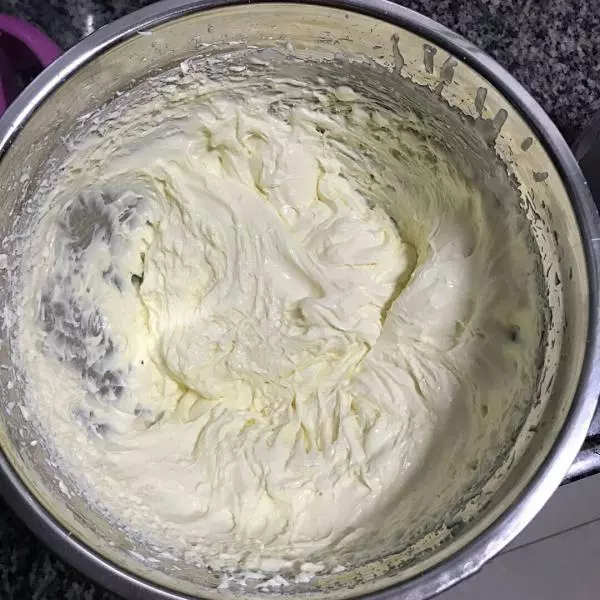
2612.加入冷藏好的卡仕达酱,用打蛋器手动压散开。
2713.奶油与卡仕达酱混合,打发至8分发即可
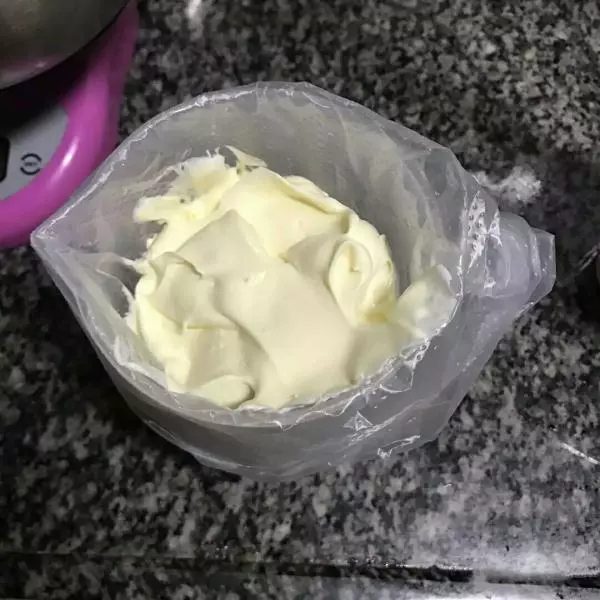
2814.夏天可以用保鲜膜封口冷藏一下再装入裱花袋使用。