原料
鸡蛋: 2个, 牛奶: 85克, 玉米油: 15克, 大米粉: 80克, 糖: 15克, 盐: 2克+一点点, 柠檬汁: 2滴
步骤
1蛋清、蛋黄分离 蛋黄中加入2克盐搅拌至盐融化

2加入牛奶和油,混合均匀

3筛入米粉,用Z字法或8字法搅拌均匀

4蛋清中加入柠檬汁和一点点盐,1档打至鱼眼泡

5加入第一次糖,打至细泡沫

6加入第二糖,打至细腻

7加入第三次糖,打至硬性发泡

8取1/3的蛋白放入蛋黄糊中,翻拌均匀

9翻拌均匀的蛋黄糊再倒回剩下的蛋白中,翻拌均匀

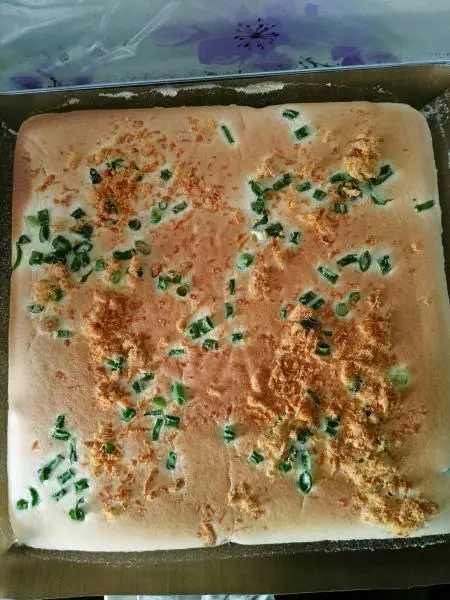
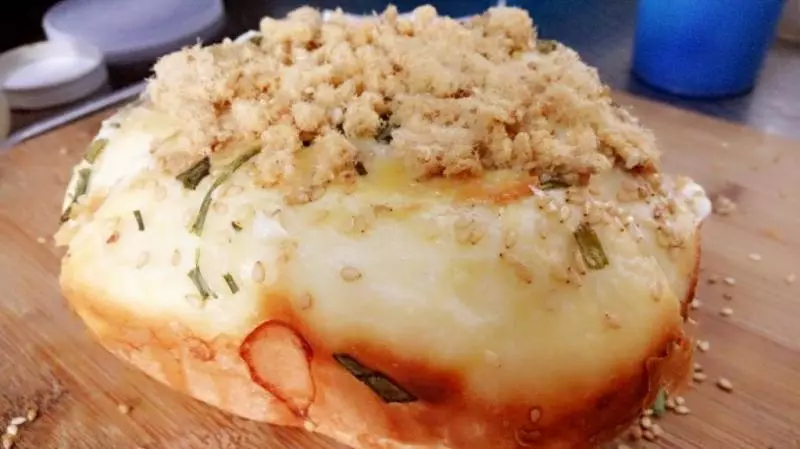
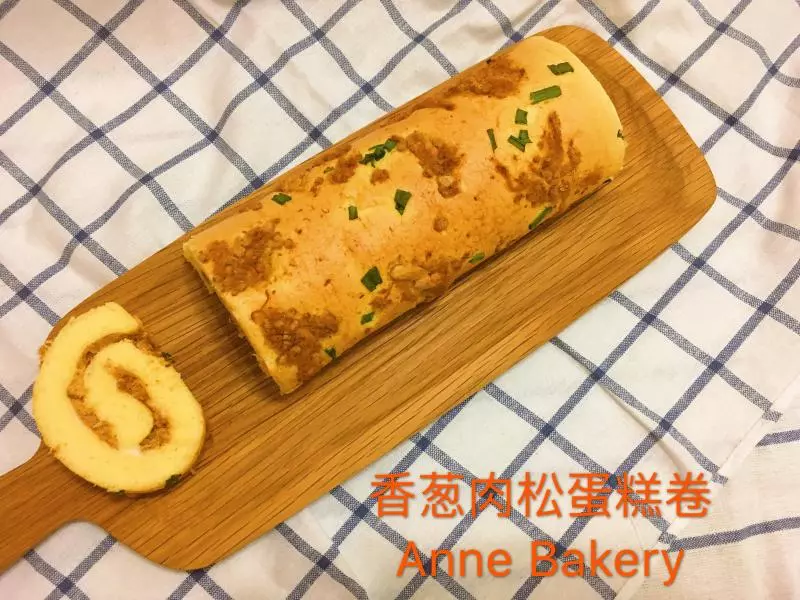
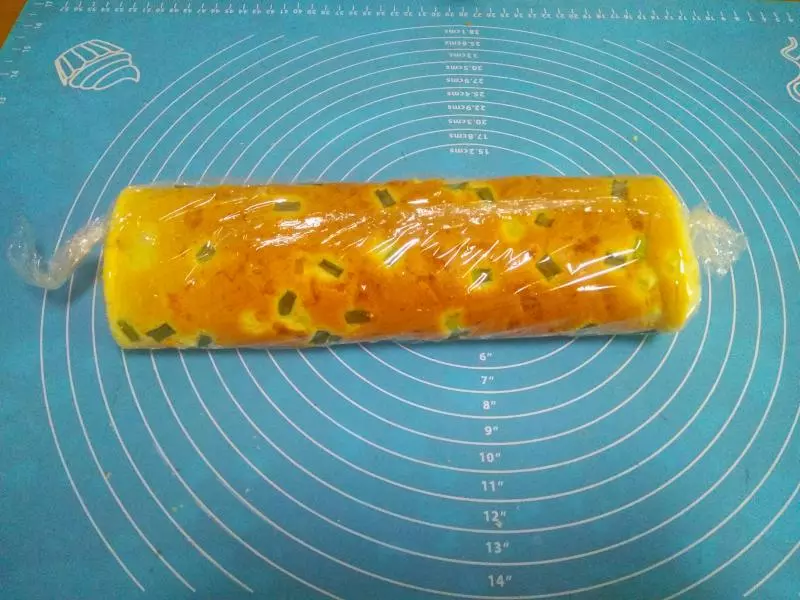
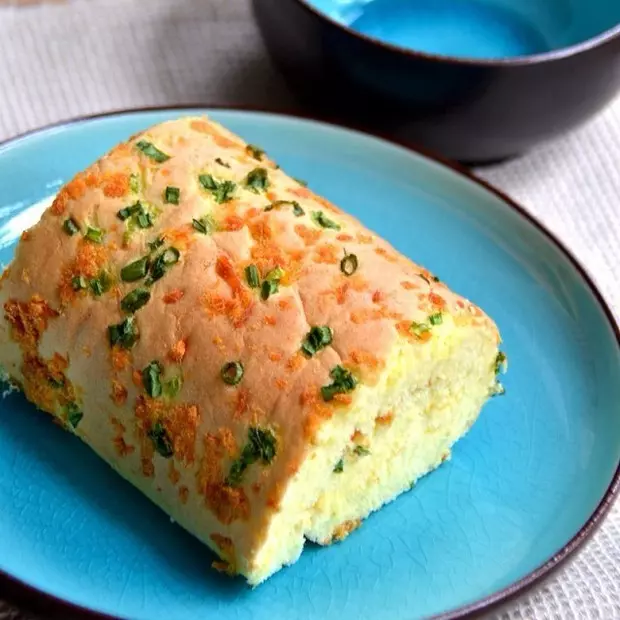
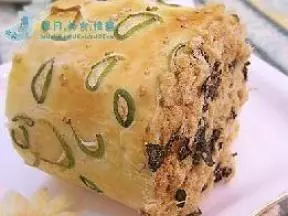
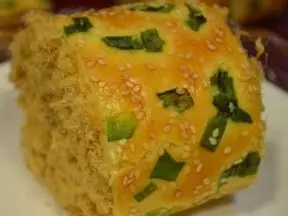
10米糊翻拌均匀后,加入葱碎和肉松,翻拌均匀

11翻拌均匀的蛋糕糊,倒入6寸蛋糕模具中

12垫出大气泡抹平表面,放入预热好的烤箱中100度30分钟(烤箱小上色快,最后剩10分钟加盖锡纸)

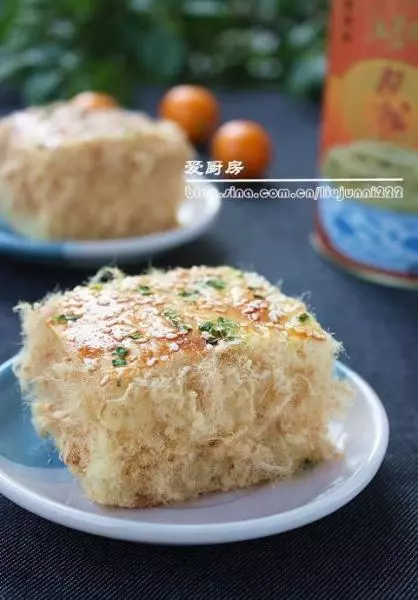
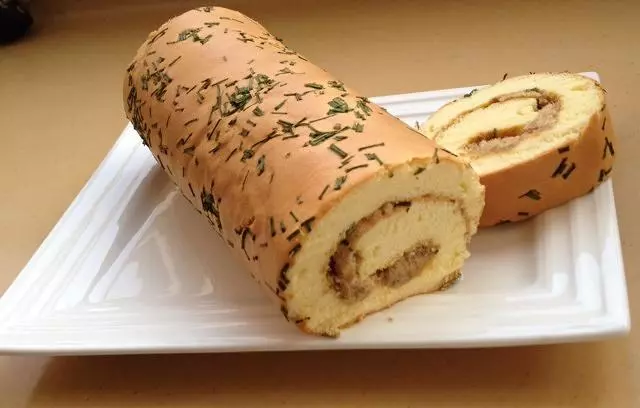
13烤好后,放至不烫手,脱模

小技巧
米糕放凉后发硬,所以要趁热吃,不烫即可