原料
猪绞肉: 125g, 葱白碎: 12g, 宜宾碎米芽菜: 40g, 猪油: 17g, 料酒: 1大匙, 酱油: 1大匙, 胡椒粉: 1g, 糖: 1小匙, 赖汤圆花生味汤圆芯子: 半袋(约170g), 低筋粉: 50g, 盐: 1/8小匙, 中筋粉: 150g, 猪油: 55g, 水: 60g, 细砂糖: 30g, 猪油: 60, 低筋粉: 120, 食用色素: Wilton Copper+golden yellow
步骤
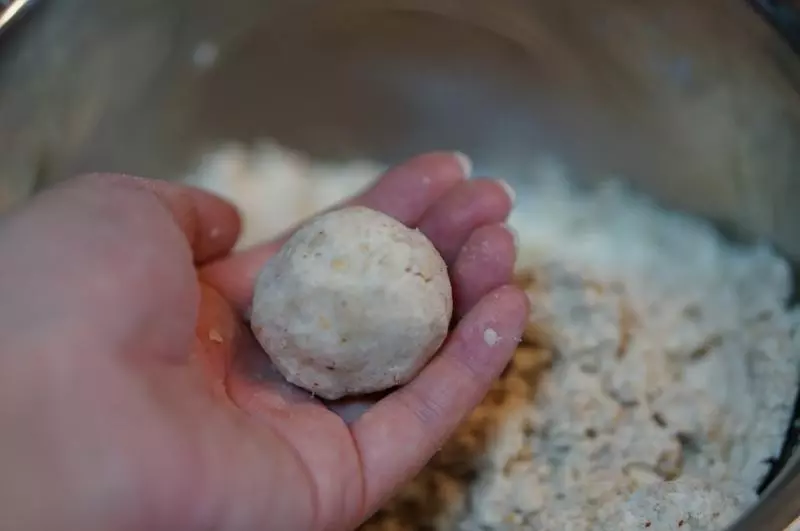
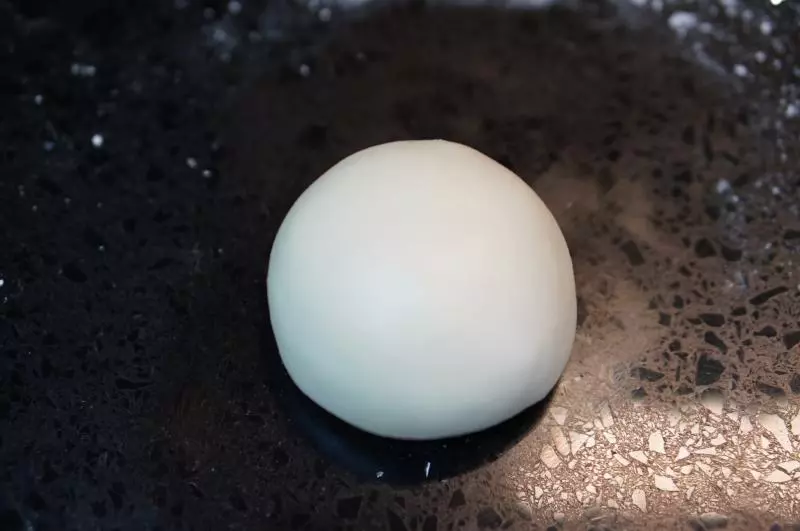
1先来做花生馅儿:汤圆芯子加低筋粉加盐

2搓散拌匀
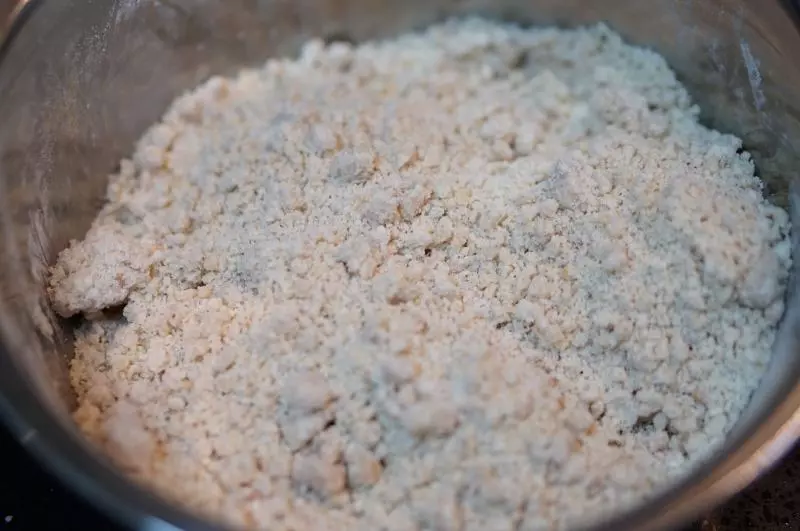
3到可以团成团即可
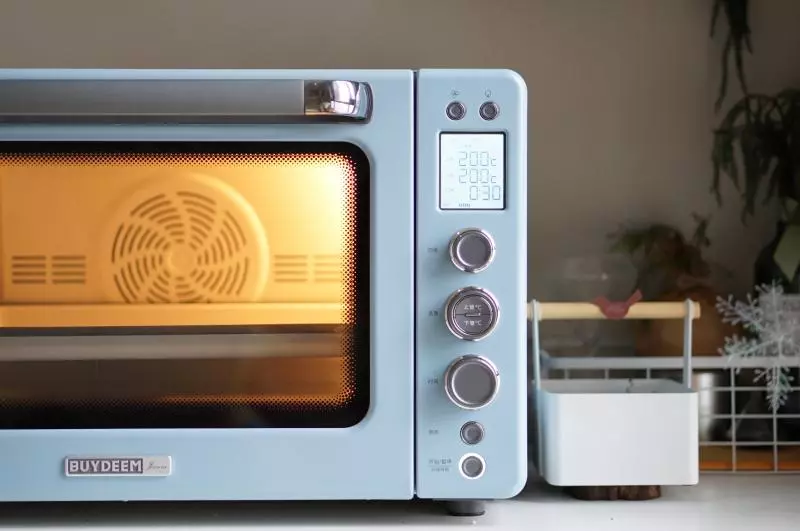
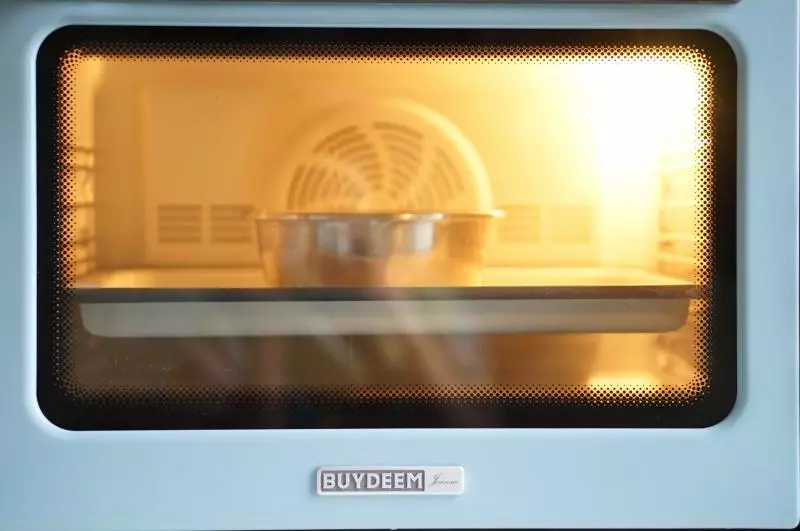
4然后来做肉馅儿:烤箱立体烤模式200度预热
5将肉馅儿的全部食材放在一起
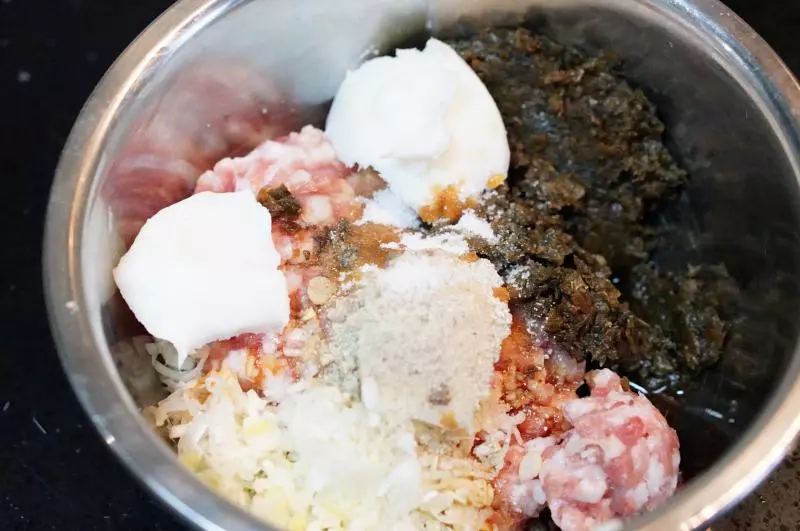
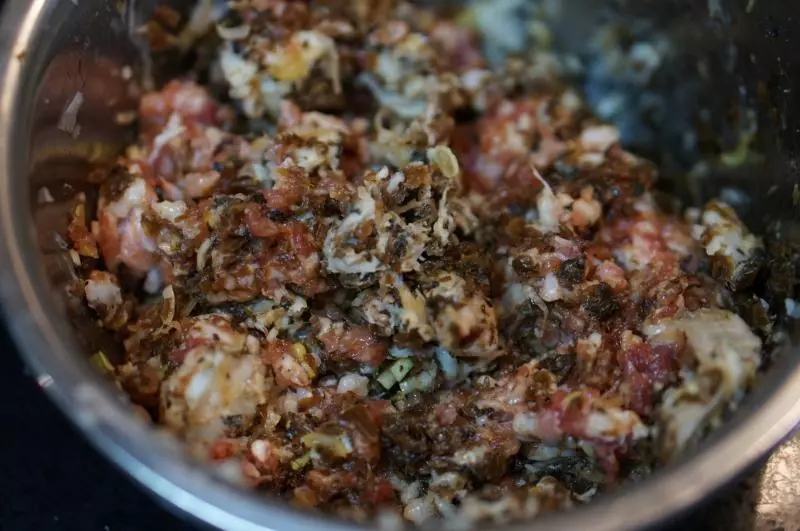
6拌匀
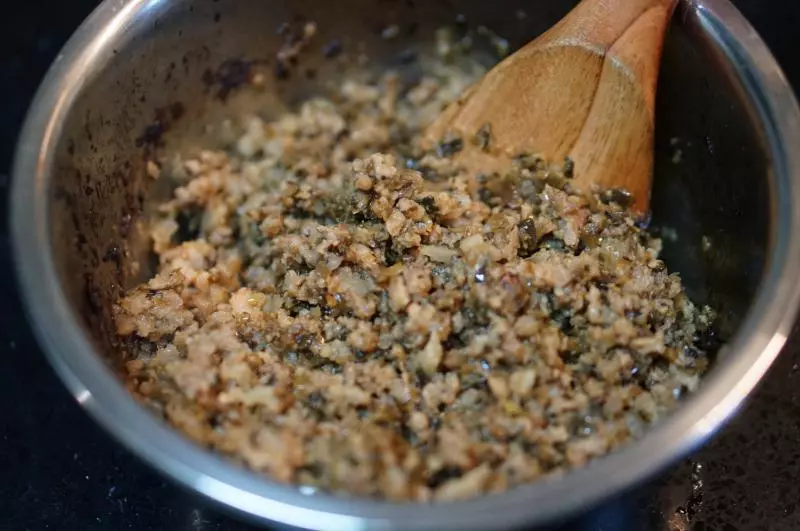
7放入烤箱烤30分钟左右,期间拿出来拌匀几次
8烤到肉熟,颗粒分开即可
9然后做水油面:水油面所有材料放入面包机,用饺子面团菜单和面(没有面包机就用手揉)
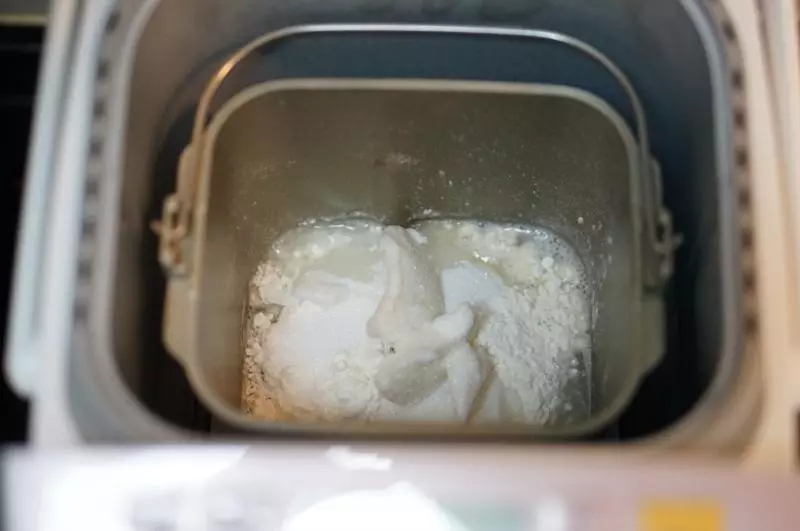
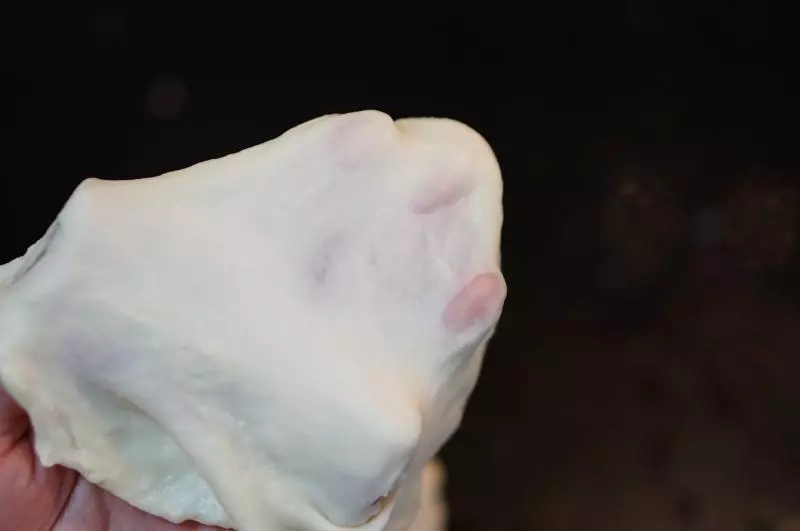
10揉到面团光滑,有良好的延展性即可。揉好的面团用湿布盖好防止变干
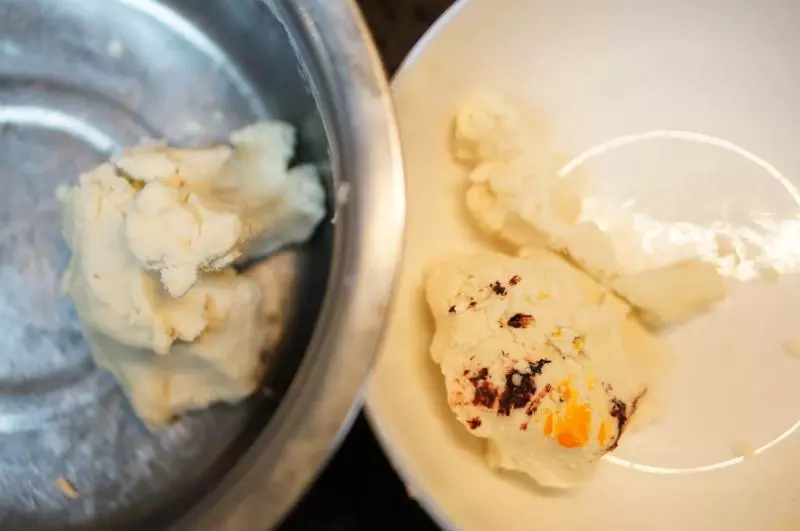
11然后来做水油面团:低筋粉和猪油放在一起拌匀捏成团

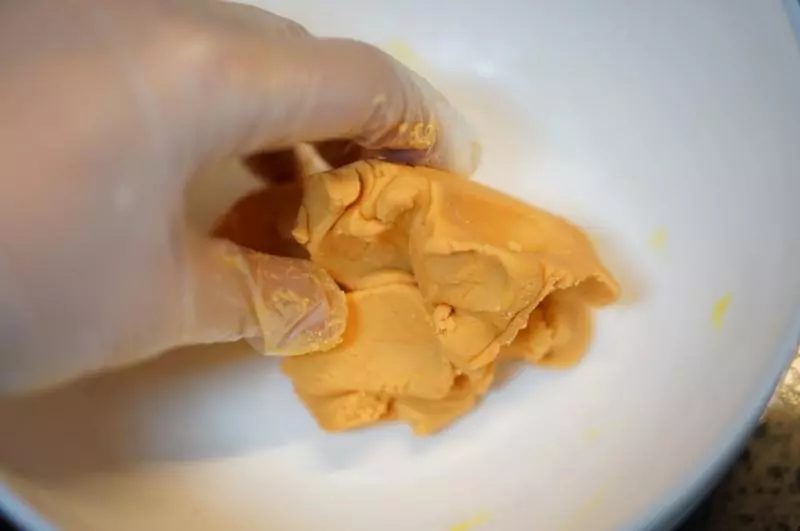
12等分成两半,其中一半用色素调色,调色的时候少量多次放色素,但最后的颜色可以深一点,烤的时候颜色会变淡
13调色的面团揉匀
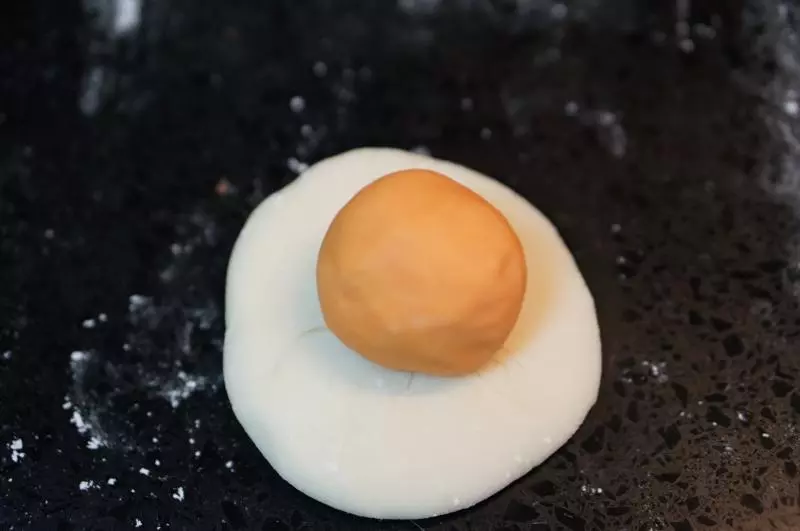
14将两种颜色的油酥面分别等分成四份,总共八份,用保鲜膜盖好保湿
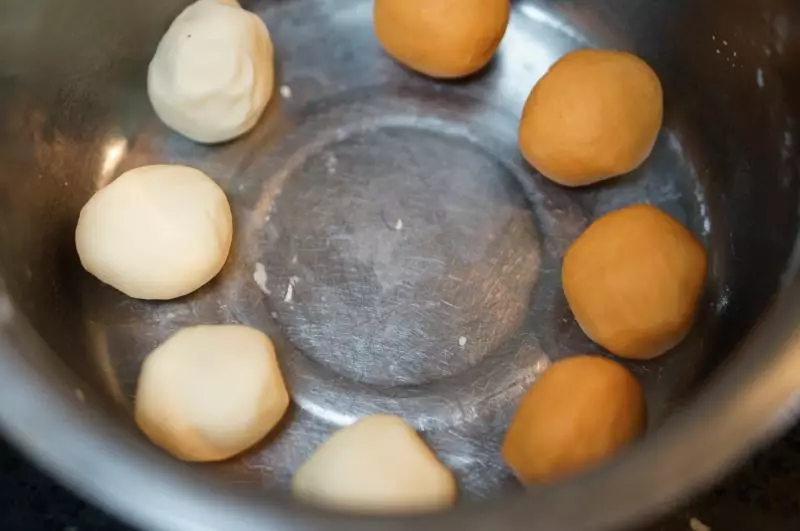
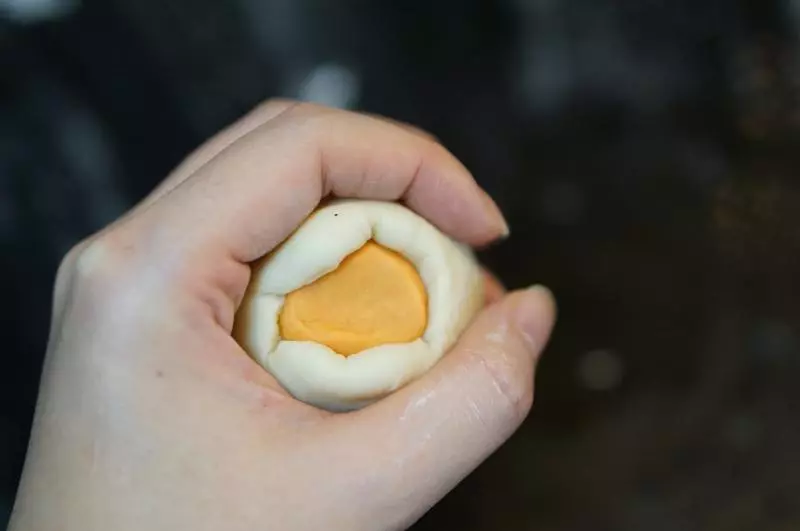
15将水油面也等分成八份
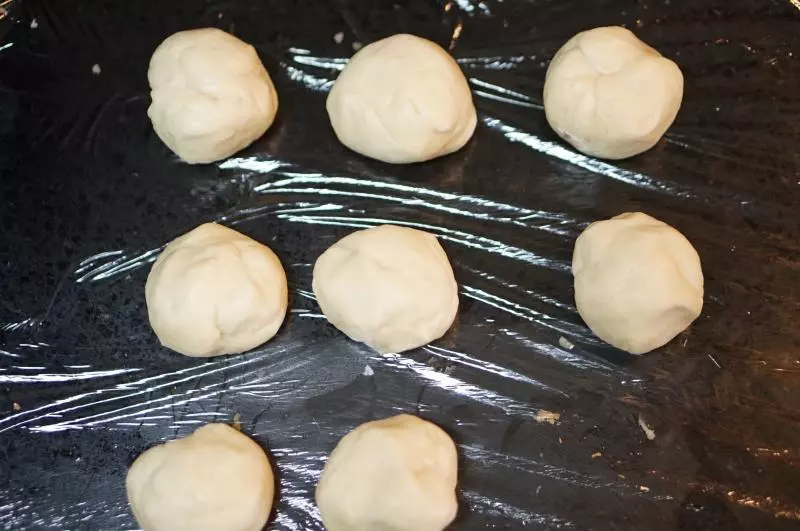
16取一份水油面团搓圆,压扁,然后放上一团油酥面
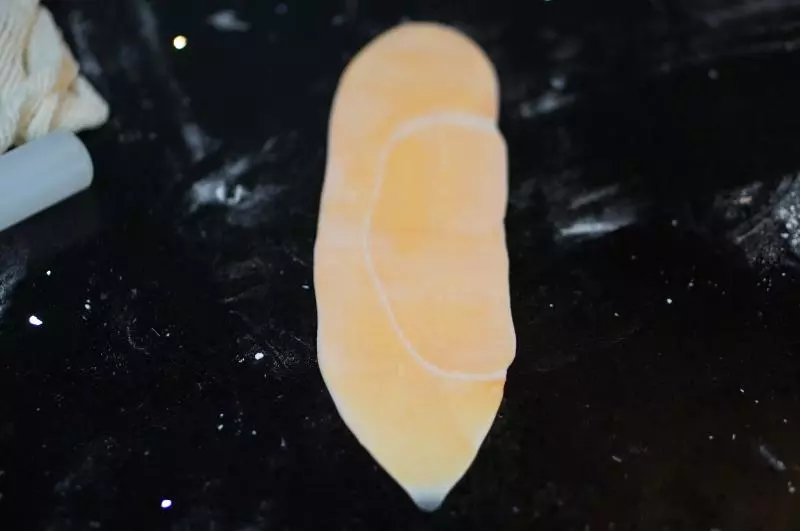
17像捏包子一样用虎口收口,包起来
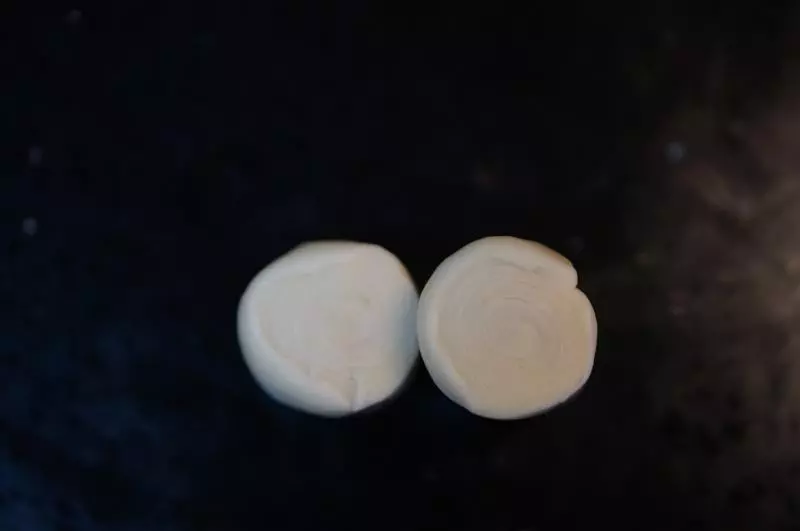
18再次搓圆
19然后压扁,擀开成牛舌状,这一次不用太长,大半根擀面杖的长度即可
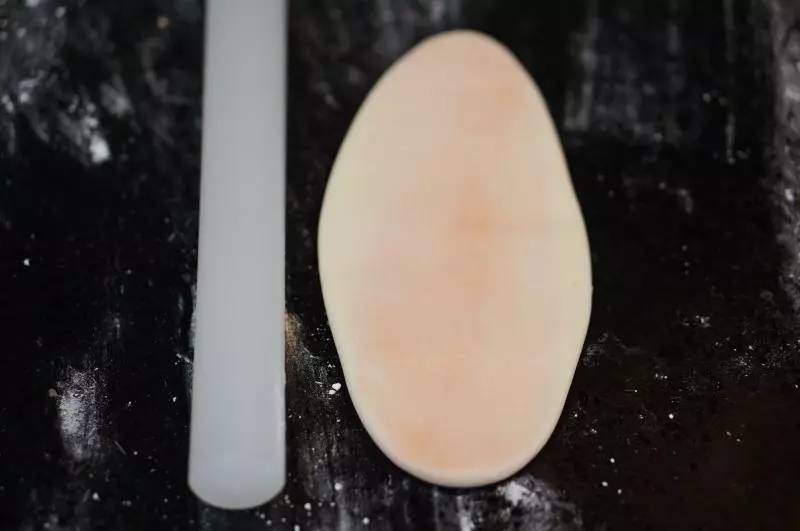
20然后卷起来静置10分钟
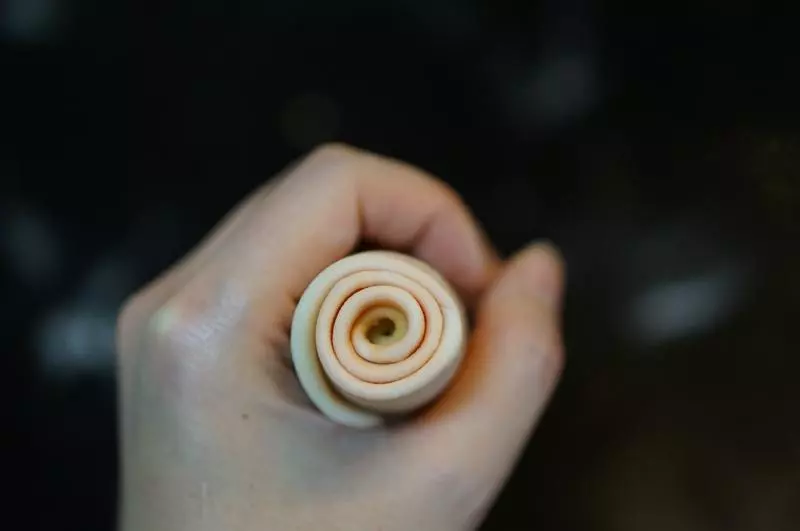
21静置好的面卷收口向上压扁

22然后擀开成长条形
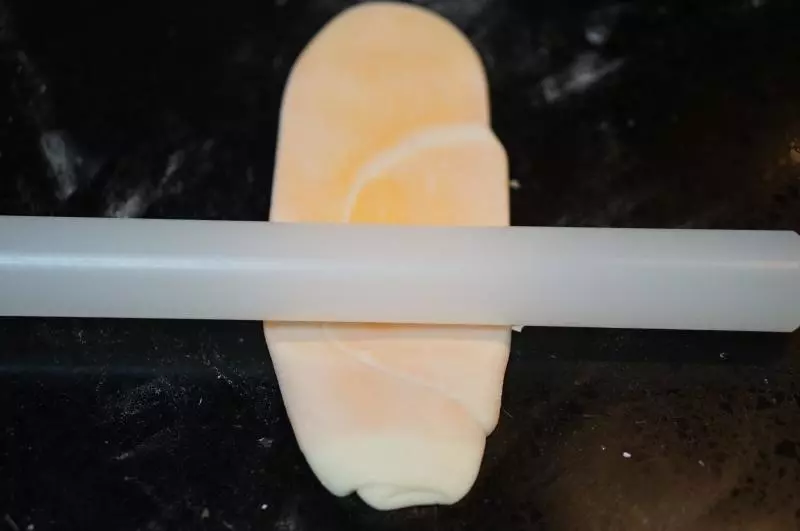
23将两头擀到非常薄
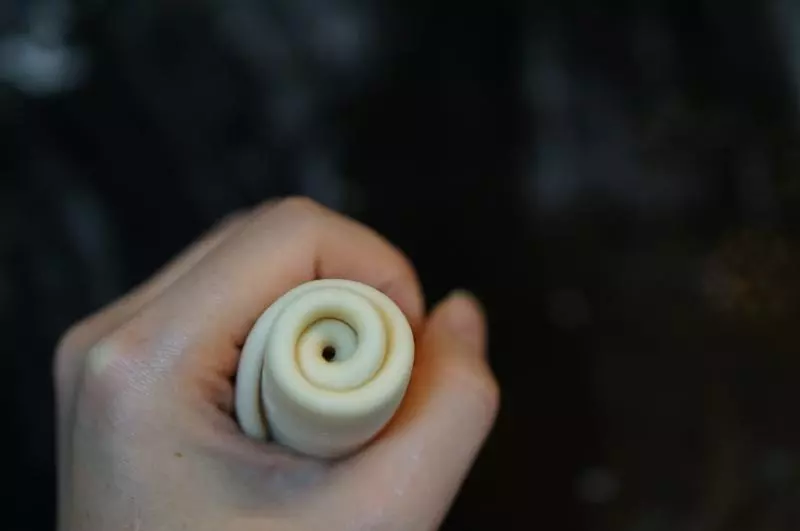
24然后卷起
25再静置五分钟
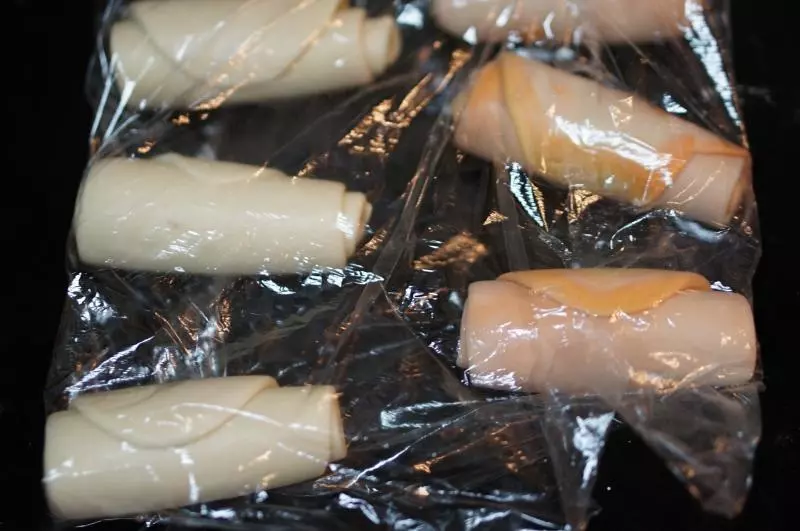
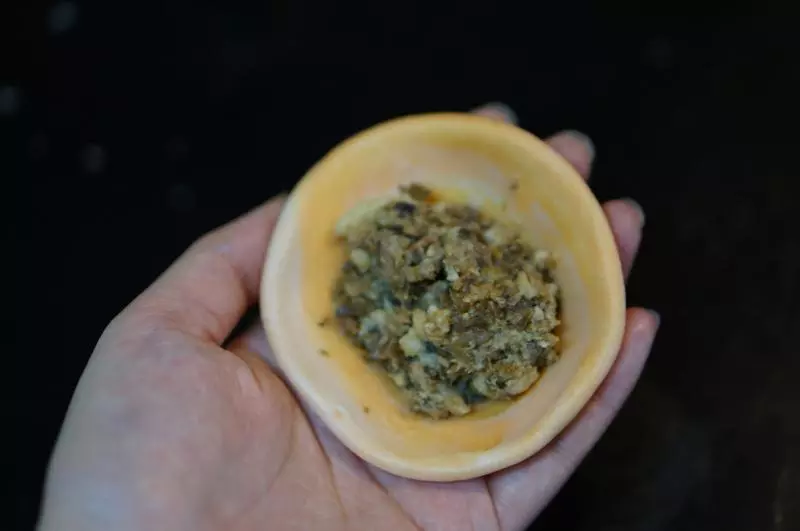
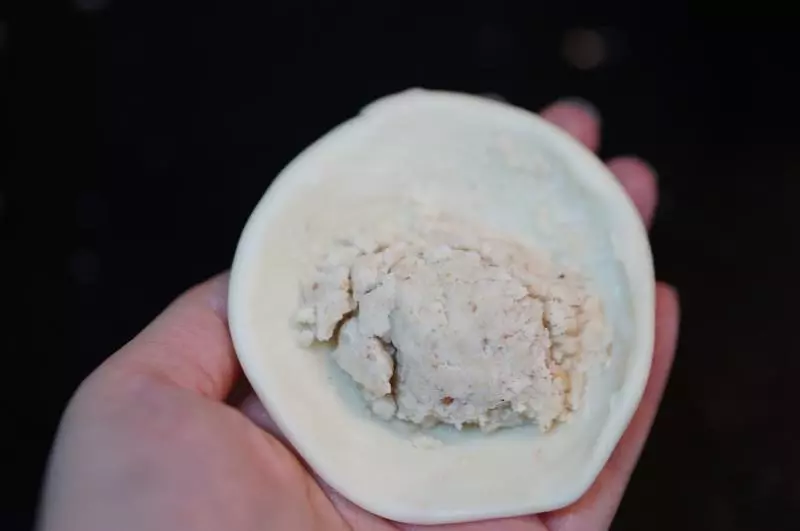
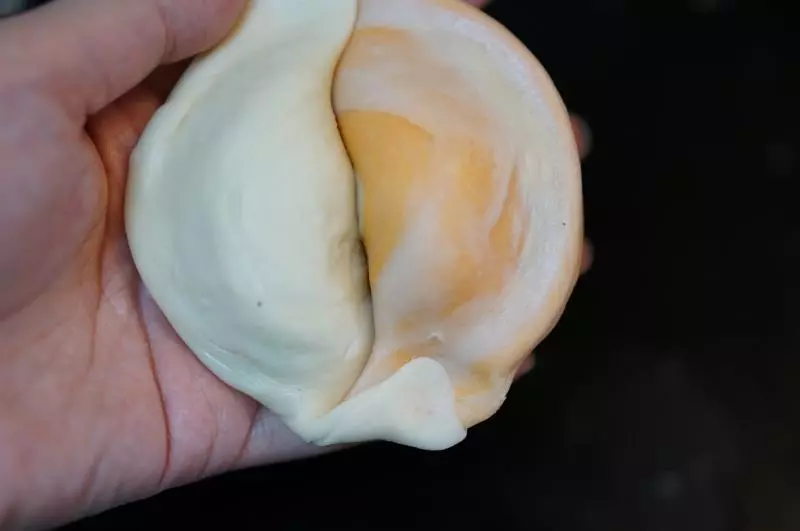
26取一个卷,用锋利的刀从中间切开
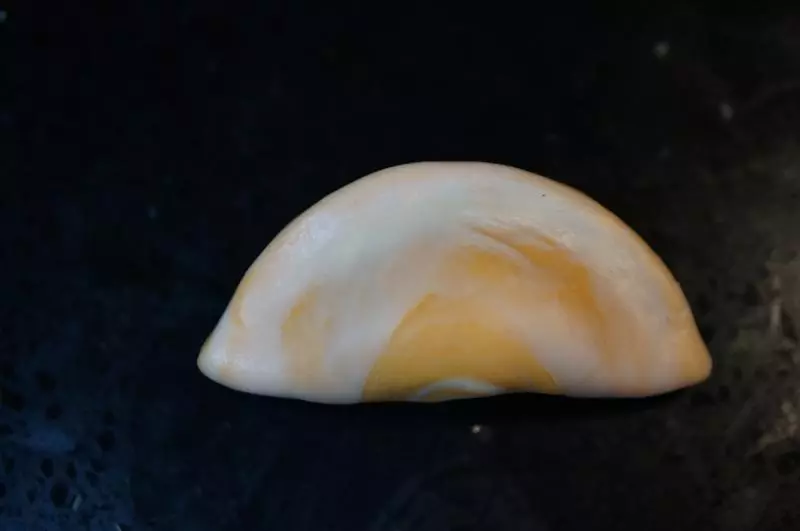
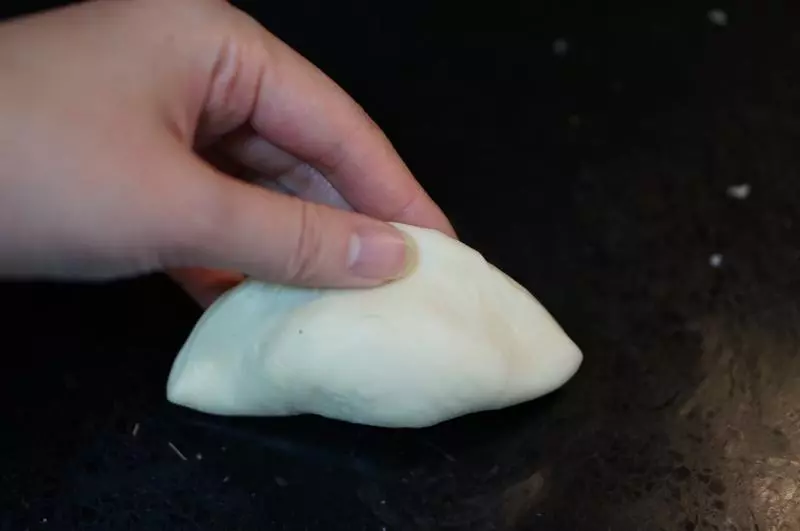
27然后切面向上压扁,翻面后切口朝下擀圆(不用太薄,饺子皮大小)
28然后切口朝下,面皮背面放上肉馅儿
29对折后捏紧,边缘要留一些距离出来
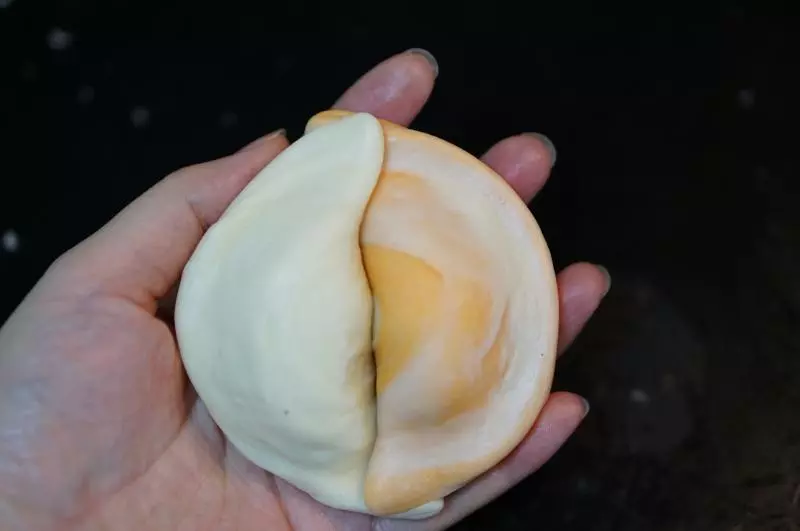
30然后再做一个白色面皮
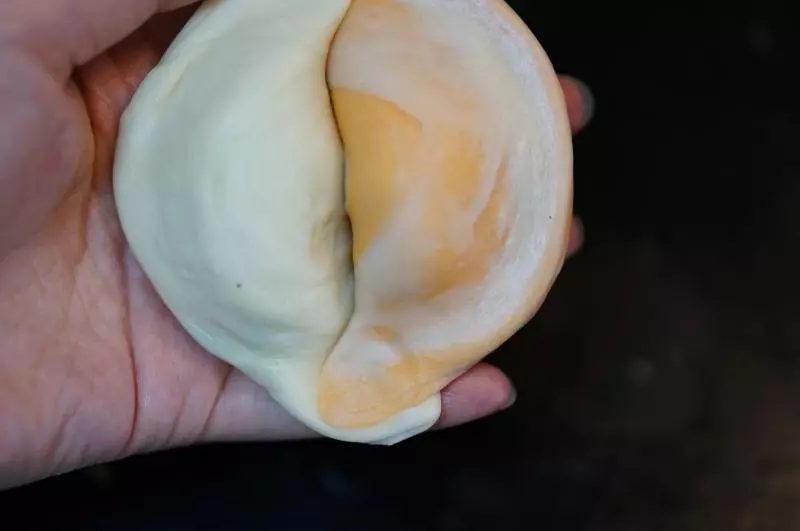
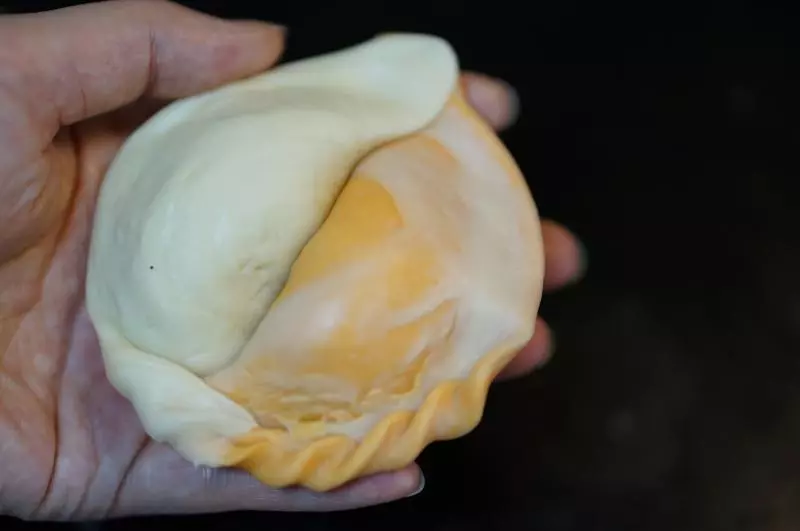
31包上花生馅儿
32同样对折
33然后将两个“饺子”并在一起,两头搭在一起捏紧
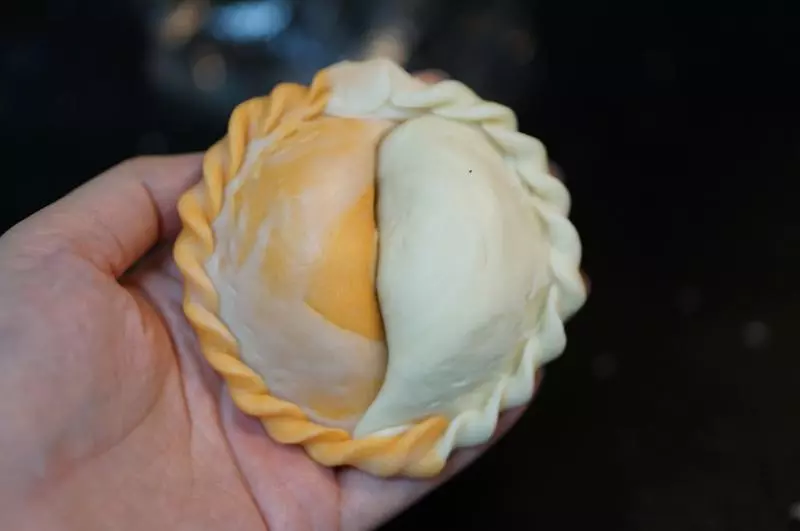
34然后把接头的面用力捏薄
35从捏薄的“耳朵”中央折回去,然后再次把折痕旁边的面皮捏薄捏出耳朵
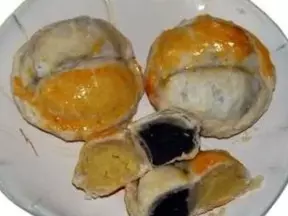
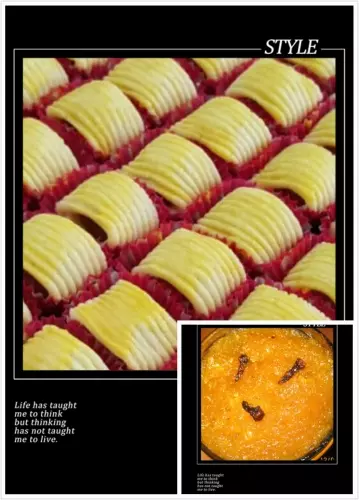
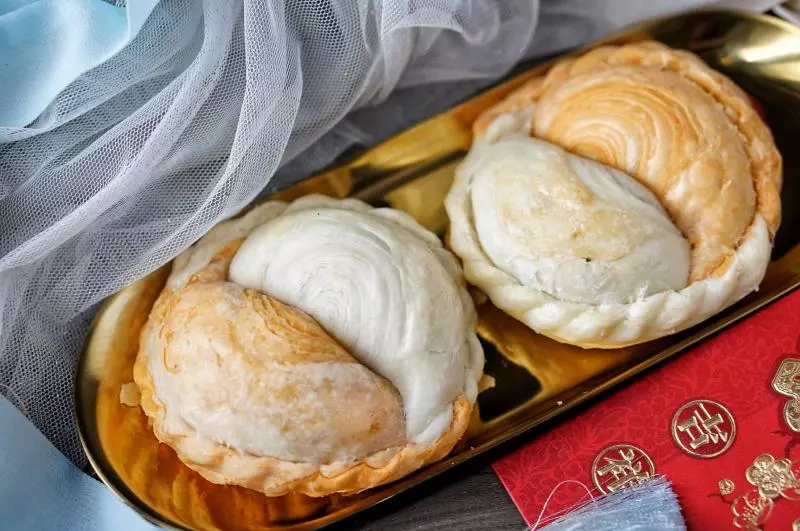
36依次往前捏,就开始出现绳边啦
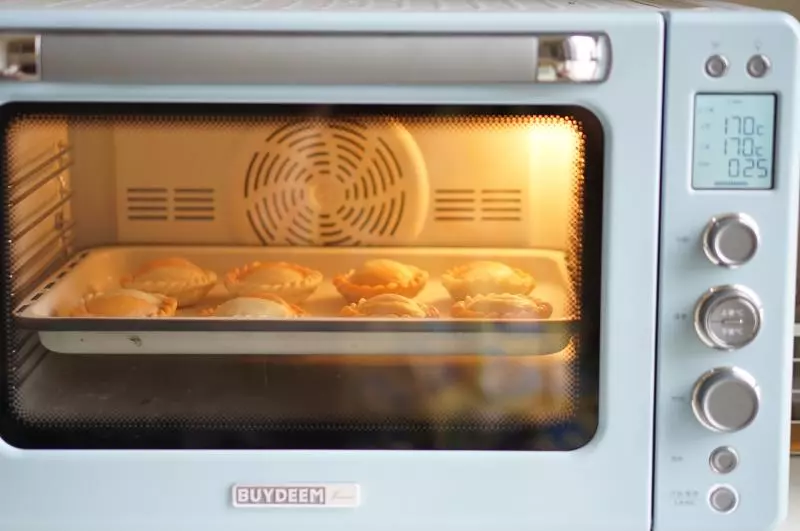
37捏完一圈,整形完毕。
38依次做完八个金银酥胚
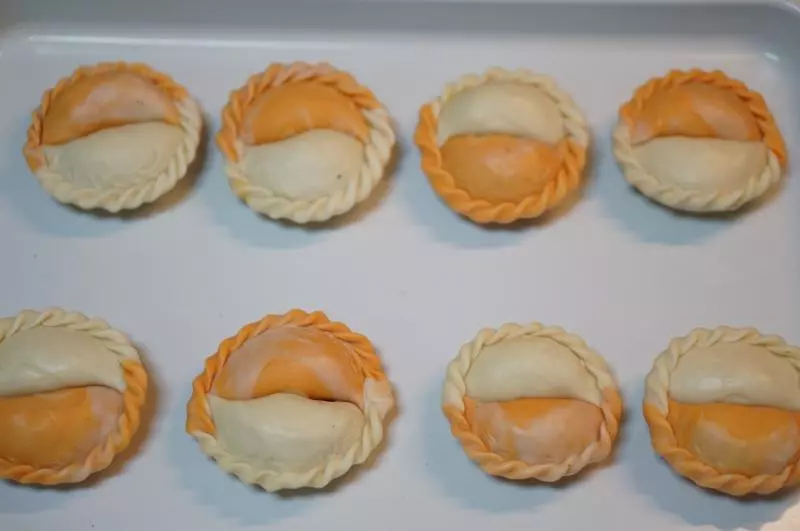
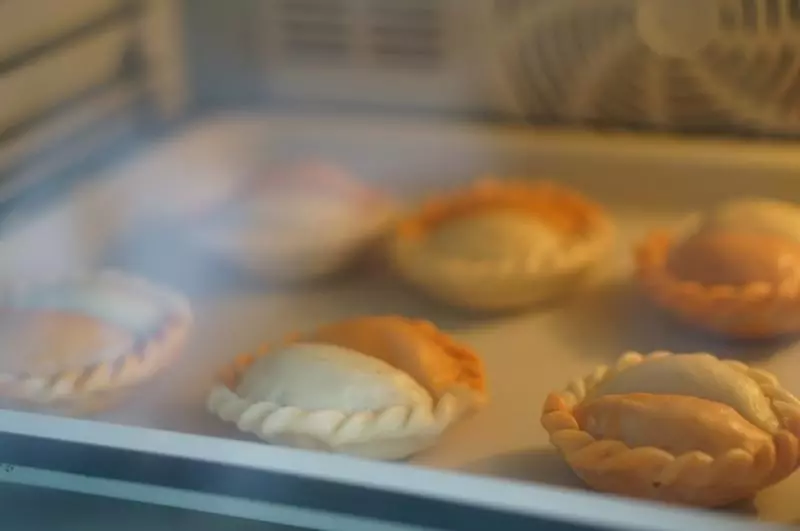
39上下烤模式预热烤箱至170度

40放入面胚烤25分钟
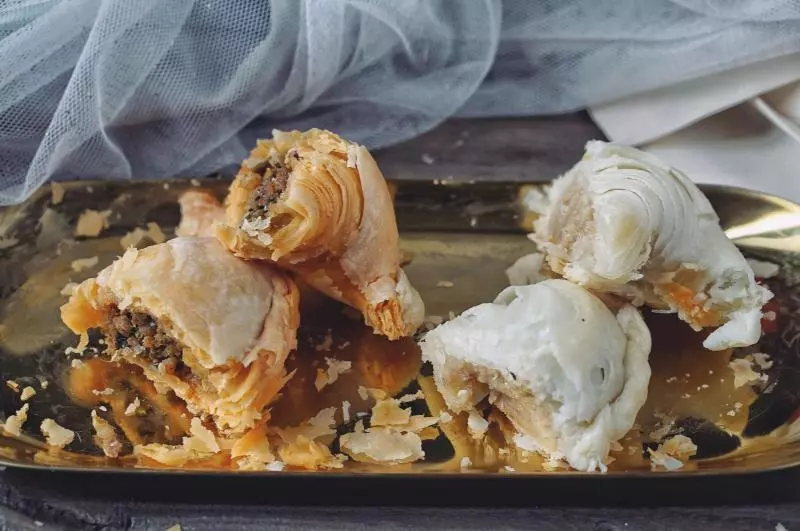
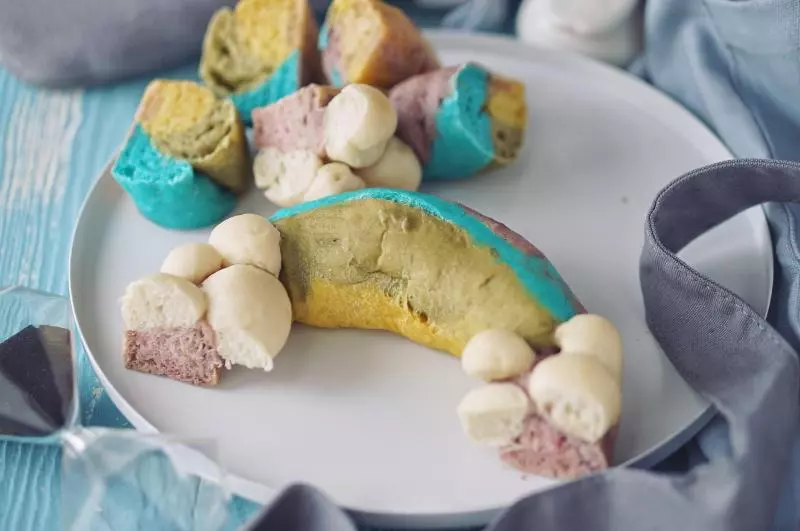
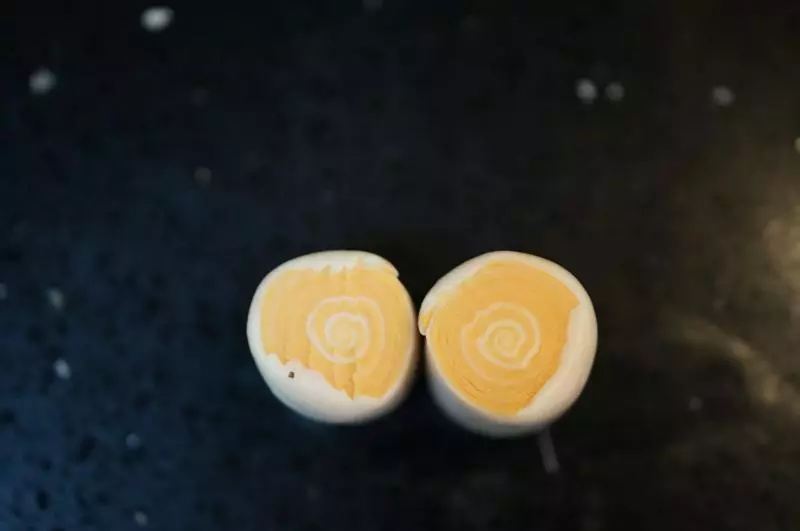
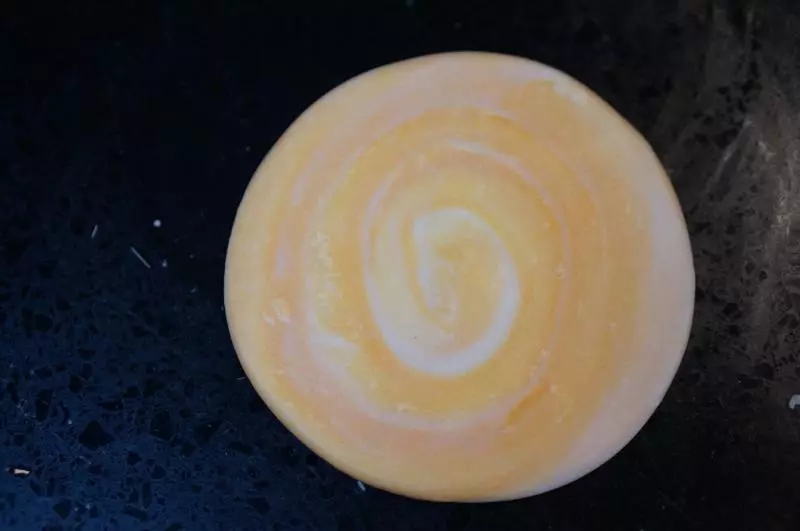
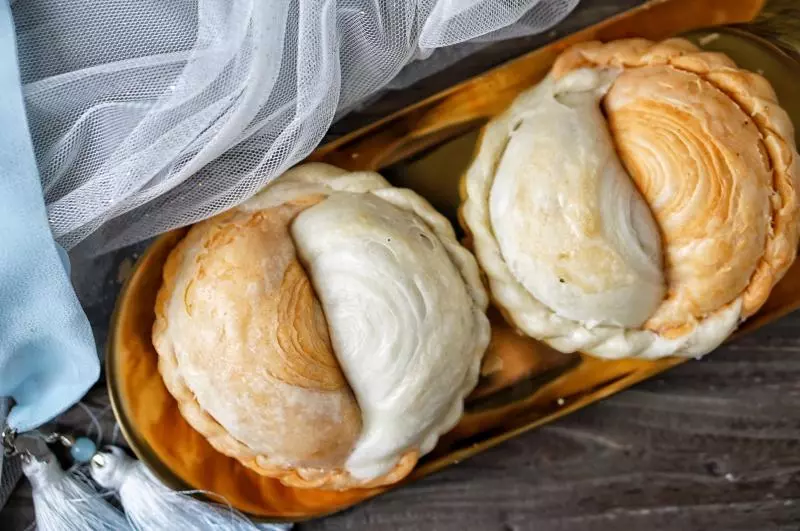
41面胚经过烘烤还会略微变大,所以摆放时要留有空间
42出炉后不用放凉,趁热吃啊!
43这是切开的样子。 凉了的金银酥可以用微波炉或者烤箱再次加热。