原料
23x23x6.8cm方烤盘一分量: , 面团: , 高筋面粉: 240克, 低筋面粉: 60克, 红糖: 40克, 盐: 4克, 奶粉: 10克, 速效干酵母: 4克, 全蛋液: 28克, 水: 165克, 黄油: 28克, 乳酪馅: , 奶油奶酪: 300克, 红糖: 30克, 白砂糖: 40克, 全蛋液: 75克, 黄油: 75克, 玉米淀粉: 20克, 带皮苹果丁: 80克, 铺面: , 带皮苹果片: 适量, 红糖: 12克, 肉桂粉: 1克
步骤
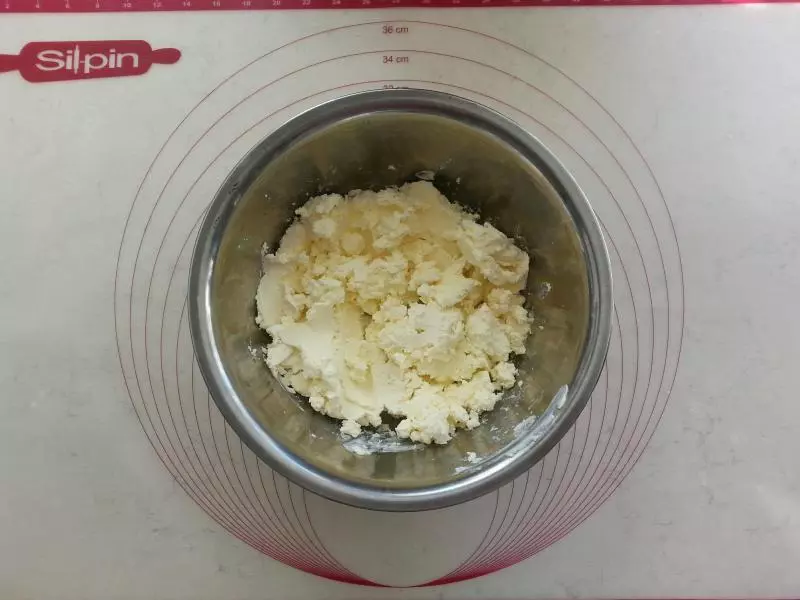
1乳酪馅的制作:奶油奶酪室温软化。
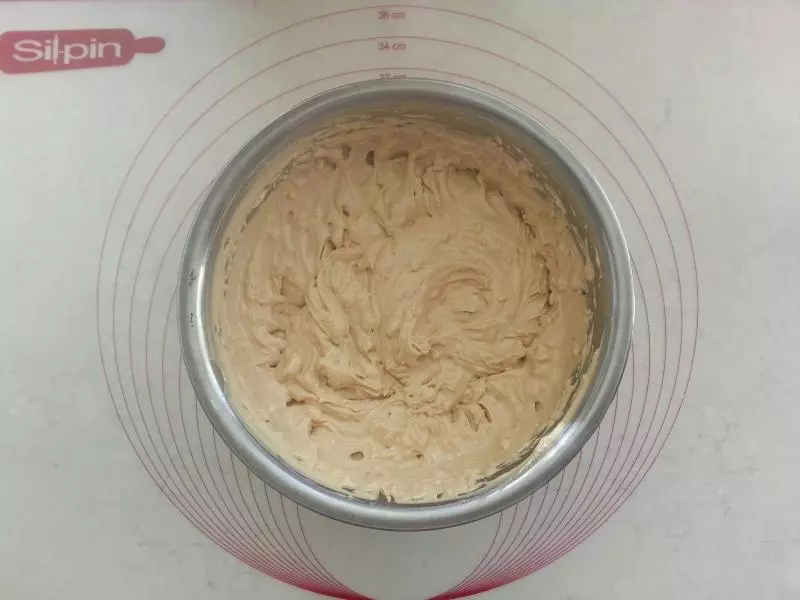
2加红糖+白砂糖,用打蛋器打均匀。
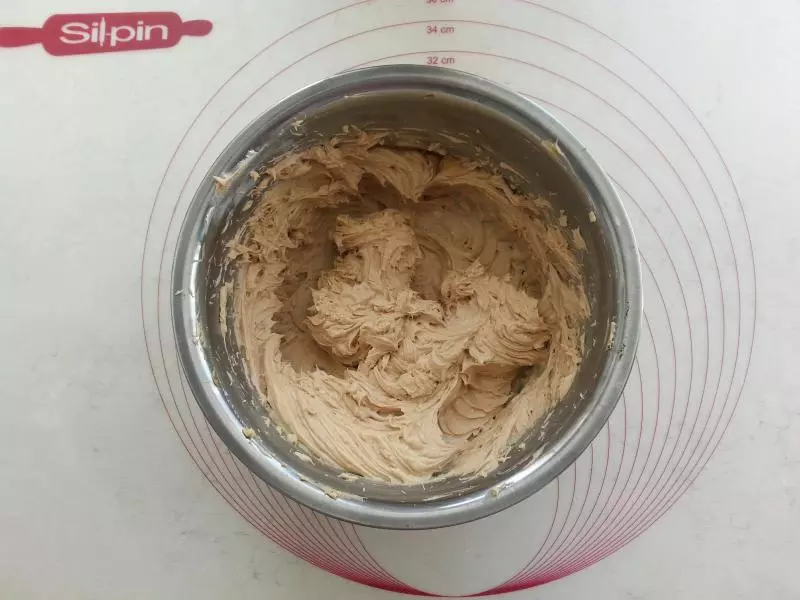
3加蛋液,用打蛋器搅打至奶酪和蛋液完全混和均匀。再加入软化的黄油 继续打匀(注意黄油要软化彻底,否则不会彻底混均匀,乳酪糊里有小黄油块)。
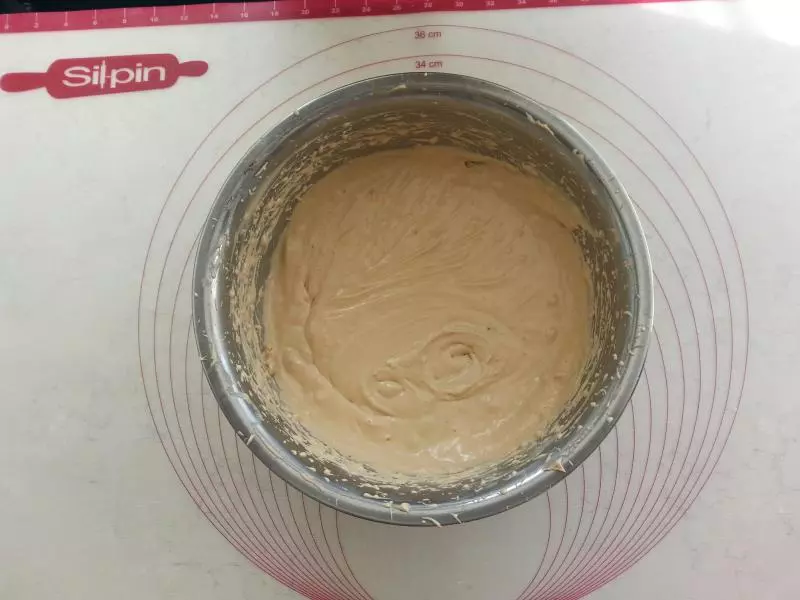
4加入玉米淀粉,先用刮刀稍搅拌,再用打蛋器打匀。
5带皮苹果切小丁,放入乳酪糊中。
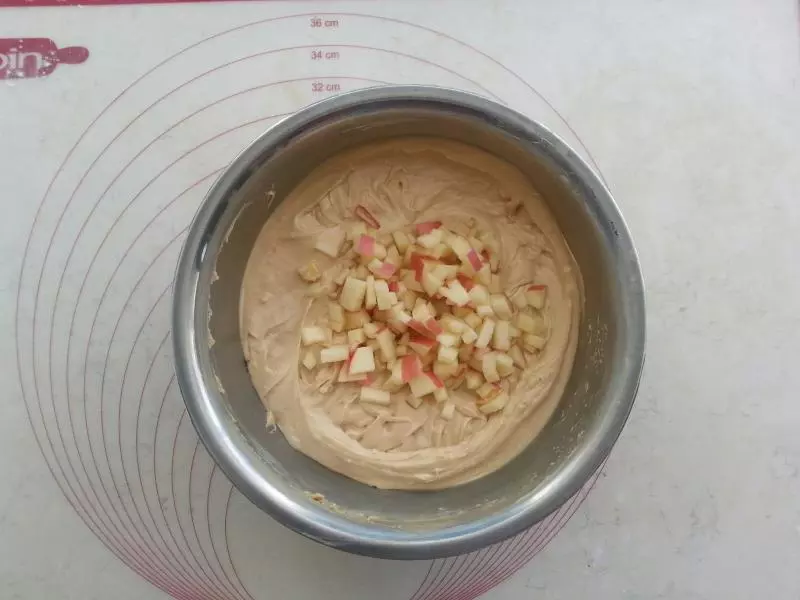
6用刮刀翻拌均匀,待用。

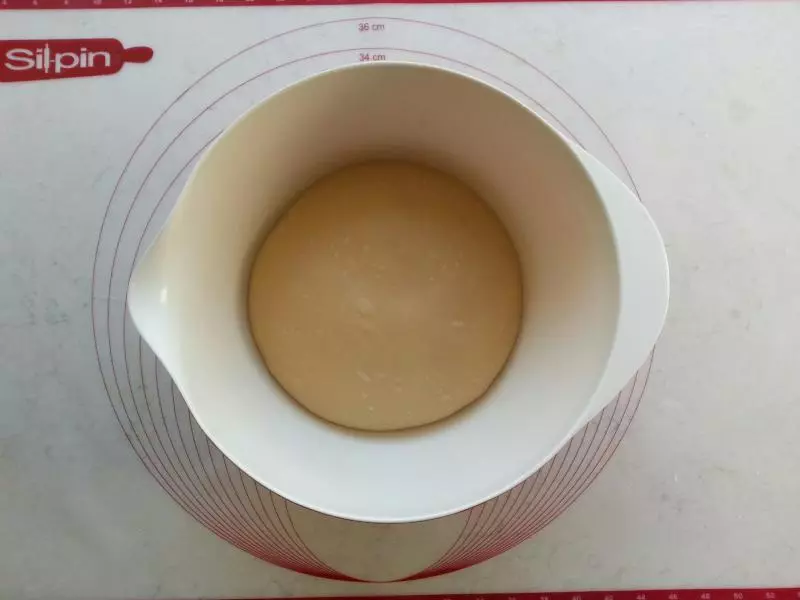
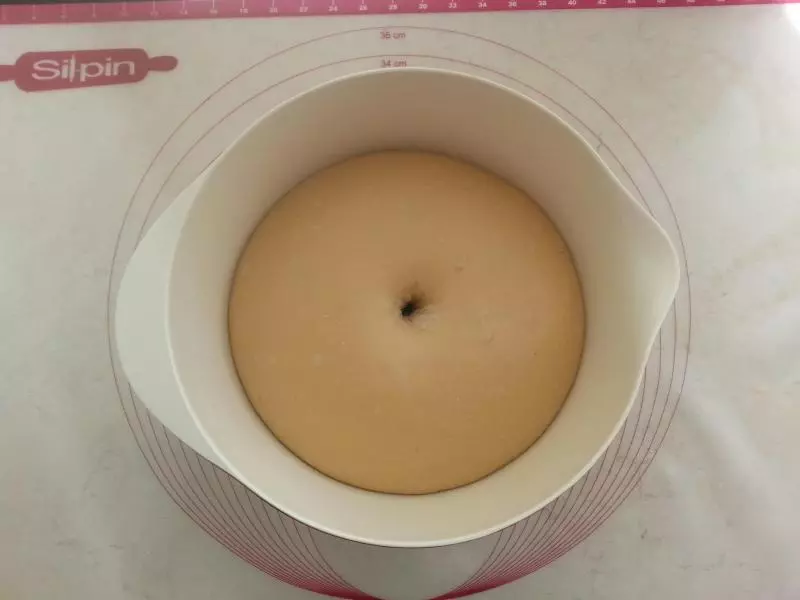
7面包制作:除黄油以外的原料混和,揉均匀 再加入软化的黄油 继续揉均匀至面团表面光滑,可以拉出较厚的膜(注意面团不用揉到出薄膜的状态),滚圆,放在温暖处进行基础发酵。
8发至原来的近2.5倍大,手指蘸面包粉插入面团,洞不回缩 面团不塌陷。
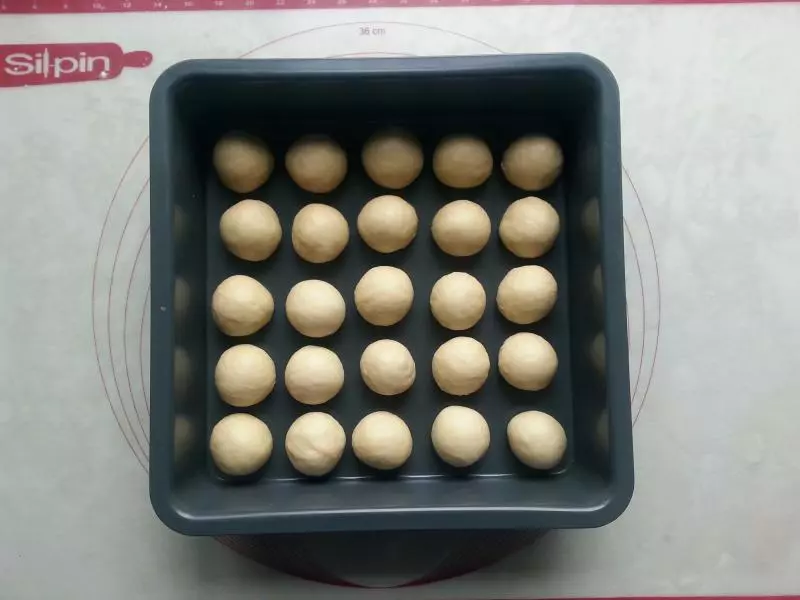
9把面团均分25份,排气 滚圆 整齐码放烤盘中, 温暖湿润的地方最后发酵,
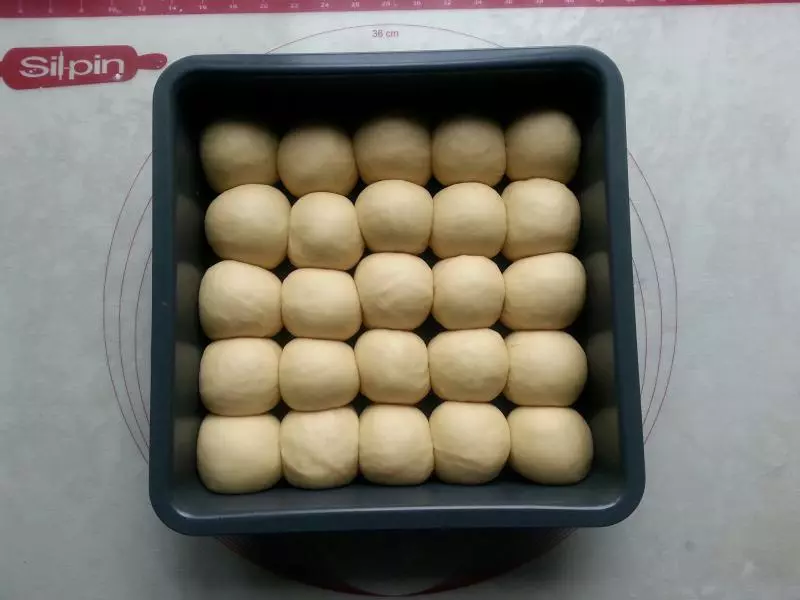
10发至原来的2倍大。
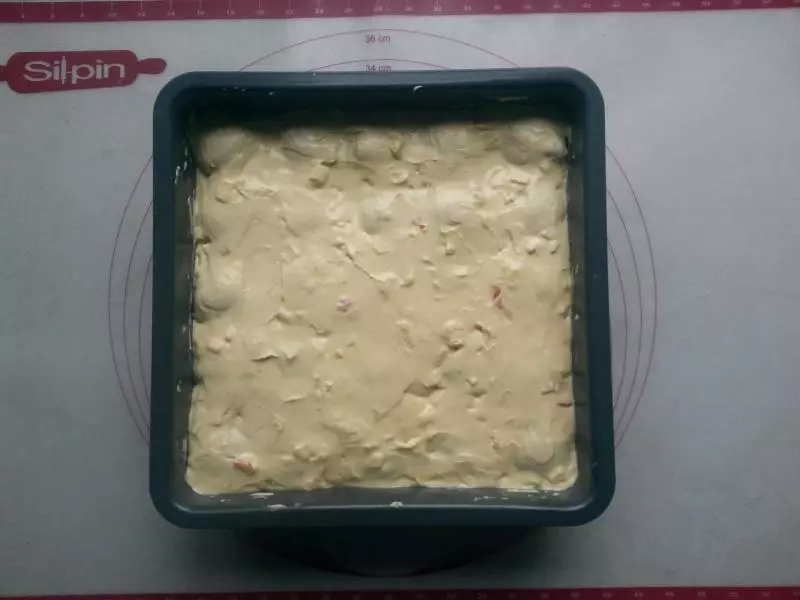
11先将乳酪馅慢慢倒在面包之间的空隙里,再将剩余的倒在面包体上,然后用刮刀抹平。
12苹果片整齐摆放在表面。肉桂+红糖混匀,均匀撒在表面。
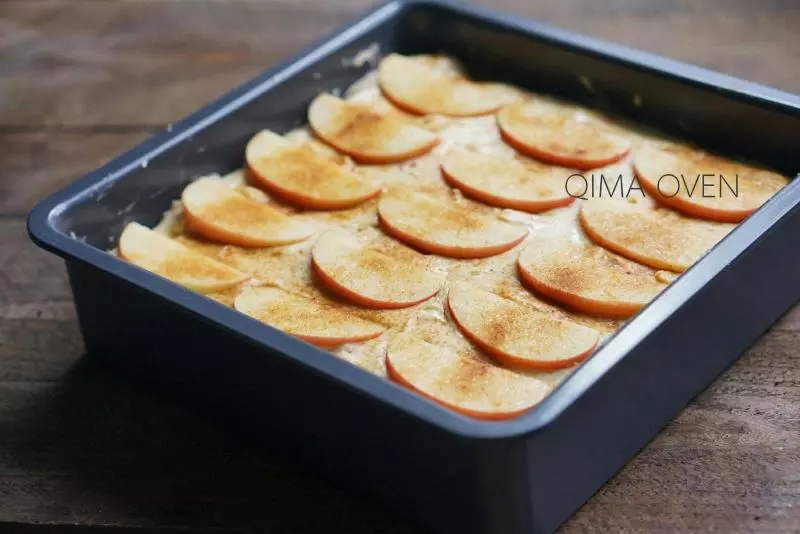
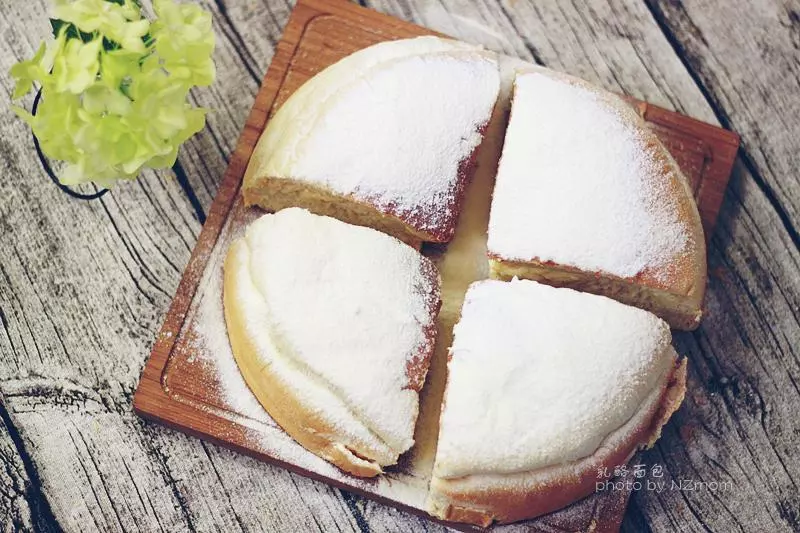
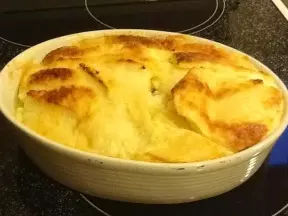
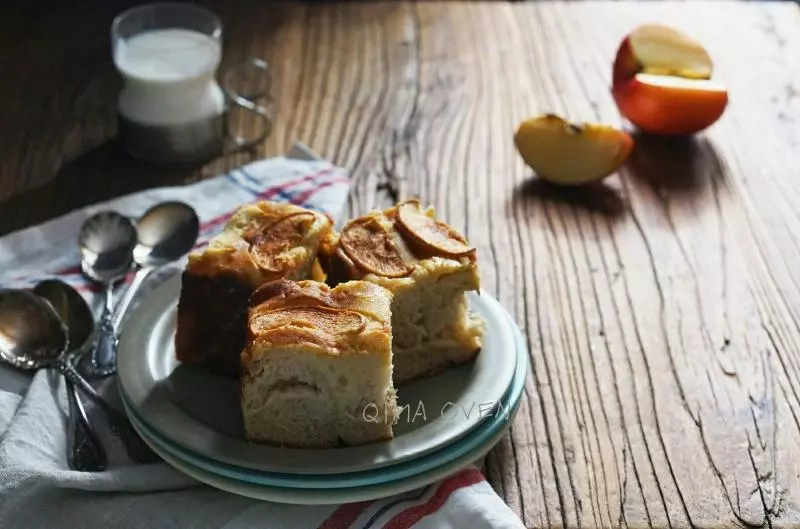
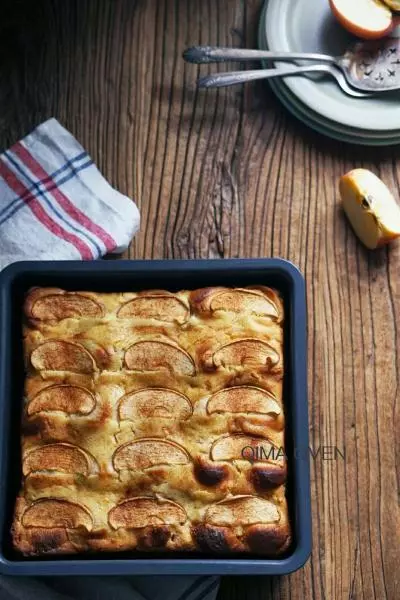
13预热好的烤箱,180℃35分钟。出炉脱模,放凉后切块就可以吃啦。 做前别忘记看看下面的小贴士哦!
小技巧
1.红糖不要用有结块的,否则烤好的成品会有一个个流糖浆的黑洞。 2.倒乳酪馅时,先倒在面包间的空隙处,这样可以将里面的气体赶出,避免乳酪馅下面存有大气泡 ,烘烤时会鼓起大包,苹果片也就跟着滑坡了。 3.抹平乳酪馅时,尽量抹平整,以免出来的成品高低不平。也不要太用力,避免把发酵好的面团压瘪。 4.最后撒在表面的肉桂糖看个人喜好哈,可多可少。