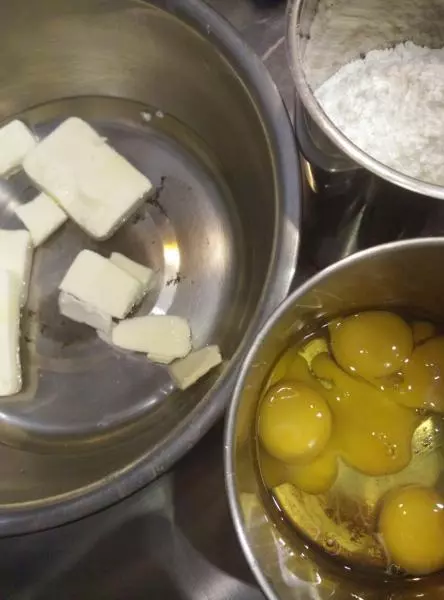
原料
黄油: 90G, 盐: 2G, 水: 200G, 低粉: 120G, 全蛋: 225G
步骤
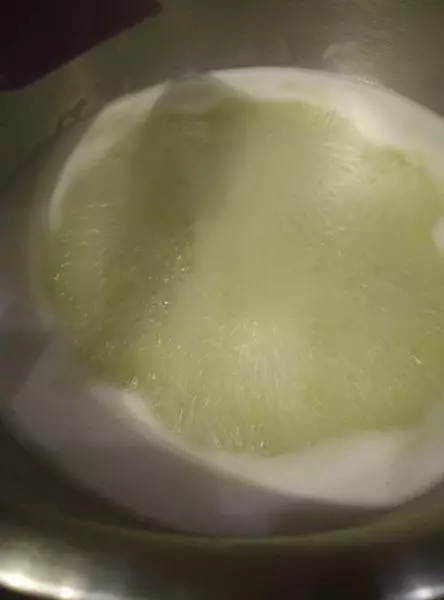
11、黄油+盐+水,上炉煮
22、煮到沸腾,离火(一沸腾立刻离火,所以要在沸腾之前融化黄油)
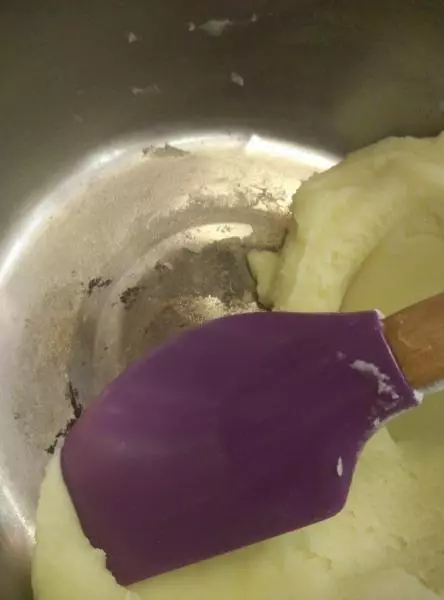
33、筛入低粉,拌匀

44、再次上炉,边煮边搅拌,锅底出薄膜时立刻离火
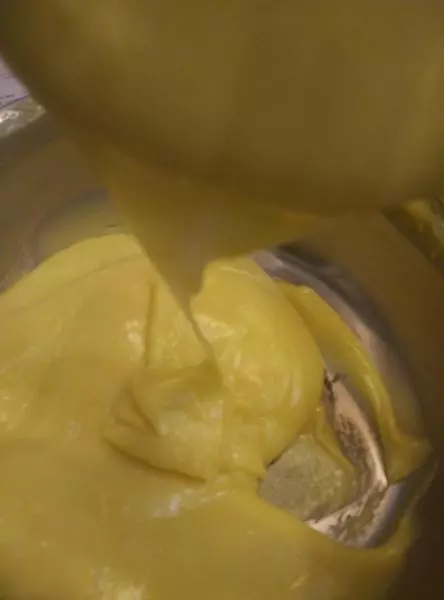
55、搅拌一下散散热,分次加入已经打散的蛋液
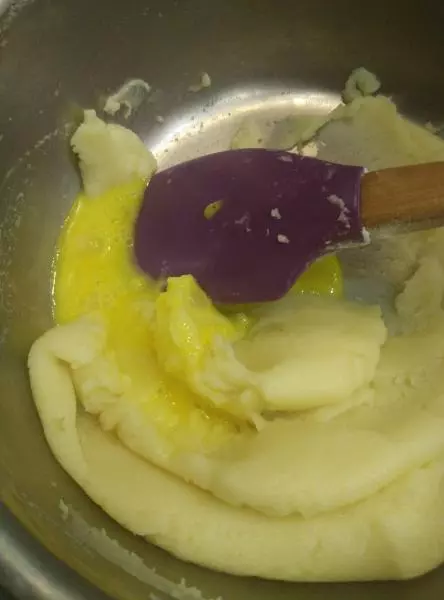
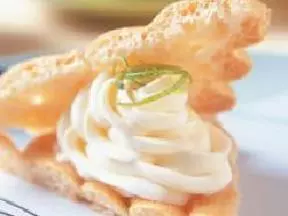
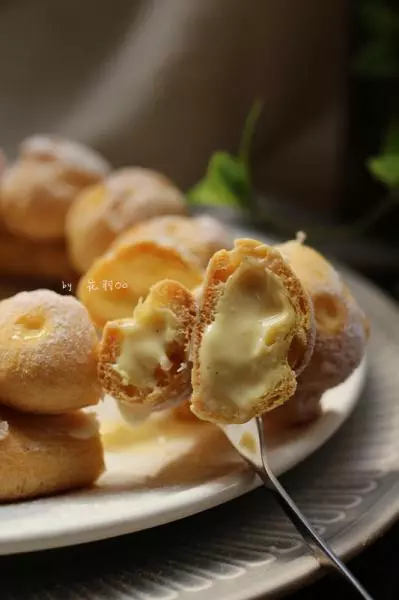
66、直到细腻顺滑,用刮刀提起面糊,掉落后有尖——装入裱花袋
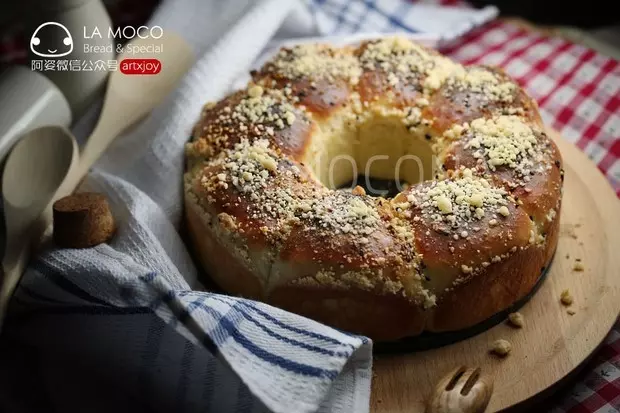
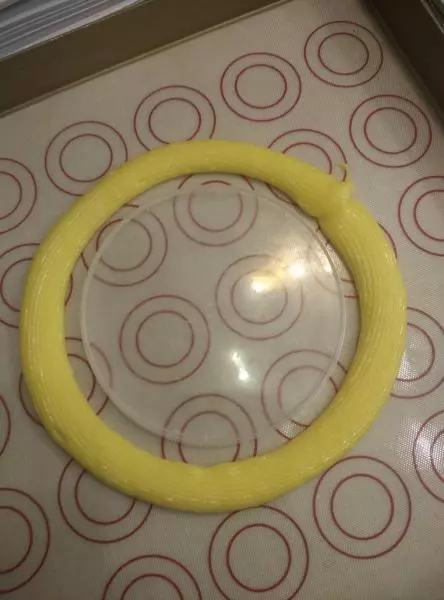
77、在烤盘中间用一个圆形物体作为参照,挤出一个圆
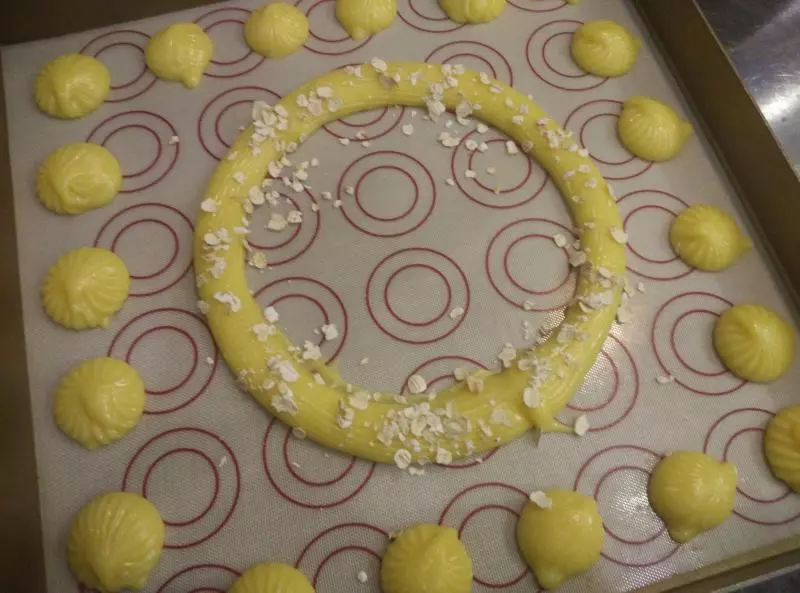
88、然后在四周挤出与圆宽度一至的小圆糊。(泡芙在烤盘内的布置,最好预先安排,原则是分布均匀,这样在烘焙过程中蒸发水分时,有利于各部位的压力大致平衡)
99、烤箱预热至上火190下火200后,烤盘放进中下层,设置45分钟
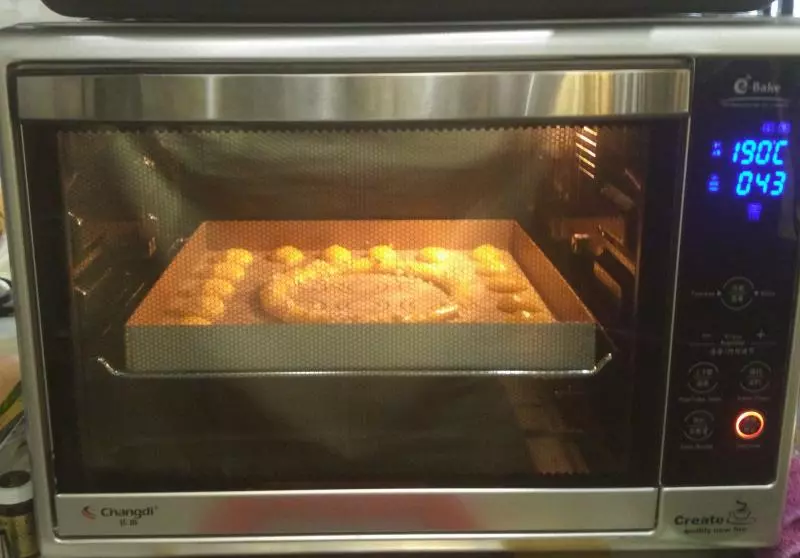
1010、烤到膨胀起来约15分钟
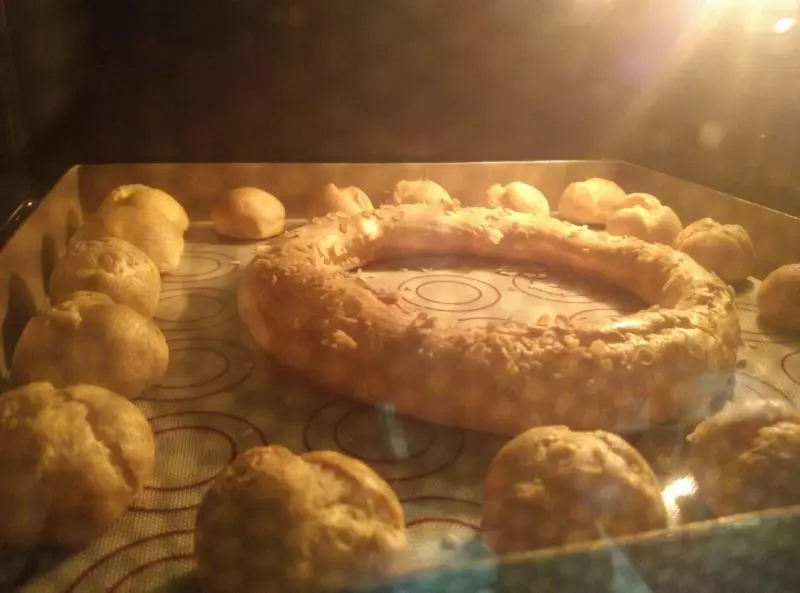
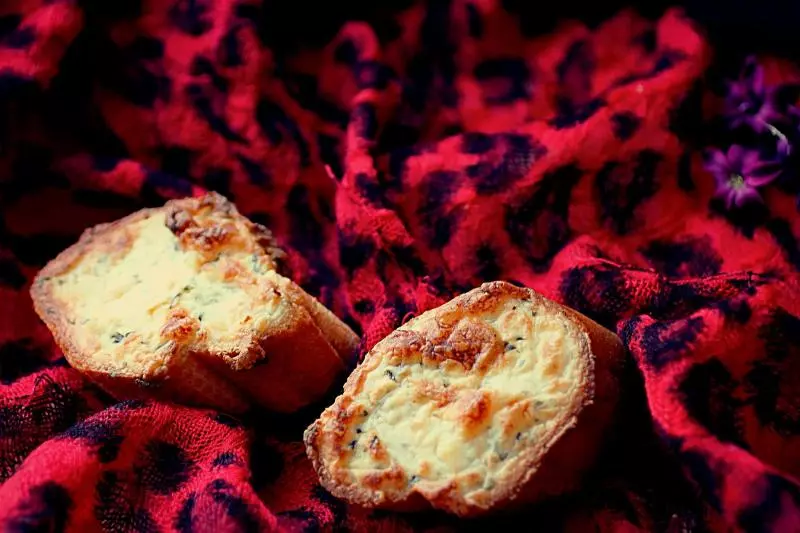
1111、温度改到上火180下火160,继续烤到泡芙膨胀裂开的沟沟里面也变了颜色,就可以拿出来了,这个时间20-30分钟,根据泡芙的大小和实际情况而定。
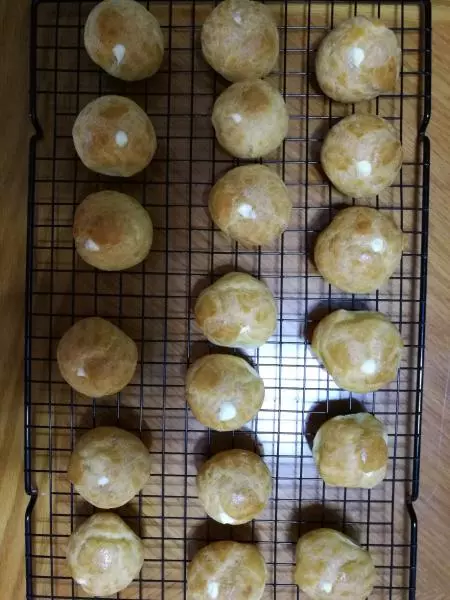
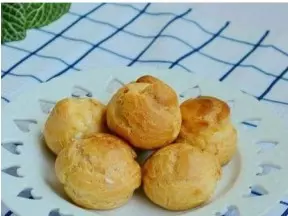
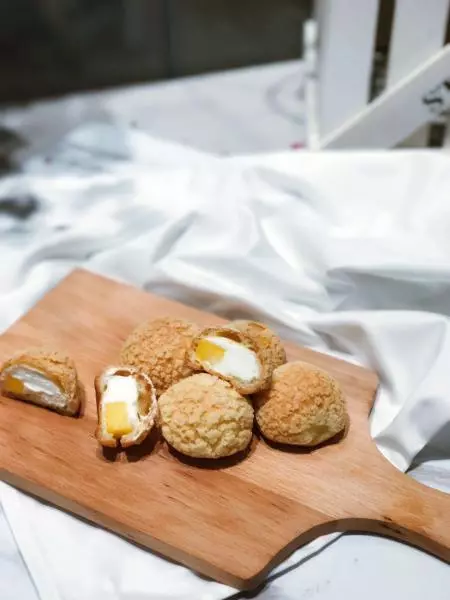
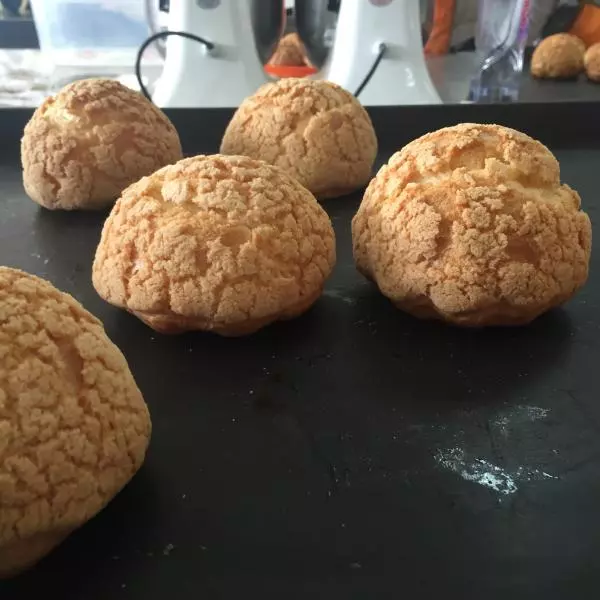
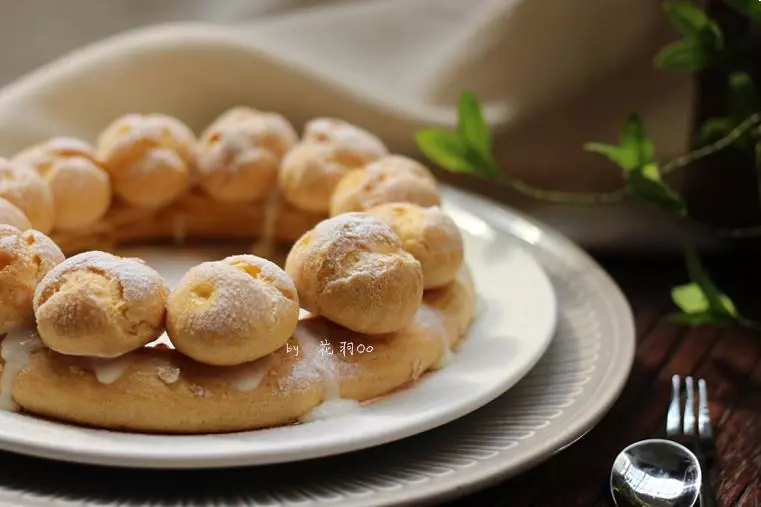
12从出炉图可以看出来,烤盘各处上色都比较均匀。另外要再次赞一赞它的温准,真的是太棒啦,完全可以根据图书中的建议温度来进行设置,中途调温不费力··
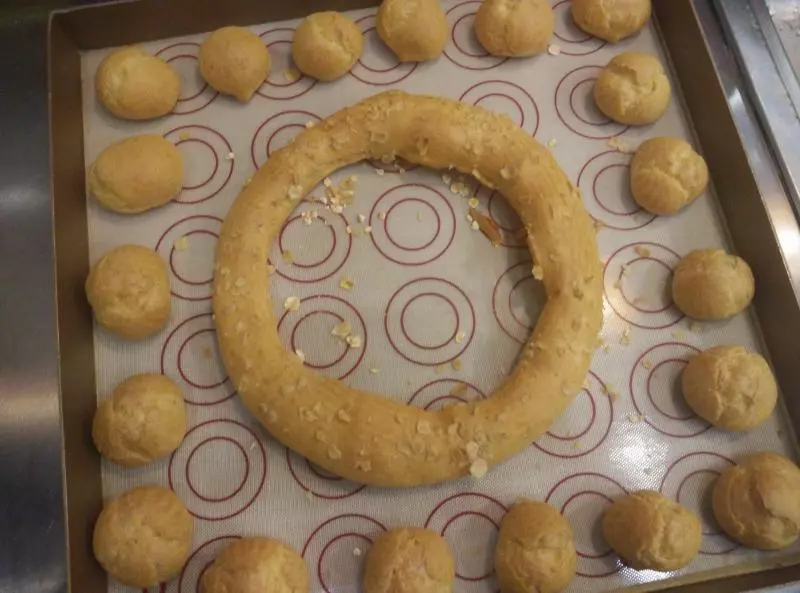
13烤得很匀
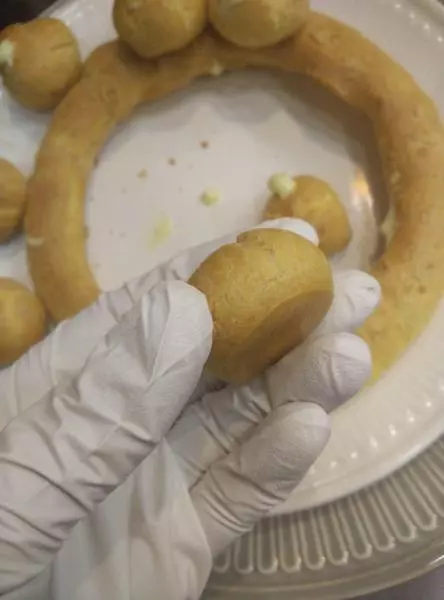
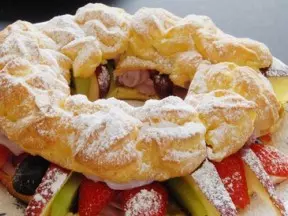
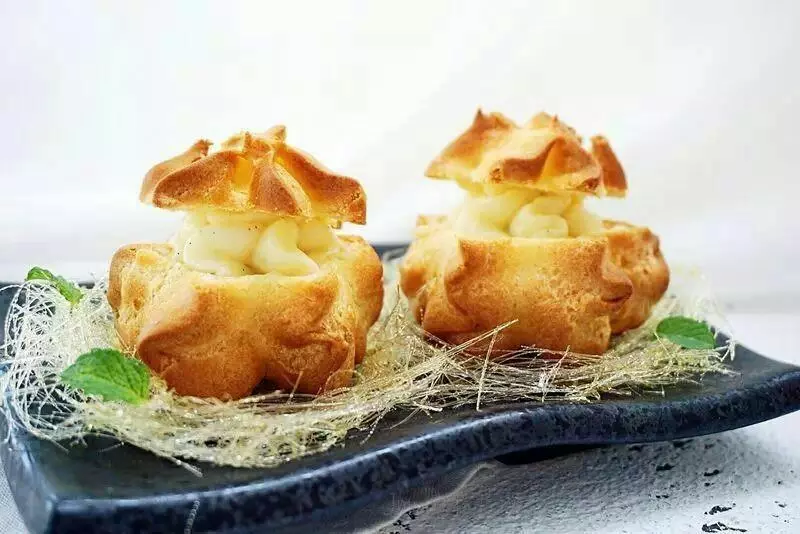
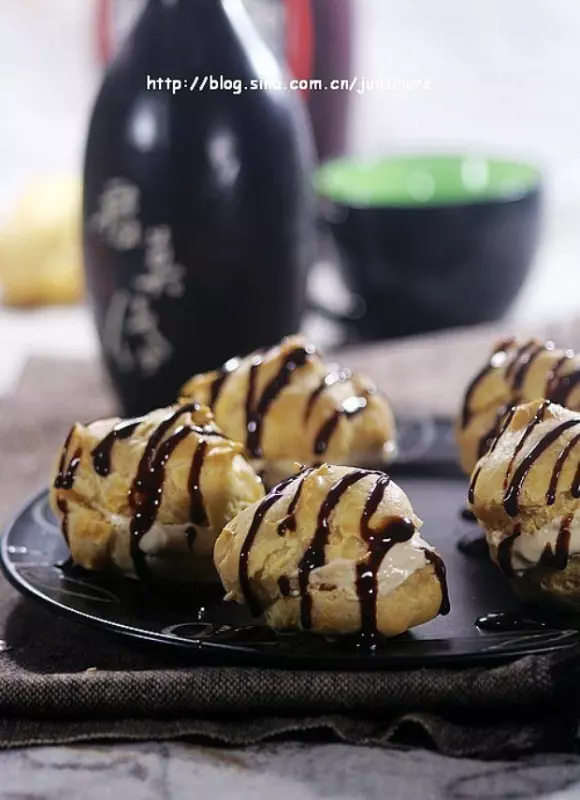
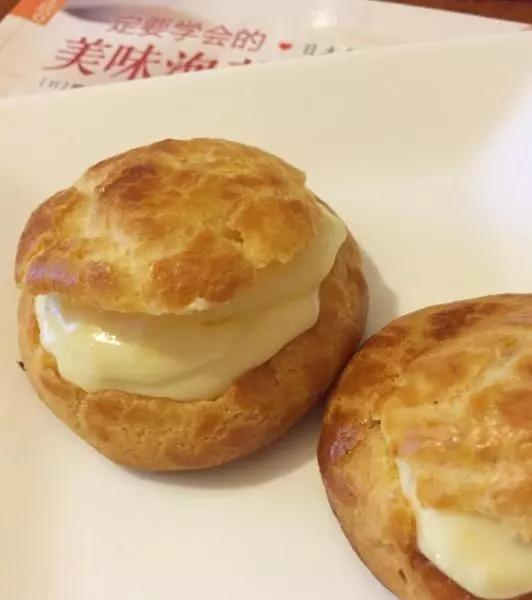
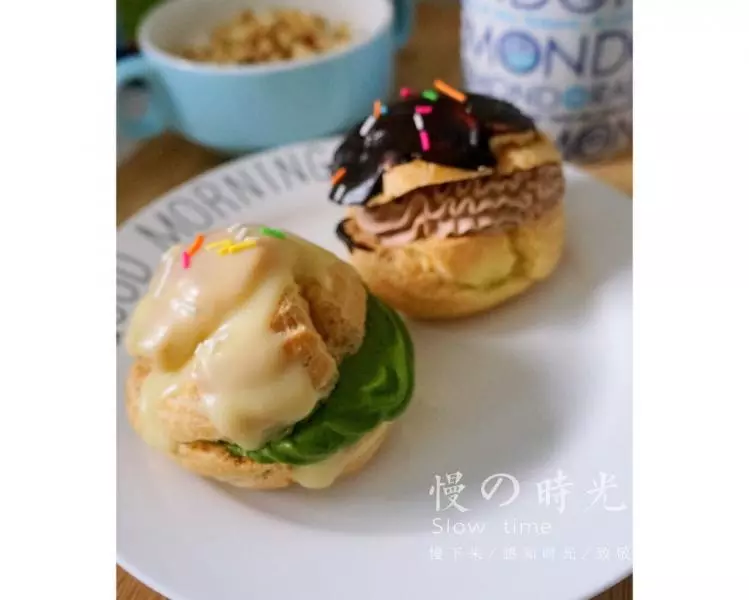
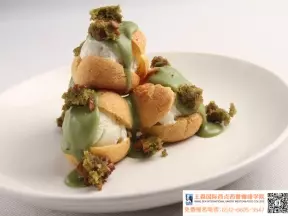
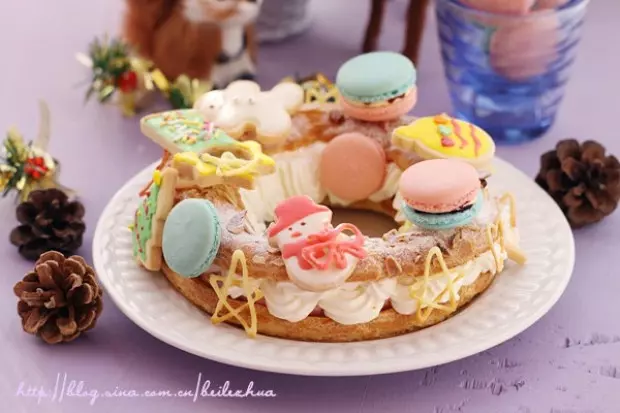
14拼装: 1、圆环底部用剪刀钻几个孔,挤入冷却的香草乳酪酱 2、圆形泡芙侧部入酱料 3、用融化的白巧克力来粘合配件就好啦
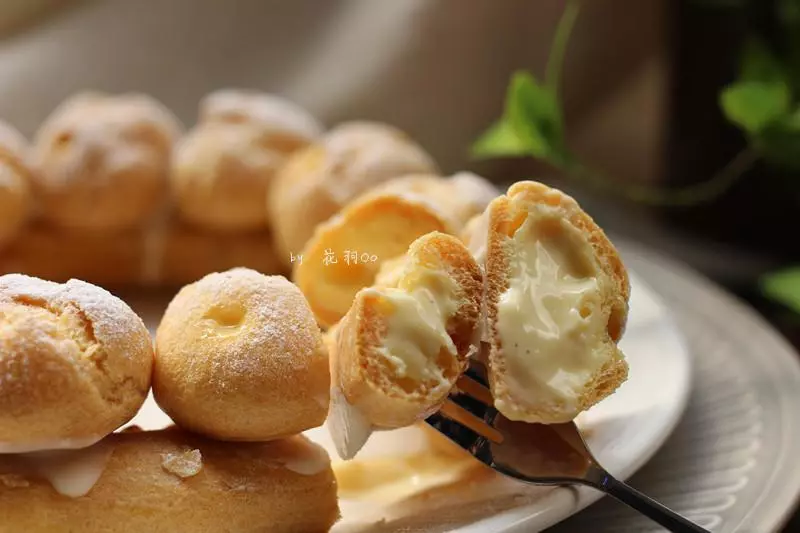
15想吃吗
小技巧
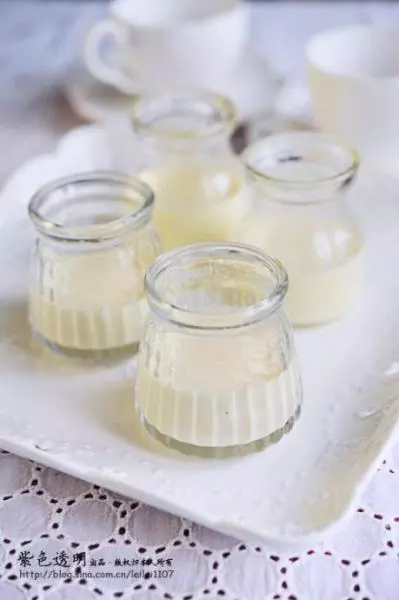
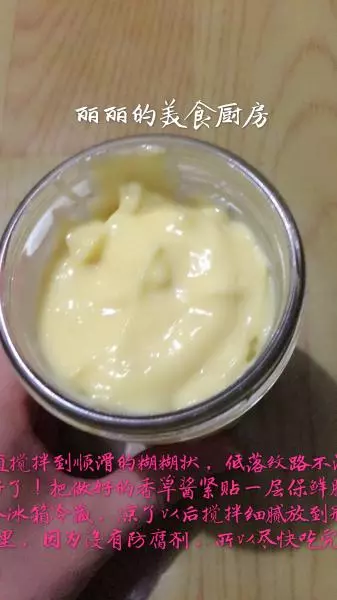
另附香草乳酪酱的配方: 蛋黄2个 糖35G 低粉10G 淀粉10G 牛奶200G 香草荚半根 奶油奶酪100G 卡士达酱的做法,酱煮好以后,加入奶油奶酪搅打均匀,等到完全冷却就可以用啦··