原料
蛋黄: 4个(65g), 细糖: 10g, 玉米油: 50g, 牛奶: 60g, 热水: 60g, 低筋面粉: 60g, 抹茶粉: 15g, 蛋白: 4个(约145g), 细糖: 60g, 柠檬汁: 几滴, 淡奶油: 200g, 细糖: 16g, 朗姆酒: 少量, 蜜红豆: 50g,
步骤
1准备好所用的材料。

2将抹茶粉加入热水中,充分混合均匀后放冷备用。

3做蛋黄糊:牛奶和玉米油加入细糖,搅拌至糖融化后加入蛋黄,搅拌至颜色变浅。

4加入过筛的低筋面粉,翻拌均匀。

5将抹茶糊加入面糊中,

6充分翻拌均匀备用。

7打发蛋白霜:蛋白加少量柠檬汁,打至粗泡后分3次加入细糖,打发至偏中性发泡,提起能拉起大弯角。

8混合面糊:先取三分之一的蛋白霜加入到面糊中切拌均匀,

9再将拌好的面糊倒入到剩下的蛋白霜中,

10快速切拌均匀。

11将拌好的面糊从高处倒入垫油布的CM-723金色烤盘中,

12摇动烤盘使面糊平整,并震出大的气泡。

13COUSS CO-660A智能烤箱,选择上下火180度,预热后烤盘放入中层烤网,烘烤约18分钟。

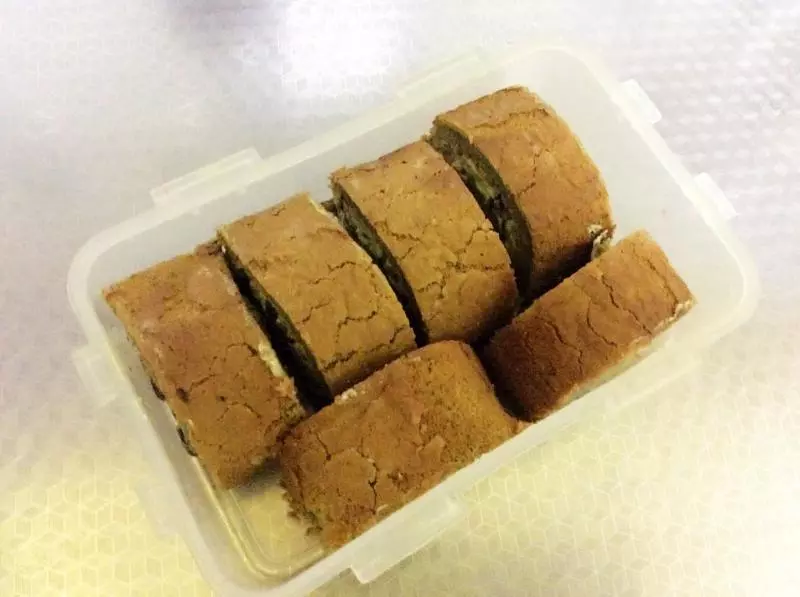
14烘烤结束,蛋糕出炉震一下后立即脱出烤盘,倒扣在一张干净的油纸上,撕去油布后再虚盖在表面晾凉。

15将冷藏的淡奶油加糖,加入少量朗姆酒,打发至顺滑有纹路状态。

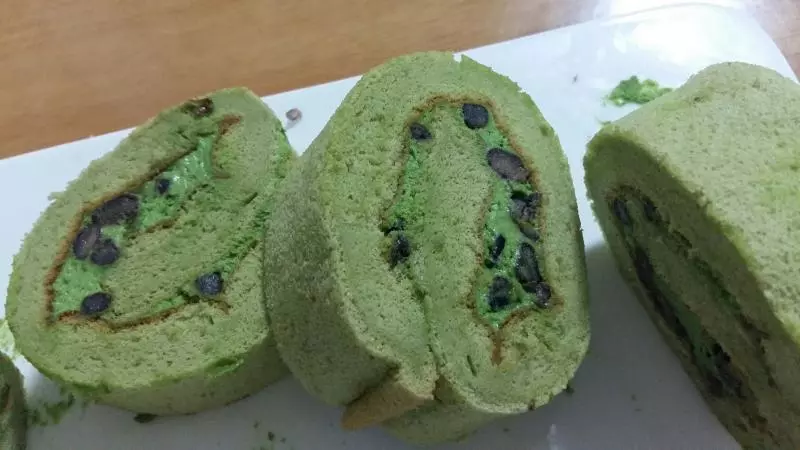
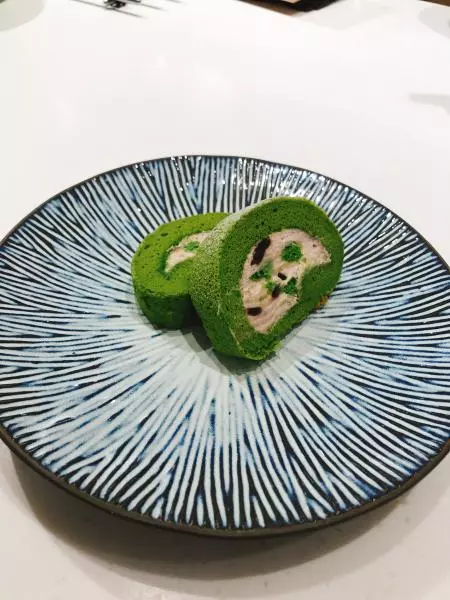
16蛋糕卷正面朝上,抹一层奶油后撒上蜜红豆,借助擀面杖及油纸卷好,

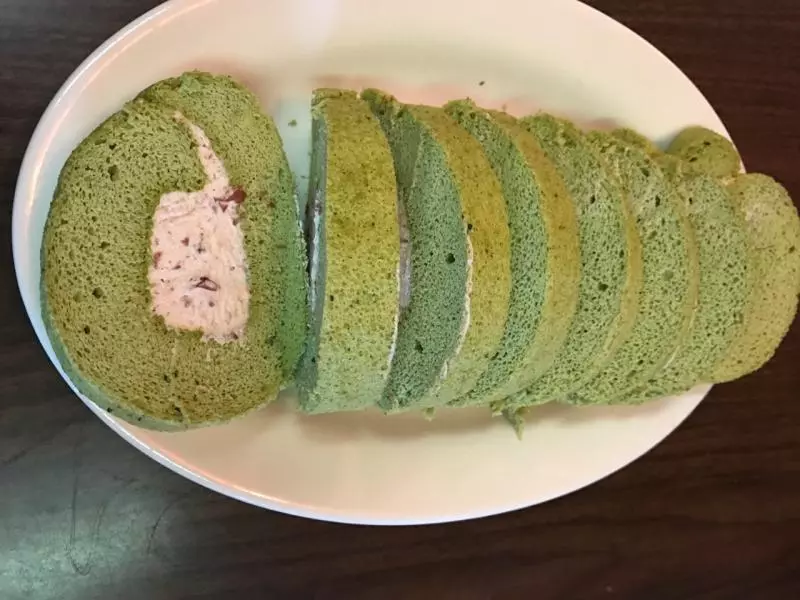
17包好冷藏定型后切件即可。

18美美的蛋糕卷

19下午茶不错选择

20美美的享用吧

小技巧
1、 抹茶要用热水先拌匀,不然容易拌不均匀,使蛋糕卷有抹茶粉颗粒。 2、 蛋黄糊在做好后可以过滤一遍,以去除颗粒,达到更细腻的状态。 3、 使用的是五十铃抹茶粉,烘烤出的蛋糕卷颜色非常漂亮。抹茶和红豆,天生是绝配,蛋糕卷的口感很赞。 4、 烘烤的温度和时间仅供参考,请按实际情况适当调整。