原料
苹果: 2个(中等大小), 泡打粉: 3克, 鸡蛋: 2个, 黄油: 20克, 细砂糖: 20克, 牛奶: 30g, 低筋面粉: 80g, 黄油提前隔热水融化好,苹果切片,模具铺好油纸,烤箱200度预热:
步骤
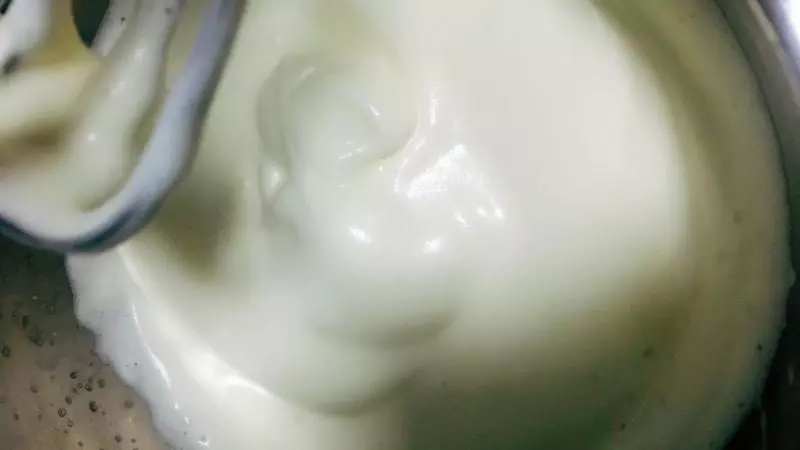
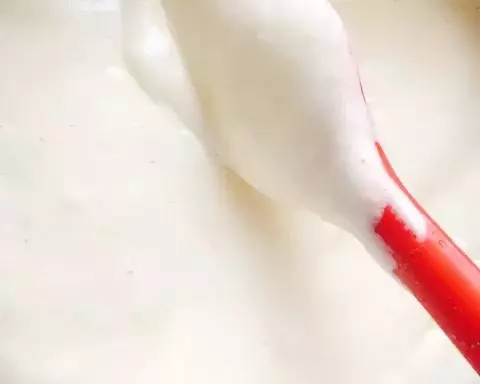
1鸡蛋加入细砂糖,手持打蛋器高速打发到如图状态,面糊能基本保证花纹不消失(没有什么诀窍啊,鸡蛋新鲜,要细砂糖,然后疯狂的打就好了啊)
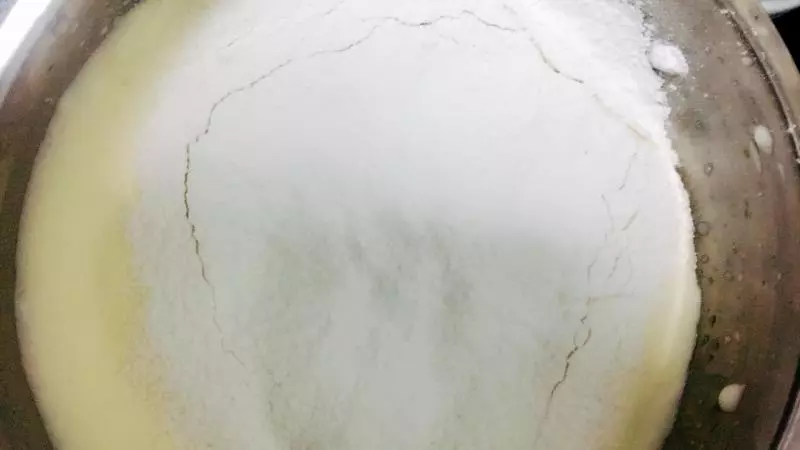
2面粉泡打粉混合后筛入蛋盆(千万不要偷懒,一定要过筛,一定要提前混合,不过筛的话,低粉全是大颗粒,不提前混合粉跟泡打粉不均匀,吃到没搅拌开的泡打粉,口感就酸爽死你)
3混合物翻拌均匀 (翻拌手法是蛋糊不消泡的关键,刮刀从蛋盆中间切入到底,转动蛋盆,沿蛋盆边缘翻起,以此类推,翻拌20下左右,没有干粉就好了)

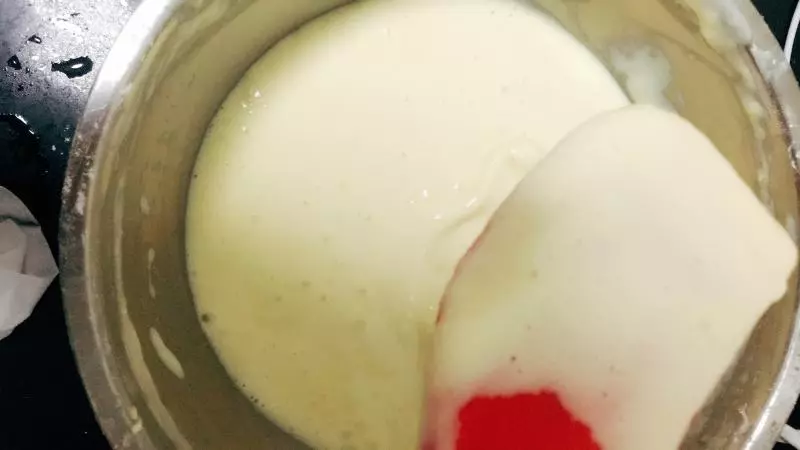
4加入提前融化好的黄油,再次翻拌均匀
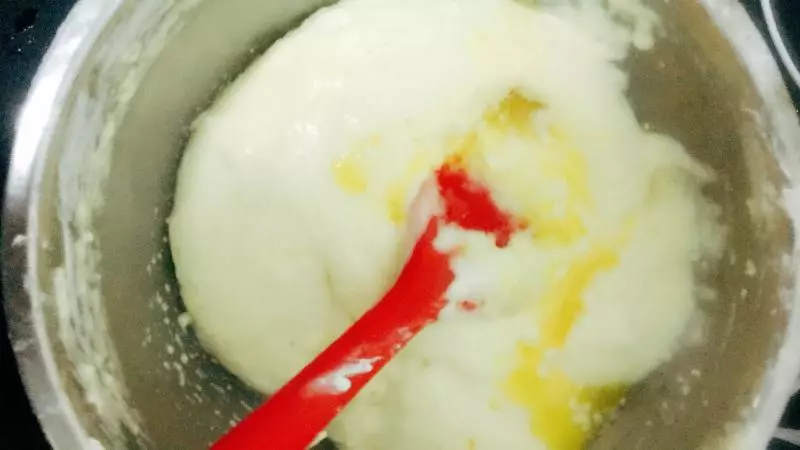
5加入牛奶继续拌,都是20下左右就好了
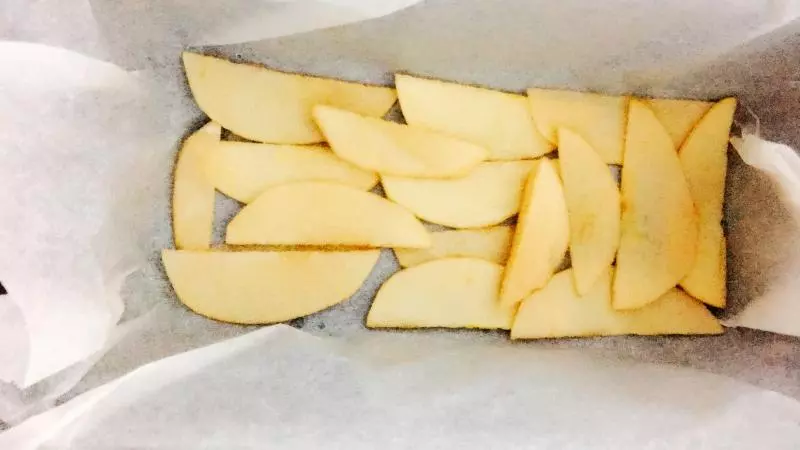
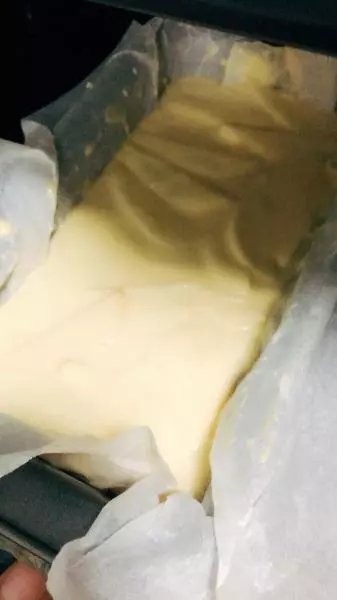
6模具垫油纸,一层苹果
7一层面糊
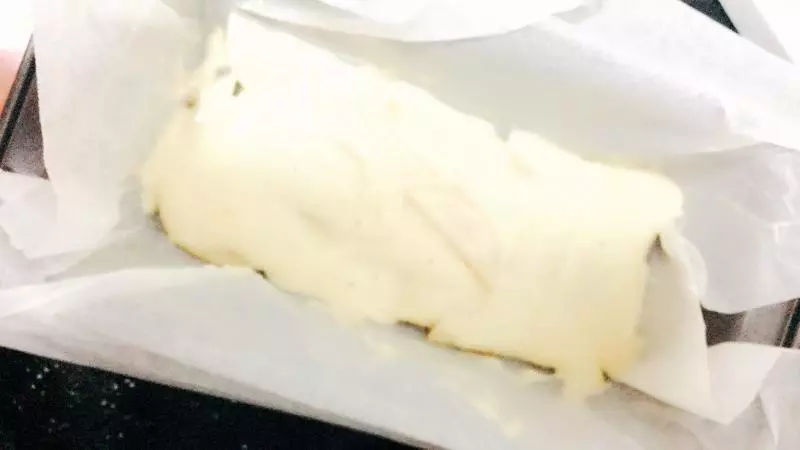
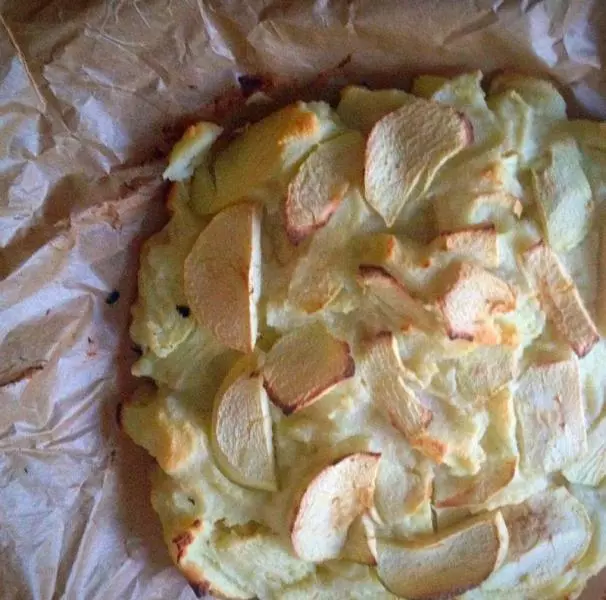
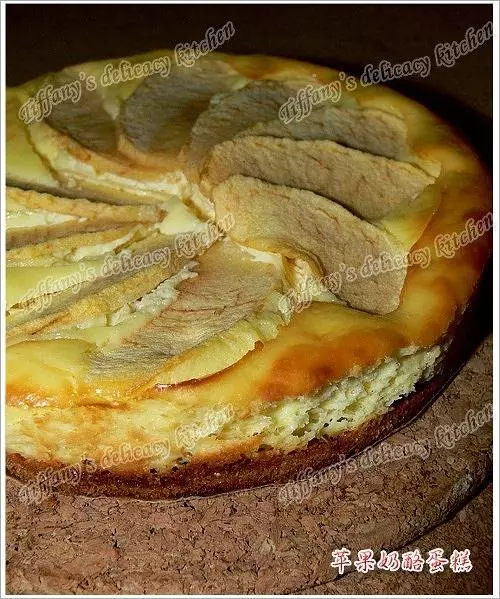
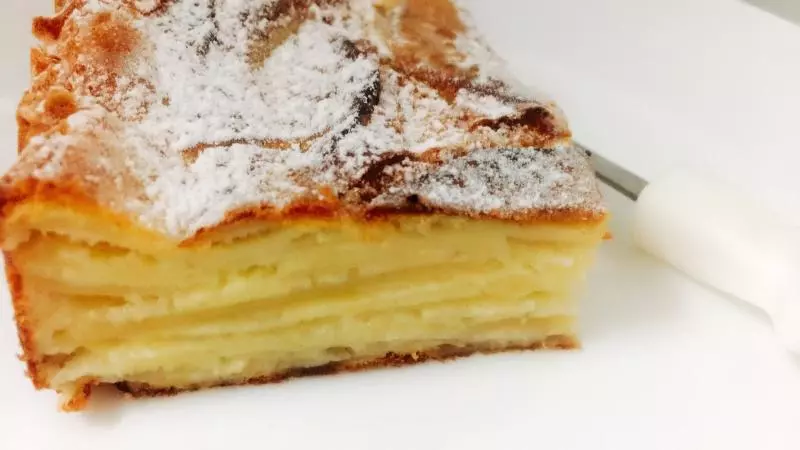
8一直到面糊苹果都加完,入烤箱,200度30分钟左右,上层上色满意加盖锡纸就能防止继续上色了
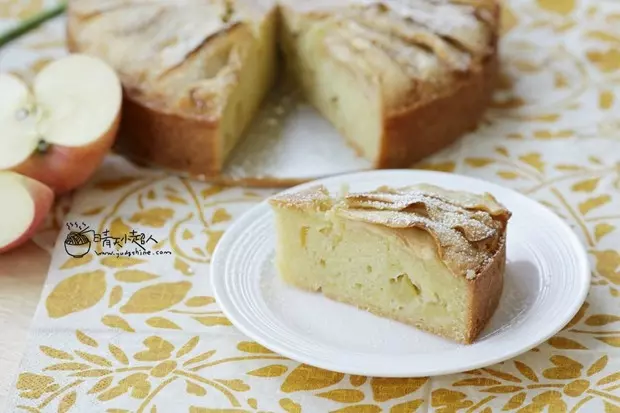
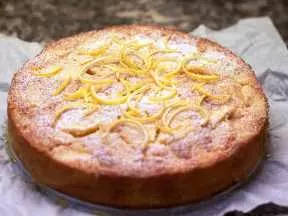
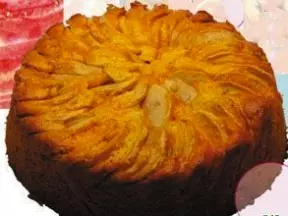
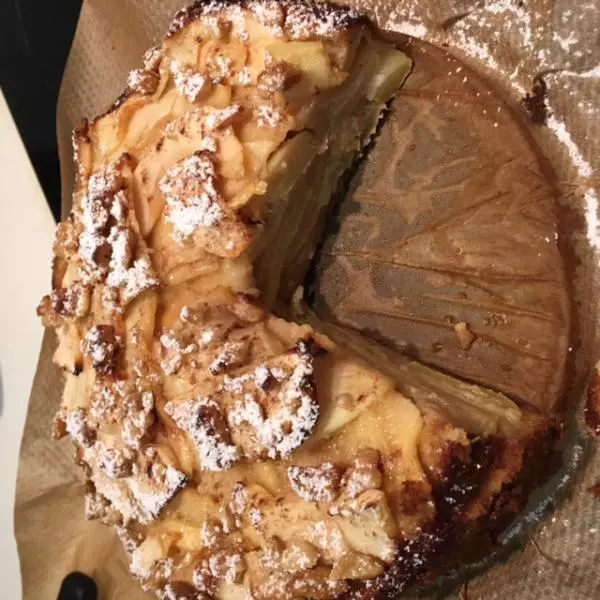
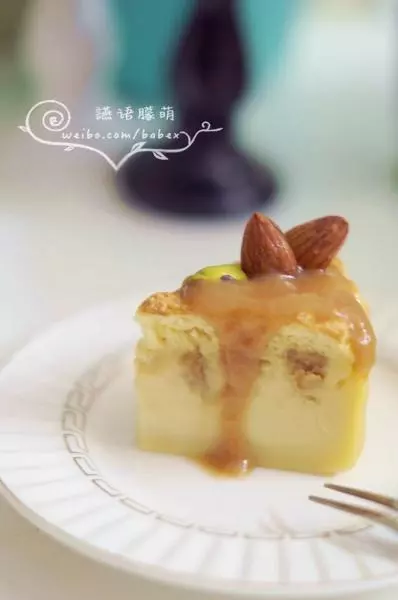
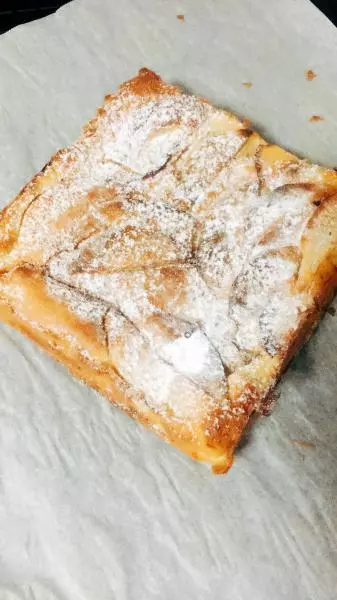
9出炉后可以筛糖粉 筛不筛随你大小便
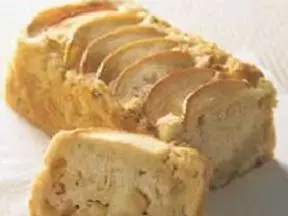
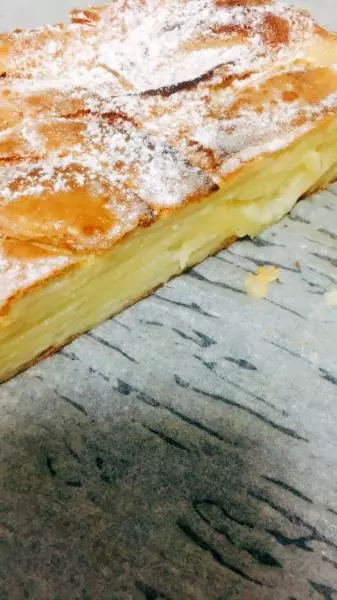
10锯齿刀切开,菜刀不行,会切烂,你信我
11一直手拿着手机不好拍,但就是这样翻拌,刮刀打到底,同时反方向装动蛋盆整个把底抄起来翻拌就好了
小技巧
没得可说,按步骤来!!!!