原料
奶酪: 200g, 黄油: 60g, 牛奶: 100g, 鸡蛋: 4个, 柠檬汁: 少许, 低粉: 25g, 玉米淀粉: 20g, 白砂糖: 80g
步骤
1乳酪切成小条备用。

2将蛋清分出来。

3将蛋黄备用。

4准备好常温纯牛奶。

5黄油备用。

6将蛋黄、乳酪、黄油隔温水搅拌均匀。

7加入纯牛奶继续搅拌。

8加入白砂糖。

9加入低粉继续搅拌。

10将粉湖搅拌均匀。

11将蛋清打为湿性发泡。

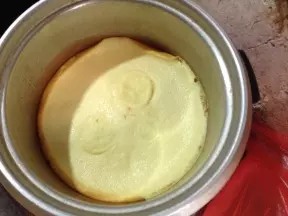
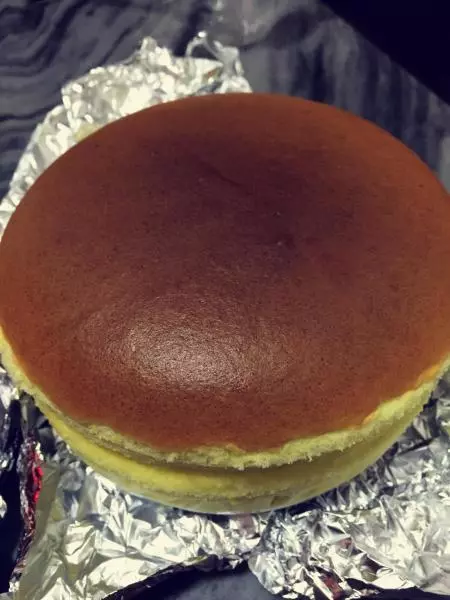
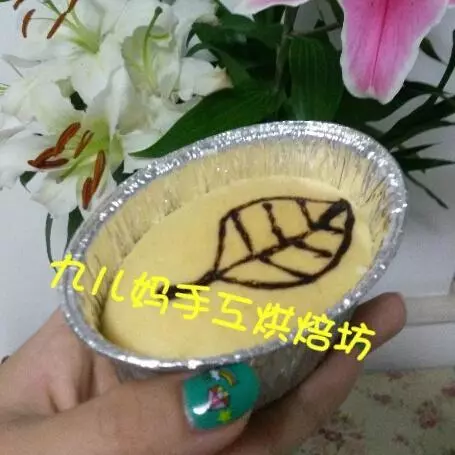
12将粉湖与打发的蛋清混合均匀后放入烤箱,130度考50分钟,再150度考10分钟上色。

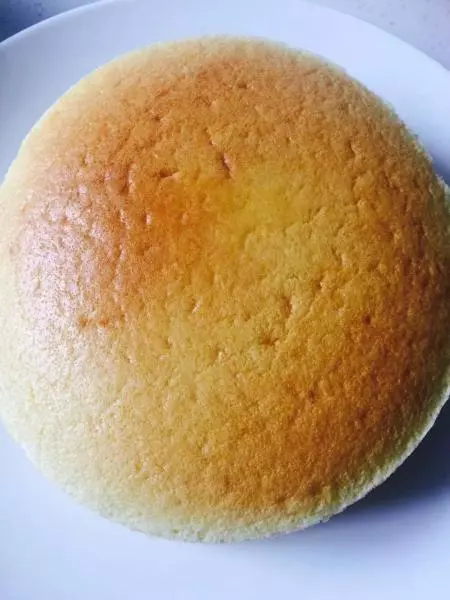
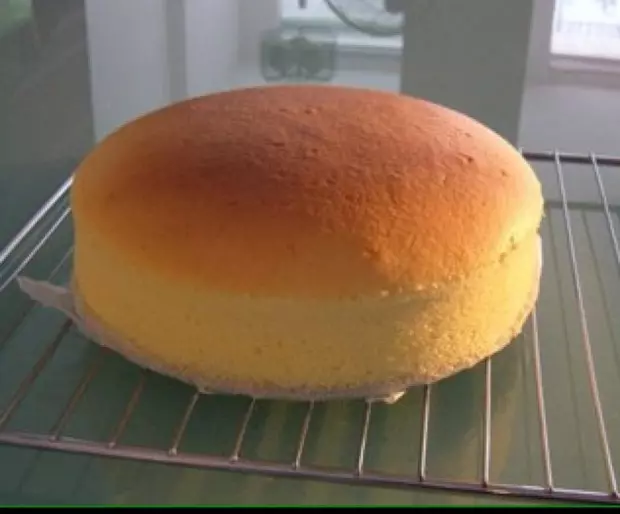
13烤好后从烤箱啊取出扣在凉架上。

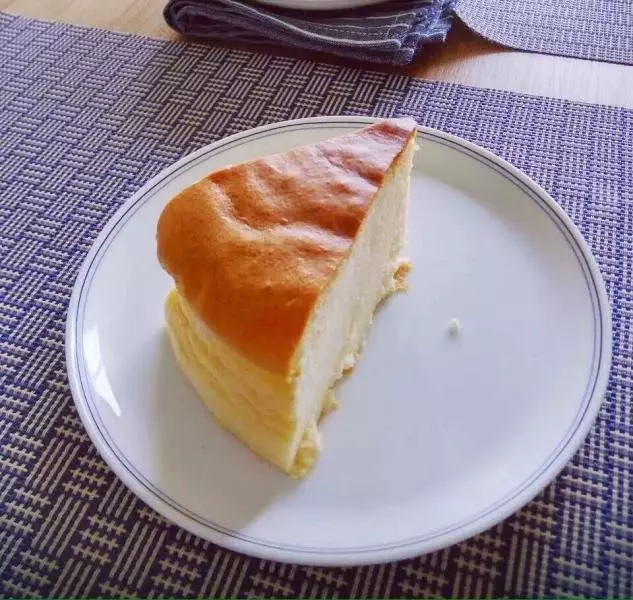
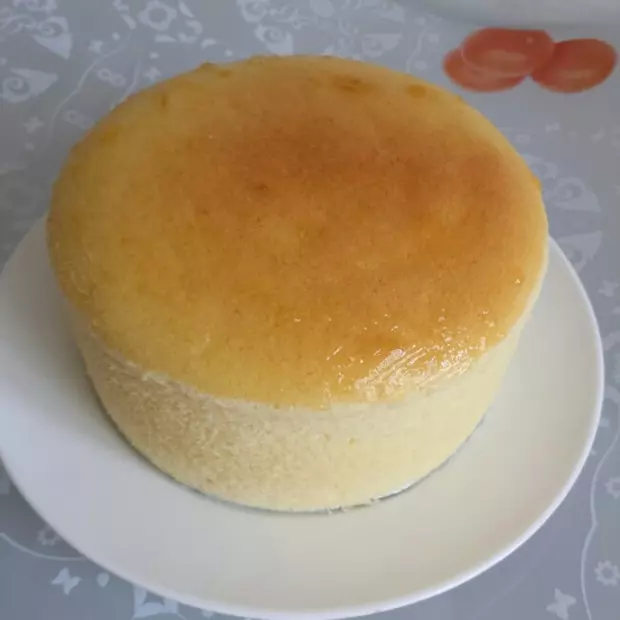
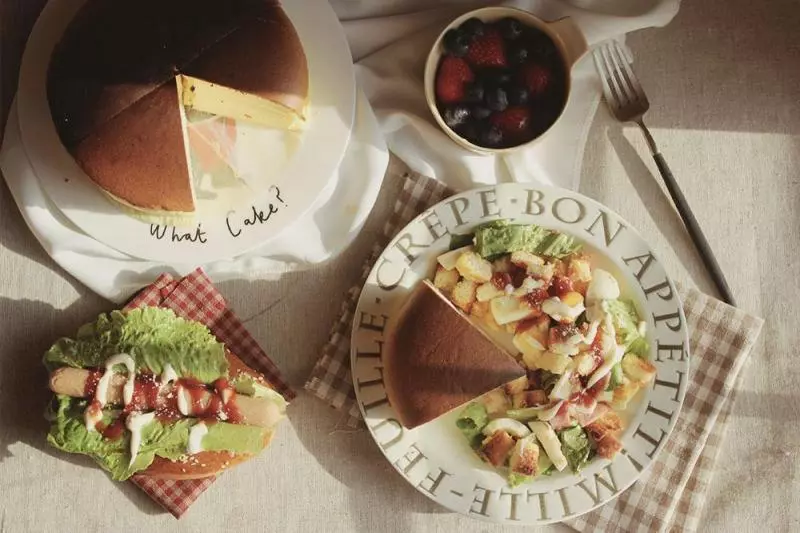
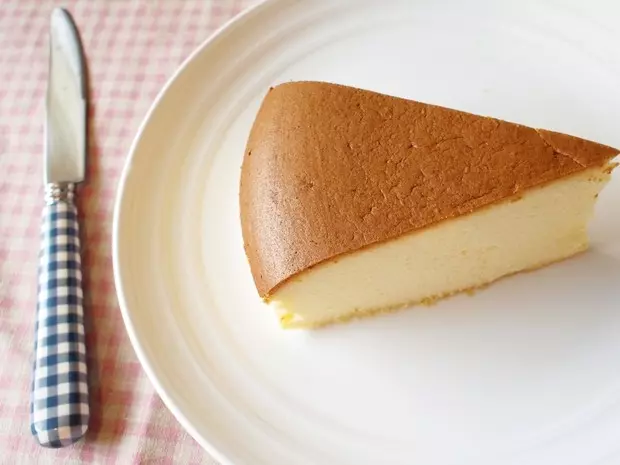
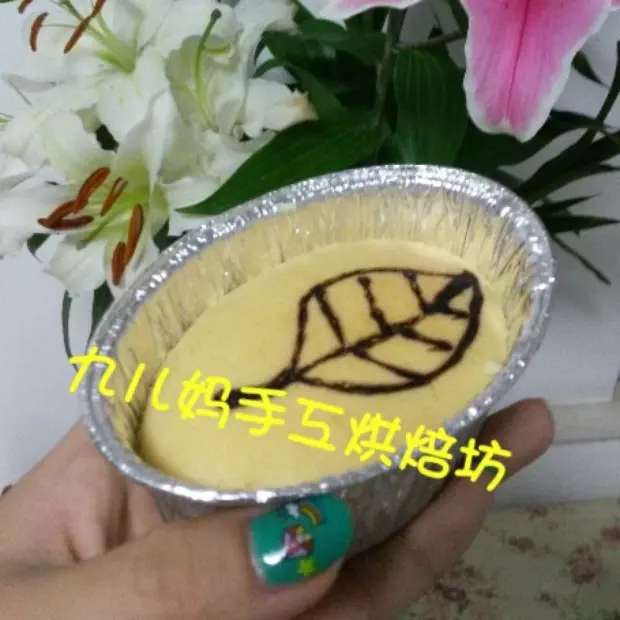
14开吃啦!

小技巧
冰箱冷藏后口味更佳!