原料
红糖: 80克, 黄油: 125克, 全蛋液: 50克, 低筋面粉: 250克, 泡打粉: 1/2小勺, 小苏打粉: 1/4小勺, 核桃仁: 100克
步骤
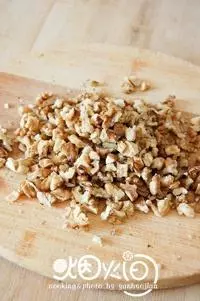
1核桃仁切碎,备用(无需事先烤过)。
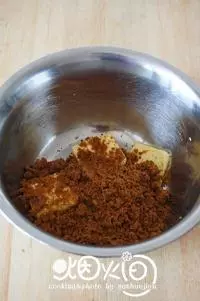
2黄油室温软化后,加入红糖拌匀。
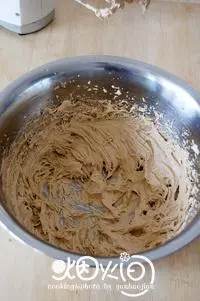
3用搅拌机搅打至黄油松发。
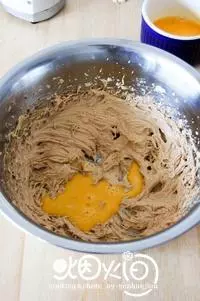
4分次加入全蛋液,快速打发至均匀的奶油糊状。
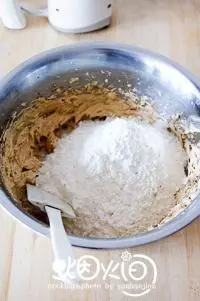
5加入过筛的粉类,用橡皮刮刀稍微拌合。
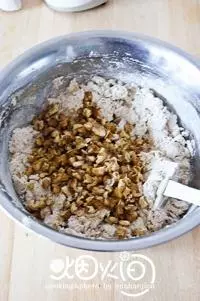
6再加入核桃碎拌成均匀的面团。
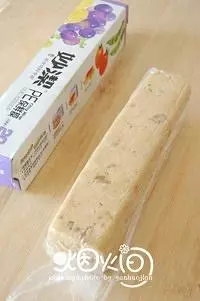
7将面团放在保鲜膜上,用手整形成宽约4cm的长方体,包好保鲜膜入冰箱冷藏3小时。
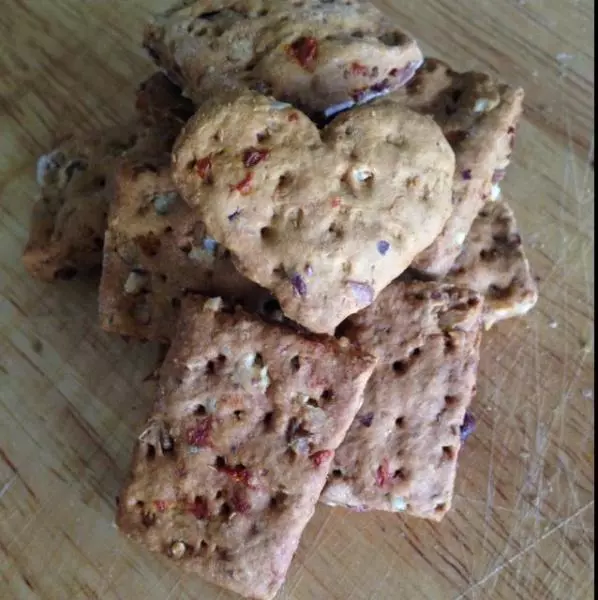
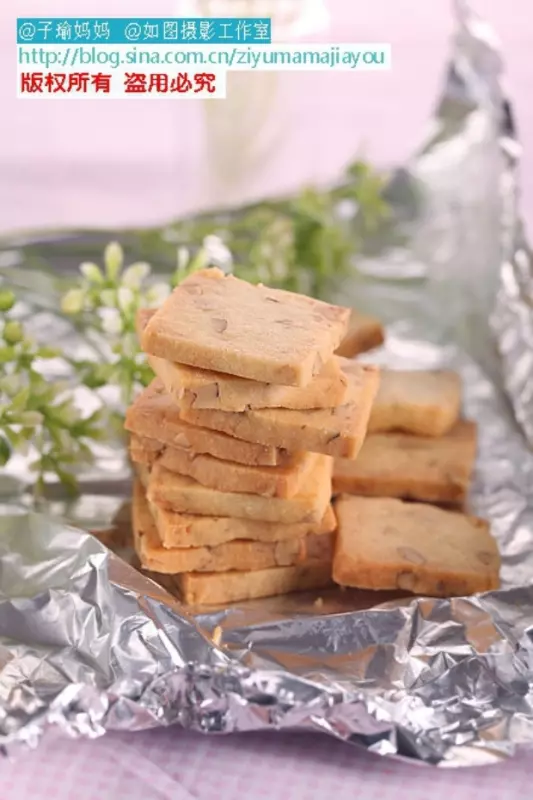
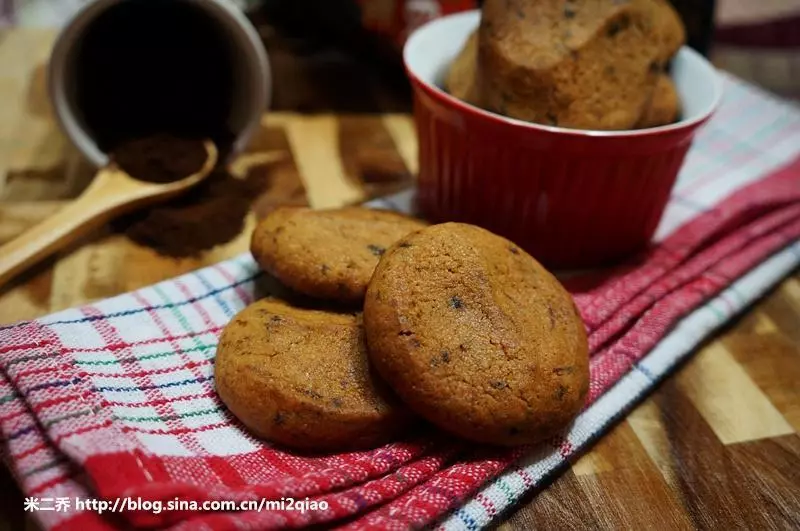
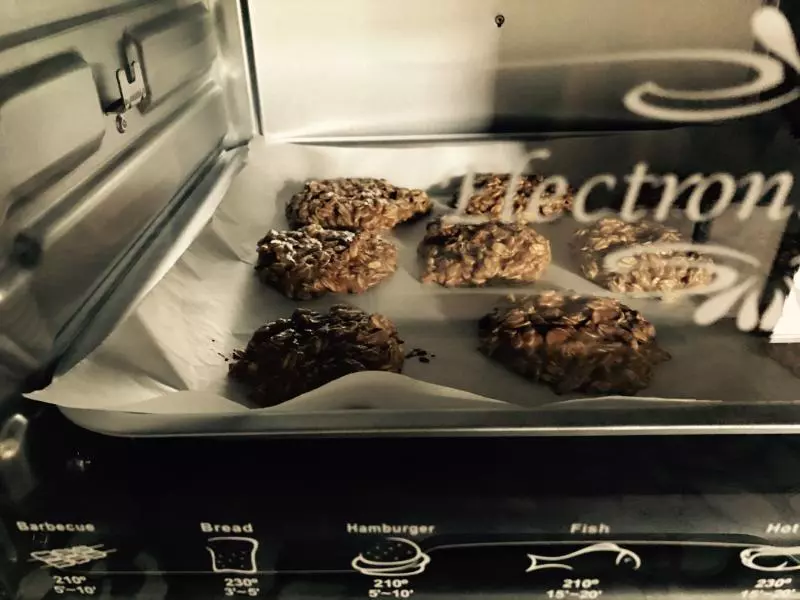
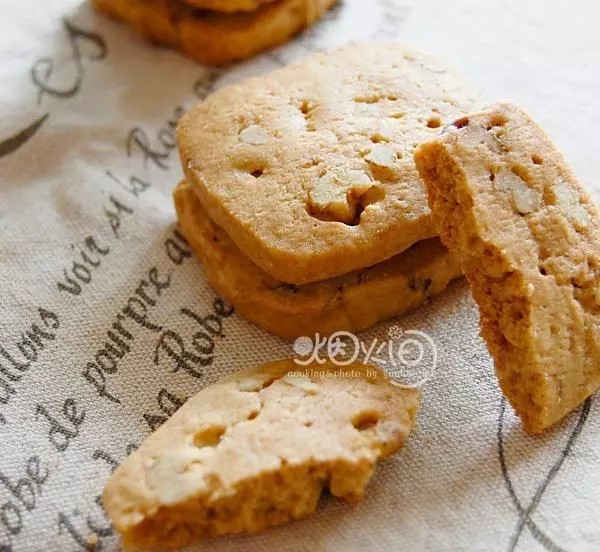
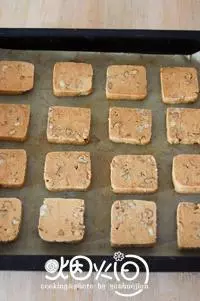
8取出面团,用到切割成厚约1cm的方形片状,排入烤盘,烤箱预热到170度,烤25分钟左右,熄火后继续用余温焖10分钟即可。
小技巧
【补充】 1、塑形的时候,把包好保鲜膜的面团放进一个长方形的保鲜膜盒中,再放入冰箱冷藏,更加有助于饼干的定型。 2、饼干面团分割的厚度要尽量一致,以免烘烤的时候,太厚的还没熟,太薄的却已经烤焦了。 3、像这样的切片饼干趁假日有空的时候多做一些准备起来,冰箱冷藏可以保存1个月左右,随时想吃再从冰箱拿出来切片烘烤即可。