原料
鸡蛋: 2个, 低筋面粉: 70克, 杏仁粉: 25克, 椰丝: 20克, 白砂糖: 50克, 泡打粉: 2克, 黄油: 70克, 杏仁片: 少许
步骤
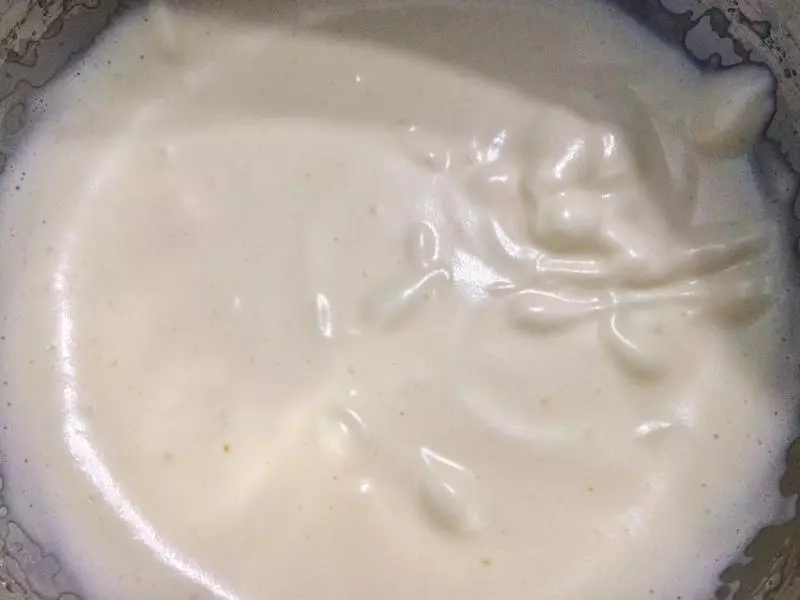
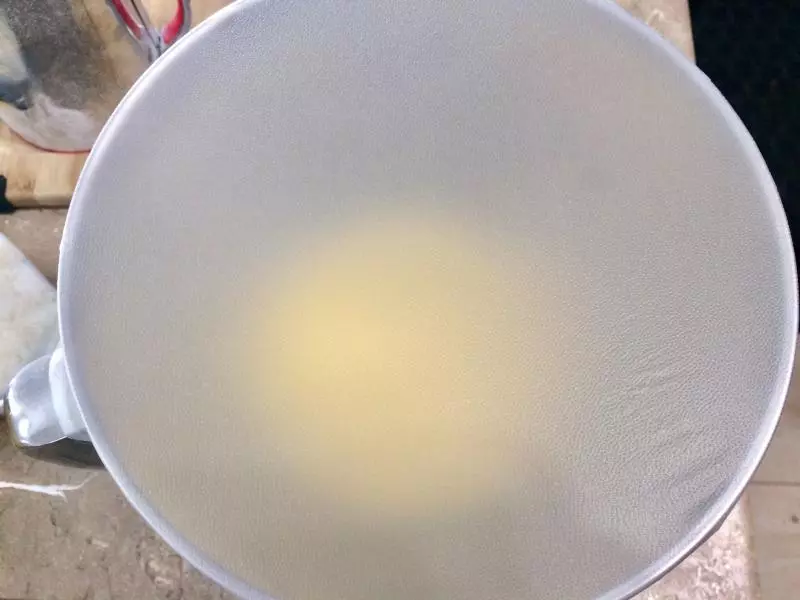
1鸡蛋加糖用打蛋器打发至体积膨大发白很粘稠的状态。
2筛入面粉杏仁粉和泡打粉,翻拌均匀。
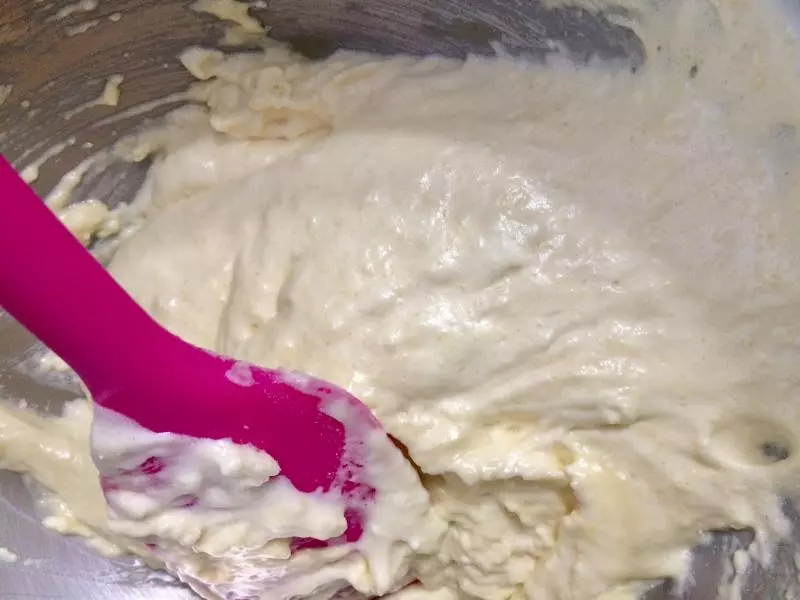
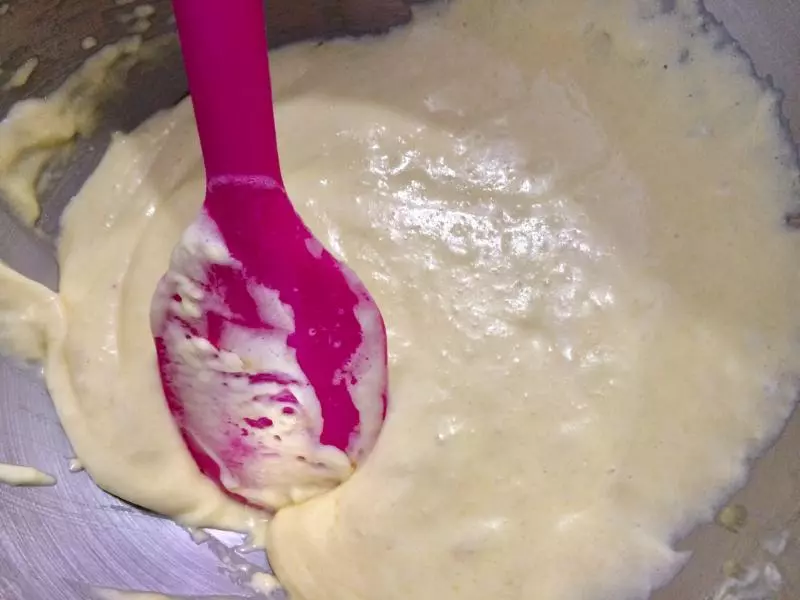
3加入融化的黄油和椰丝,继续翻拌均匀。
4用保鲜膜包好,放冰箱冷藏三小时以上。
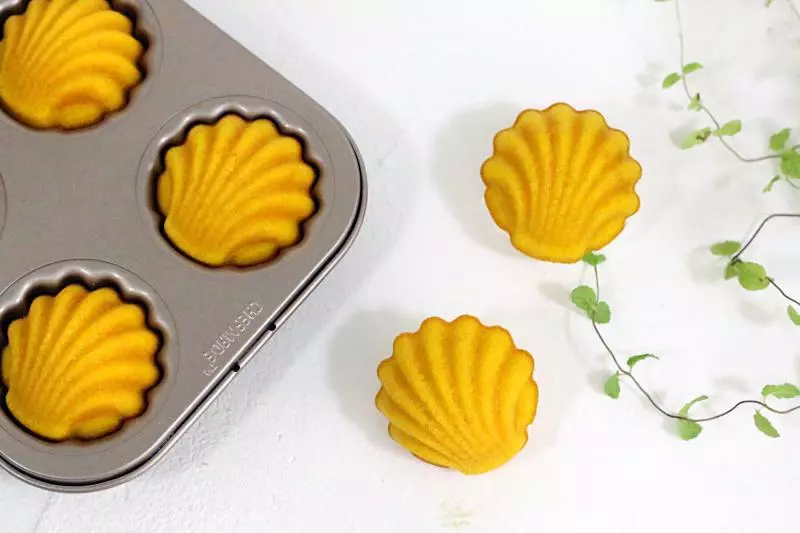
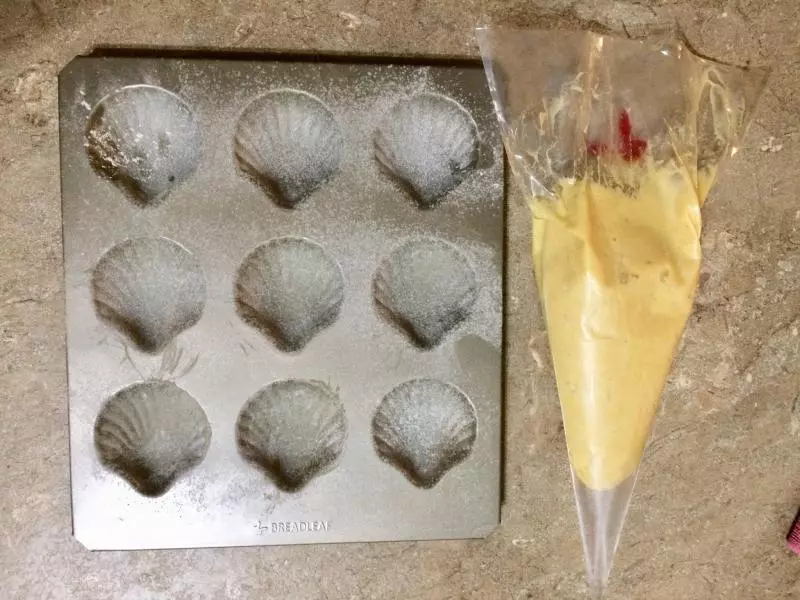
5烤盘抹黄油撒面粉做好不粘准备,面糊从冰箱取出装入裱花袋。我的模具被我家娃摸了一把,就无视吧!
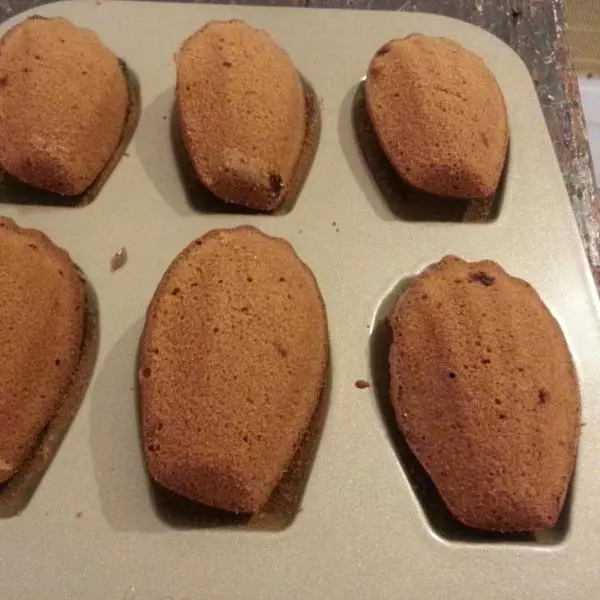
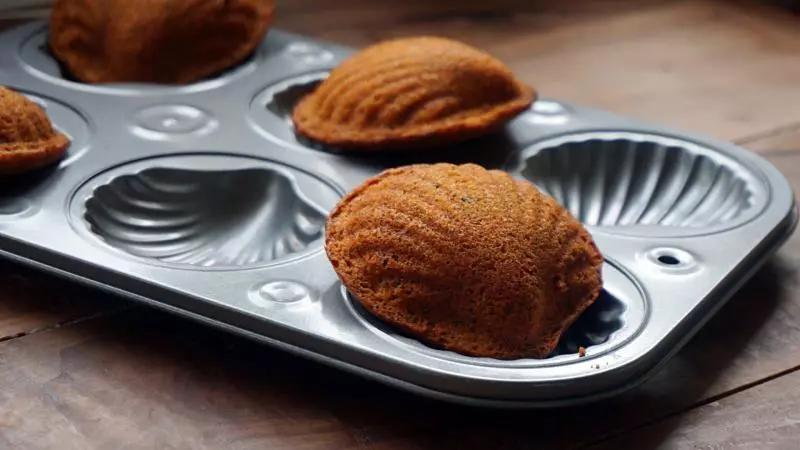
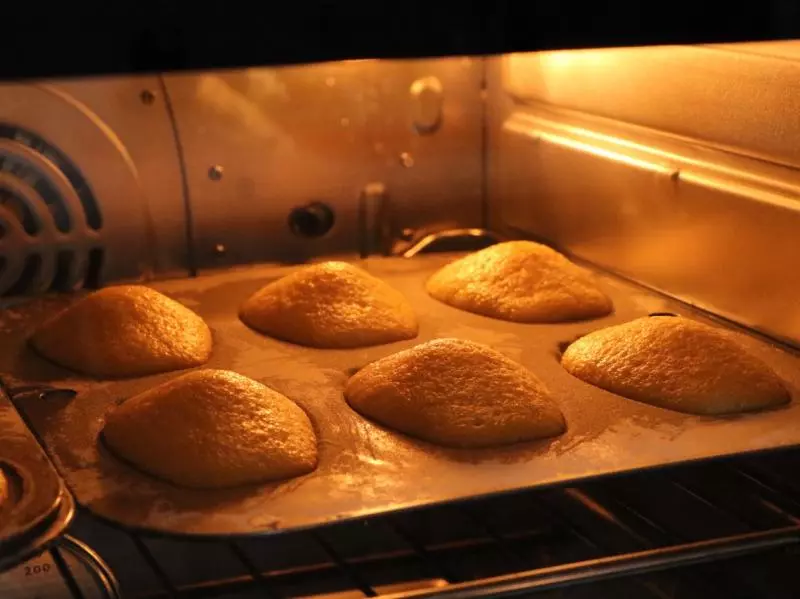
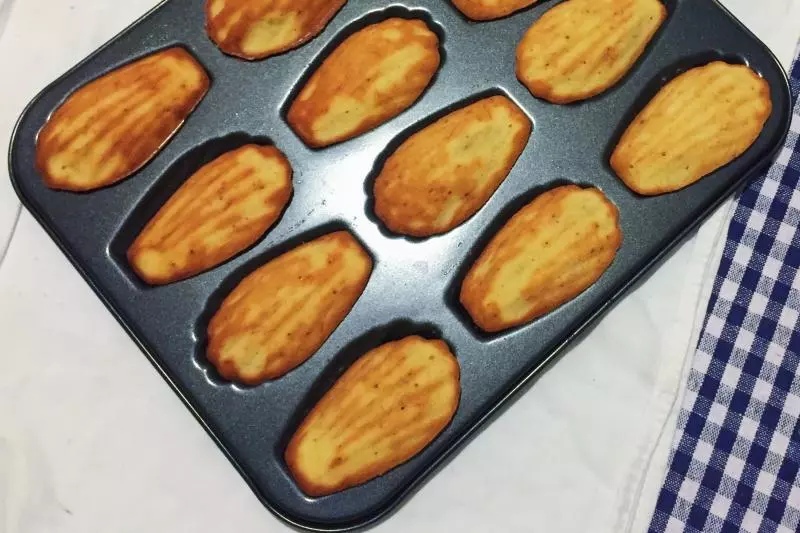
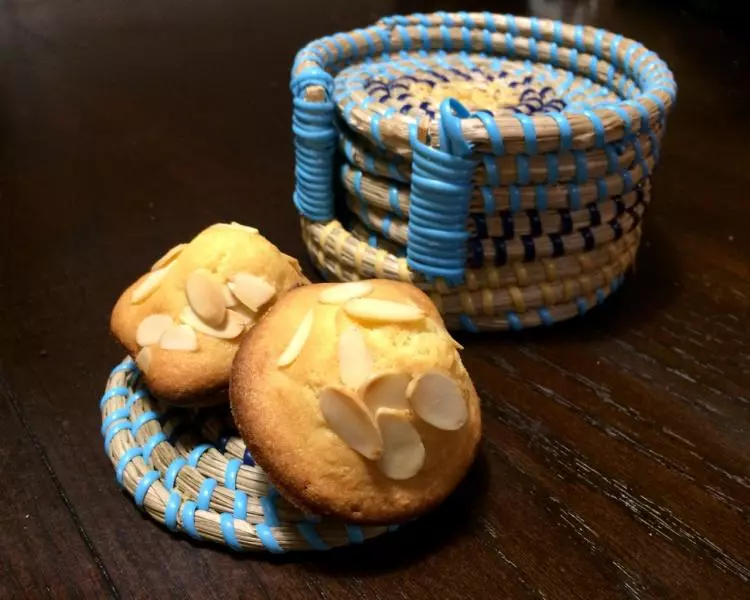
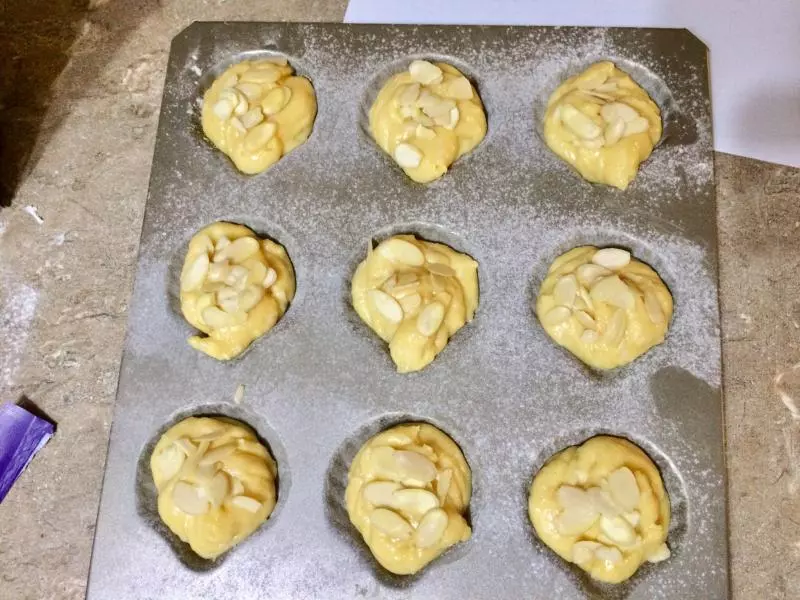
6烤箱预热200度,面糊挤入模具,上面放杏仁片。入烤箱中下层,15分钟左右。
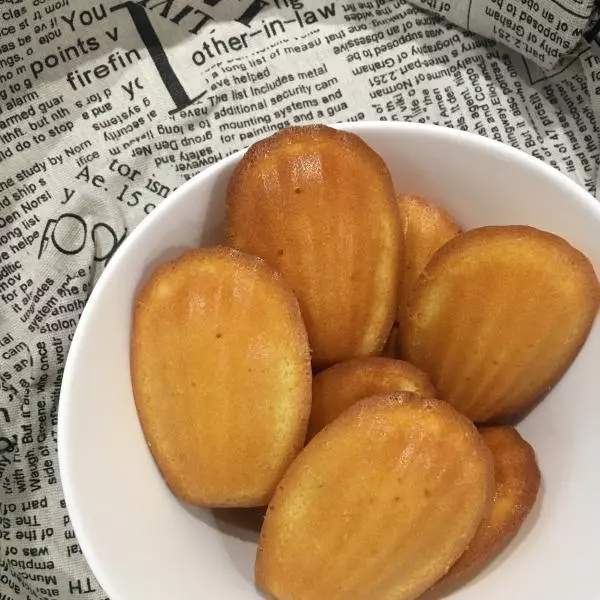
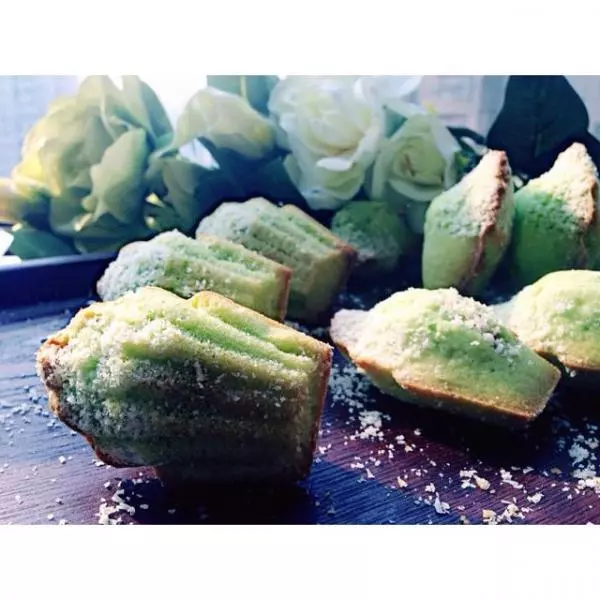
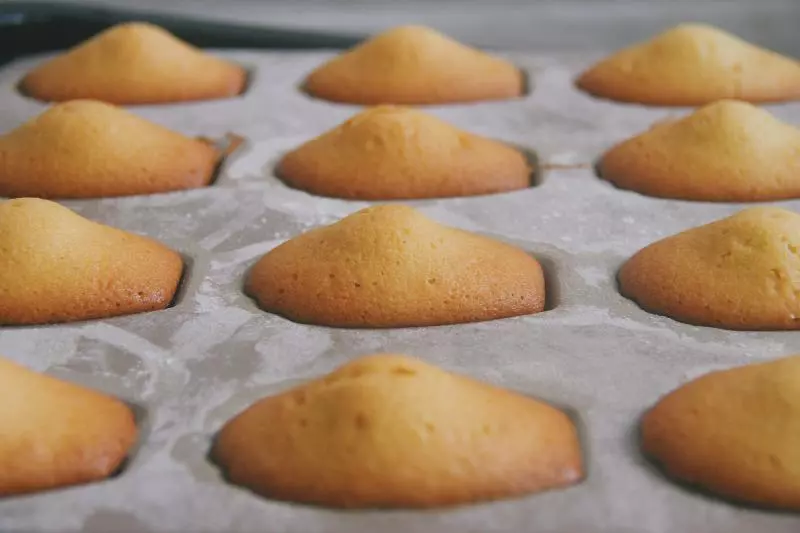
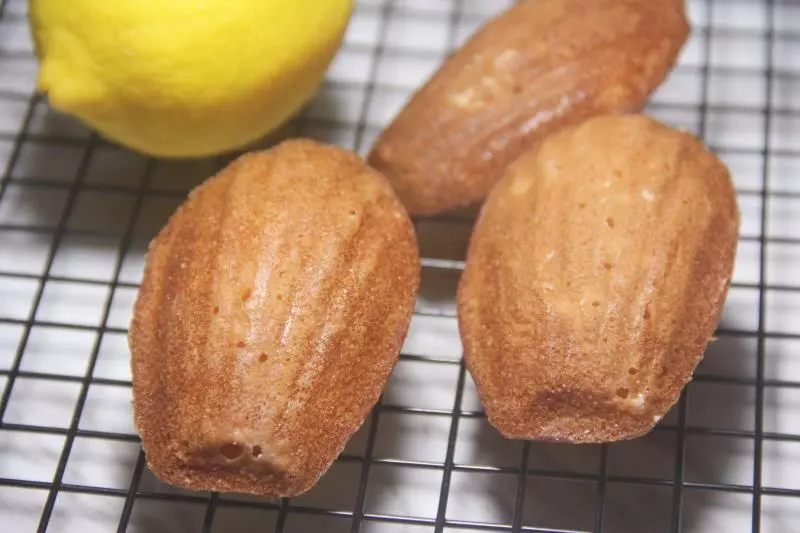
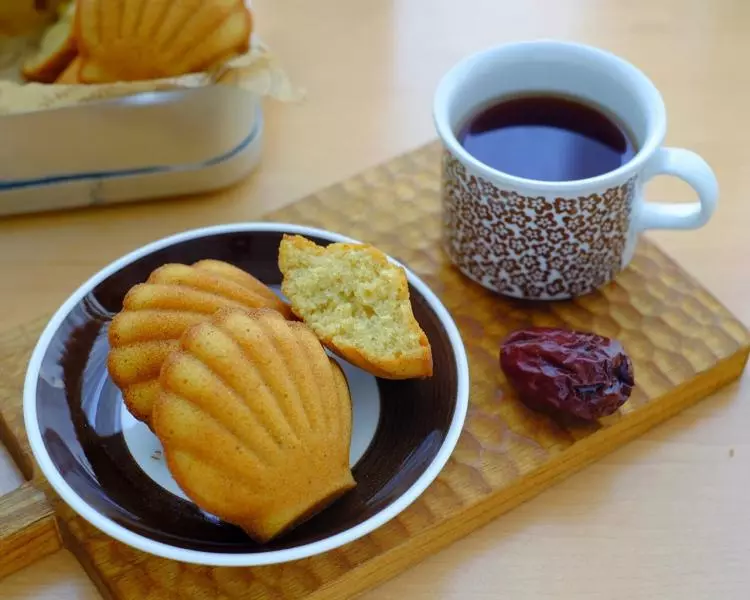
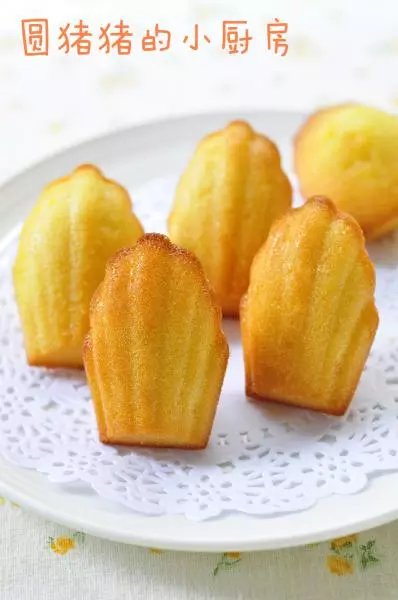
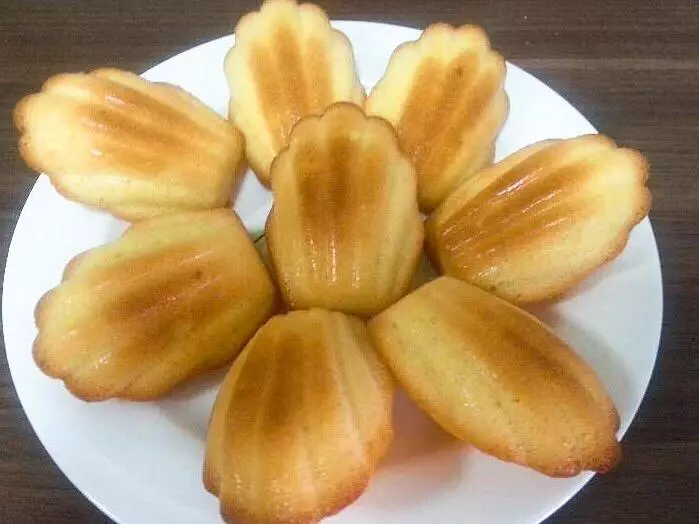
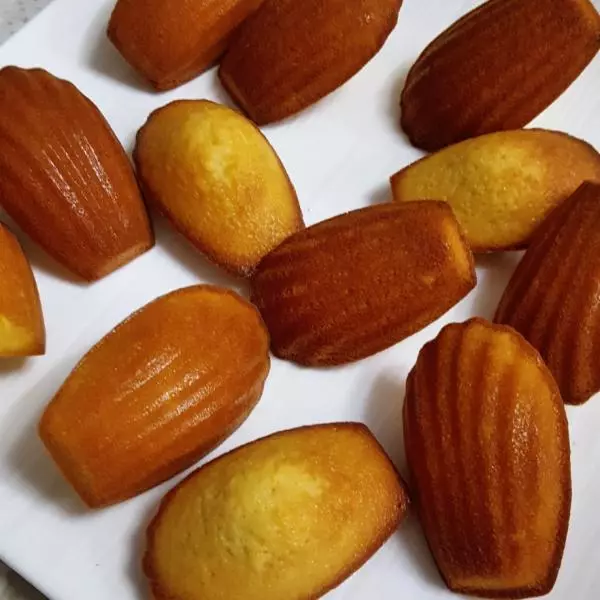
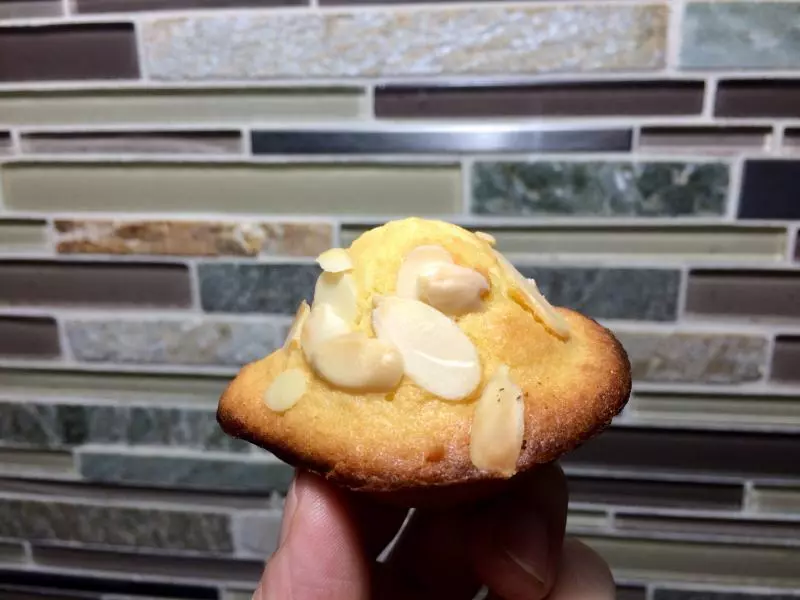
7中间高高鼓起来就是成功啦!
小技巧
做我的方子都知道我基本上是低糖或者中等甜度的,所以如果非常爱吃甜的可以加糖,减糖基本上是没必要啦!