原料
蛋黄糊: , 蛋黄: 4个, 玉米油: 64g, 牛奶: 64g, 细砂糖: 24g, 低筋面粉: 90g, 蛋白糊: , 蛋白: 4个, 柠檬汁: 5-10滴, 细砂糖: 54g, 奶油: , 淡奶油: 50g, 糖粉: 6g, 水果: 看心情, 工具: , 烤盘: 1个(我买的烤盘还在路上,就用烤箱自带的烤盘,效果一点不差哟), 油纸: 攻略上说用油布更好,我没有,实践证明油纸也可以的, 打蛋器: 手动、自动各一, 分蛋器: 自动打蛋器自带的, 筛: 1个, 烤箱: 差点忘了
步骤
11)分蛋:用分蛋器将蛋黄和蛋白分别打入两个盆(蛋白用的盆要无水无油) 2)在蛋黄盆中加糖

2用手动打蛋器将蛋黄和糖混合打至糖融化,无需打发

3缓缓加入玉米油,搅打至乳化

4加入牛奶搅打均匀

5加入过筛的低粉

6Z字搅拌,注意不要画圈搅拌,以免打出面筋,那样的话蛋糕就会回缩的厉害

7如果有小疙瘩也没关系,因为我们的蛋糊也要过筛

8看,过好筛的蛋糊多么细腻。好,至此,蛋黄糊准备完毕,放起备用

9现在开始制备蛋白糊。这是刚才分离好的蛋白

10打蛋器2档,打发蛋白

11打至鱼眼泡状态时候加入柠檬汁,加入蛋白糊部分的三分之一糖,继续打发

12打发至蛋白细腻无大泡时,加入第二个三分之一糖,继续打发,再加最后三分之一糖

13看,这是准备收工的蛋白糊,很Q吧,好像摸一摸~

14接下来就是混合蛋白糊和蛋黄糊的过程:先取三分之一蛋白糊加入蛋黄糊,搅拌翻炒,再第二次加入三分之一蛋白糊时动作可轻盈些,最后再加三分之一蛋白糊,搅拌融合。 有的攻略说,到这一步要震一震,震破表面的大气泡,不过我是没震出什么气泡来~

151)烤盘里铺油纸,表面涂薄薄一层玉米油做防粘处理 2)此时预热烤箱(170度,15分钟)

161)将蛋糊盆举高,从高处淋入烤盘,烤盘入烤箱,170度18分钟(温度时间供参考,根据各家烤箱脾气决定) 2)此时开始准备卷入奶油:奶油和糖一起3档打发至奶狗不流动、可裱花状态,然后送冰箱冷藏一会

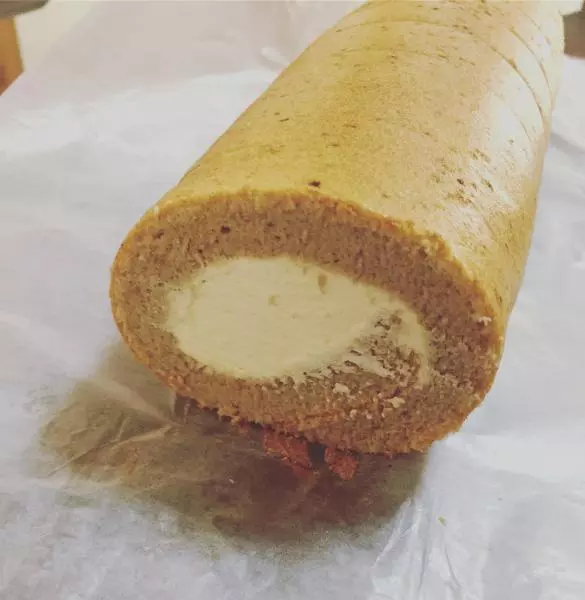
17出炉:手提油纸边缘,小心将蛋糕拉出,晾凉。 这是蛋糕的正面,看起来蛮细腻吧

18这是反面,也嫩嫩的

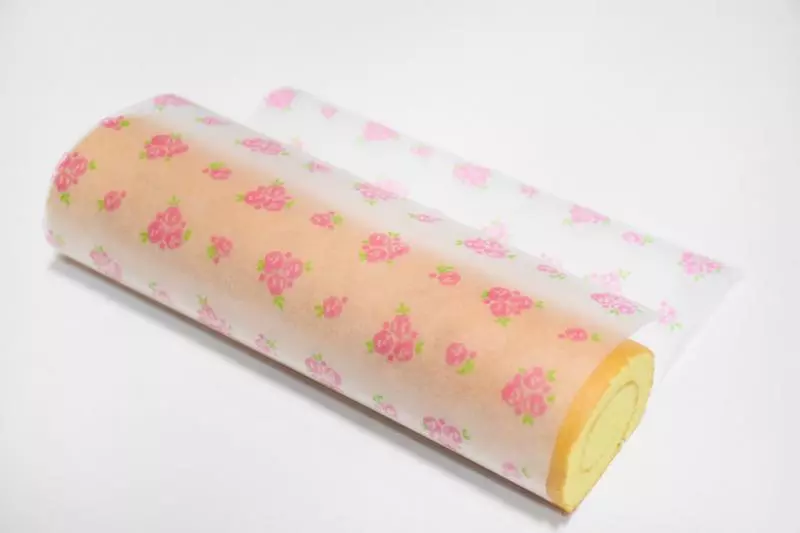
19接下来需要定型:因为我要正卷,所以上面也覆盖一张油纸,然后卷起,静置一会

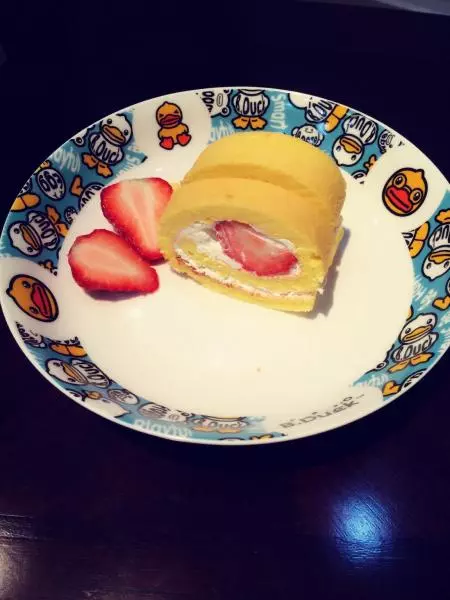
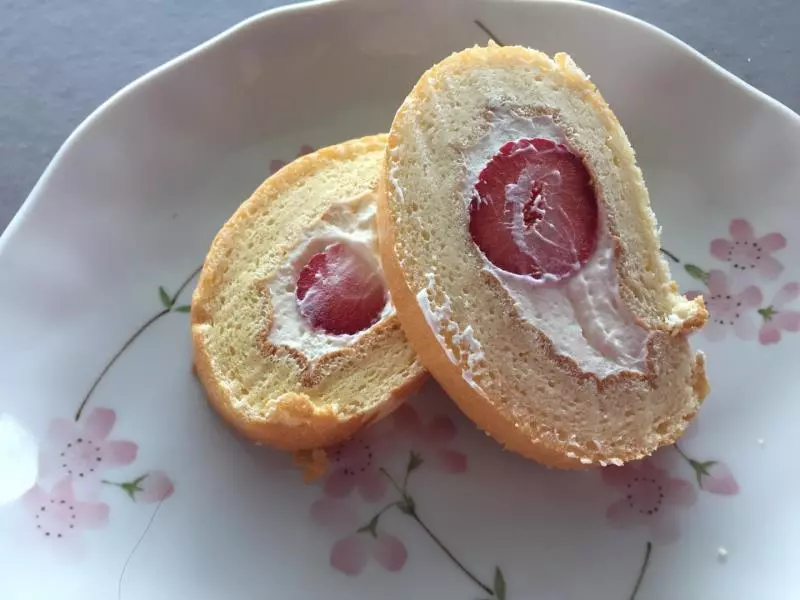
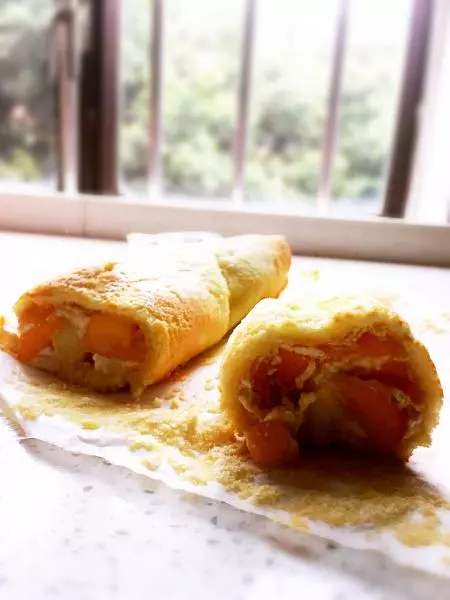
20打开蛋糕卷卷,取出奶油,均匀涂抹于蛋糕表面,边缘处少涂一点即可,然后在四分之一处放水果

21慢慢卷起

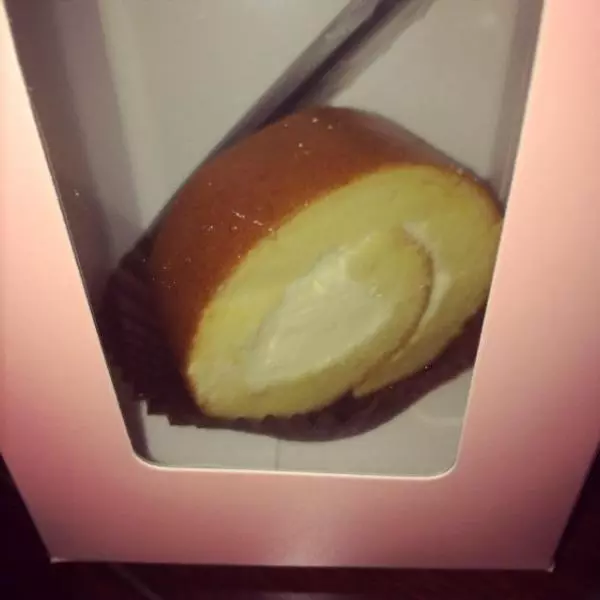
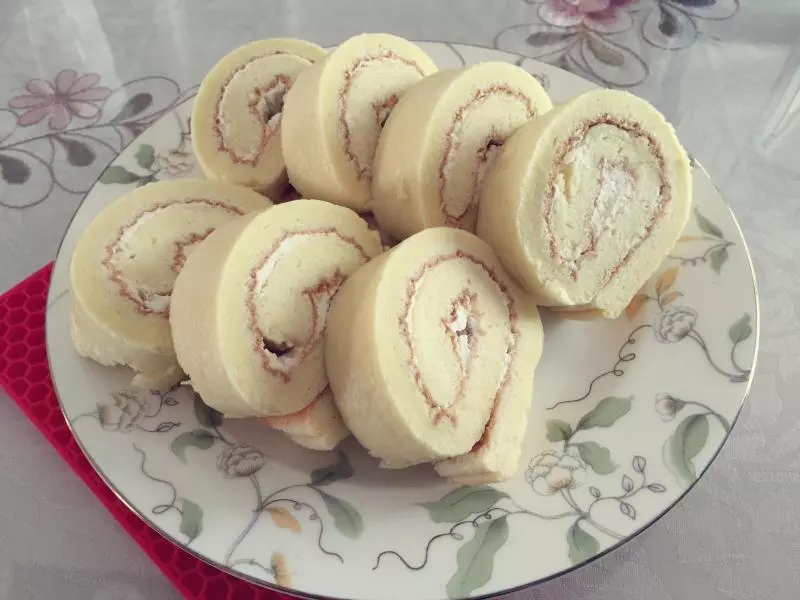
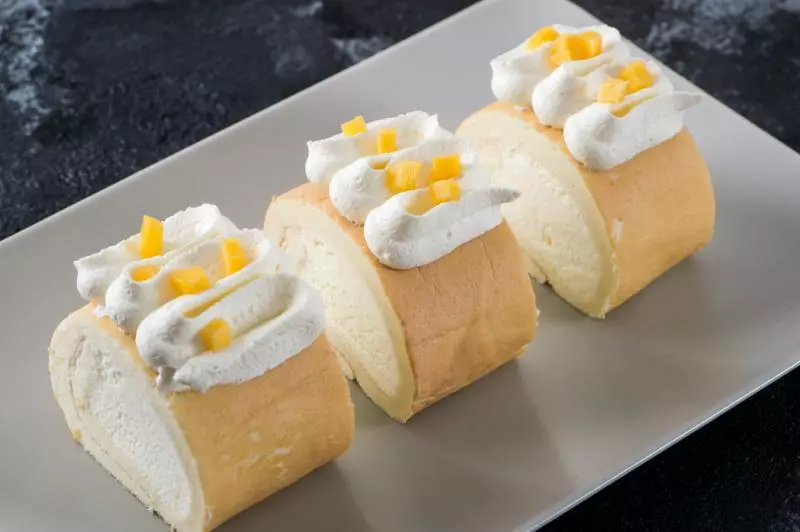
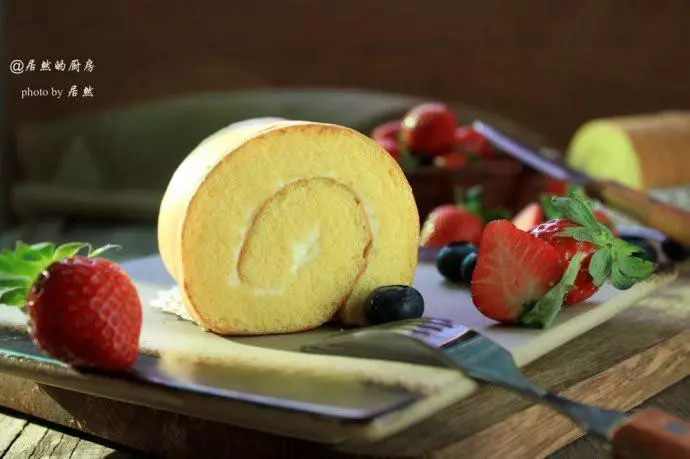
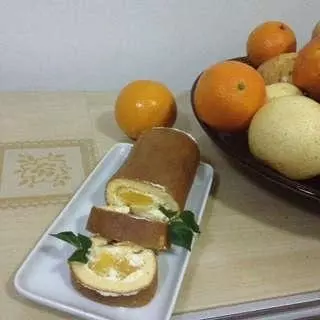
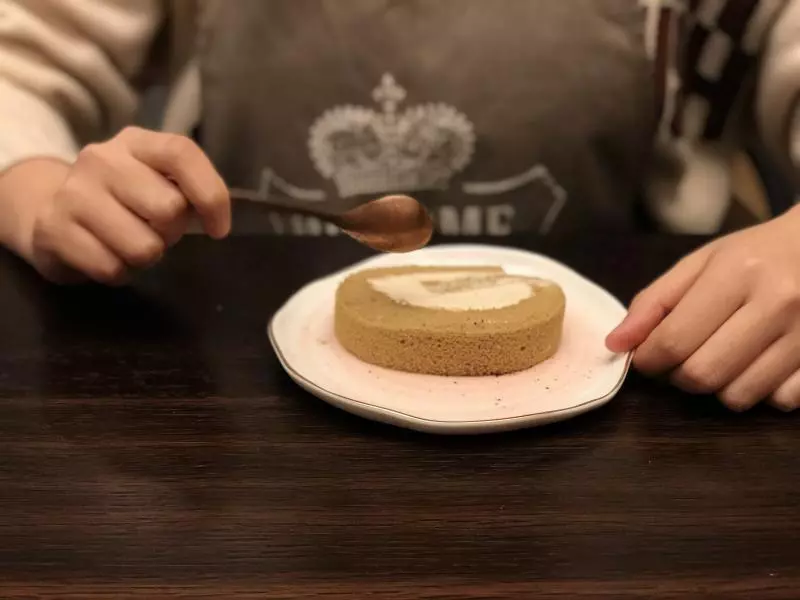
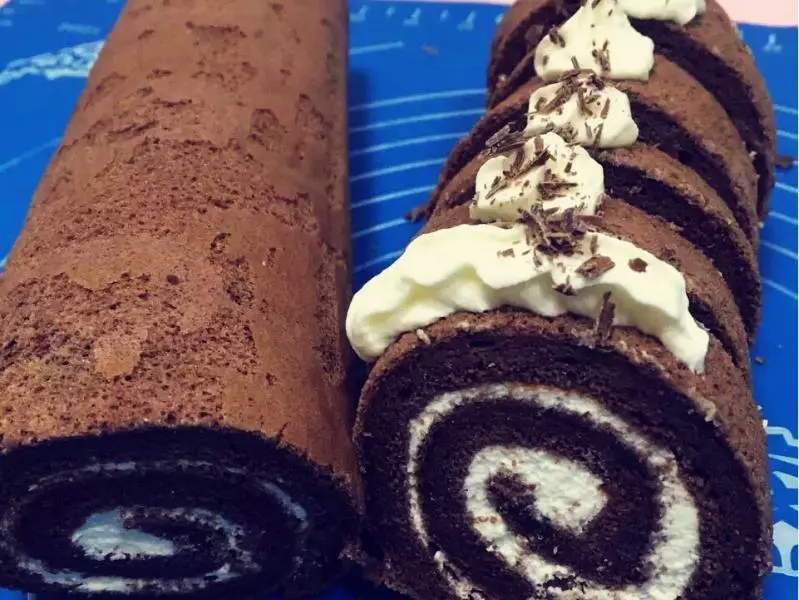
22摆盘,撒上糖粉,OK!想吃的时候就切一块下来慢慢品尝吧~