原料
鸡蛋: 3个, 细砂糖: 45g, 牛奶: 45g, 玉米油: 42g, 低筋面粉: 52g
步骤
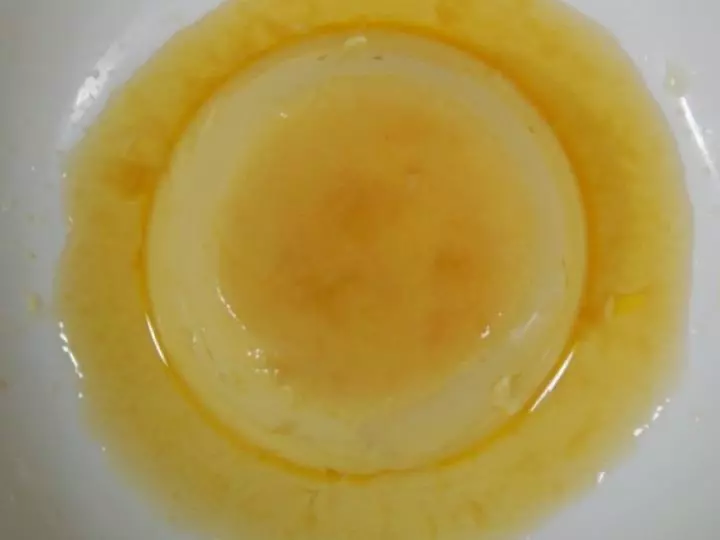
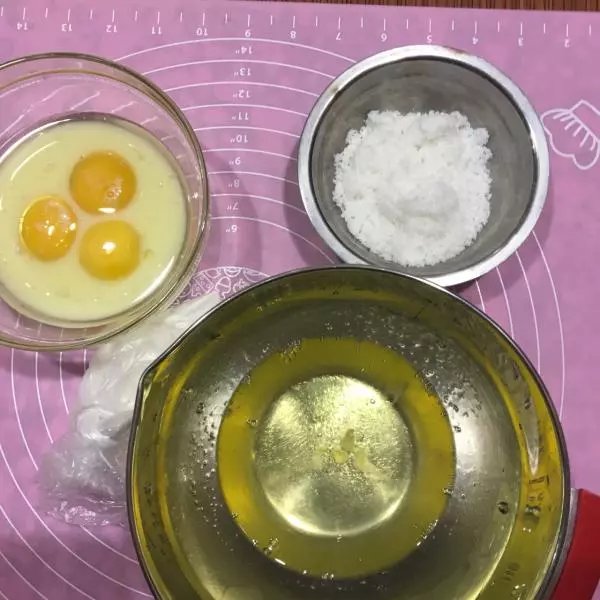
1蛋清蛋黄分离在两个无水无油的容器中,蛋黄中加入牛奶和玉米油,防止结皮
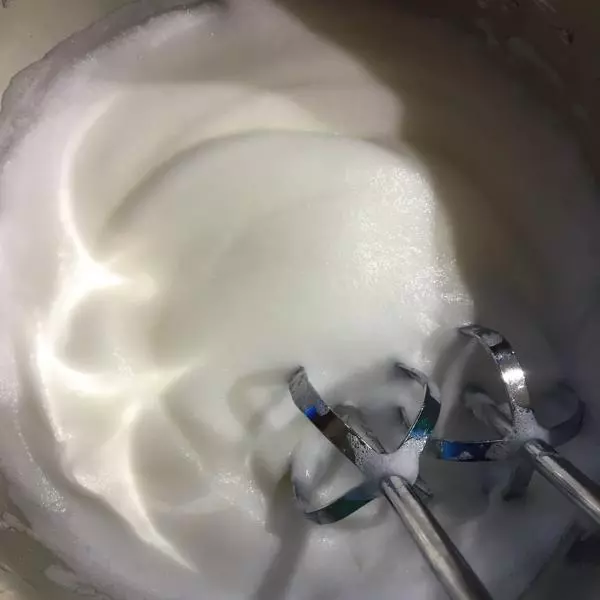
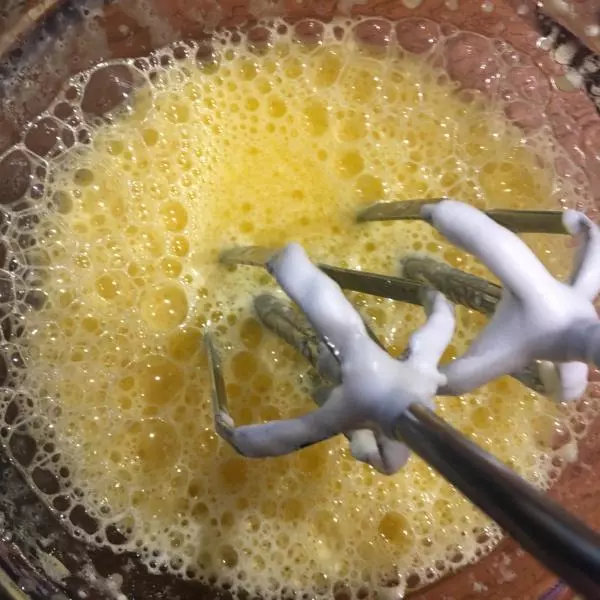
2蛋清用电动打蛋器先低速打散,然后高速打到体积膨胀,有细小泡沫
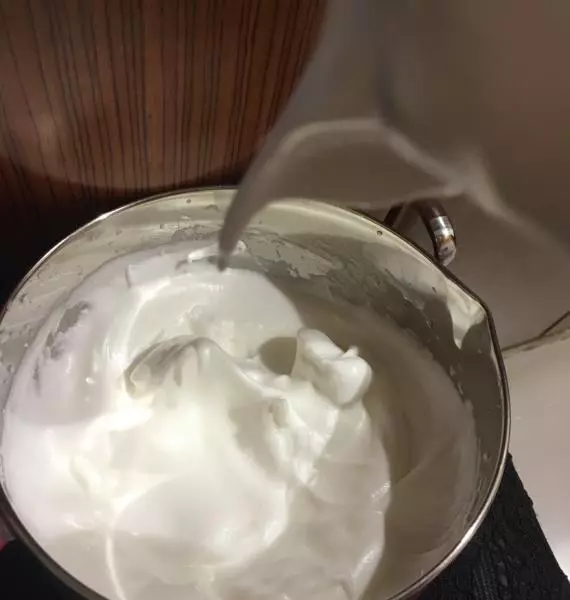
3开中速边打边加入细砂糖,打到蛋白霜光泽细腻的湿性发泡状态
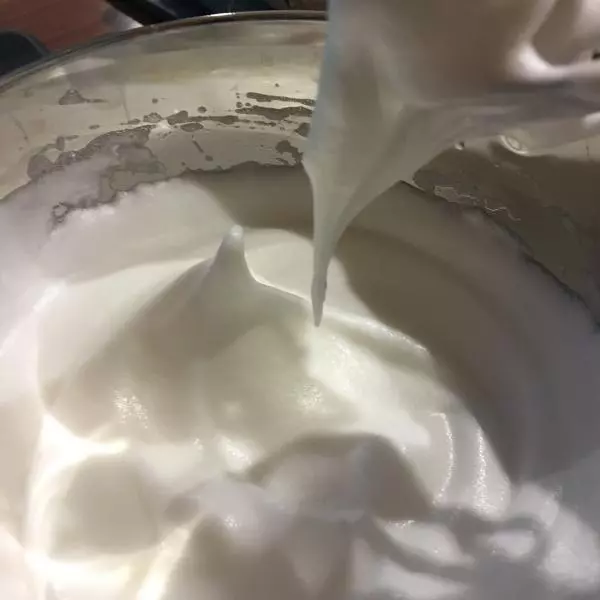
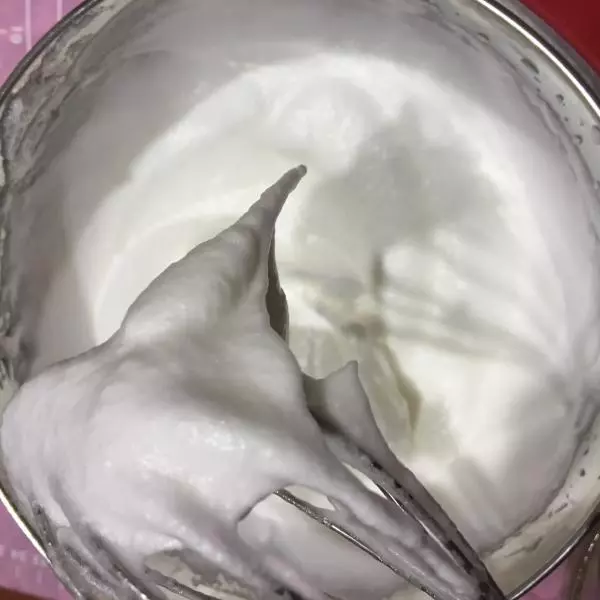
4再开低速打到有小弯钩的状态就好了,放在一旁静置备用
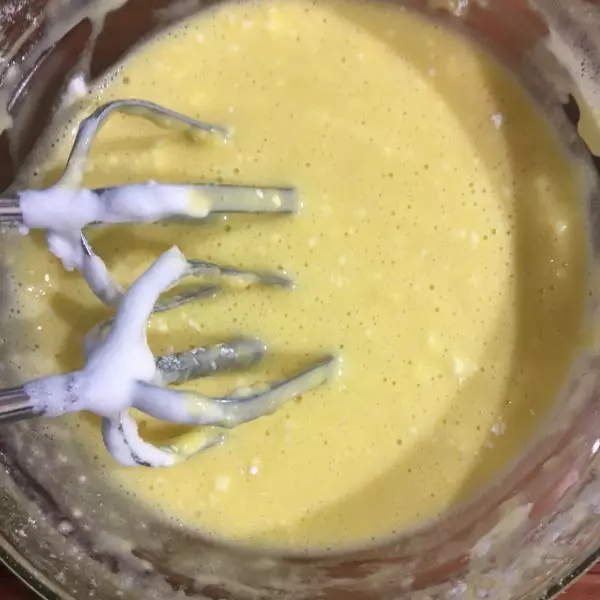
5打蛋器把蛋黄打匀
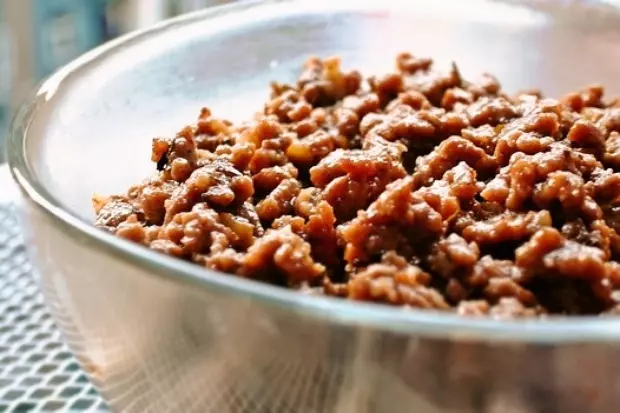
6筛入低筋面粉低速搅拌后用刮刀拌匀
7用面粉筛过筛蛋黄糊

8静置的蛋白霜用手动打蛋器搅拌几圈,保持稳定
9过筛好的蛋黄糊

10三分之一的蛋白加入蛋黄糊中用刮刀翻拌均匀
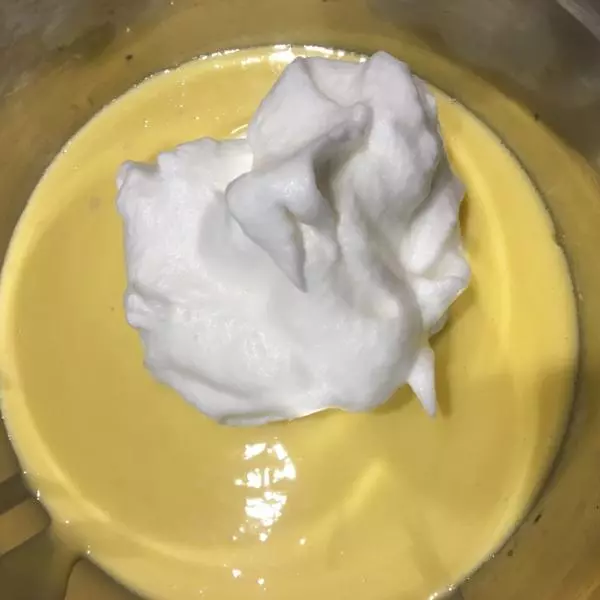
11翻拌(像炒菜一样)
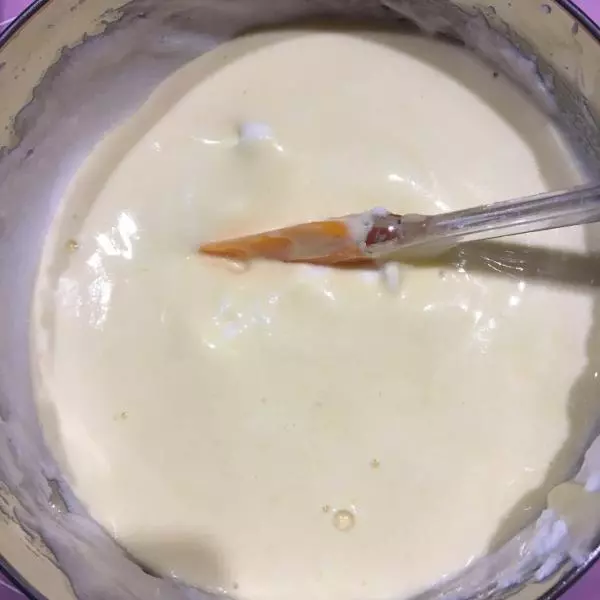
12翻拌好后的
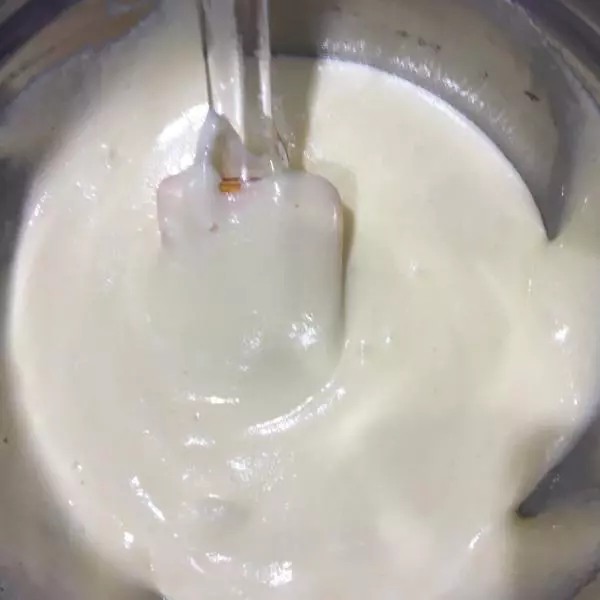
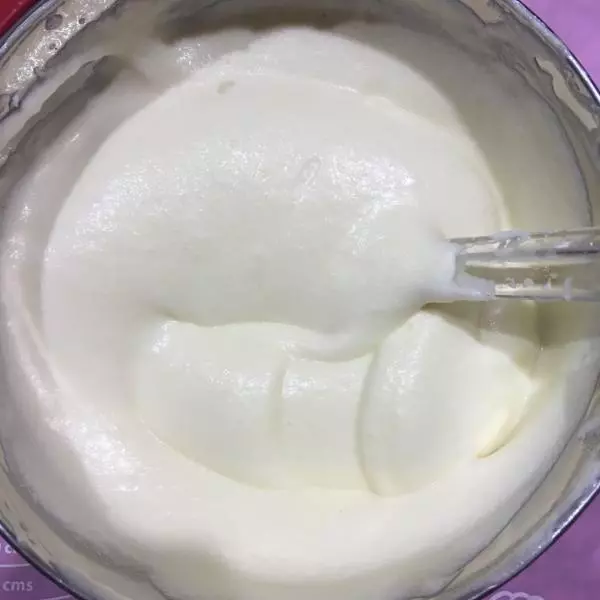
13把翻拌好的面糊全部倒入剩余的3分之2蛋白霜中,拌匀,拌好后的面糊是比较细腻有光泽的
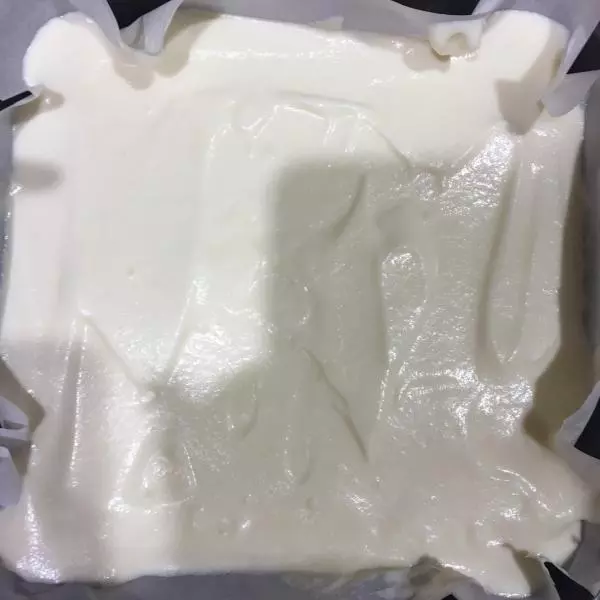
14烤箱提前预热,面糊倒入模具中,抹均匀,震一下震出多余气泡
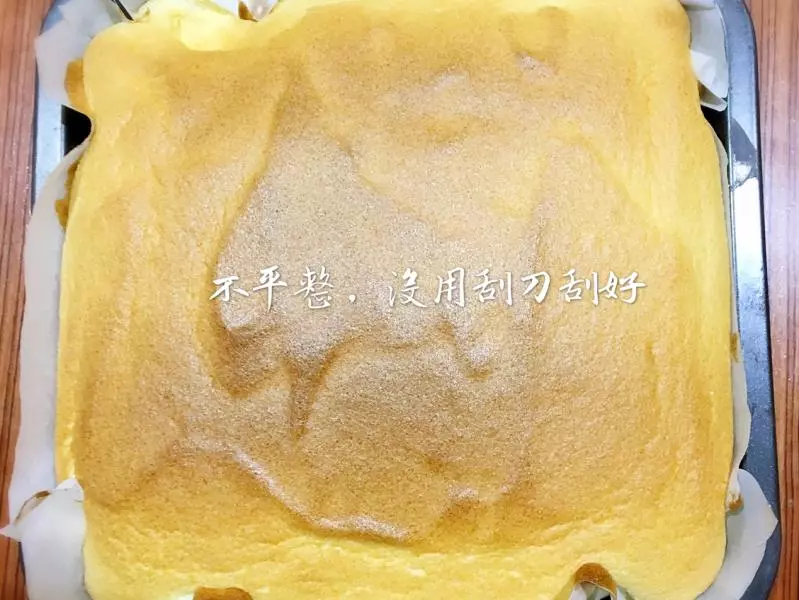
15170度20分钟,看自己烤箱情况定
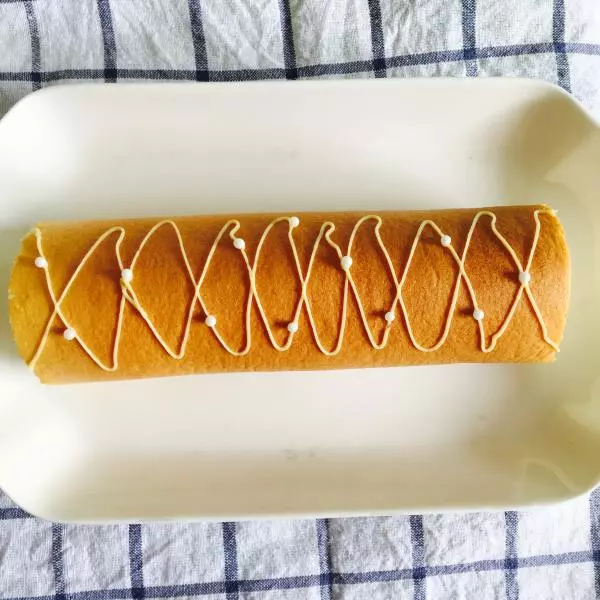
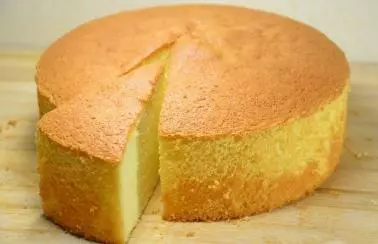
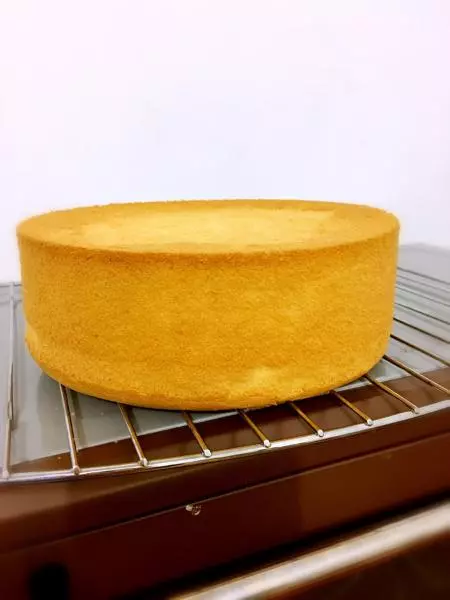
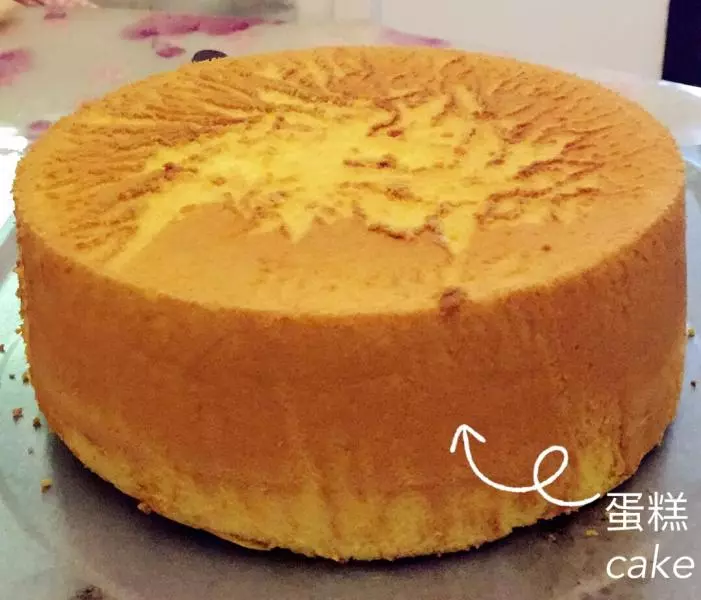
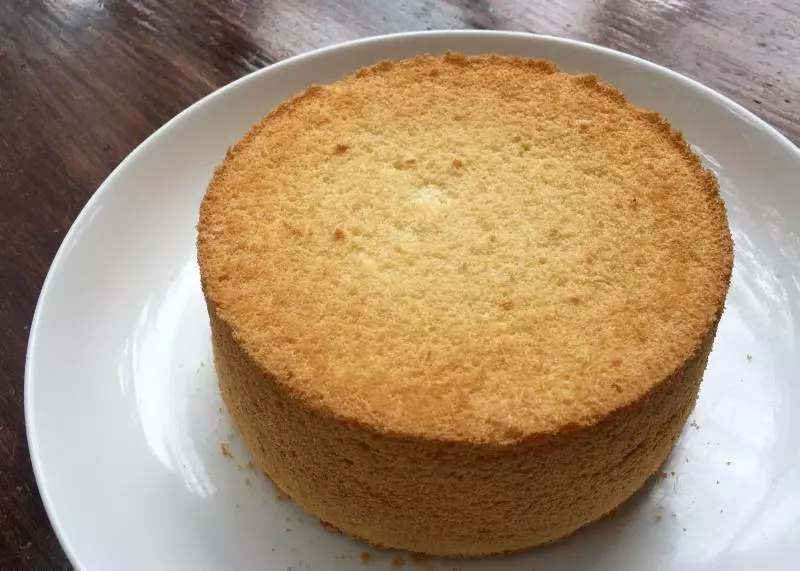
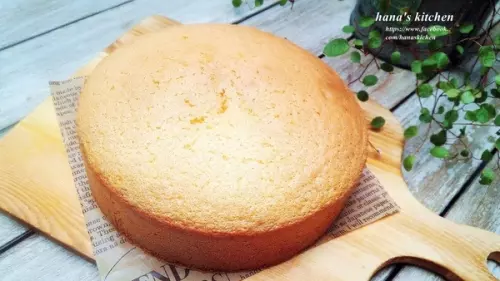
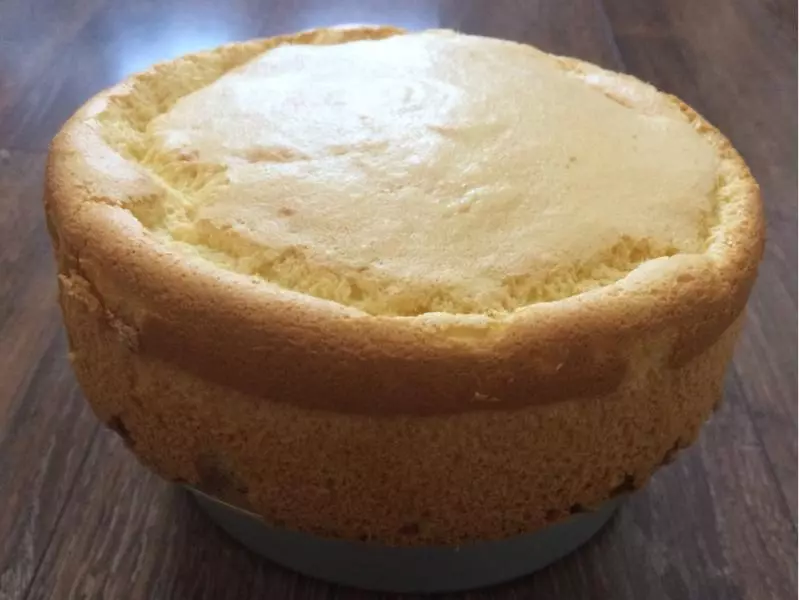
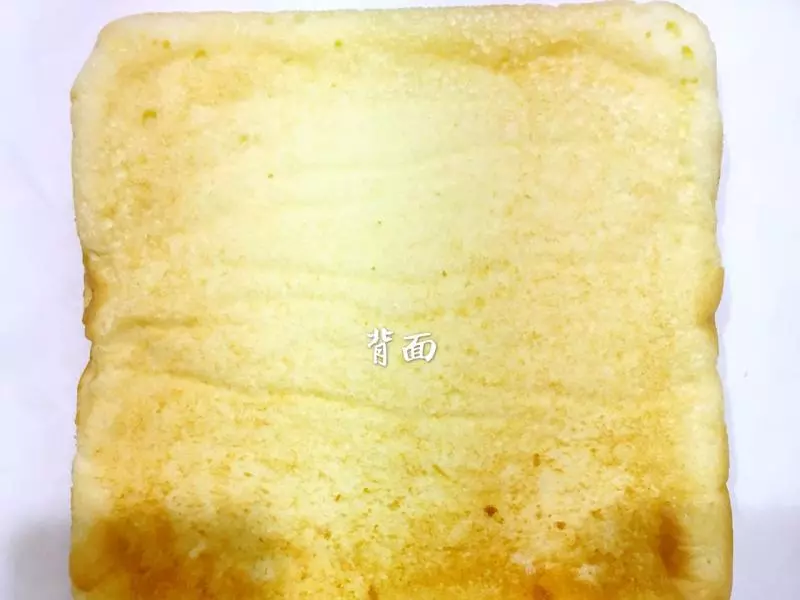
16晾凉后脱模,油纸撕下
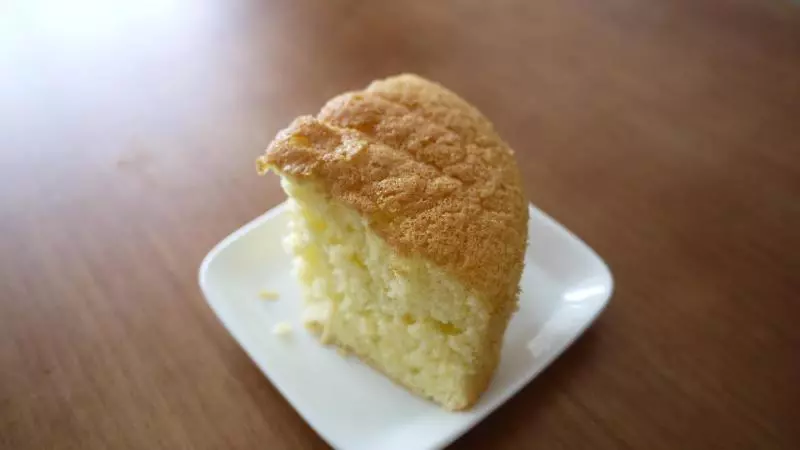
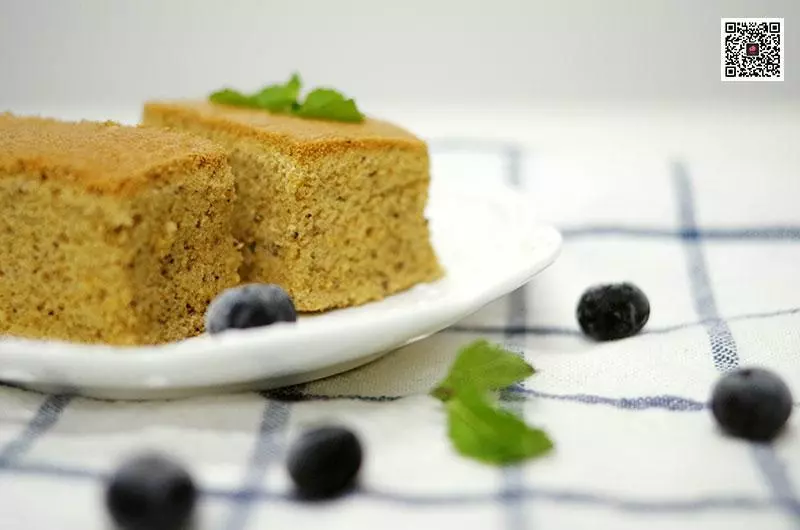
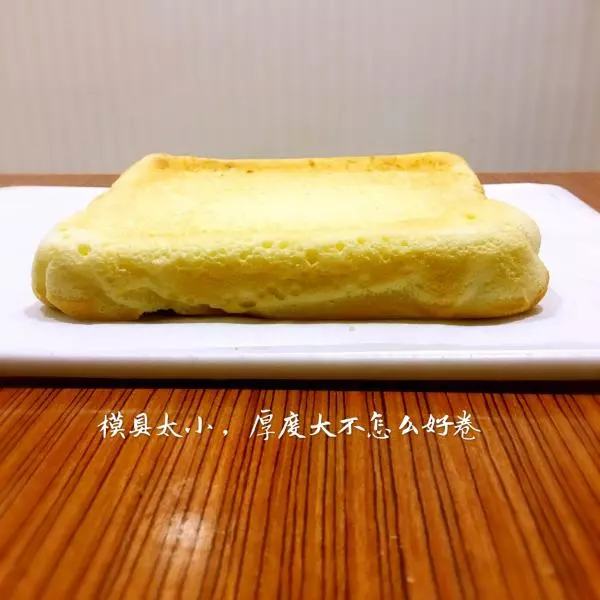
17来个侧面,还是挺厚的
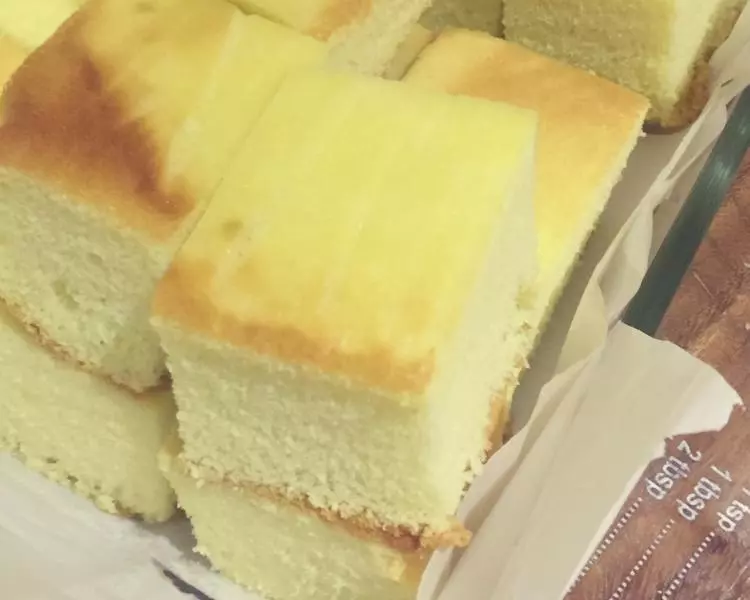
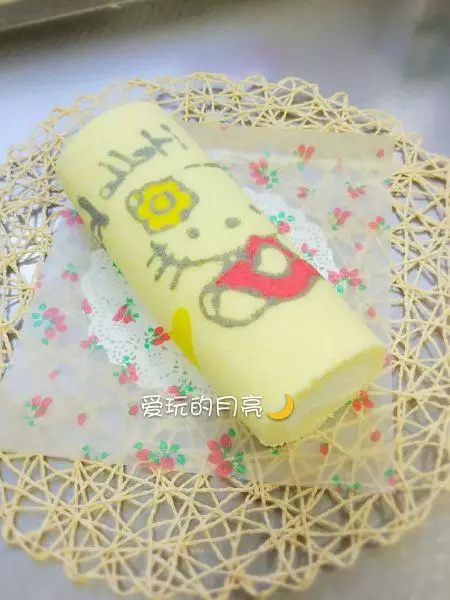
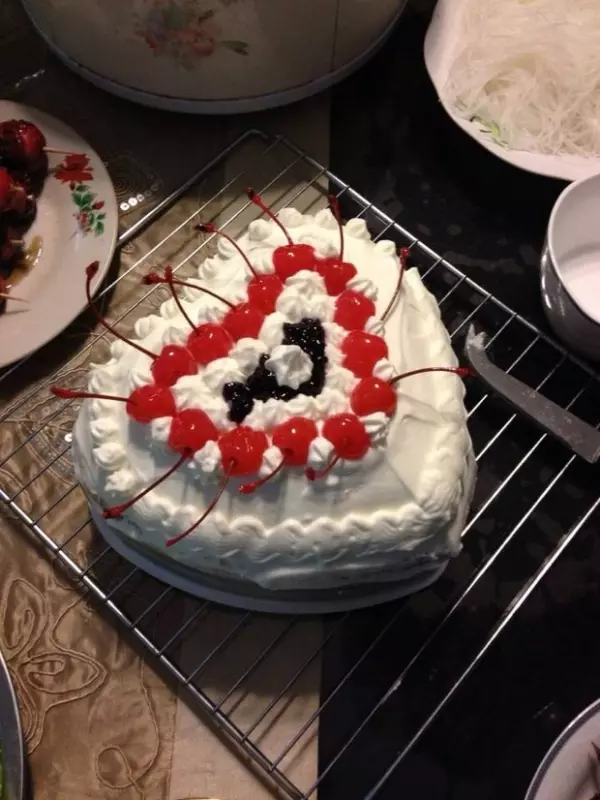
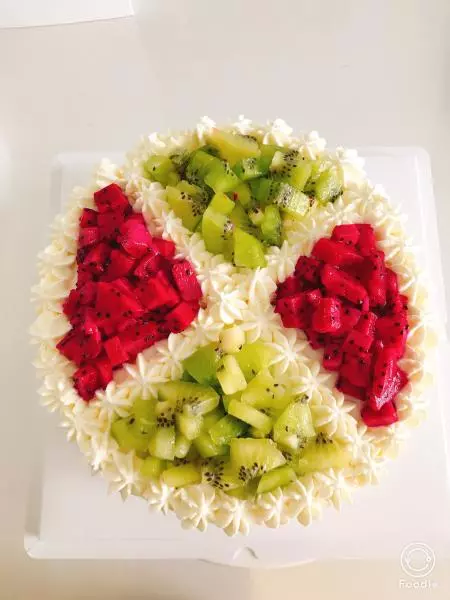
18奶油用光就不卷了,直接切九宫格,好吃
小技巧
1.烤箱太小,没发放28•28厘米的烤盘 2.上下管距离太近,容易烤焦