原料
鸡蛋: 4个, 手指饼干: 1包, 淡奶油: 160克, 马斯卡彭乳酪: 160克, 白砂糖: 60克, 可可粉: 适量, 糖粉: 适量
步骤
1冲调咖啡,
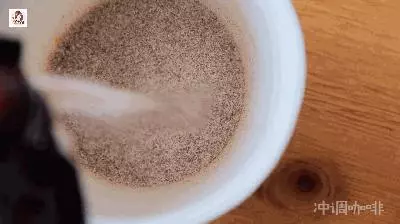
2按个人喜好加入适量朗姆酒,搅拌均匀备用

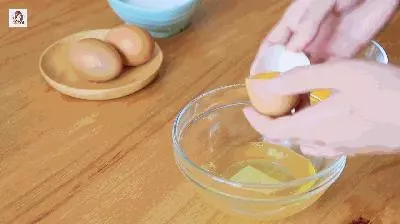
34个鸡蛋 蛋清分离,可以用鸡蛋壳两边倒,也可以直接用蛋清分离器
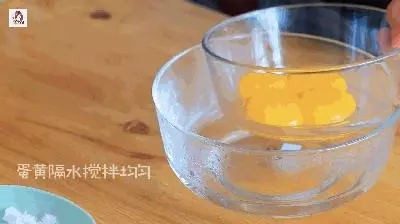
4蛋黄隔热水搅拌均匀,注意碗底不要直接接触到水面
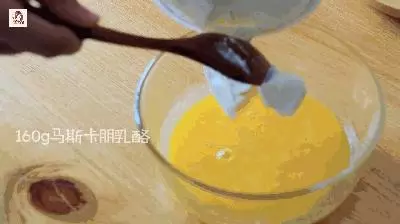
5加入160g马斯卡朋乳酪,搅拌均匀
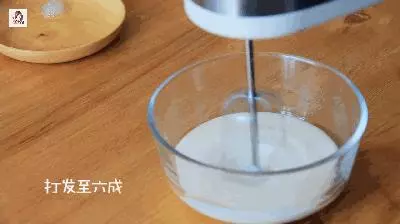
6160g淡奶油 打发至六成
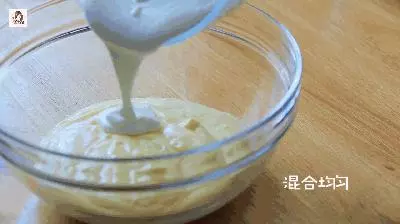
7淡奶油倒入蛋糊中,用翻拌的手法搅拌均匀
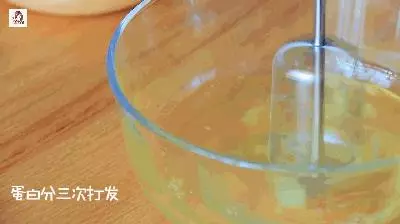
8蛋白分三次加入白砂糖打发
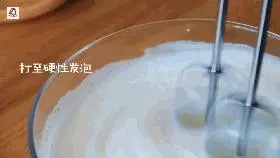
9打至硬性发泡,蛋白提起有小尖角就可以啦
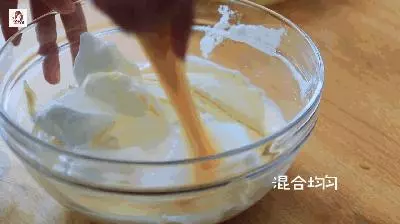
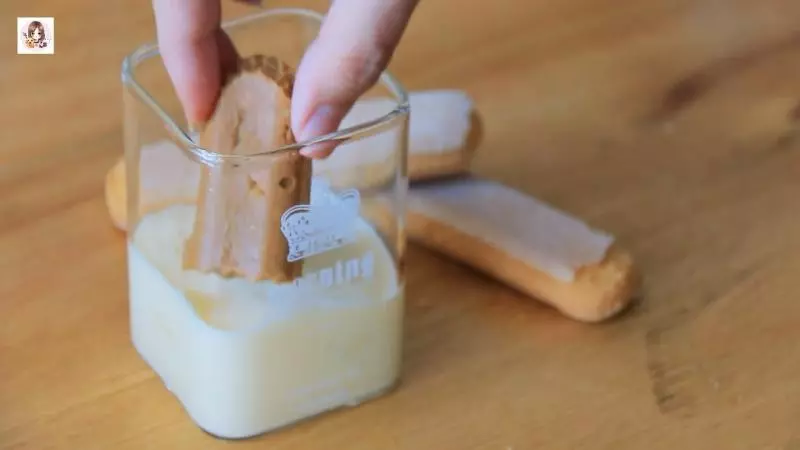
10混合搅拌均匀
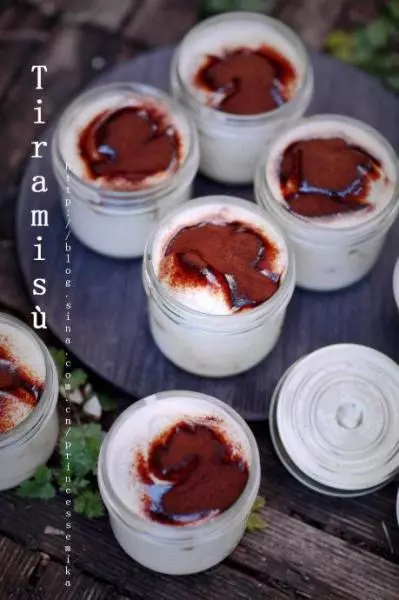
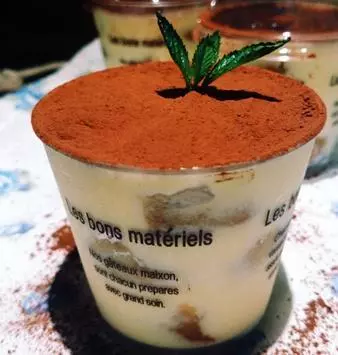
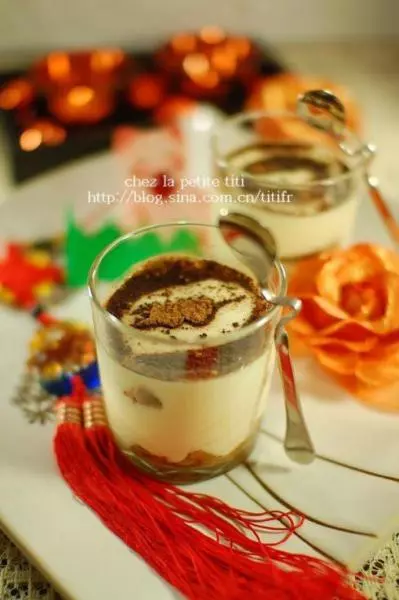
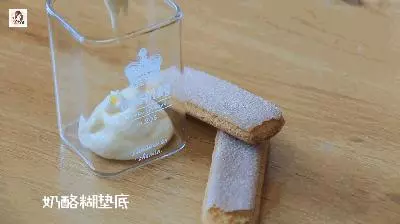
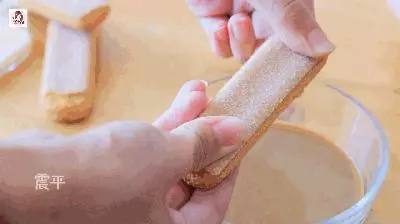
11杯子底部用奶酪糊垫底,震平
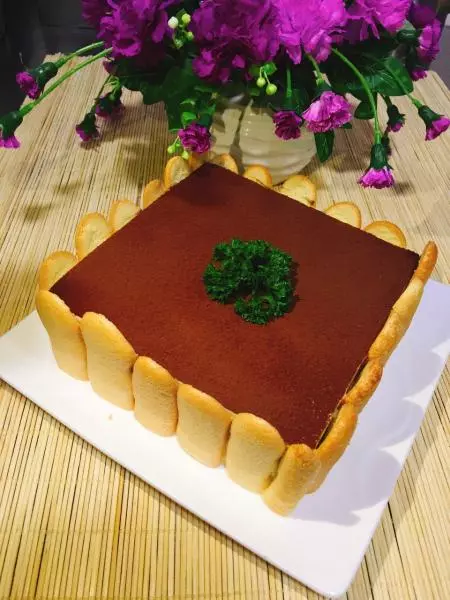
12手指饼干蘸咖啡酒
13铺在奶酪糊上
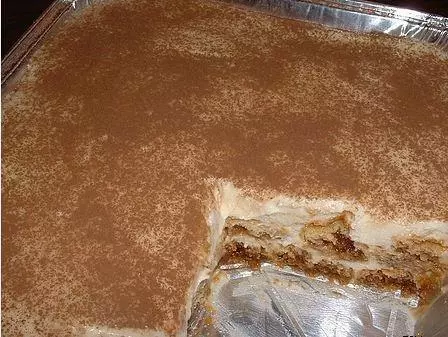
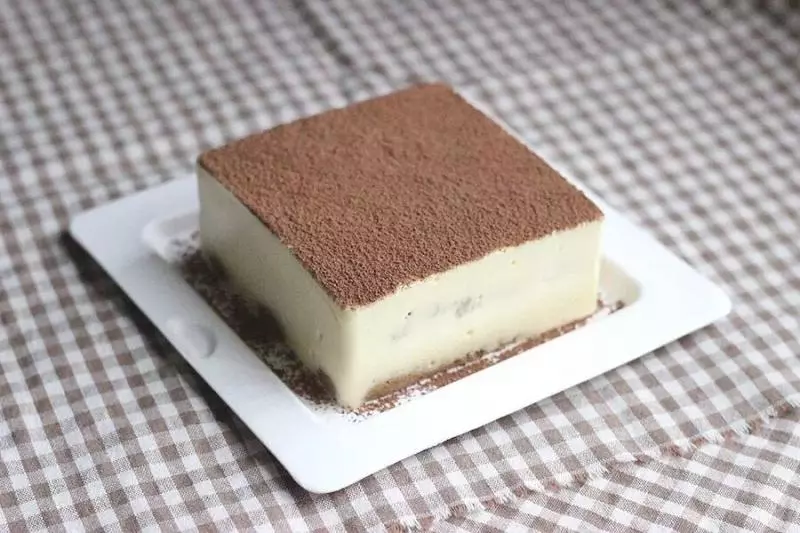
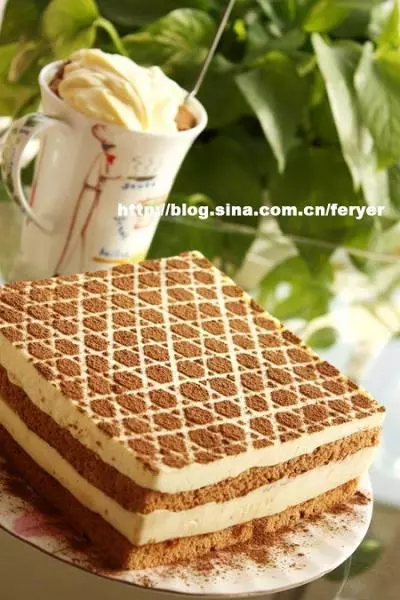
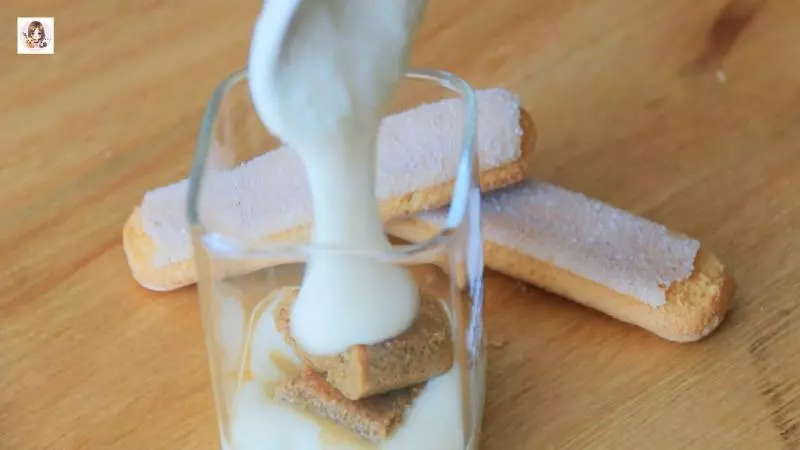
14接下来再铺一层奶酪糊,一层手指饼干,直到铺满为止,每次加入奶酪糊都要震平表面
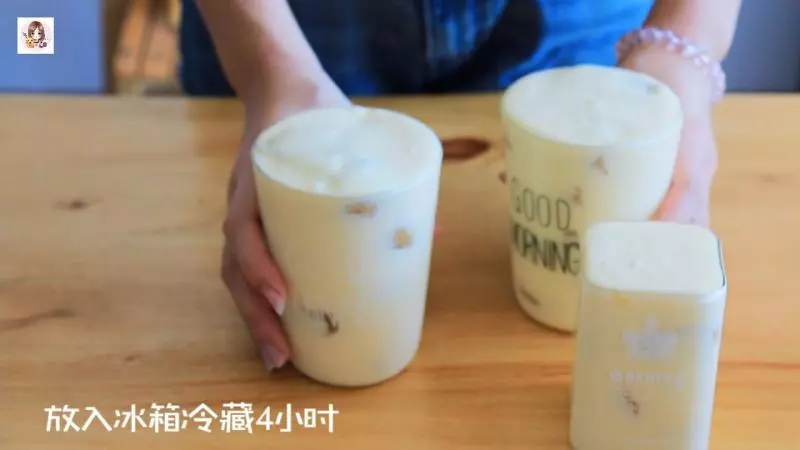
15放入冰箱冷藏4个小时
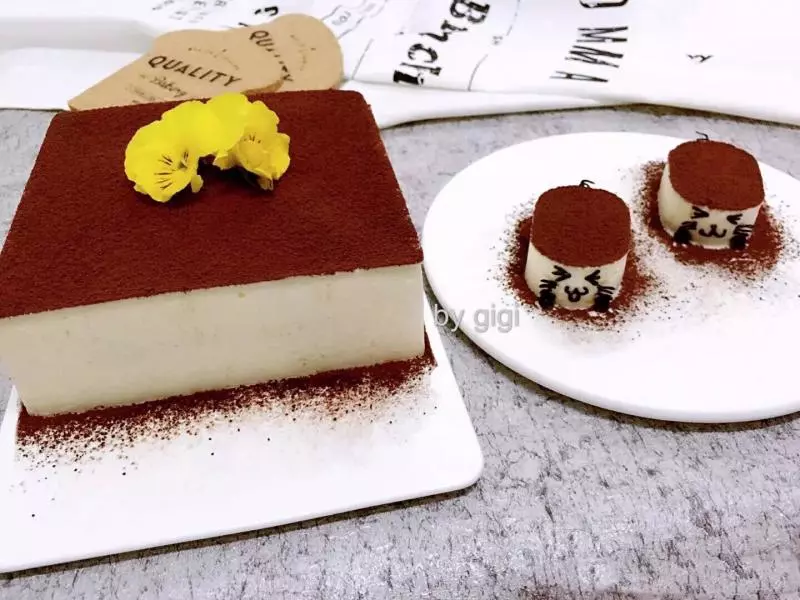
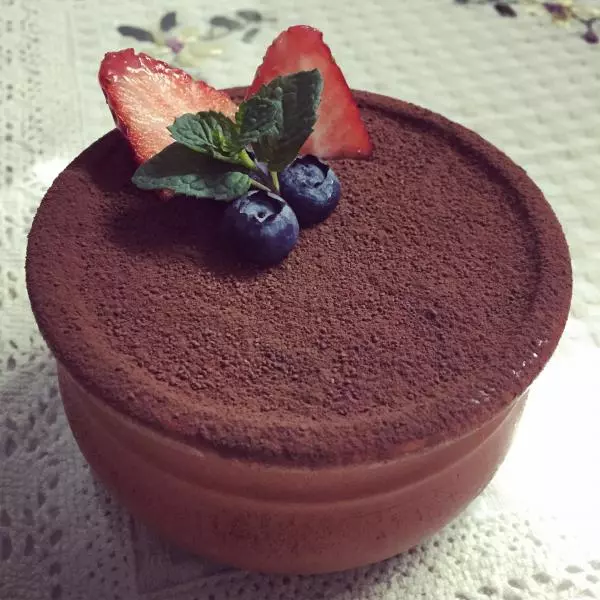
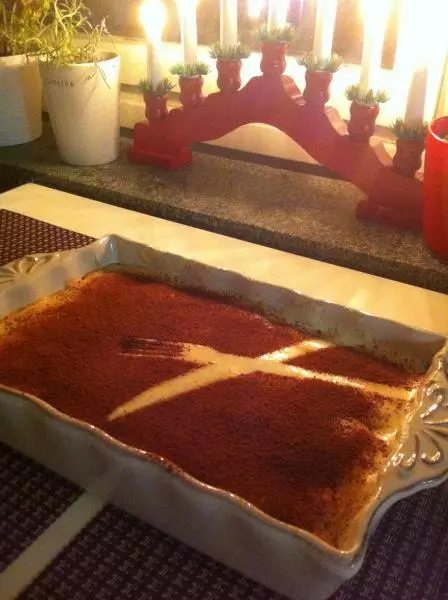
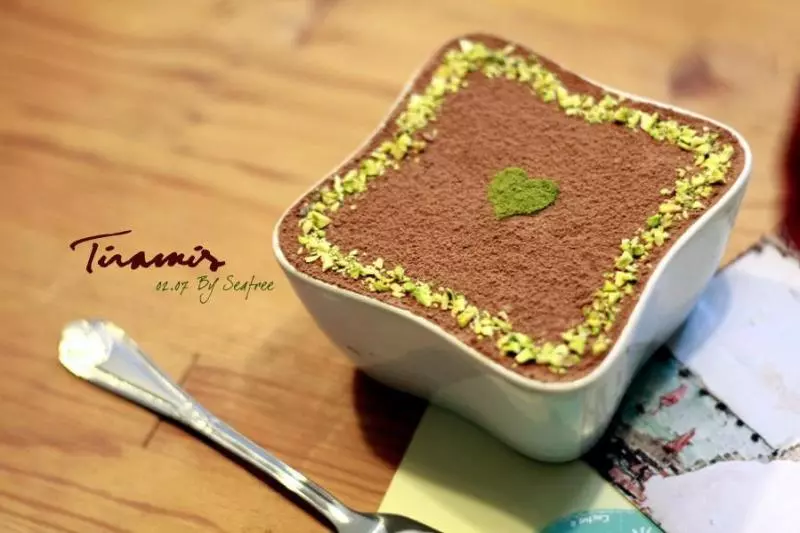
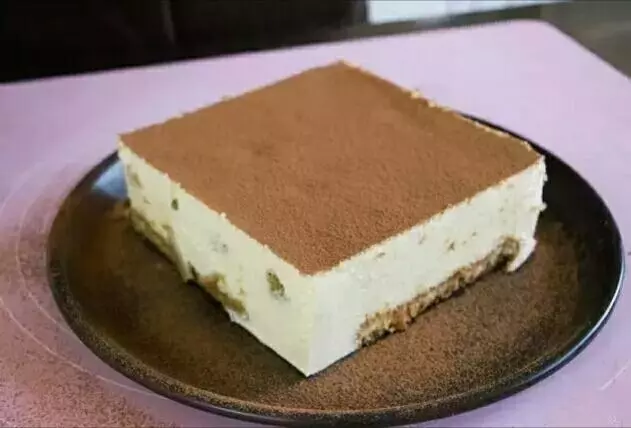
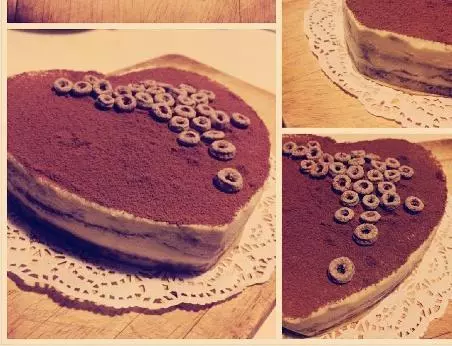
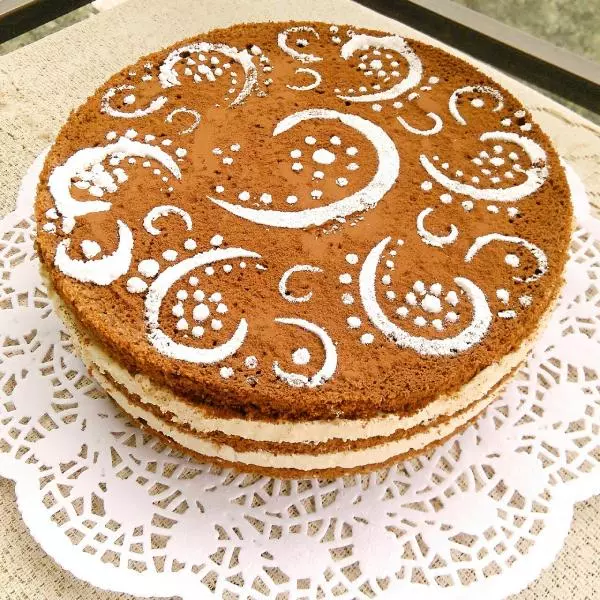
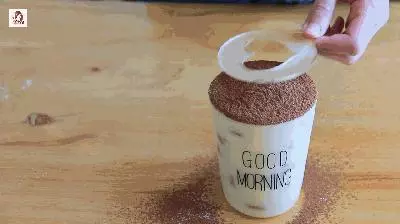
16冷藏好的提拉米苏会更好吃,表面筛入可可粉

17用糖粉装饰
18代表爱情的提拉米苏就完成啦,送给心爱的人吧

小技巧
更多美食图文 搜索 微博/公众号:柒点食分