原料
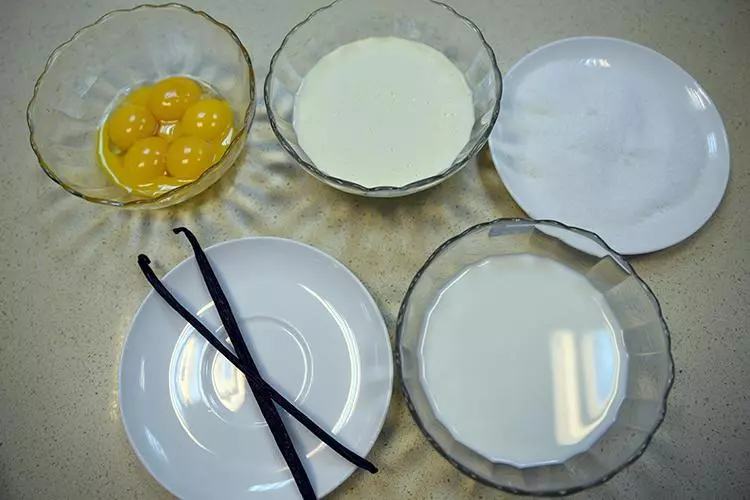
鸡蛋: 4个, 低筋面粉: 35g, 糖: 50g, 植物油: 30g, 水: 30g, 牛奶: 250g, 淡奶油: 220g, 鸡蛋: 6个, 砂糖: 80g, 香草荚: 2条
步骤
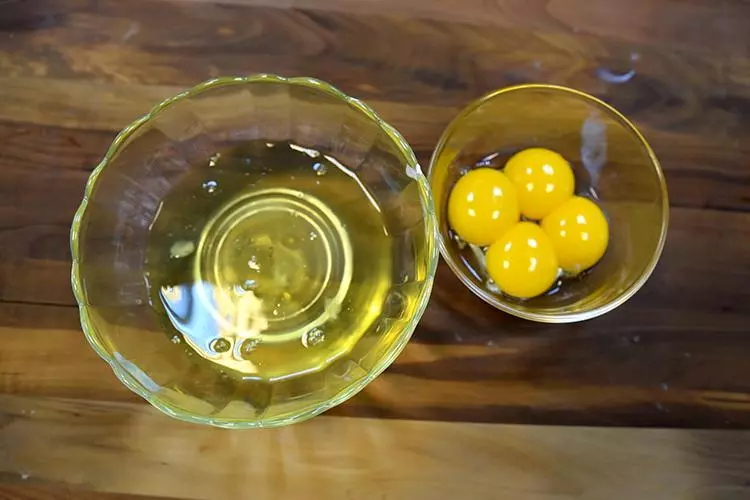
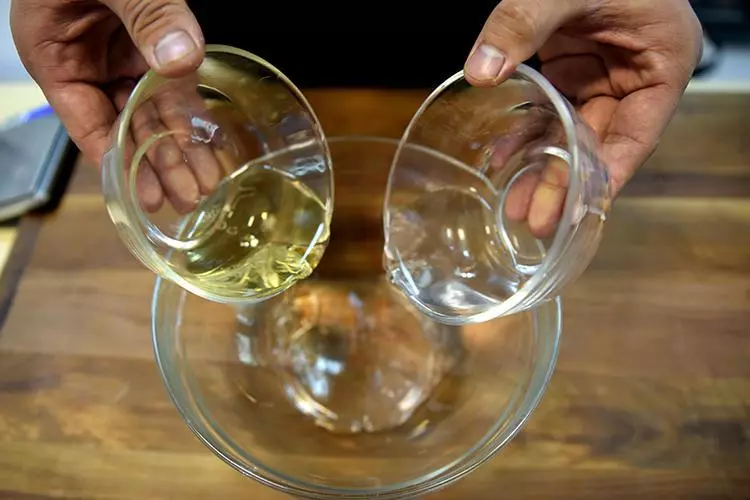
1将蛋白和蛋黄分离,分别放在两个无水无油干净的碗里
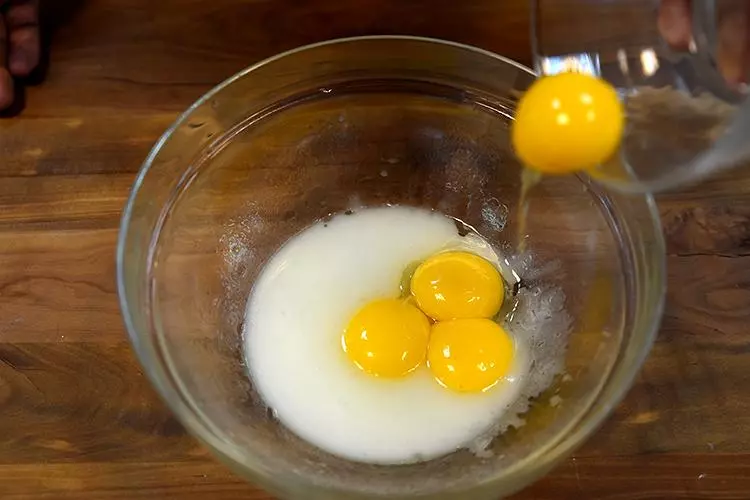
2倒入水和植物油,彻底乳化
3加入蛋黄搅拌均匀
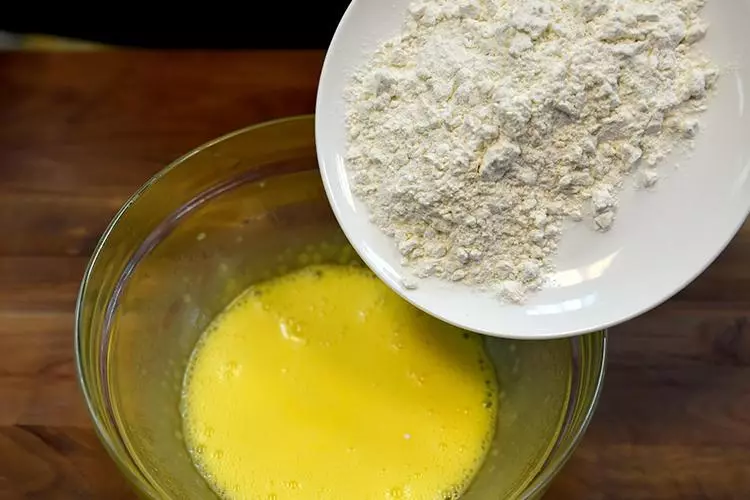
4加入过筛的低筋面粉,快速搅拌至无干粉,待用
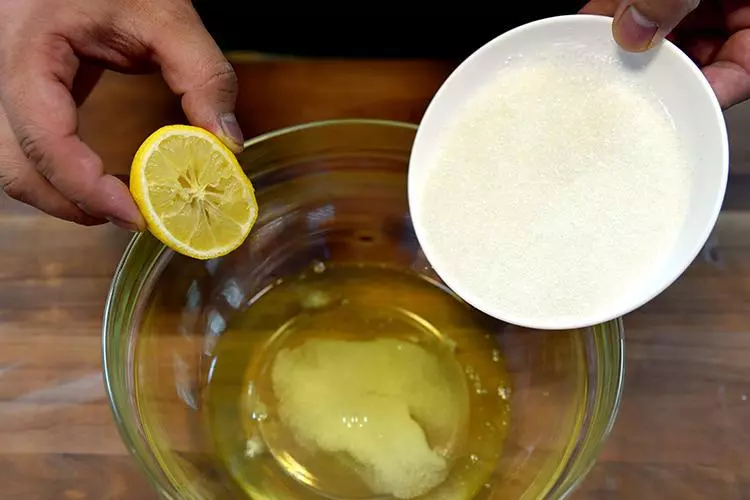
5蛋白里加入适量新鲜柠檬汁和砂糖,打发至湿性发泡
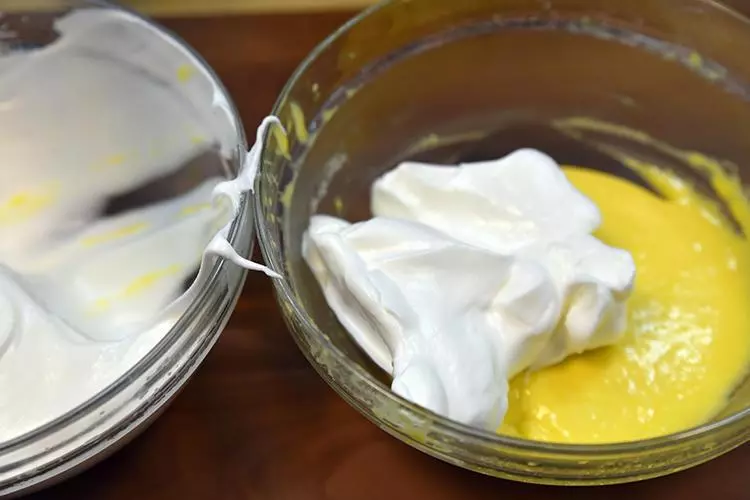
6取1/3蛋白和蛋黄糊混合均匀,再倒入剩余的蛋白里翻拌均匀即可。
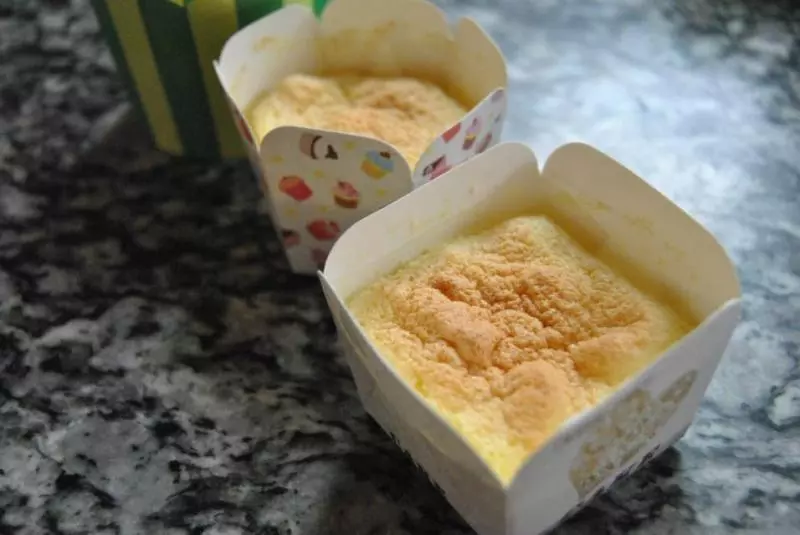
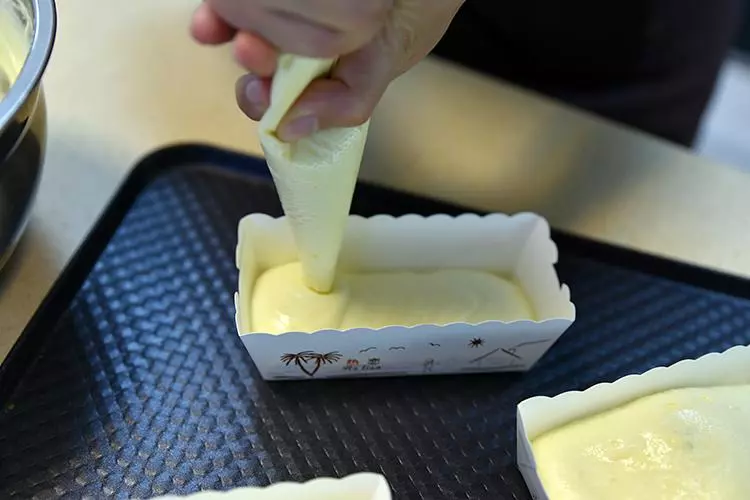
7将蛋糕糊装入裱花袋里,挤入纸杯
8提前预热烤箱135度,焙烤中层,50分钟。

9戚风在烤箱里烤制的同时,我们可以开始制作中间的奶油酱了
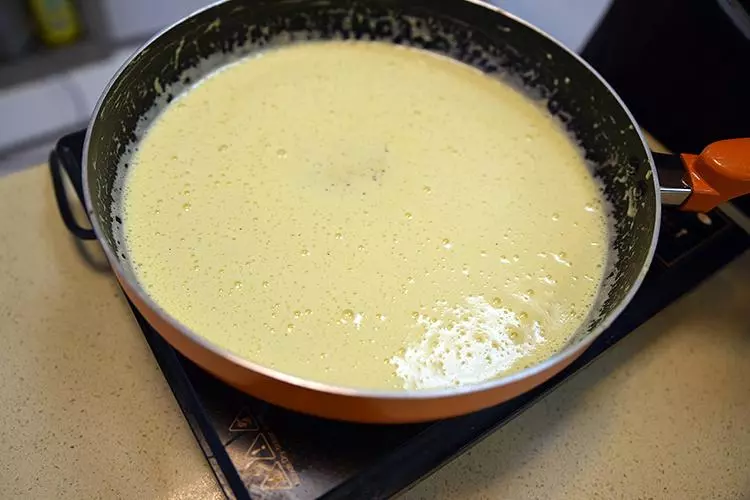
10牛奶和淡奶油一起倒入奶锅中煮至微沸
11将香草荚从中间剖开,用刀尖处刮下里面的香草籽
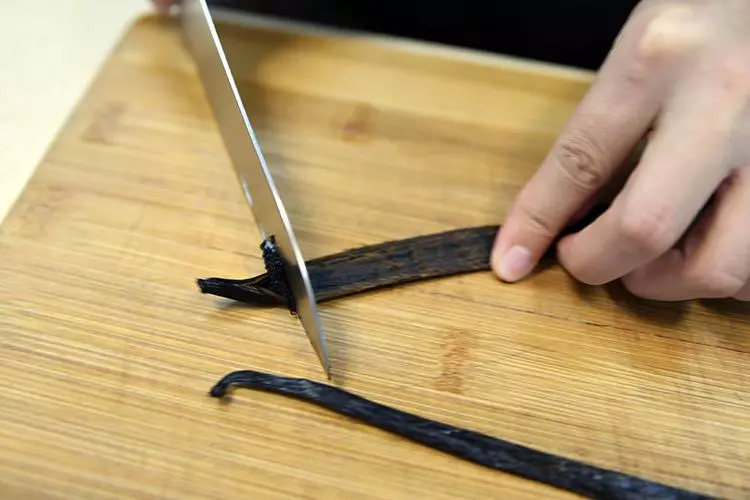
12将切段的香草荚及香草籽一起放入牛奶里煮。

13煮沸离火,并盖上锅盖闷15分钟左右
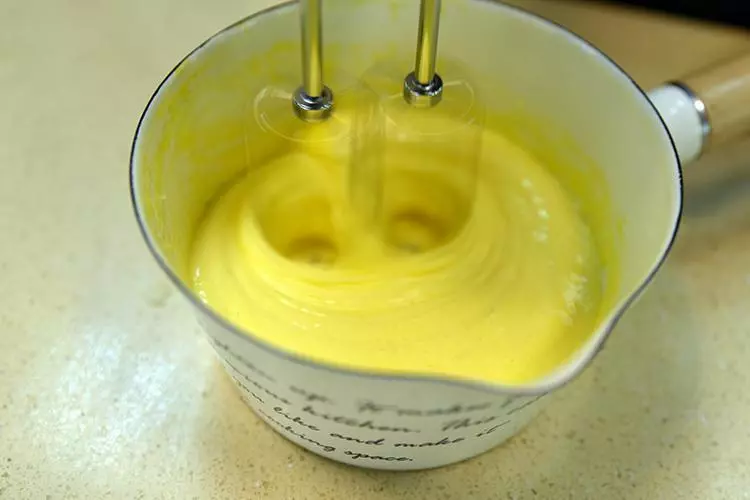
14蛋黄里加入砂糖,用打蛋器打至微黄
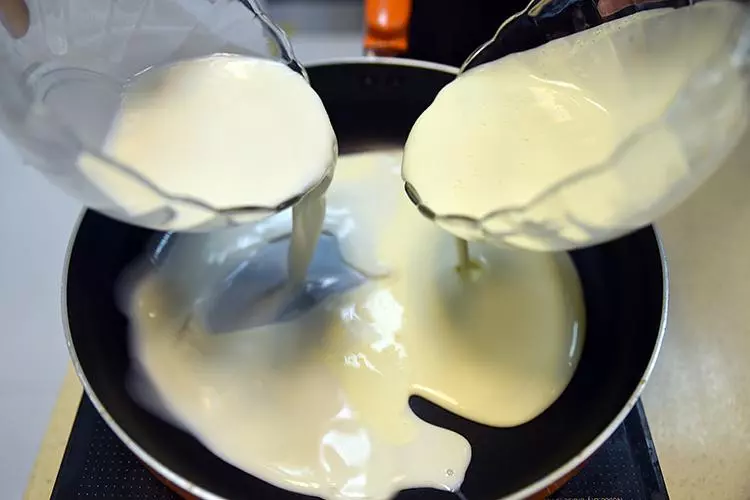
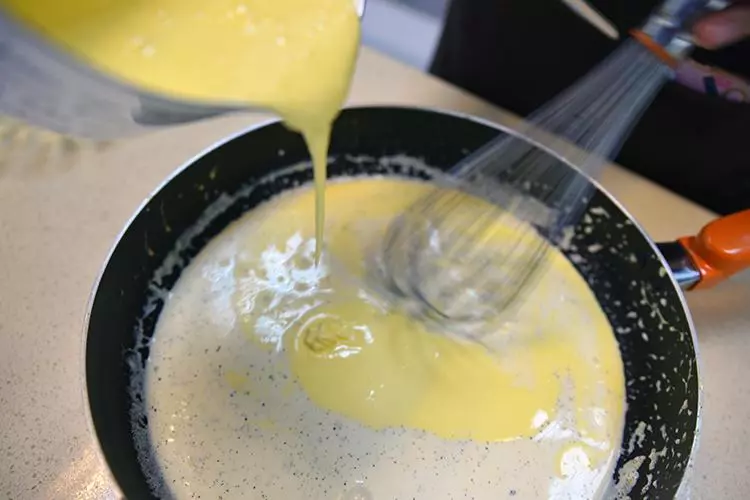
15将打好的蛋黄缓慢的倒入加了香草荚的牛奶里,边倒边搅拌
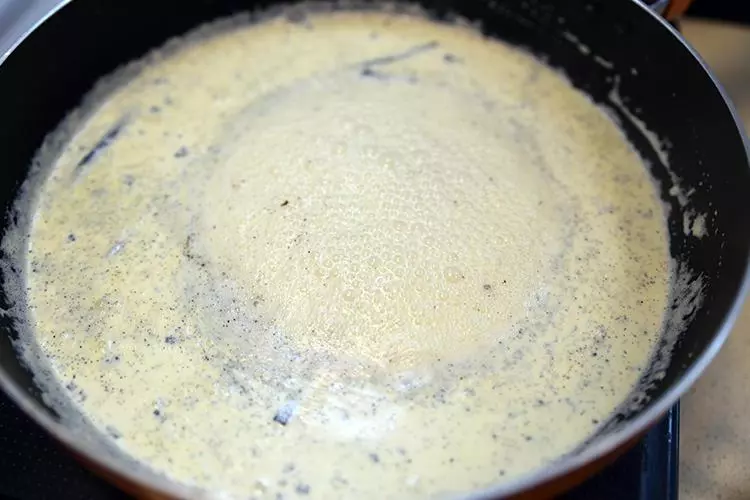
16将奶锅继续放到火上,中火慢煮,直到微微粘稠即可关火。
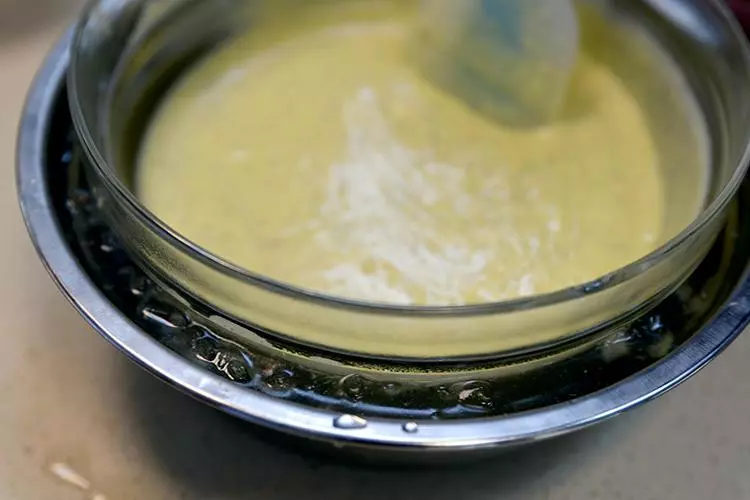
17倒入提前准备好的大碗里,底下坐上冰块,使奶油酱迅速降温。
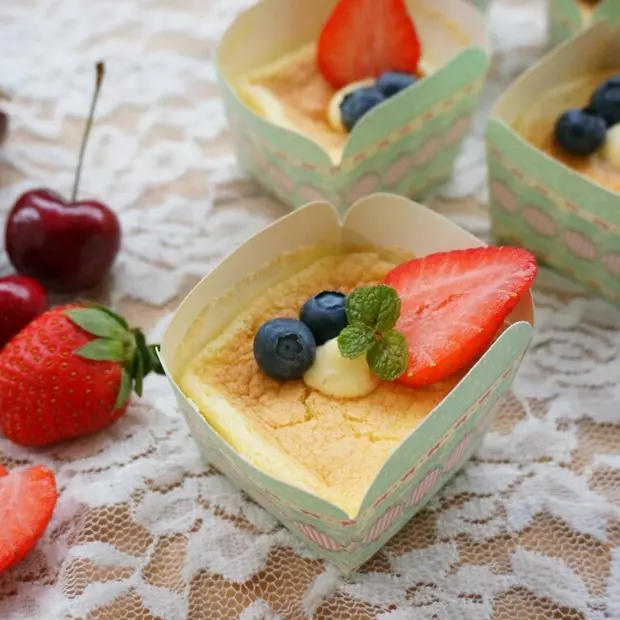
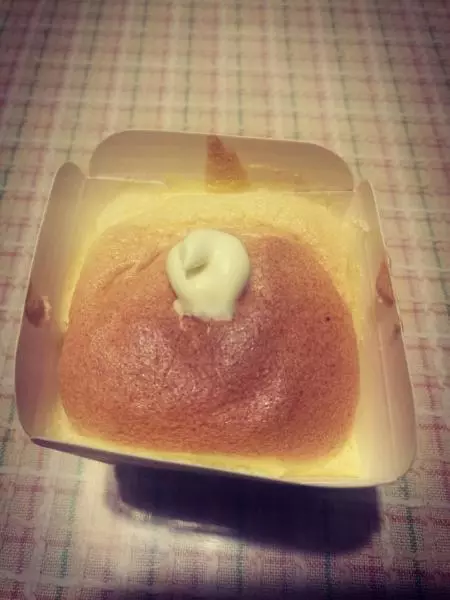
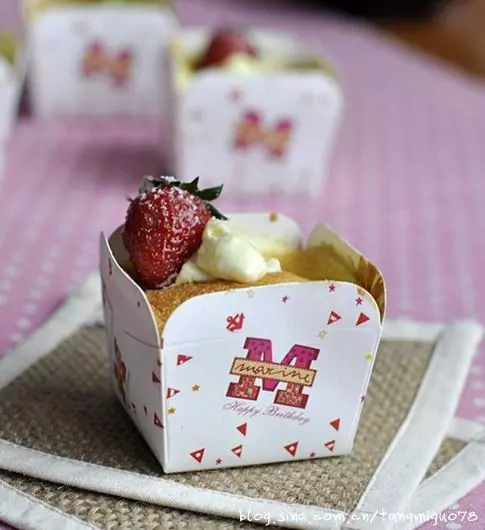
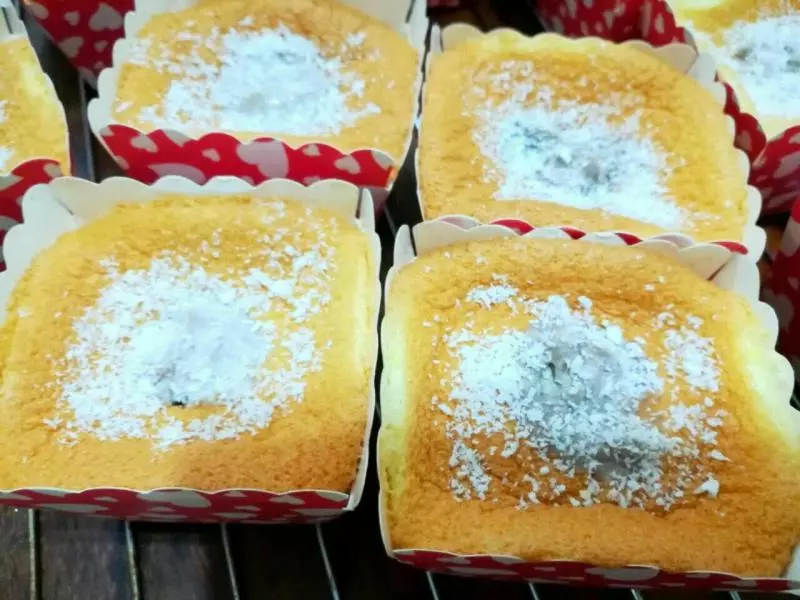
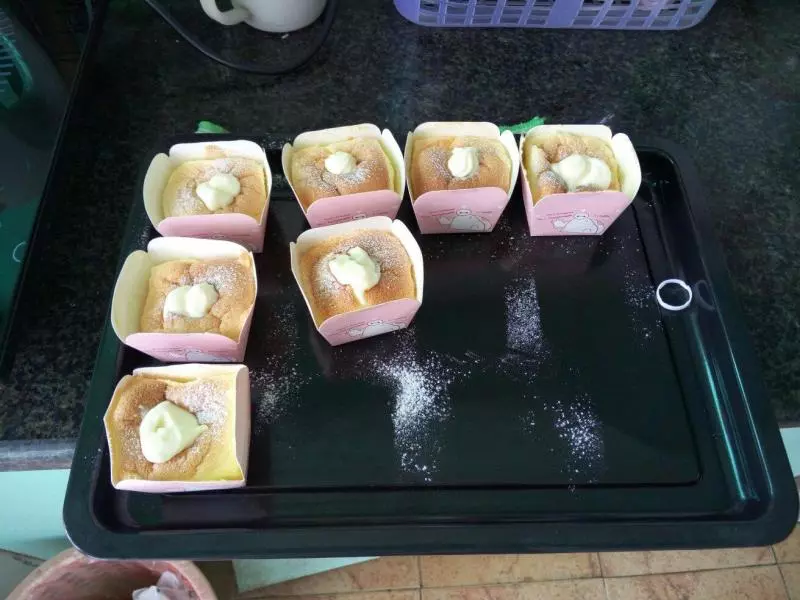
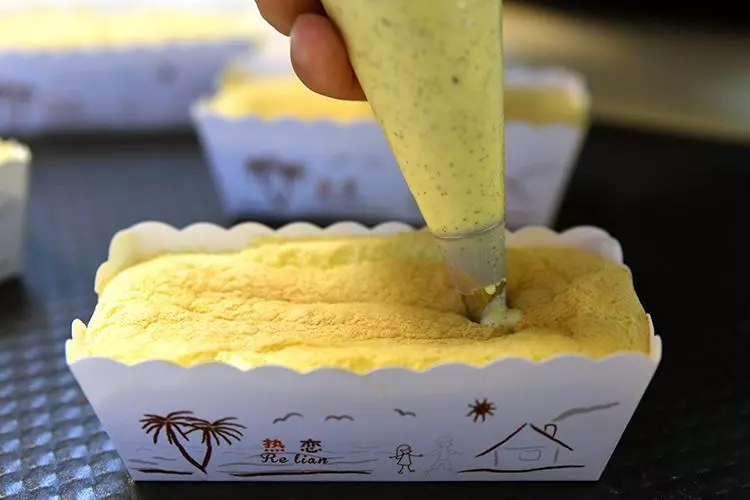
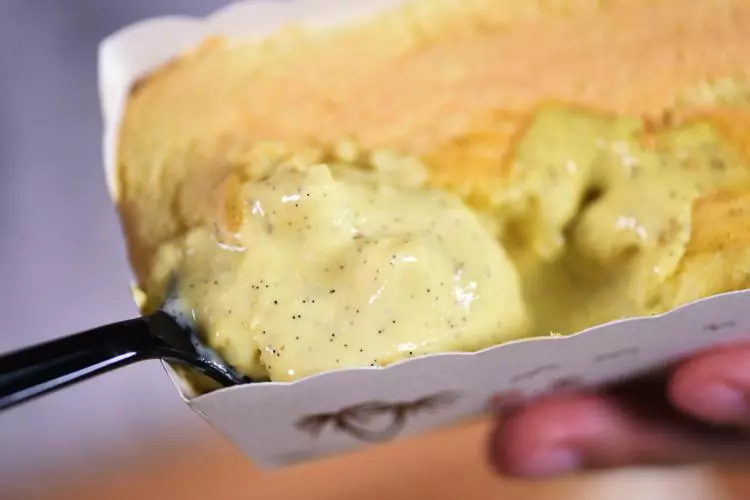
18最后将冷藏后的奶油酱装入装入裱花袋里,挤入冷却的戚风纸杯蛋糕里,美味的北海道香草戚风就完成啦!
19非常绵软香甜
小技巧
1.海戚风的配方是比较湿润的,蛋白打到湿性发泡就好了,出炉回缩是很正常的。 2.奶油酱原方里加的是100g的糖,个人觉得太甜了,可以减少到80g 3.奶油酱最后一步收汁一定要控制好火,可以中小火慢慢煮,直到奶油酱微微粘稠,刮刀划过会有凹槽,并且没有马上被填满,既可。