原料
高筋面粉: 200克, 鸡蛋: 1个, 盐: 2克适量, 细砂糖: 30克, 蛋液: 少量刷表面, 酵母: 2克, 奶粉: 30克, 黄油: 25克, 自制蓝莓酱: 适量
步骤
1除黄油,蛋液,蓝莓酱以外的食材一起倒入和面机搅拌至3光, 然后加入黄油继续揉15分钟

2至出手膜状态

3团起来覆盖保鲜膜,夏季中午发酵约45分钟

4至双倍以上大

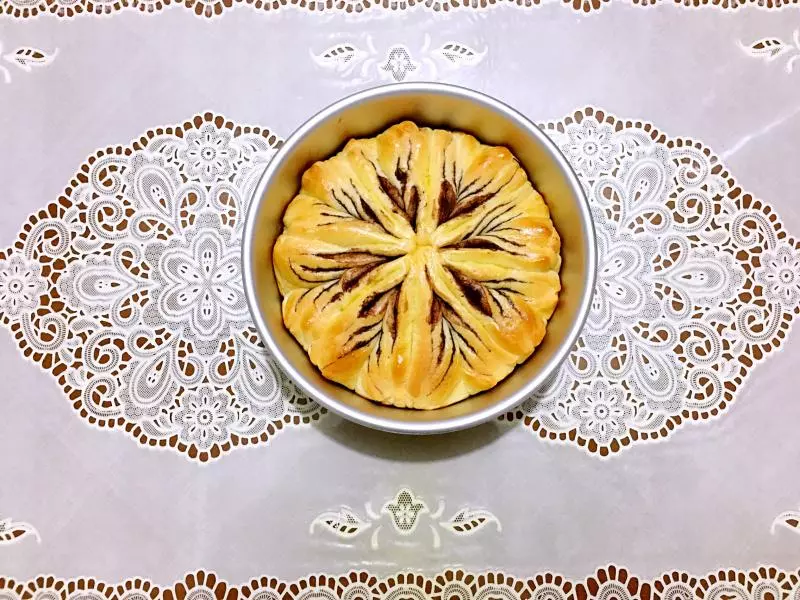
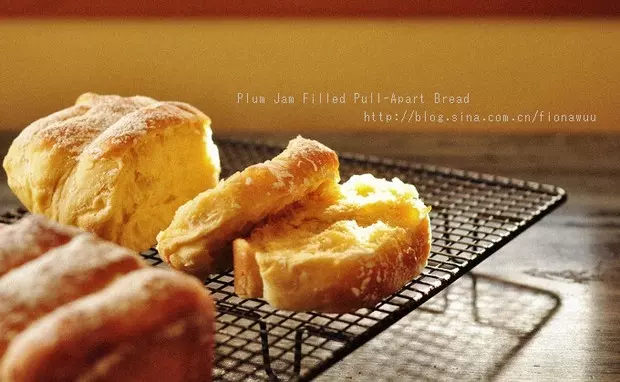
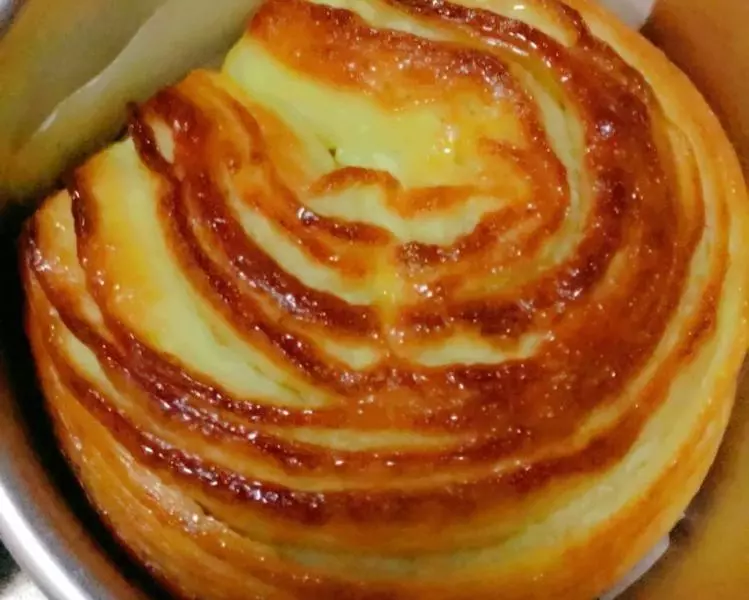
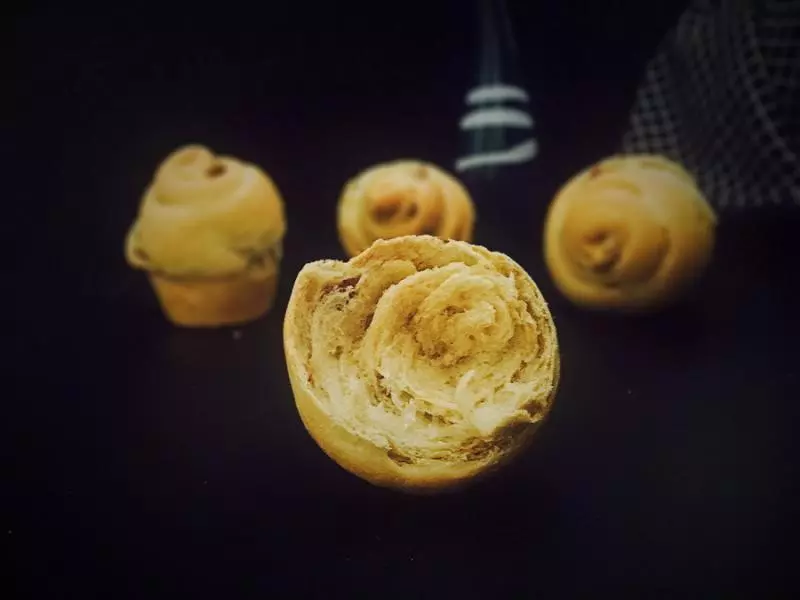
5取出反复揉,排气, 再分成4等份, 用擀面杖擀至直径20cm大小, 逐层刷上蓝莓酱

64层逐个叠好

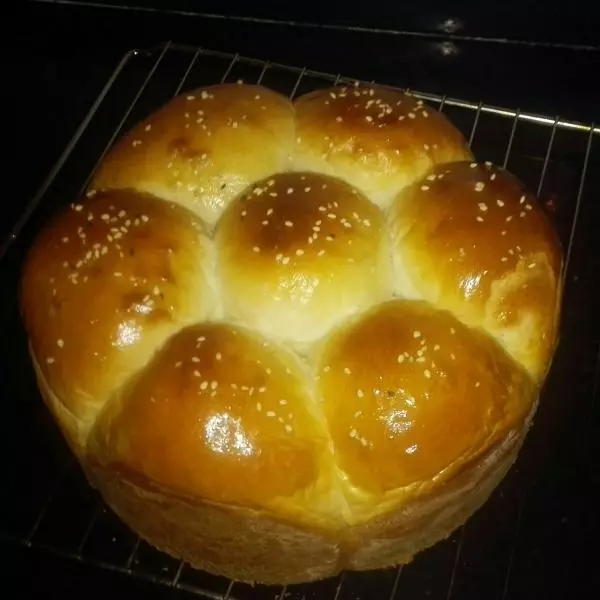
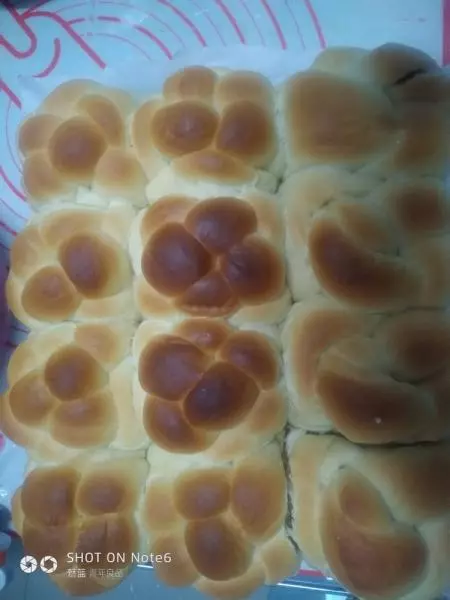
7用锋利的刀先分成4等份

8再分成16等份 然后把相邻的2个分别往左,往右合起来

9最后移到8寸的烤盘中

10再次发酵30分钟以上,至双倍大

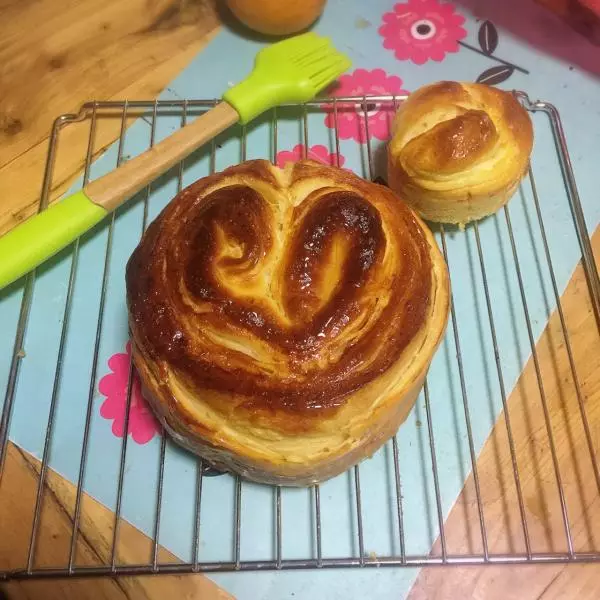
11刷上蛋液,加入自己喜欢的干果点缀一下

12烤箱提前5分钟预热后, 170℃放入, 烤20分钟, 即可。

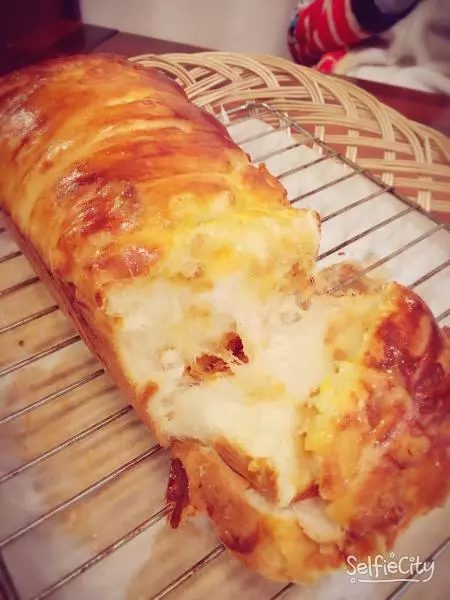
13呵呵,烤老了一点, 下次记得考一半时间,在上面盖一层锡纸会嫩一些