简介
这是小时候特别喜欢吃的一个小吃,老长沙人好多喜欢吃糖饺子的,慢慢的这快变成儿时的记忆了,街头已经很少见到卖这个的了,喜欢就学会自己做吧,可以随时想吃就做了解馋
原料
糯米粉180g, 面粉30g, 开水40g, 冷水100g, 冰糖粉20g, 玉米油100g(实耗20克)
步骤
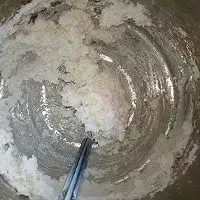
1 先把50克糯米粉放盆子里,加入开水
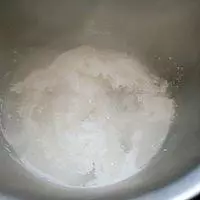
2 用勺子拌匀,小心烫手
3 加入余下的糯米粉和面粉
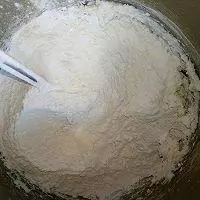
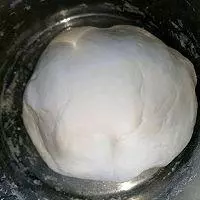
4 少量多次的加入冷水至可以揉成面团
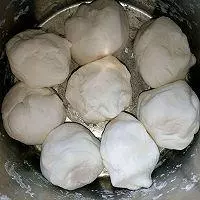
5 分成八份,我的刚好分成了46克一个,方便大家知道大小,太大了的话等下内部难熟
6 平底锅放入油,开小火,把锅侧一点,让油都到一边,这样可以不用放入更多的油

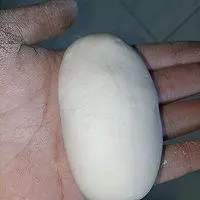
7 把小面团揉成粗点的长条
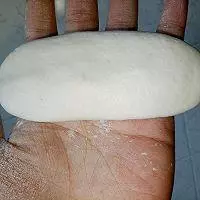
8 用手掌压扁
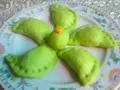
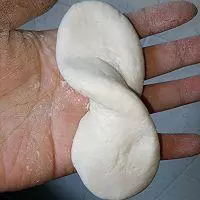
9 左右手拿住两头扭一下
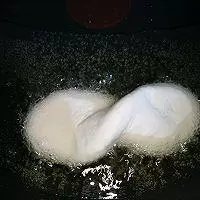
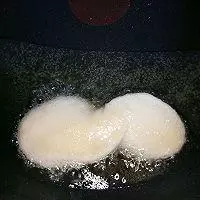
10 放入油锅,刚放入时不能去翻动

11 等看着饺子边皮变硬了,饺子已经定型了才可以翻面
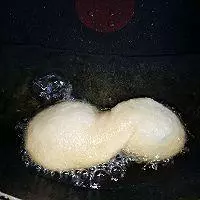
12 翻面后让另一边也定型了,就可以多翻面了
13 一直炸到饺子两面微黄,饺子鼓起来,这样饺子内部就已经熟了
14 用个盘子装冰糖粉,不要用碗,方便饺子粘糖粉
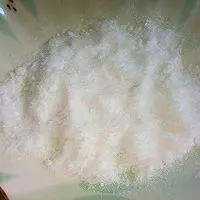
15 把饺子两面都粘上糖粉

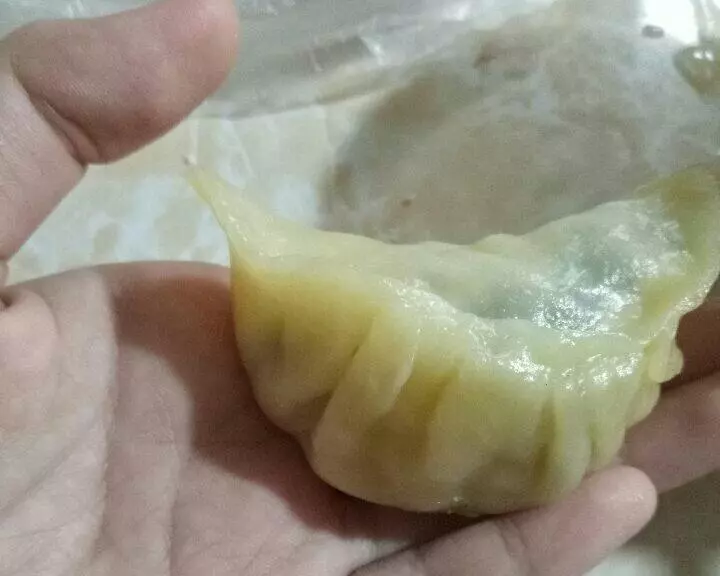
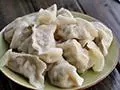
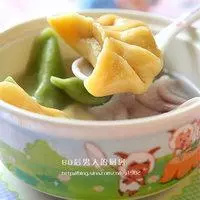
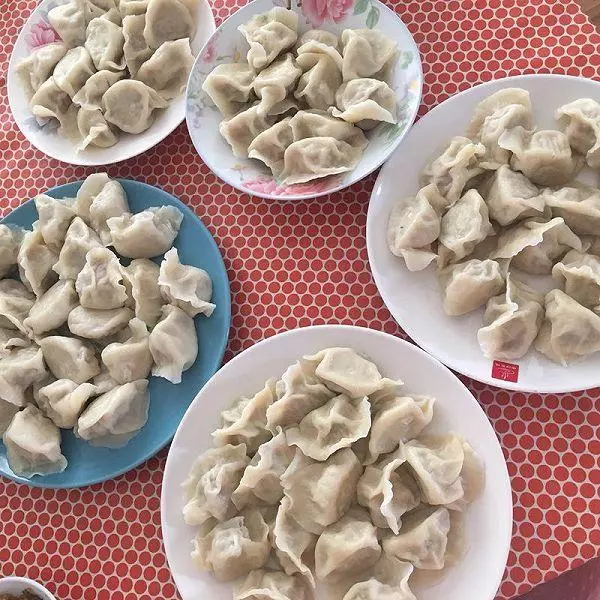
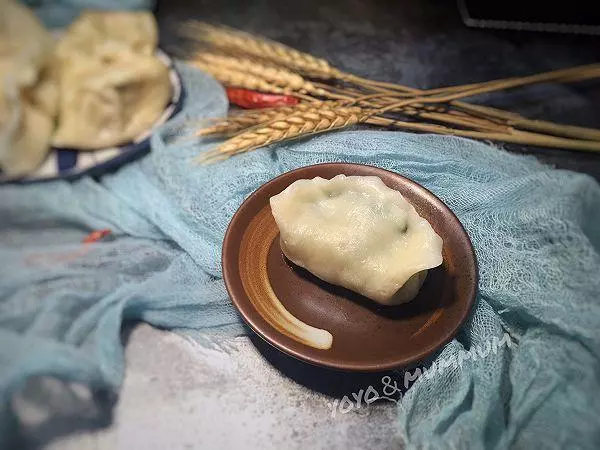
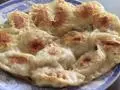
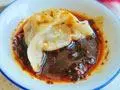
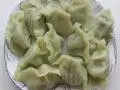
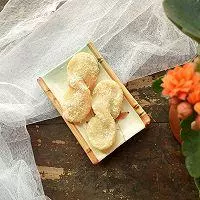
16 成品图一

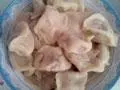
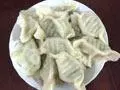
17 成品图二
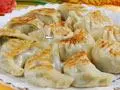
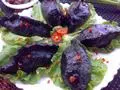
18 成品图三

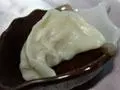
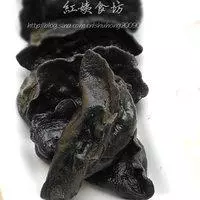
19 成品图四

20 成品图五

小技巧
1.记得全程小火啊,不然外面糊了里面还没有熟 2.没有冰糖粉可以用白糖粉 3.面粉各品牌的吸水量不同,所以冷水量请根据面团干湿慢慢加入调整