简介
英文是cheese cake。有着柔软的上层,混合了特殊的芝士,如ricotta cheese,或是cream cheese,再加上糖和其他的配料,如鸡蛋、奶油和水果等。芝士蛋糕通常都以饼干做为底层,亦有不使用底层的,有固定的几种口味,如原味、香草起士蛋糕,巧克力芝士蛋糕等,至于表层加上的装饰,常常是草莓或蓝莓,也有不装饰或是只是在顶层简单抹上一层薄蜂蜜的种类。此类蛋糕在结构上较一般蛋糕扎实,但质地却较一般蛋糕来得绵软,口感上亦较一般蛋糕来得湿润,若以具体事物来描述,芝士蛋糕是口感上类似于提拉米苏或是慕思之类的糕点,但本身又不若两者来得绵软。有时芝士蛋糕看起来不太像一般蛋糕,反而比较像派的一种。
原料
奶油奶酪 100克, 低筋面粉 60克, 融化后的黄油 50克, 糖粉 30克, 蛋黄 4个, 牛奶 100克, 柠檬汁 1/2茶匙(3ml), 玉米淀粉 30克, 白砂糖 60克, 蛋白 4个
步骤
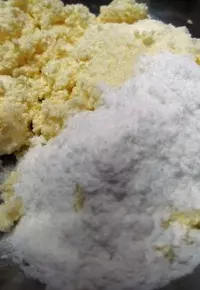
1克奶油奶酪室温融化放入碗中加入30克糖粉
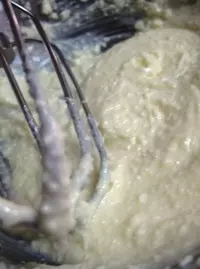
2隔水加热之后用电动打蛋器搅拌
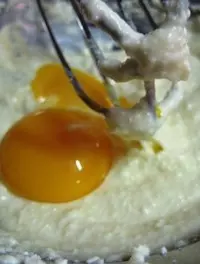
3准备四个蛋黄,有一个散了

4一个一个加入蛋黄,用打蛋器拌均匀
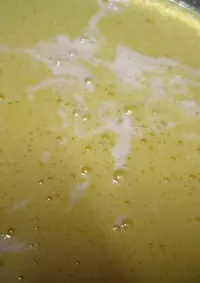
5拌好的样子

6加入100ML牛奶和几滴白醋
7筛入60克低粉和30克玉米淀粉
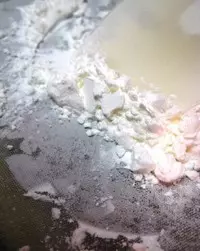
8准备搅拌

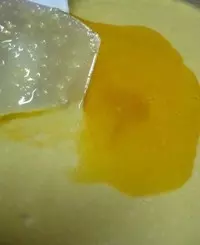
9准备50克黄油,微波炉融化
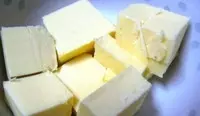
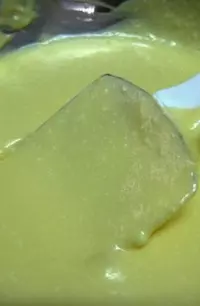
10倒入融化的黄油搅拌均匀
11拌好的面糊
12蛋白加入白醋用打蛋器打起大泡,分三次加入60克白砂糖,蛋白打发至湿性发泡,混合蛋白之前可以将烤箱150度预热

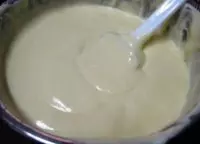
13打好的蛋白和面糊分三次混合
14倒入模具中,放在桌子上震几下
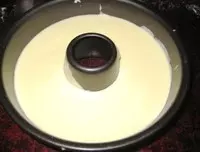
15烤盘上装水,再把模具放上去,烤到30分钟的时候可以再加一些水
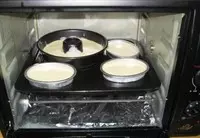
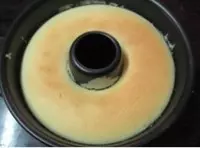
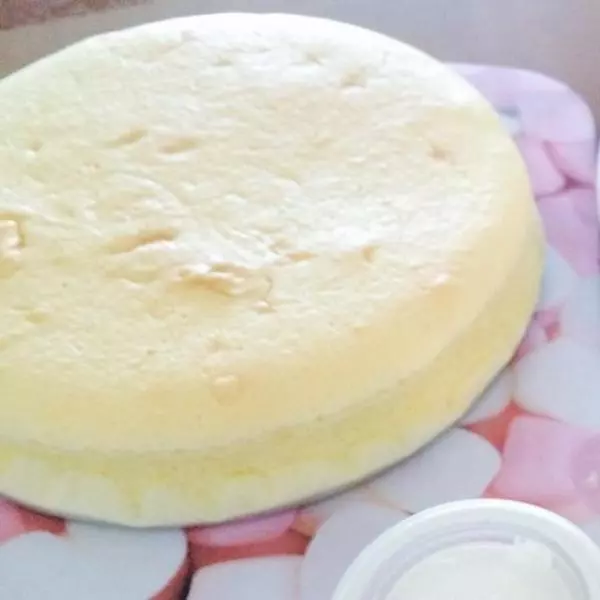
16一小时之后出炉
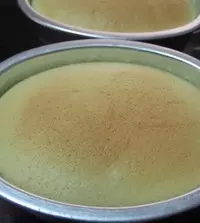
17放置3分钟之后再脱模