原料
奶油奶酪: 150g, 牛奶: 100g, 白砂糖: 50g, 玉米澱粉: 15g, 蛋黃: 2個, 蛋白: 30g, 無糖可可粉: 1/2小匙
步驟
1奶油奶酪在室溫軟化後,加細砂糖隔水加熱(圖1),攪拌至奶油奶酪呈顆粒的光滑狀
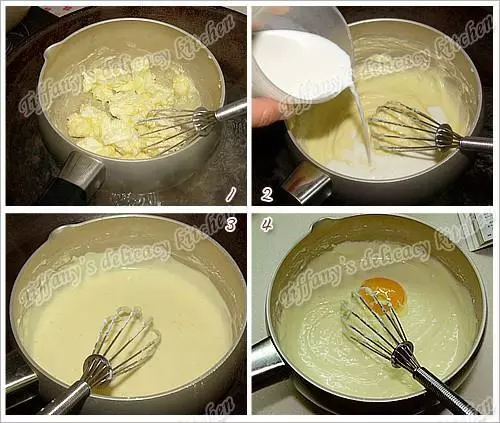
2分別加入牛奶(圖2)及玉米澱粉,用打蛋器攪拌均勻(圖3)
3離開熱水,待稍降溫後再分別加入蛋黃(圖4、圖5)攪均,再加入蛋白(圖6),繼續用打蛋器攪拌呈均勻的奶酪糊
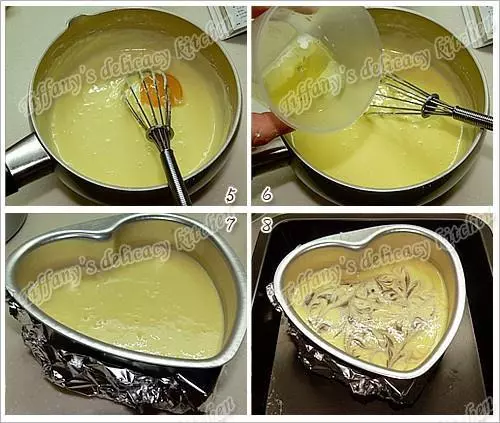
4取奶酪糊1小勺,加入無糖可可粉,用湯匙拌勻呈可可奶酪糊
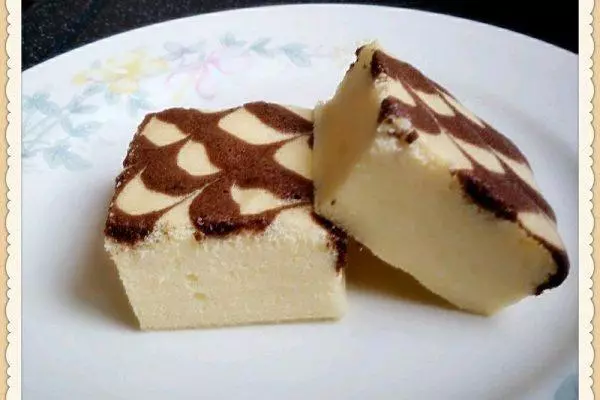
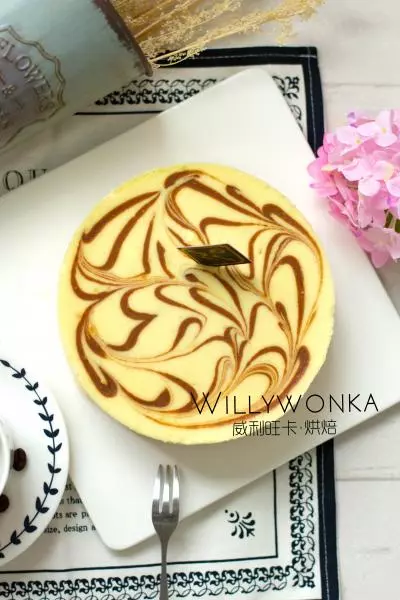
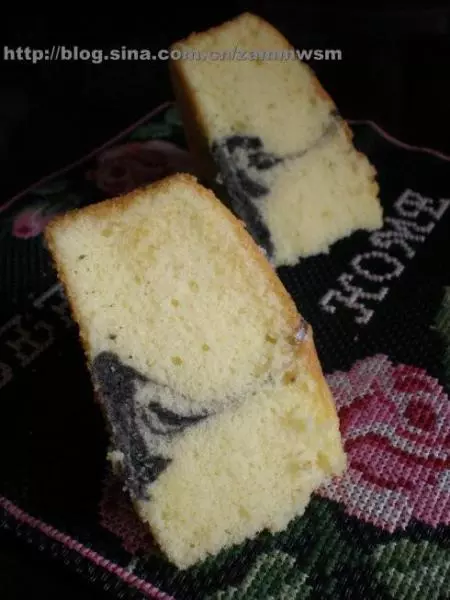
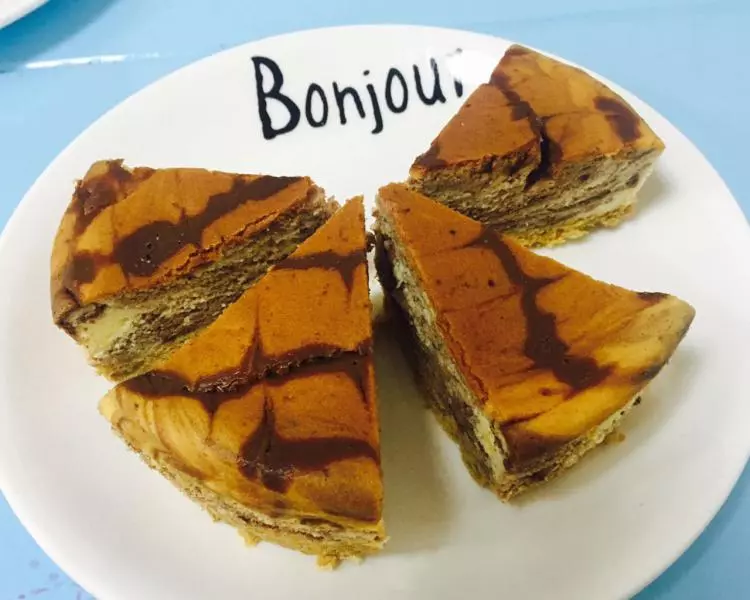
5模具底部包裹錫紙,把奶酪糊倒入模具中(圖7),再用小湯匙將可可奶酪糊舀在表面,用牙籤畫出花紋(圖8)
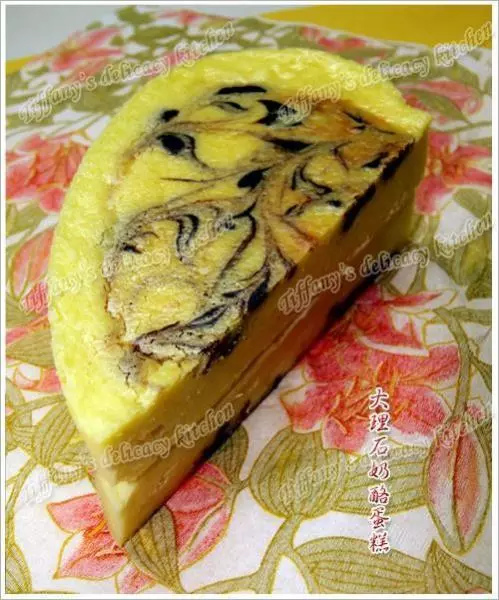
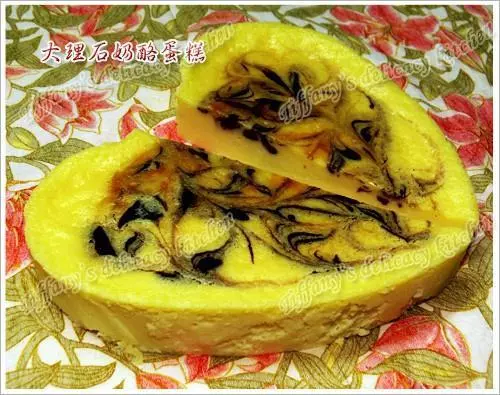
6烤箱預熱後,在大烤盤中倒入熱水,180度,烤盤放在倒數第二層,隔水烘烤25分鐘左右