原料
檸檬皮屑: 1個, 木糖醇: 105克, 檸檬汁: 15 ml, 低筋麵粉: 150克, 無鋁泡打粉: 4.5克, 雞蛋: 2個或3個, 香草精: 適量, 鹽(可不加): 一小撮, 黃油: 150克
步驟
1準備材料,稱重。 檸檬皮刨成絲,不要刨到白色的部分,會發苦的。因為直接用檸檬皮,所以我清洗的時候會用溫水泡一段時間,再用鹽搓洗,為了去掉外面那層蠟。

2把檸檬皮屑,檸檬汁和木糖醇還有鹽混合放置1個小時。因為我很喜歡檸檬的香味,所以我放了一整個檸檬。檸檬皮屑的多少可以自己決定。

3時間總能沉澱出美味。等混合好飄出淡淡的檸檬香就可以接著進行下一步了。

4碗中打入雞蛋。攪勻。 家裡這次買的雞蛋大,所以我只用了2個,如果是小雞蛋,可以用3個。

5雞蛋攪勻後加入上一步混合好的檸檬皮屑,攪拌。

6注意攪拌的過程中,不要把雞蛋打發了,扮勻就可以啦。

7低筋麵粉和無鋁泡打粉混合過篩

8倒入上一步的雞蛋液中,混合,攪拌均勻。

9攪拌完是這樣的。

10黃油微波爐加熱融化。

11我一般喜歡隔水加熱也很方便。

12融化後,趁熱倒入麵糊中,攪拌。

13攪拌後,麵糊是成光滑可飄落的泥狀。

14麵糊攪拌均勻後,蓋上保鮮膜,放入冰箱冷藏1小時。從冰箱取出麵糊的時候,麵糊是凝固的。在室溫下放置片刻,恢復到可流動的狀態。

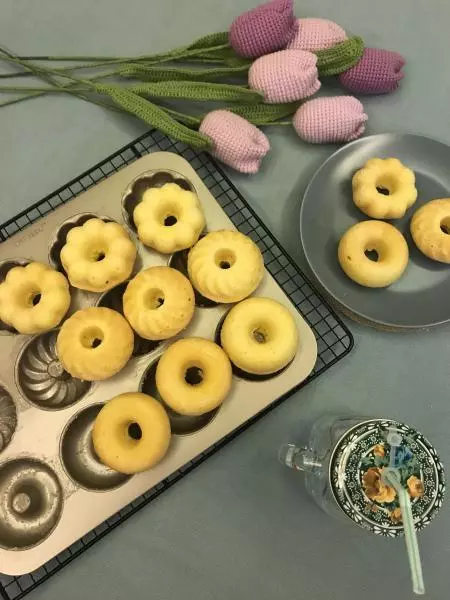
15模具內塗上一層融化的黃油,如果不是不沾的模具,再撒上些低粉,把多餘的倒出去。這樣就可以完美的脫模啦

16把麵糊填入模具,九分滿。 我總是放很多,三份的量能做出兩份半就不錯了。總是安慰自己,反正是自己家吃嘛。

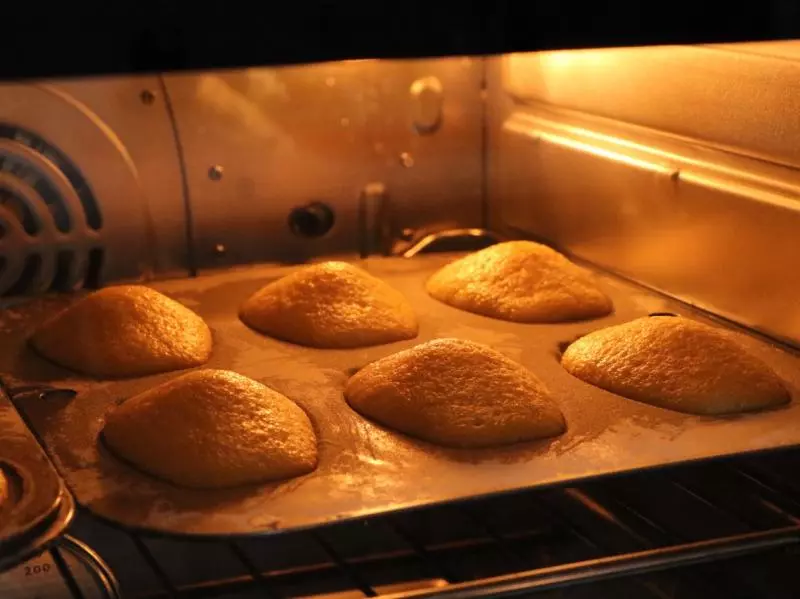
17上下火,190度,烤13 — 15分鐘。

18然後一點一點。

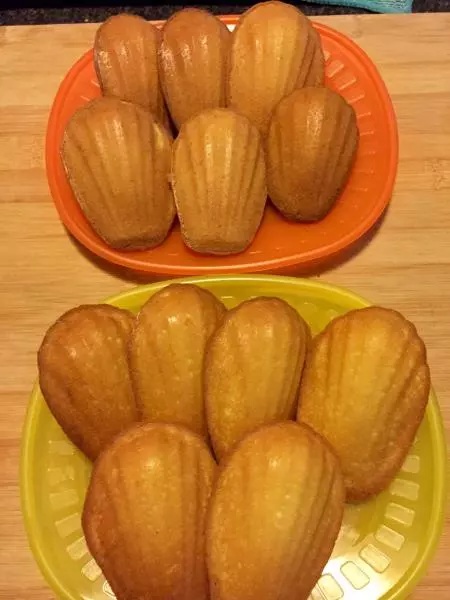
19慢慢的瑪德琳的背面就出現高高的鼓包了。再烤些時候,上上色就會很漂亮。

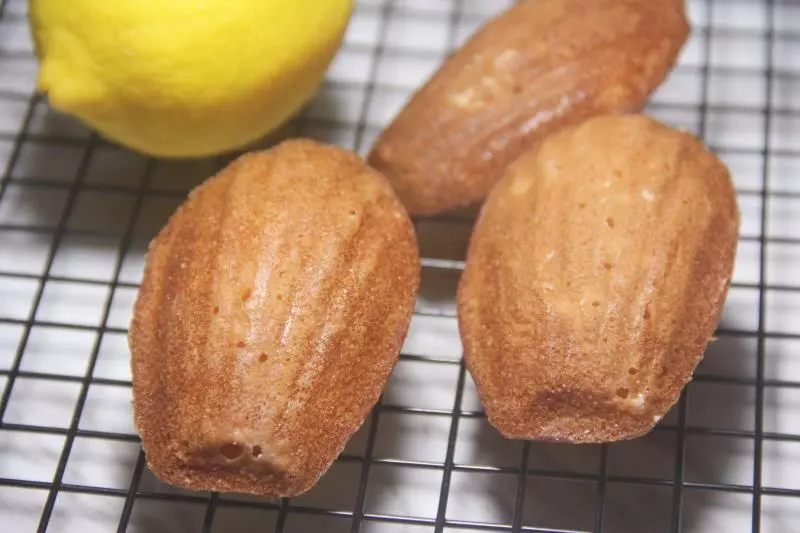
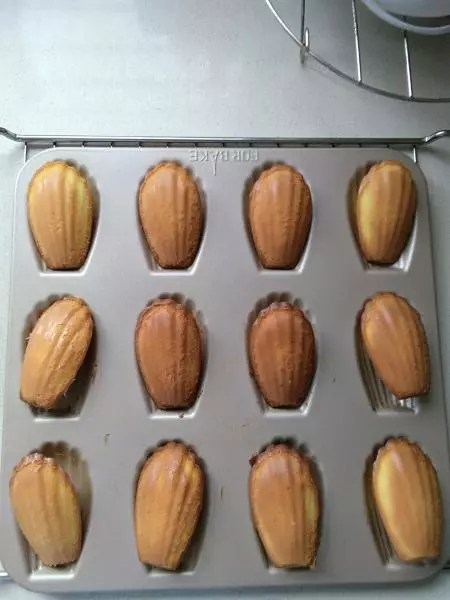
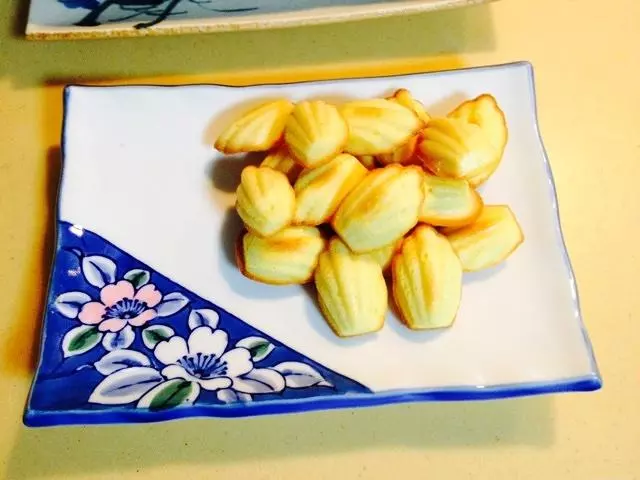
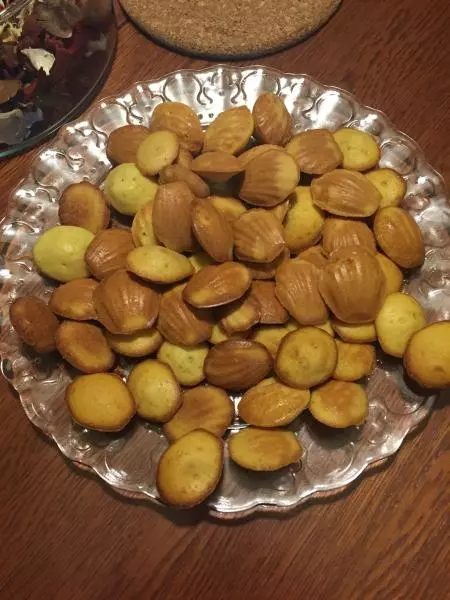
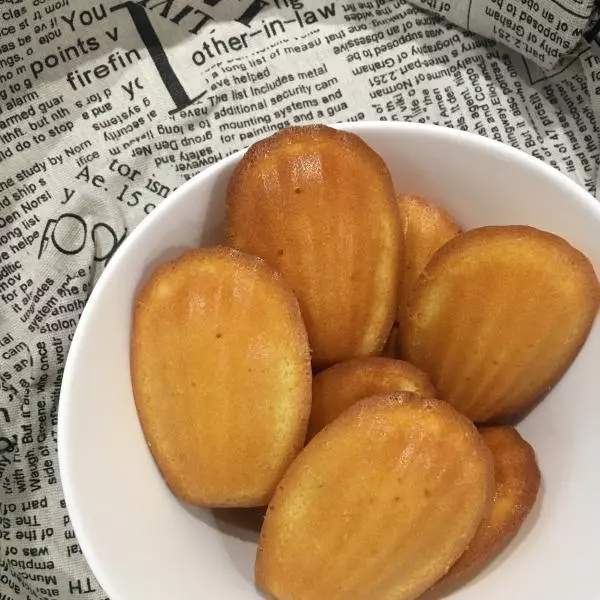
20烤好的瑪德琳,趁熱脫模,冷卻。

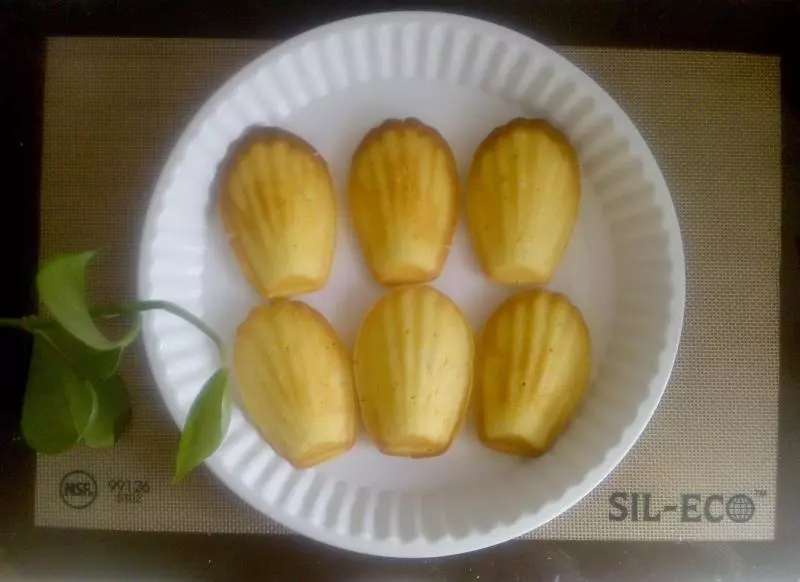
21再然後就可以美美的拍照。

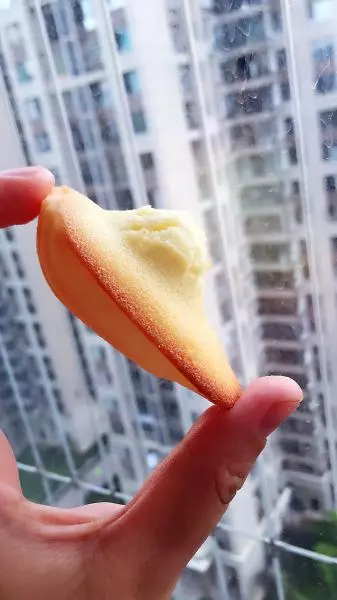
22開吃~

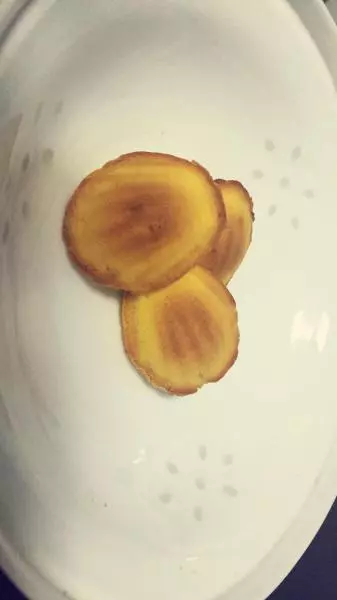
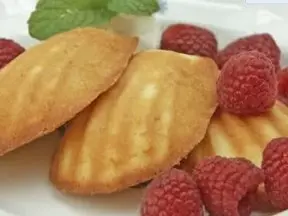
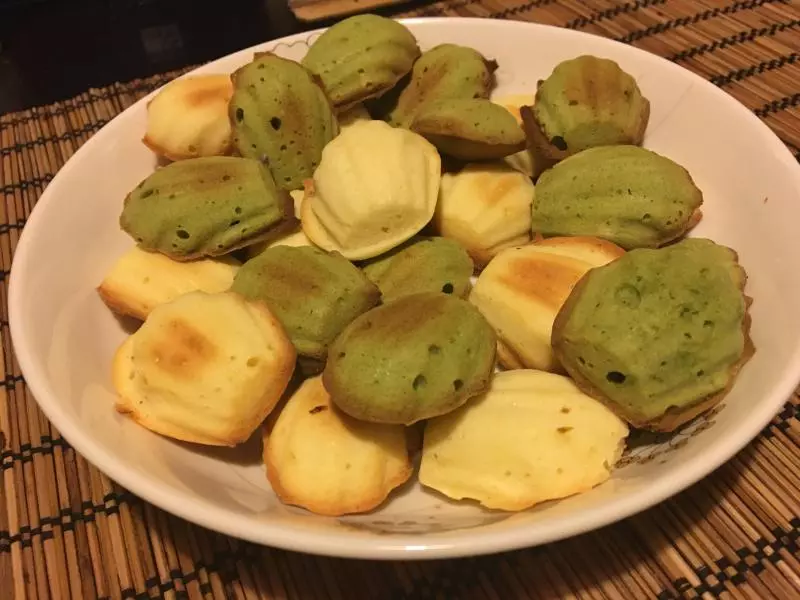
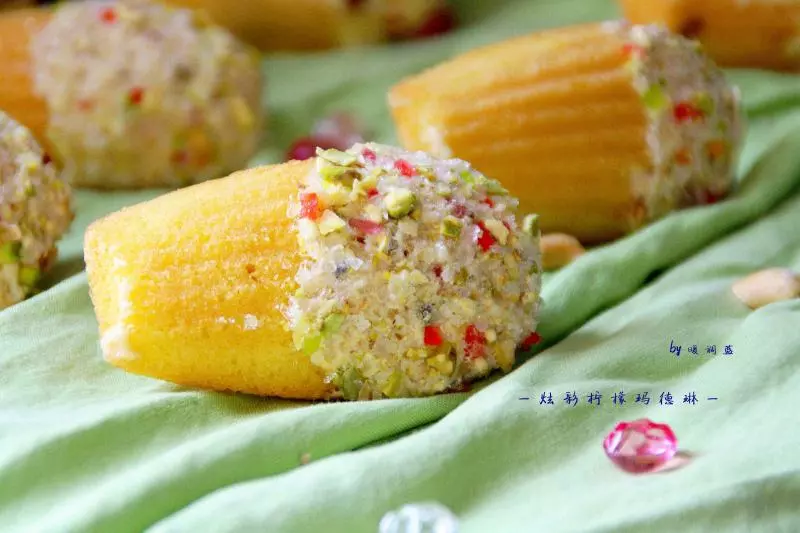
23這是以前做的,小貼士里有提到的百香果味的和橙子味的。也很好吃。

小技巧
※ 這次我用的材料是三份的量。 ※ 如果要把木糖醇換成糖的話,就把105g的木糖醇換成120g到150g的糖,可能有的人會覺得甜,也可以適量減少,但我覺得瑪德琳吃的就是他的香味和甜味。 ※ 如果把材料裡面用的檸檬換成百香果或者橙子也會很好吃。