原料
蛋白: 1個, 細砂糖: 45g, 檸檬汁: 適量, 蛋黃: 1個, 檸檬: 半個, 細砂糖: 20g
步驟
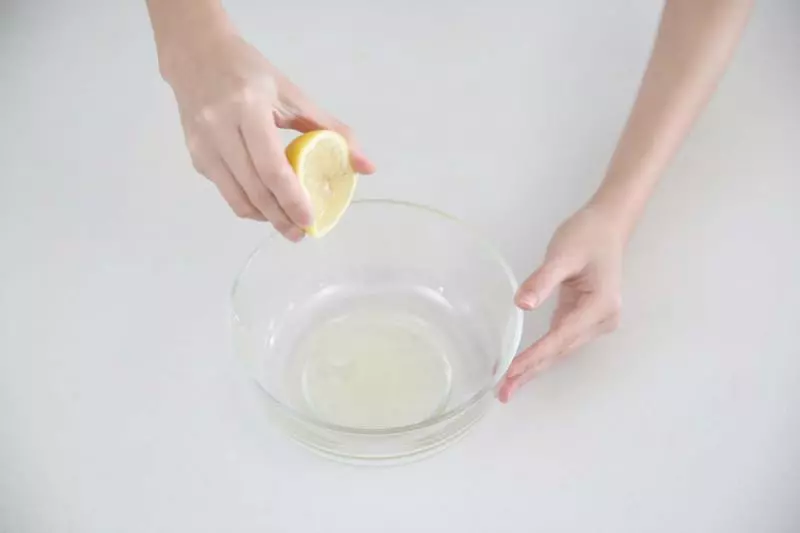
1【製作蛋白糖】蛋清和蛋黃分離,取數滴檸檬汁加入蛋清中。
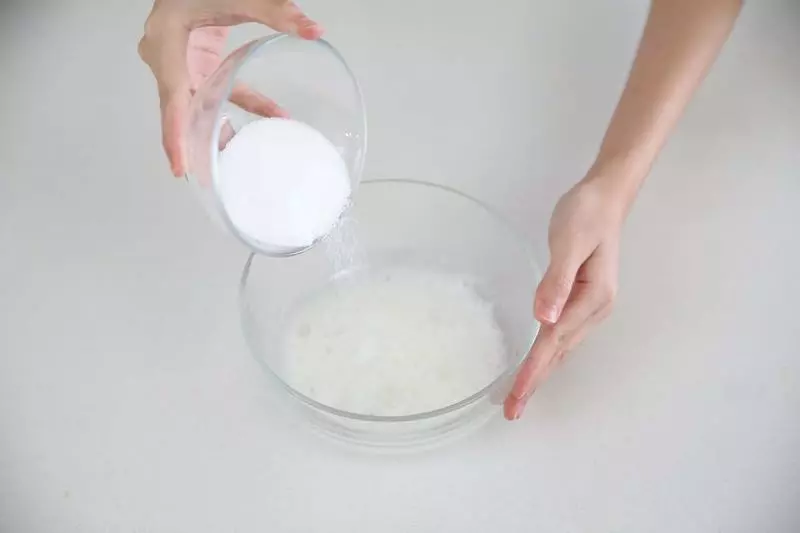
2細砂糖粉三次加入蛋清中打發。
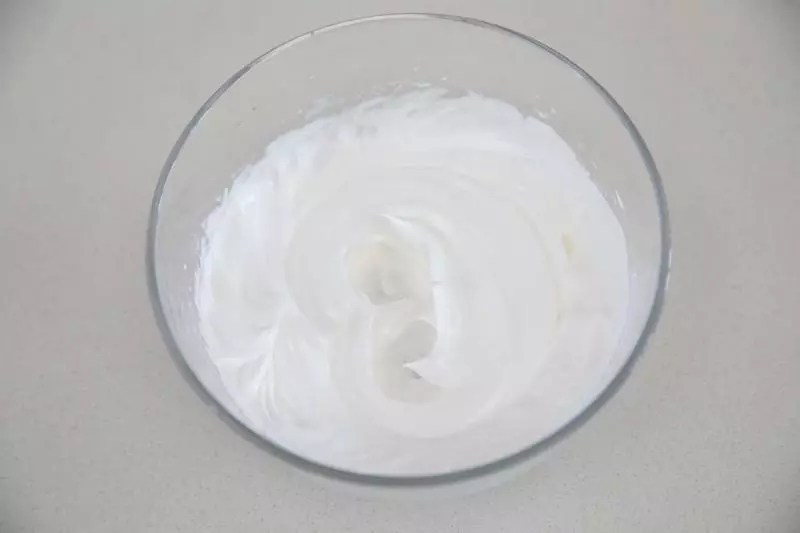
3打發至硬性發泡。
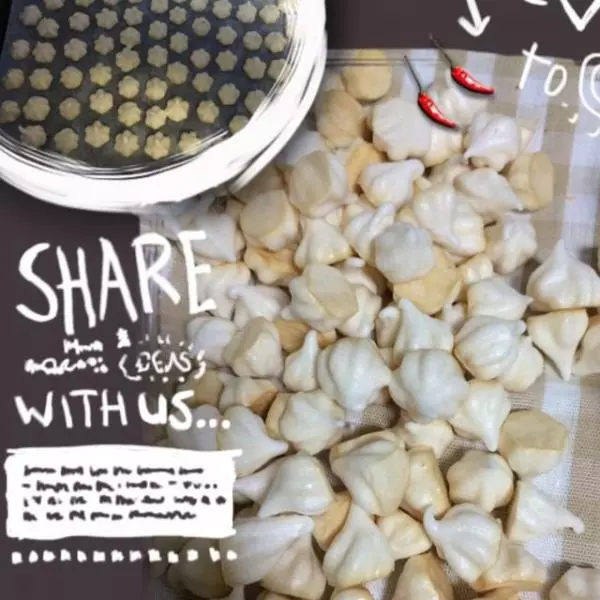
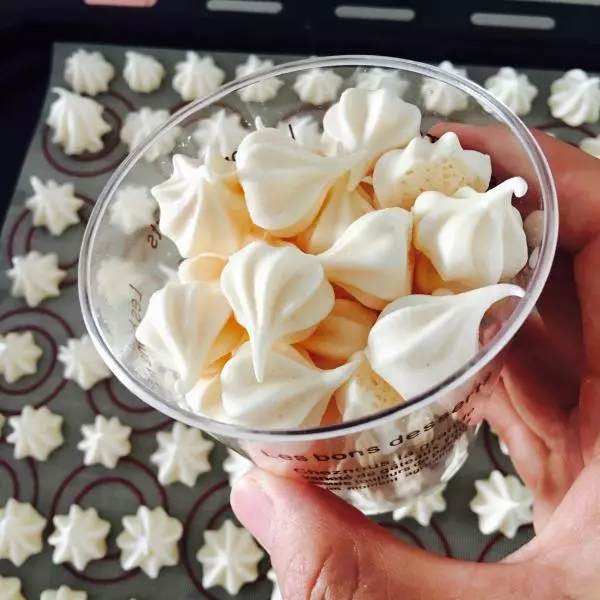
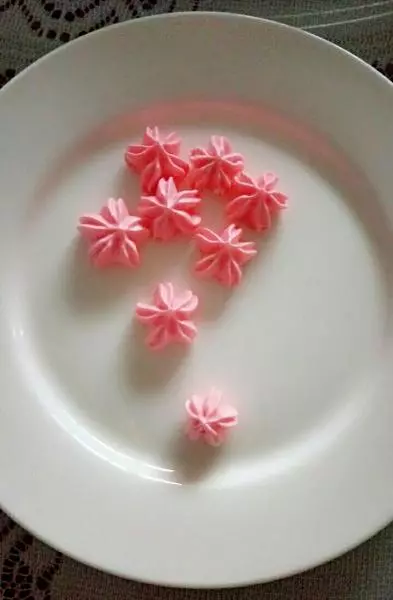
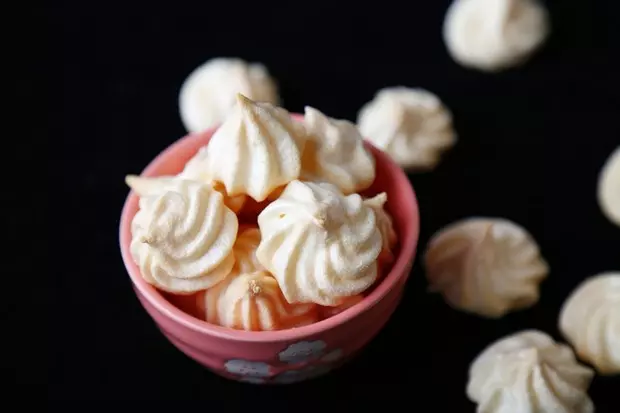
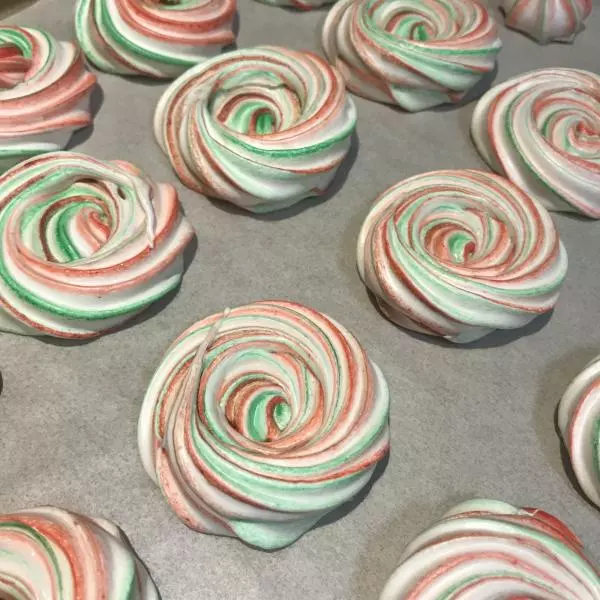
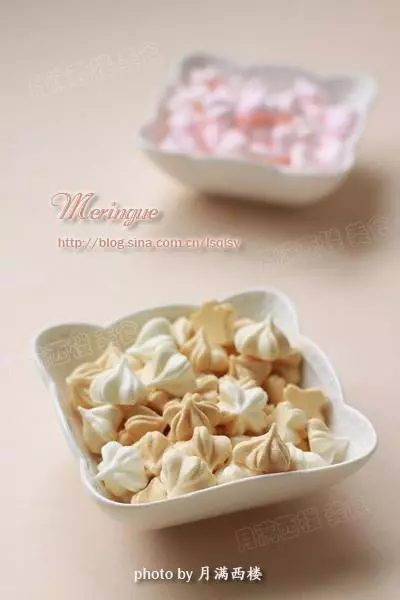
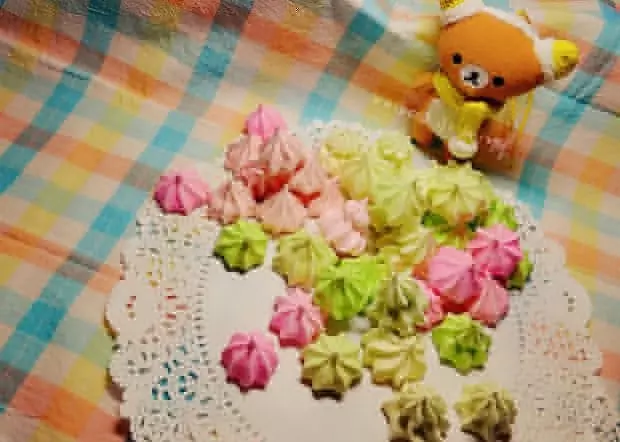
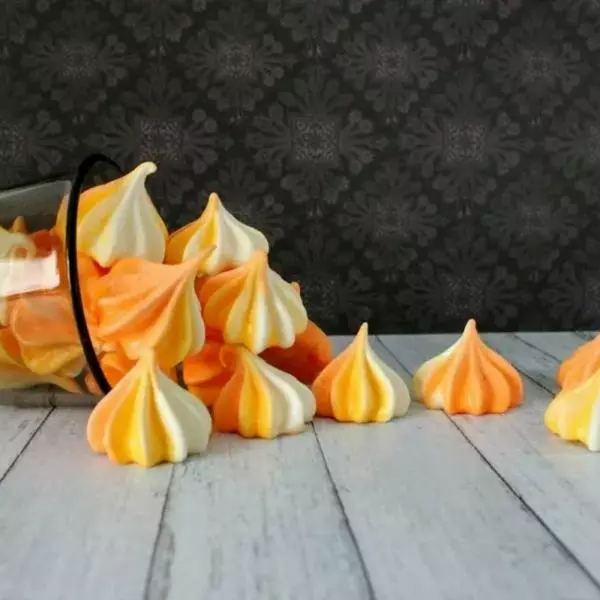
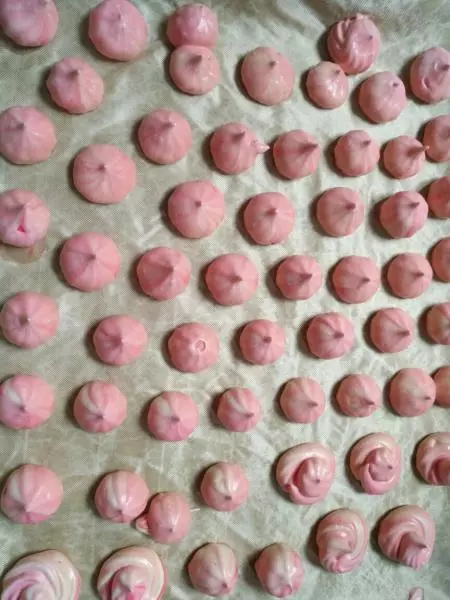
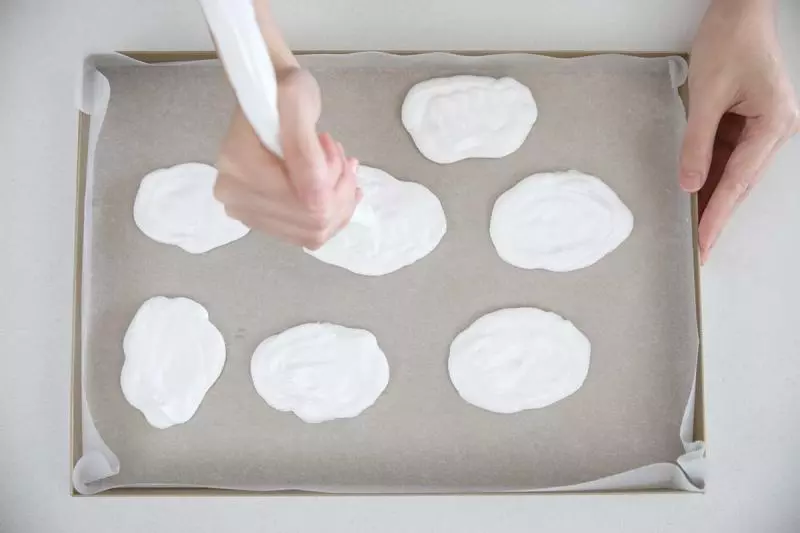
4打發好的蛋白裝入裱花袋,在鋪有油紙的盤子上隨意擠成荷包蛋蛋白的模樣。
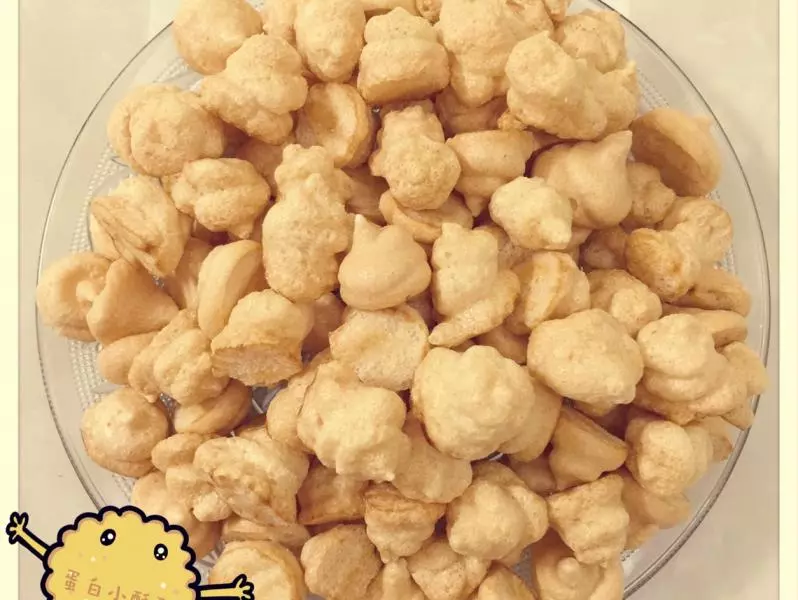
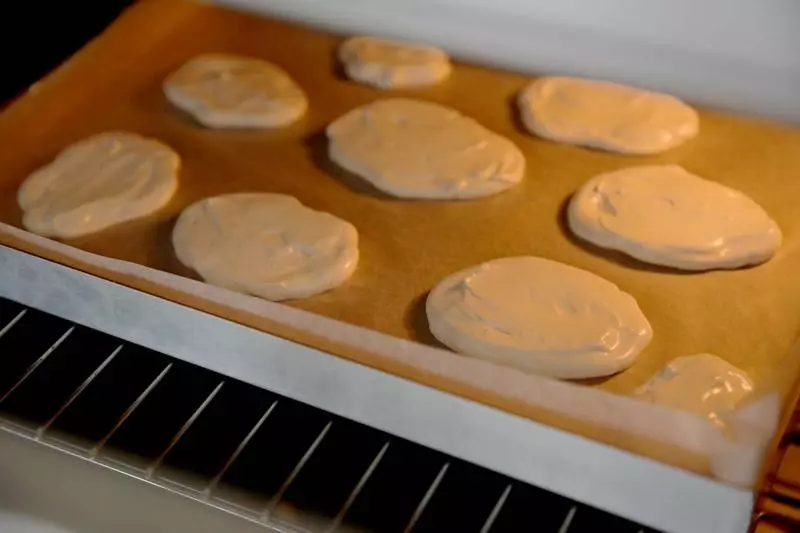
5送入上下火預熱好100°C的烤箱中,烤約1小時至充分乾燥。
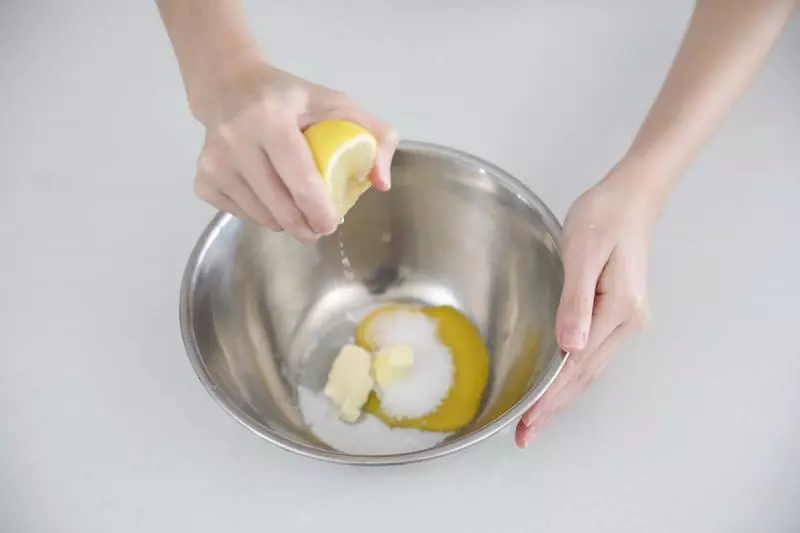
6【製作蛋黃檸檬醬】蛋黃打散,加入提前軟化的黃油、細砂糖,半個檸檬汁,喜歡酸多加點,喜歡甜少加點。
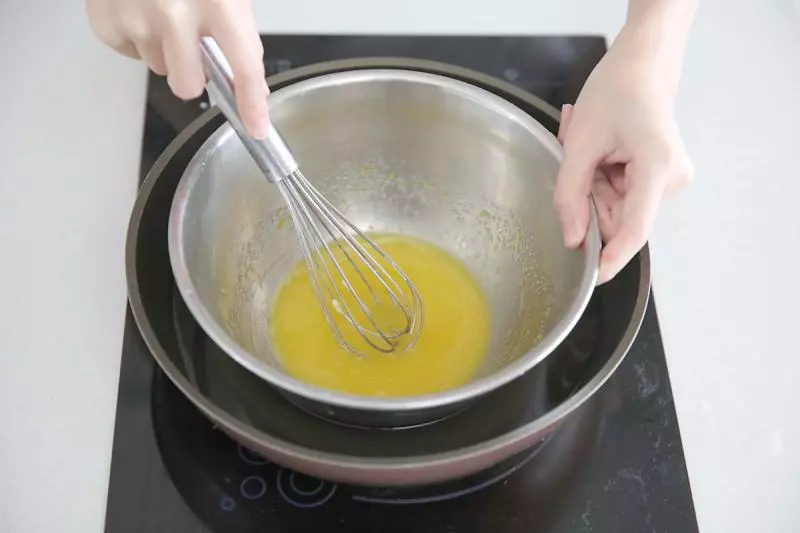
7隔水加熱至逐漸濃稠出現紋路即可。過程當中要不斷攪拌,避免蛋黃燙至結塊不順滑。
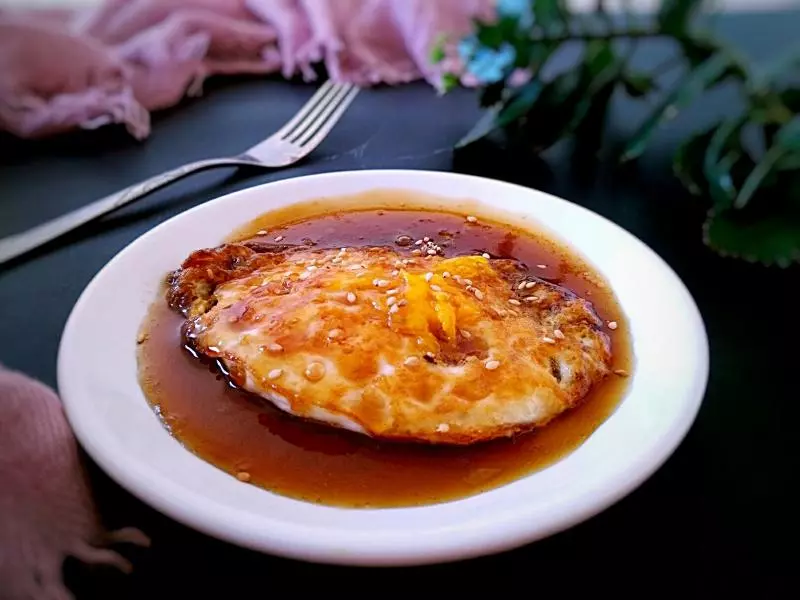
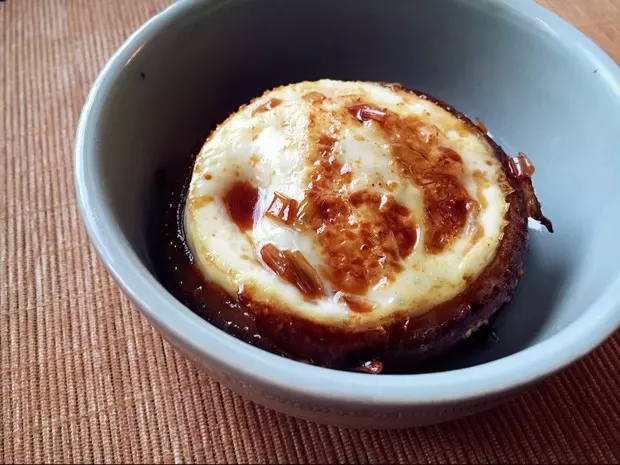
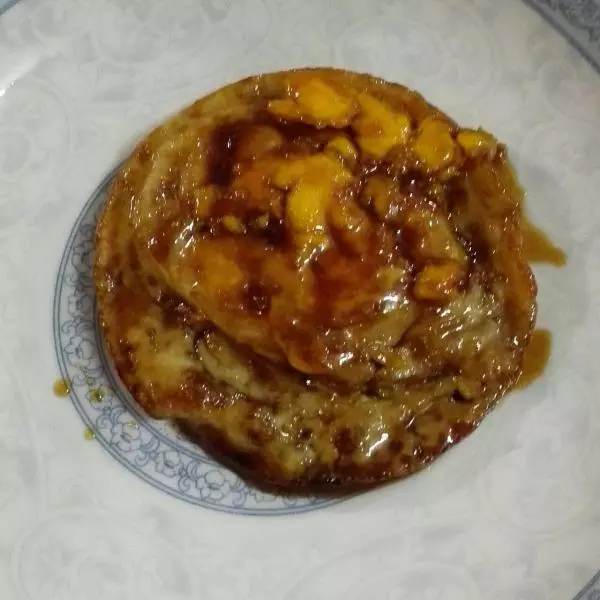
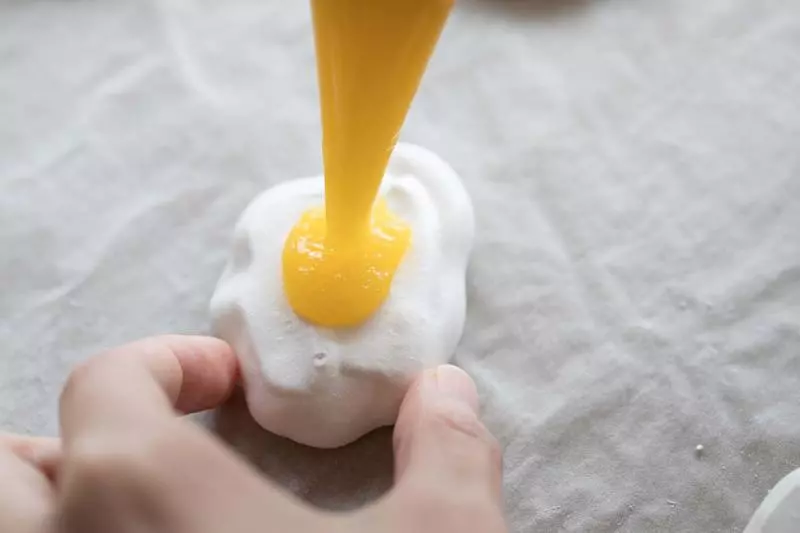
8將做好的蛋黃檸檬醬擠在蛋白糖上就大功告成了!
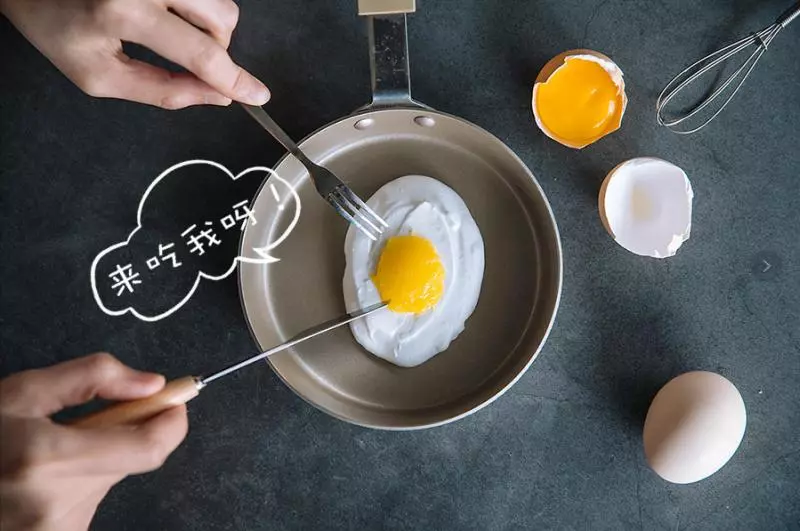
9真假荷包蛋,你們能分得清嗎?
小技巧
1、加入檸檬汁可以很好地增強蛋白霜的穩定性,不可以省略! 2、烤好的蛋白糖晾大約1-3分鐘就可以試著從油紙上取下來 一般是非常容易取出,要是粘底說明沒熟,回爐繼續烘烤。 3、做好的蛋白糖如果不馬上吃,應該立即密封保存,放久後容易受潮。記得蛋黃檸檬醬要在吃之前再抹到蛋白糖上,不然蛋白糖會吸收水分軟掉哦!