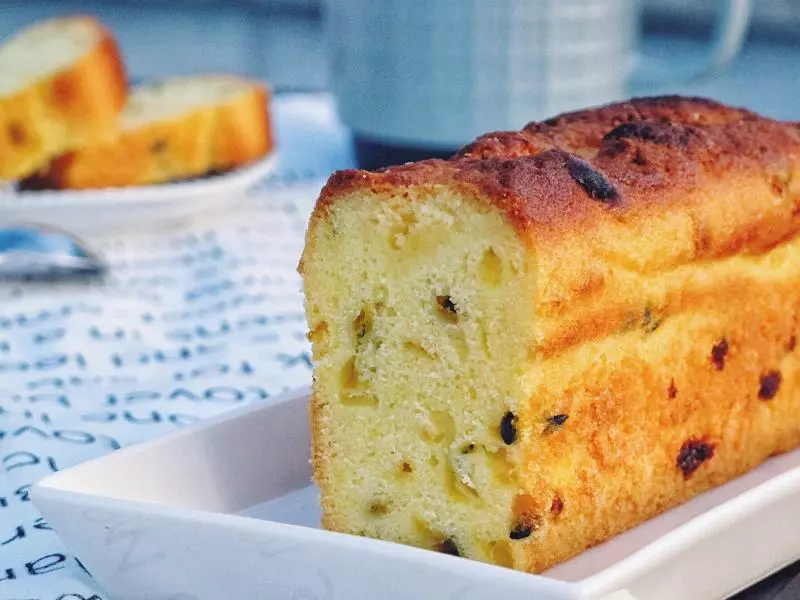
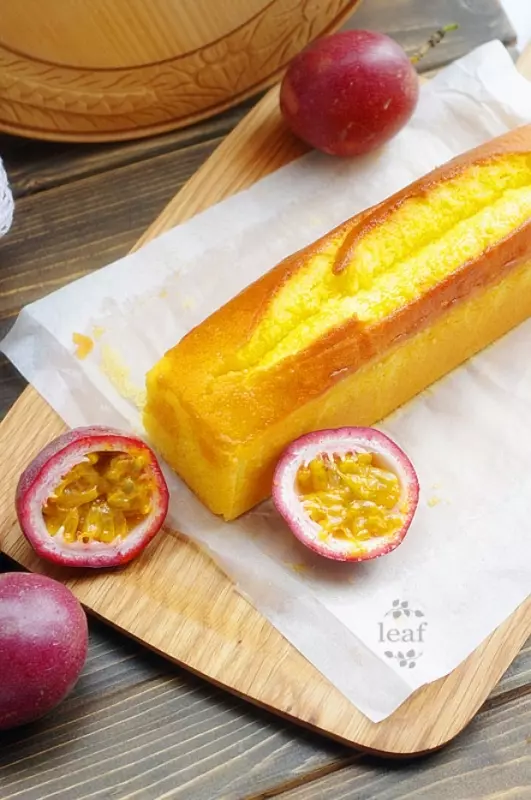
原料
黃油: 200克, 糖粉: 200克, 雞蛋: 140克, 百香果汁: 60克, 低筋麵粉: 200克, 泡打粉: 5克, 水: 70, 糖: 25, 百香果汁: 10克
步驟
1黃油軟化,稍打柔順!

2分三次加入糖粉,每次加糖粉要攪拌均勻了,再加下一次!

3雞蛋液分4.5次倒入黃油,每次倒一定一定要攪拌均勻,且黃油完全吸收蛋液才能加下一次,雞蛋要常溫哦!

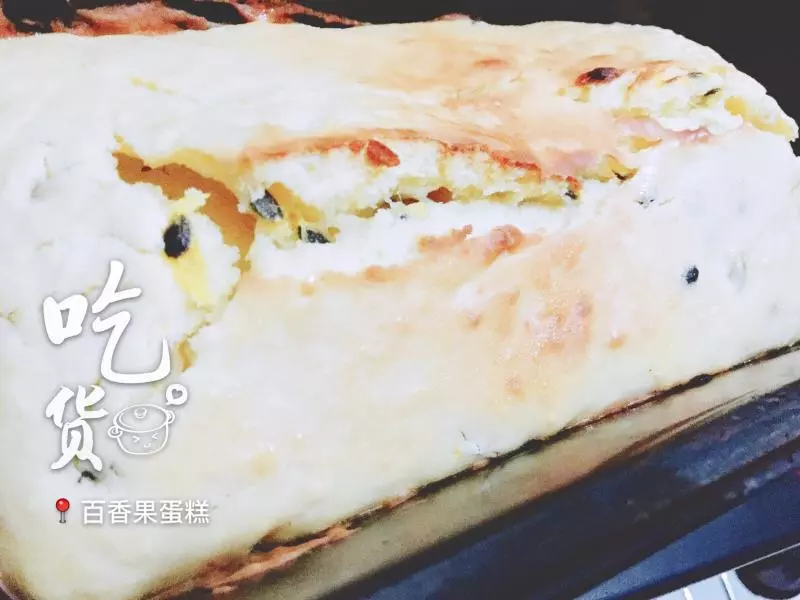
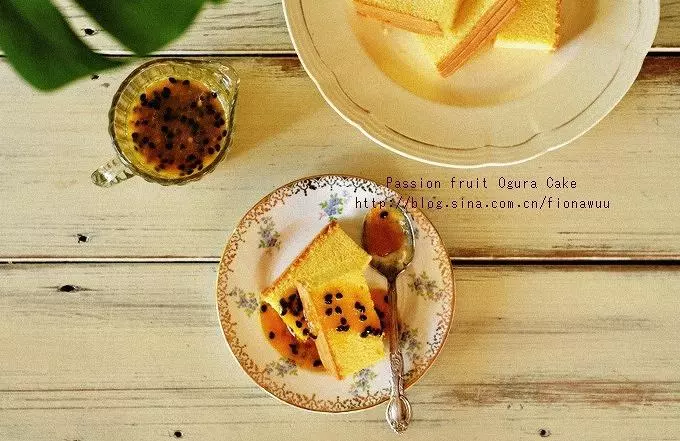
4百香果過濾去籽

5也是分多次加入,每次攪拌均勻!我分了三次!

6麵粉泡打粉混合過篩倒入黃油糊中!

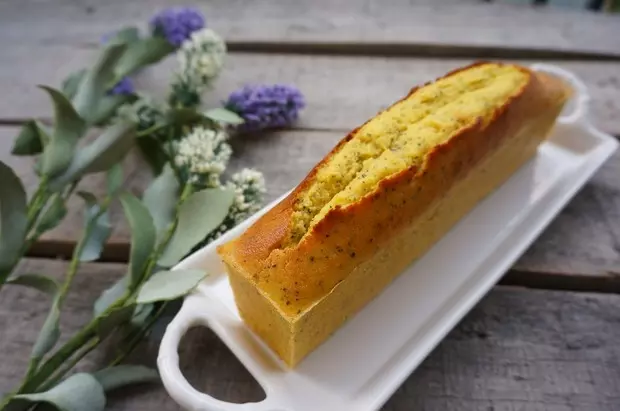
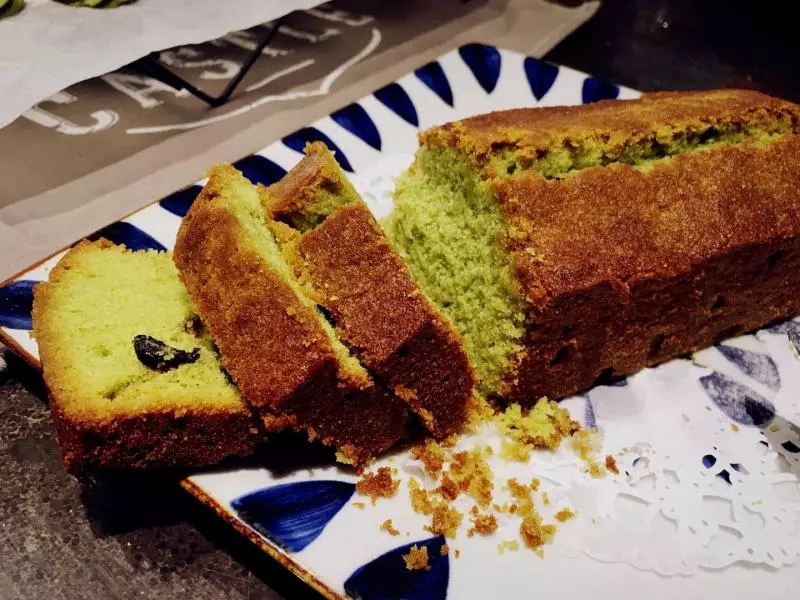
7攪拌均勻,呈現光滑的麵糊

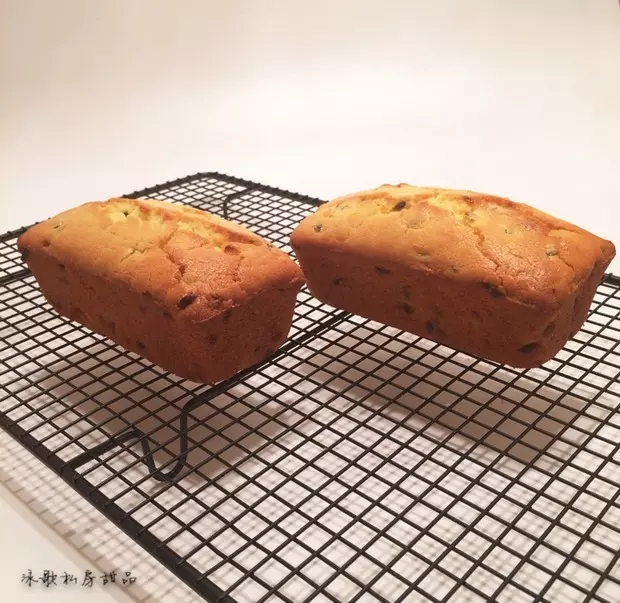
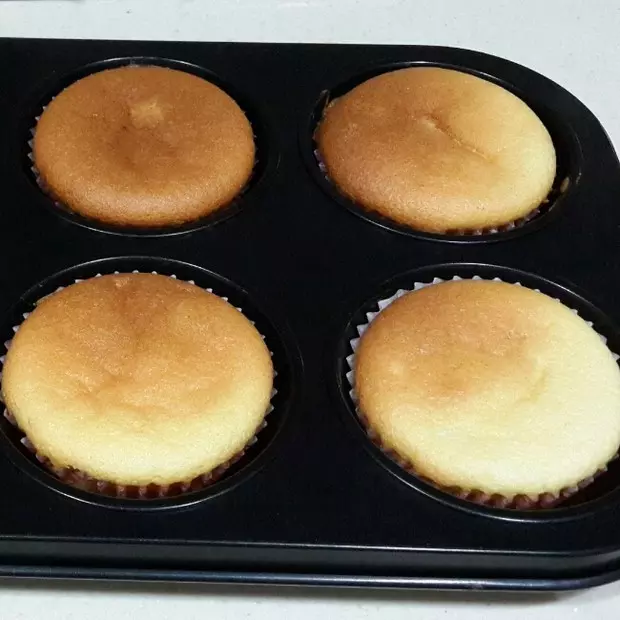
8我做的是雙倍!

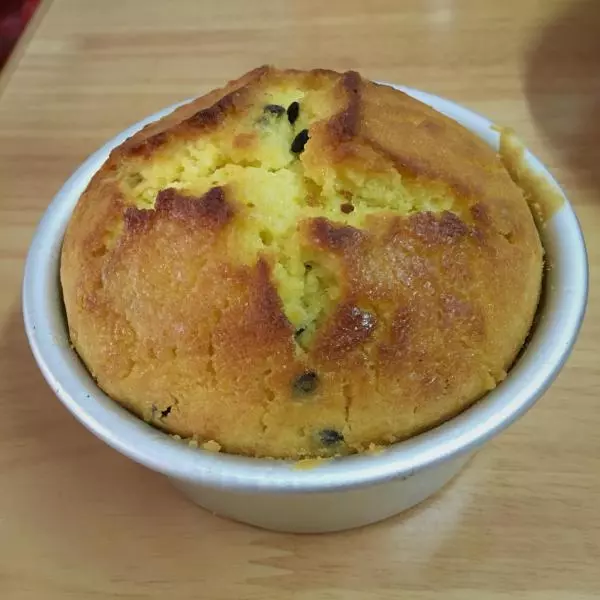
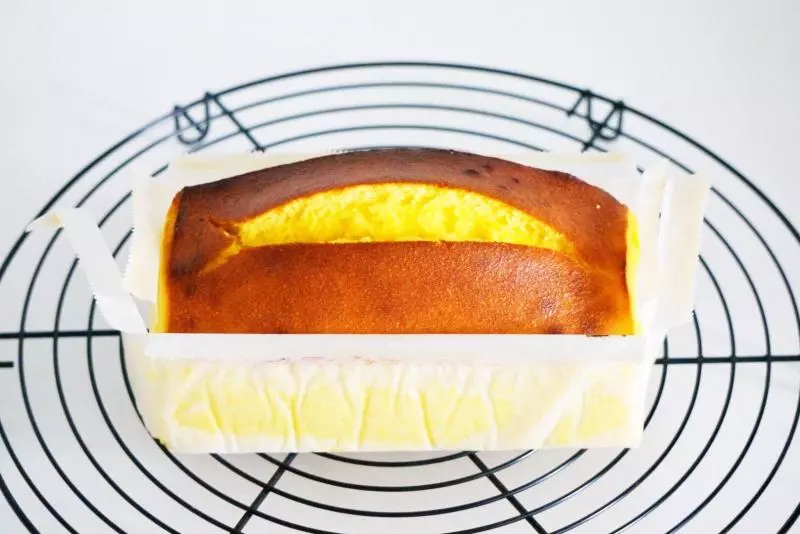
9烤箱180度預熱10分鐘,烤50分鐘左右!具體時間溫度看自己烤箱的實際溫度!

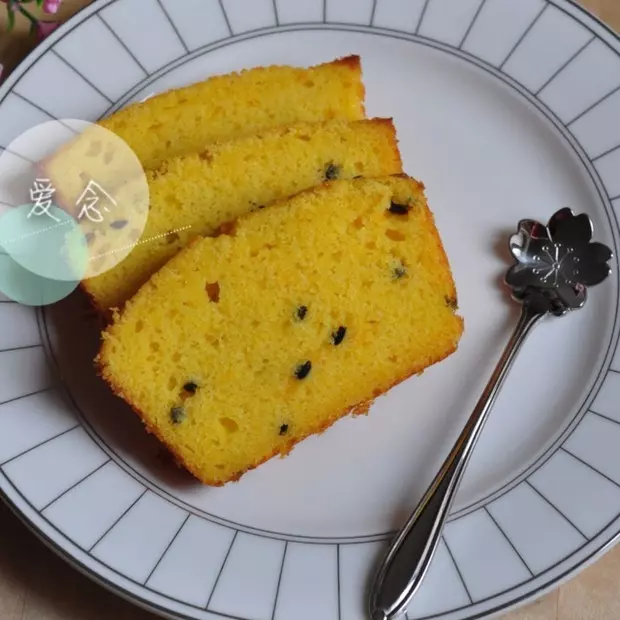
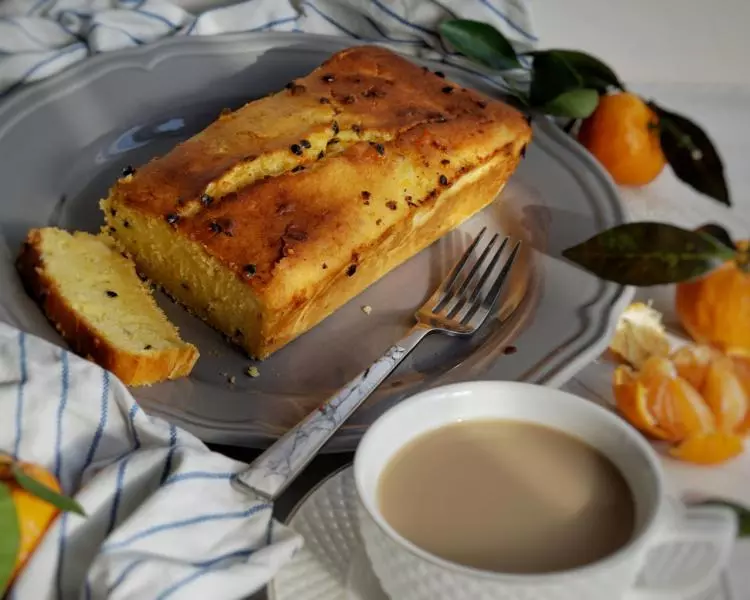
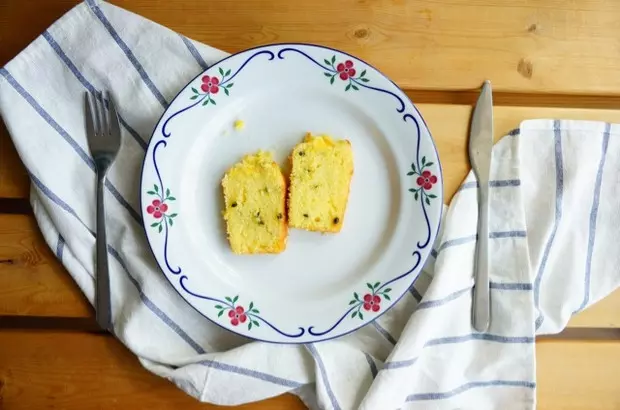
10趁熱刷上糖水!涼後裝進保鮮袋!放上24小時以上,回油了味道超好!

11有些人不喜歡泡打粉,也可以不放哦,圖片就是沒有放泡打粉的!一樣好吃!