原料
雞蛋冷藏: 4個, 玉米油: 40g, 細砂糖(蛋黃中): 12克, 可可粉: 20g, 溫水: 70g, 檸檬汁: 幾滴, 白砂糖(蛋白中): 35克, 鹽: 2克, 奧利奧: 40g, 動物奶油. 400g: 400克, 糖粉: 20克
步驟
1無水無油的容器2個,分別裝蛋白和蛋黃 。蛋白放冰箱冷藏,待用

2將12g的細砂糖放入蛋黃中,攪拌,充分融合,如圖三

3融合後的蛋黃

4再將食用油,加入到蛋黃糊中,用打蛋器,手動打發到乳化狀態 ,如下圖

5乳化後的

6將溫水倒入到可可粉中,攪拌均勻至無顆粒

7將可可液過濾到蛋黃糊中

8將可可液和蛋黃糊充分攪拌,不要沿著一個方向攪拌以免起筋

9篩入低筋麵粉,攪拌

10攪拌後的,如圖,切記,不要沿著同一當中攪拌,以免起筋,可以劃「Z」字

11烤箱預約上下火180度

12麵糊倒入烤盤中,從高處震動幾下,放入烤箱,上下火,烤20分鐘

13烤好後,排出氣泡,倒扣,等涼

14打發淡奶油,加入糖粉,打發

15打到有清晰紋路的時候加入奧利奧粉,繼續打發

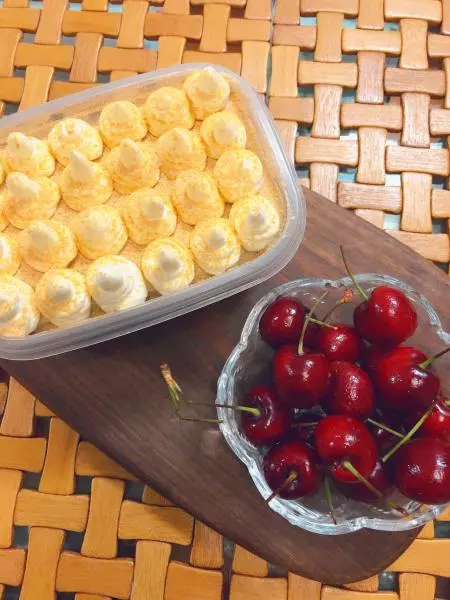
16打發好的

17打發好的

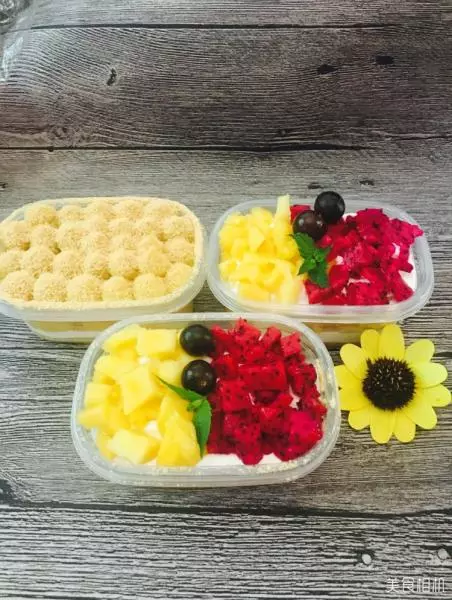
18隨心做盒子

19隨心做

20邊角料也可以美美噠