簡介
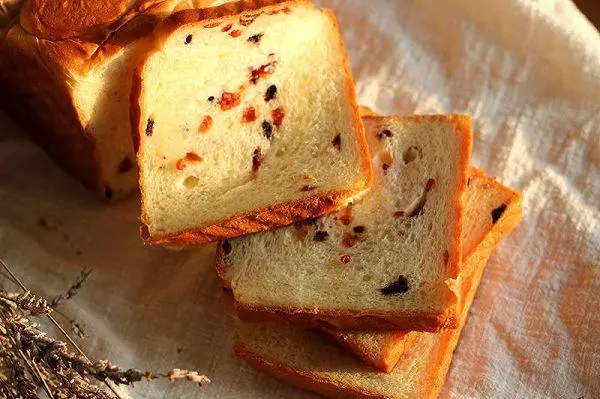
孩子喜歡吃巧克力,愛屋及烏的喜歡所有帶巧克力的食物,做完牛軋糖還剩下一點蔓越莓,就來個混搭的土司吧,烤出來以後這個口感倒是讓我驚艷,蔓越莓的酸甜正好解了巧克力的甜膩,真的很好吃
原料
麵包粉260克, 水120克, 雞蛋1隻, 白砂糖40克, 黃油15克, 酵母4克, 鹽1克, 蔓越莓30克, 耐烤巧克力20克
步驟
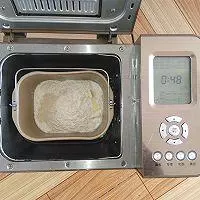
1 主配方中所有材料放入麵包機,選擇發麵程序(發麵包括和面和一次基礎發酵)
2 準備好耐烤巧克力,蔓越莓切碎

3 28分鐘後和面完成,拉一個手套膜(不同的麵包機出膜的時間也不同)

4 稍微收圓一下麵糰,繼續發酵
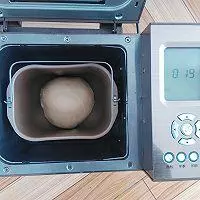
5 麵包機顯示時間0的時候麵糰發酵完成

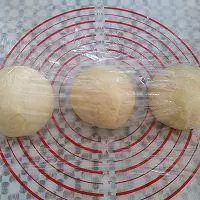
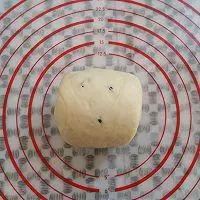
6 麵糰取出平均分成3份,排氣滾圓,蓋上保鮮膜室溫下鬆弛15分鐘
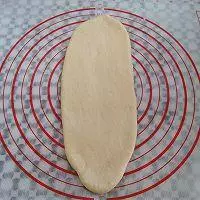
7 取一個麵糰擀成長的牛舌狀
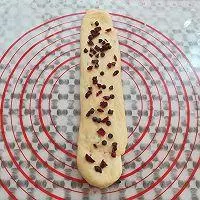
8 在麵糰上撒上適量的蔓越莓和巧克力豆

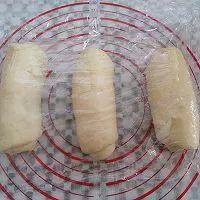
9 麵糰從下往上捲起來,收口處捏緊,蓋上保鮮膜再次鬆弛10分鐘
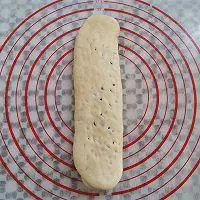
10 取一個麵糰按扁,擀成長的細長條狀
11 在麵糰上撒上適量的蔓越莓和巧克力豆
12 麵糰從下往上捲起來
13 所有的麵糰放入土司盒,進烤箱中進行二次發酵

14 發酵到土司盒的8分滿取出,預熱烤箱165度

15 土司盒放入底層165度烤35分鐘

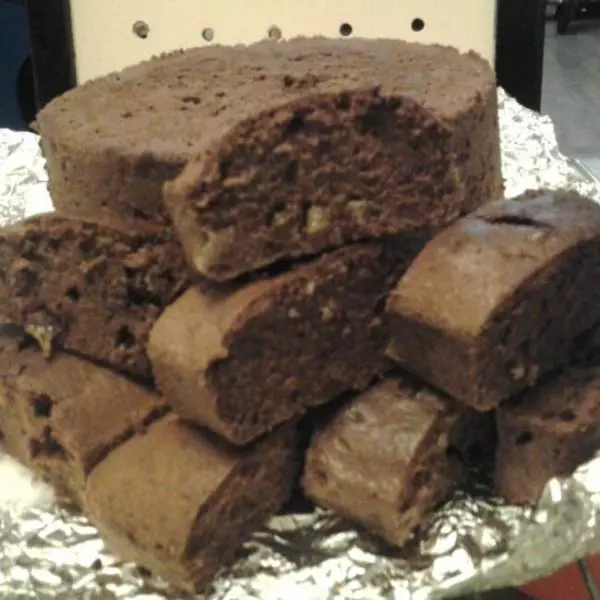
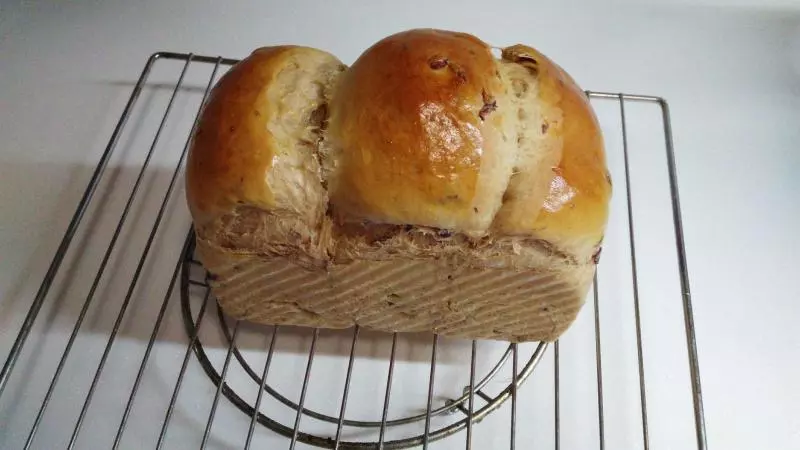
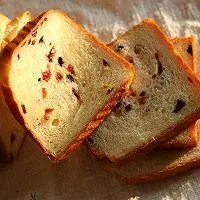
16 土司烤熟出爐後脫模放涼

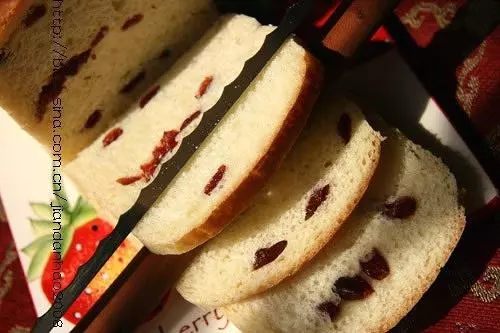
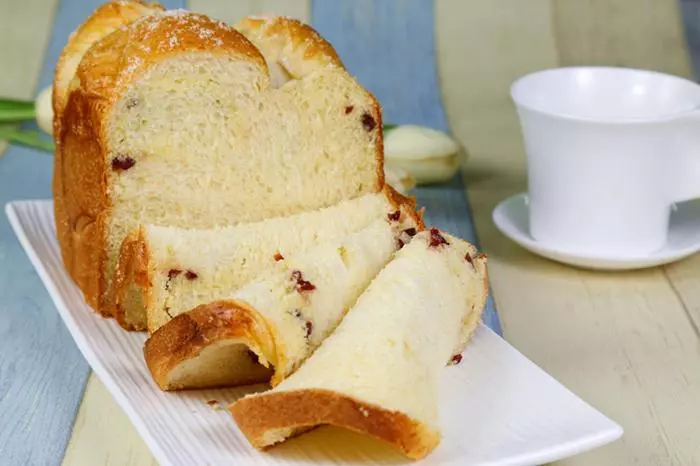
17 切開的土司,組織很不錯,有嚼勁
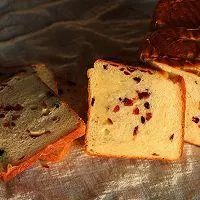
18 土司很軟,看圖片就知道了
小技巧
1.不同季節,不同品牌的麵粉的吸水性不同,可以預留5%的水分後面再放 2.不同品牌的土司盒烤的溫度和時間也不同,根據各自土司盒靈活調整 3.根據各自烤箱的脾氣靈活調整土司的放置烤層,設置時間和溫度